2010 GMC SIERRA DENALI door lock
[x] Cancel search: door lockPage 96 of 550
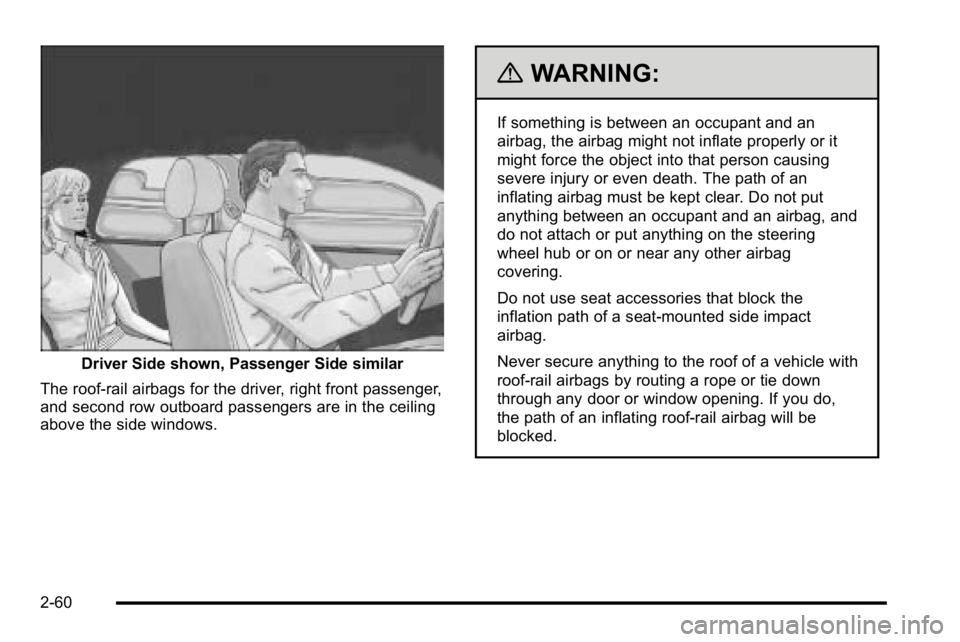
Driver Side shown, Passenger Side similar
The roof-rail airbags for the driver, right front passenger,
and second row outboard passengers are in the ceiling
above the side windows.
{WARNING:
If something is between an occupant and an
airbag, the airbag might not inflate properly or it
might force the object into that person causing
severe injury or even death. The path of an
inflating airbag must be kept clear. Do not put
anything between an occupant and an airbag, and
do not attach or put anything on the steering
wheel hub or on or near any other airbag
covering.
Do not use seat accessories that block the
inflation path of a seat-mounted side impact
airbag.
Never secure anything to the roof of a vehicle with
roof-rail airbags by routing a rope or tie down
through any door or window opening. If you do,
the path of an inflating roof-rail airbag will be
blocked.
2-60
Page 100 of 550
What Will You See After an Airbag
Inflates?
After the frontal airbags and seat-mounted side impact
airbags inflate, they quickly deflate, so quickly that
some people may not even realize an airbag inflated.
Roof-rail airbags may still be at least partially inflated for
some time after they deploy. Some components of the
airbag module may be hot for several minutes. For
location of the airbag modules, seeWhat Makes an
Airbag Inflate? on page 2‑63.
The parts of the airbag that come into contact with you
may be warm, but not too hot to touch. There may be
some smoke and dust coming from the vents in the
deflated airbags. Airbag inflation does not prevent the
driver from seeing out of the windshield or being able to
steer the vehicle, nor does it prevent people from
leaving the vehicle.
{WARNING:
When an airbag inflates, there may be dust in the
air. This dust could cause breathing problems for
people with a history of asthma or other breathing
trouble. To avoid this, everyone in the vehicle
should get out as soon as it is safe to do so.
If you have breathing problems but cannot get out
of the vehicle after an airbag inflates, then get
fresh air by opening a window or a door. If you
experience breathing problems following an airbag
deployment, you should seek medical attention.
The vehicle has a feature that may automatically unlock
the doors, turn on the interior lamps and hazard warning
flashers, and shut off the fuel system after the airbags
inflate. You can lock the doors, turn off the interior
lamps and hazard warning flashers by using the
controls for those features.
2-64
Page 111 of 550
Section 3 Features and Controls
Keys. . . . . . . . . . . . . . . . . . . . . . . . . . . . . . . . . . . . . . . . . . . . . . . . 3-3
Remote Keyless Entry (RKE) System . . . . . . . . . . . 3-4
Remote Keyless Entry (RKE) System Operation . . . . . . . . . . . . . . . . . . . . . . . . . . . . . . . . . . . . . 3-4
Remote Vehicle Start . . . . . . . . . . . . . . . . . . . . . . . . . . . 3-7
Doors and Locks . . . . . . . . . . . . . . . . . . . . . . . . . . . . . . . . . 3-10
Door Locks . . . . . . . . . . . . . . . . . . . . . . . . . . . . . . . . . . . . 3-10
Power Door Locks . . . . . . . . . . . . . . . . . . . . . . . . . . . . . 3-11
Delayed Locking . . . . . . . . . . . . . . . . . . . . . . . . . . . . . . . 3-11
Programmable Automatic Door Locks . . . . . . . . . . 3-11
Rear Door Security Locks . . . . . . . . . . . . . . . . . . . . . 3-12
Lockout Protection . . . . . . . . . . . . . . . . . . . . . . . . . . . . . 3-13
Rear Doors . . . . . . . . . . . . . . . . . . . . . . . . . . . . . . . . . . . . 3-13
Tailgate . . . . . . . . . . . . . . . . . . . . . . . . . . . . . . . . . . . . . . . . 3-13
Windows . . . . . . . . . . . . . . . . . . . . . . . . . . . . . . . . . . . . . . . . . . 3-15
Manual Windows . . . . . . . . . . . . . . . . . . . . . . . . . . . . . . 3-16
Power Windows . . . . . . . . . . . . . . . . . . . . . . . . . . . . . . . 3-16
Sliding Rear Window . . . . . . . . . . . . . . . . . . . . . . . . . . . 3-17
Power Sliding Rear Window . . . . . . . . . . . . . . . . . . . 3-17
Sun Visors . . . . . . . . . . . . . . . . . . . . . . . . . . . . . . . . . . . . . 3-17
Theft-Deterrent Systems . . . . . . . . . . . . . . . . . . . . . . . . .3-18
Content Theft-Deterrent . . . . . . . . . . . . . . . . . . . . . . . . 3-18
PASS-Key
®III+ Electronic Immobilizer . . . . . . . . . 3-20
PASS-Key®III+ Electronic Immobilizer
Operation . . . . . . . . . . . . . . . . . . . . . . . . . . . . . . . . . . . . 3-20 Starting and Operating Your Vehicle
. . . . . . . . . . . .3-22
New Vehicle Break-In . . . . . . . . . . . . . . . . . . . . . . . . . . 3-22
Ignition Positions . . . . . . . . . . . . . . . . . . . . . . . . . . . . . . 3-23
Retained Accessory Power (RAP) . . . . . . . . . . . . . 3-24
Starting the Engine . . . . . . . . . . . . . . . . . . . . . . . . . . . . 3-24
Adjustable Throttle and Brake Pedal . . . . . . . . . . . 3-26
Engine Coolant Heater . . . . . . . . . . . . . . . . . . . . . . . . . 3-26
Active Fuel Management™ . . . . . . . . . . . . . . . . . . . . 3-27
Automatic Transmission Operation . . . . . . . . . . . . . 3-28
Tow/Haul Mode . . . . . . . . . . . . . . . . . . . . . . . . . . . . . . . . 3-32
Parking Brake . . . . . . . . . . . . . . . . . . . . . . . . . . . . . . . . . 3-34
Shifting Into Park . . . . . . . . . . . . . . . . . . . . . . . . . . . . . . 3-35
Shifting Out of Park . . . . . . . . . . . . . . . . . . . . . . . . . . . . 3-36
Parking Over Things That Burn . . . . . . . . . . . . . . . . 3-37
Engine Exhaust . . . . . . . . . . . . . . . . . . . . . . . . . . . . . . . . 3-37
Running the Vehicle While Parked . . . . . . . . . . . . . 3-38
Mirrors . . . . . . . . . . . . . . . . . . . . . . . . . . . . . . . . . . . . . . . . . . . . 3-39
Manual Rearview Mirror . . . . . . . . . . . . . . . . . . . . . . . . 3-39
Automatic Dimming Rearview Mirror . . . . . . . . . . . 3-39
Outside Power Mirrors . . . . . . . . . . . . . . . . . . . . . . . . . 3-40
Outside Power Foldaway Mirrors . . . . . . . . . . . . . . 3-40
Park Tilt Mirrors . . . . . . . . . . . . . . . . . . . . . . . . . . . . . . . . 3-41
Outside Convex Mirror . . . . . . . . . . . . . . . . . . . . . . . . . 3-42
Outside Heated Mirrors . . . . . . . . . . . . . . . . . . . . . . . . 3-42
3-1
Page 113 of 550
Keys
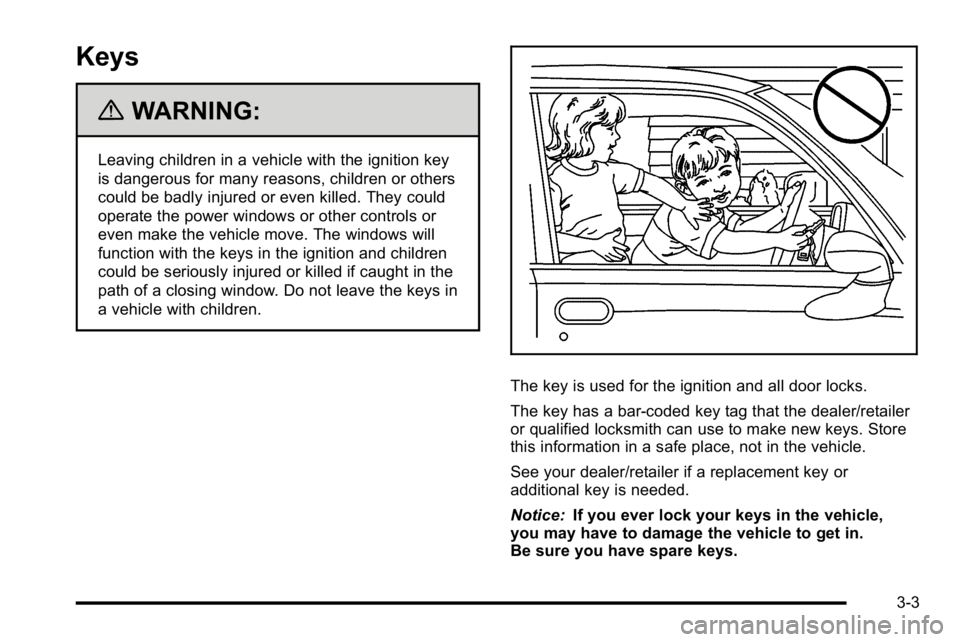
{WARNING:
Leaving children in a vehicle with the ignition key
is dangerous for many reasons, children or others
could be badly injured or even killed. They could
operate the power windows or other controls or
even make the vehicle move. The windows will
function with the keys in the ignition and children
could be seriously injured or killed if caught in the
path of a closing window. Do not leave the keys in
a vehicle with children.
The key is used for the ignition and all door locks.
The key has a bar-coded key tag that the dealer/retailer
or qualified locksmith can use to make new keys. Store
this information in a safe place, not in the vehicle.
See your dealer/retailer if a replacement key or
additional key is needed.
Notice:If you ever lock your keys in the vehicle,
you may have to damage the vehicle to get in.
Be sure you have spare keys.
3-3
Page 115 of 550
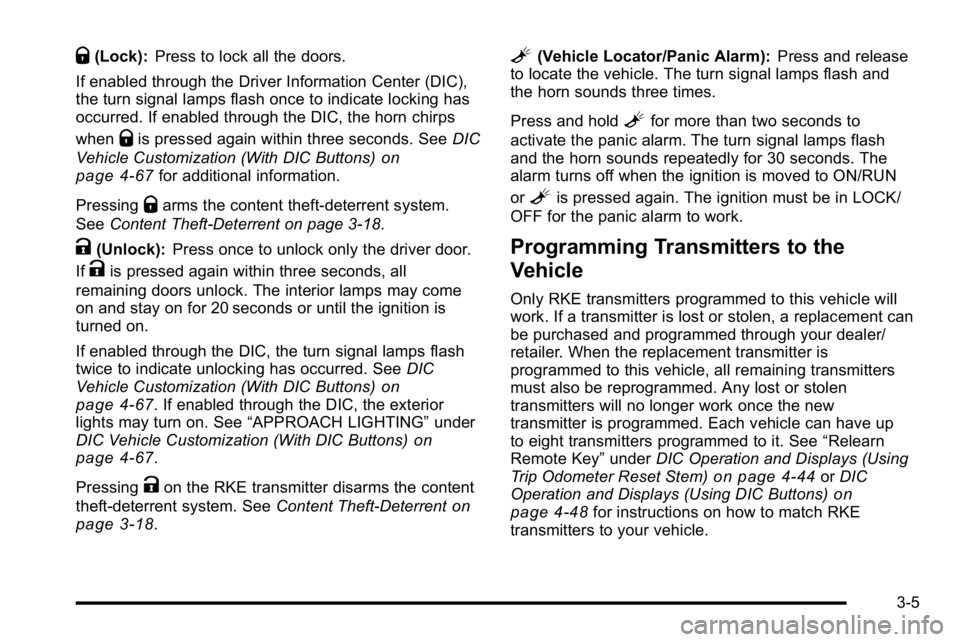
Q(Lock):Press to lock all the doors.
If enabled through the Driver Information Center (DIC),
the turn signal lamps flash once to indicate locking has
occurred. If enabled through the DIC, the horn chirps
when
Qis pressed again within three seconds. See DIC
Vehicle Customization (With DIC Buttons)
on
page 4‑67for additional information.
Pressing
Qarms the content theft‐deterrent system.
See Content Theft-Deterrent on page 3‑18.
K(Unlock): Press once to unlock only the driver door.
If
Kis pressed again within three seconds, all
remaining doors unlock. The interior lamps may come
on and stay on for 20 seconds or until the ignition is
turned on.
If enabled through the DIC, the turn signal lamps flash
twice to indicate unlocking has occurred. See DIC
Vehicle Customization (With DIC Buttons)
on
page 4‑67. If enabled through the DIC, the exterior
lights may turn on. See “APPROACH LIGHTING” under
DIC Vehicle Customization (With DIC Buttons)
on
page 4‑67.
Pressing
Kon the RKE transmitter disarms the content
theft‐deterrent system. See Content Theft-Deterrent
on
page 3‑18.
L(Vehicle Locator/Panic Alarm): Press and release
to locate the vehicle. The turn signal lamps flash and
the horn sounds three times.
Press and hold
Lfor more than two seconds to
activate the panic alarm. The turn signal lamps flash
and the horn sounds repeatedly for 30 seconds. The
alarm turns off when the ignition is moved to ON/RUN
or
Lis pressed again. The ignition must be in LOCK/
OFF for the panic alarm to work.
Programming Transmitters to the
Vehicle
Only RKE transmitters programmed to this vehicle will
work. If a transmitter is lost or stolen, a replacement can
be purchased and programmed through your dealer/
retailer. When the replacement transmitter is
programmed to this vehicle, all remaining transmitters
must also be reprogrammed. Any lost or stolen
transmitters will no longer work once the new
transmitter is programmed. Each vehicle can have up
to eight transmitters programmed to it. See “Relearn
Remote Key” underDIC Operation and Displays (Using
Trip Odometer Reset Stem)
on page 4‑44or DIC
Operation and Displays (Using DIC Buttons)on
page 4‑48for instructions on how to match RKE
transmitters to your vehicle.
3-5
Page 118 of 550
/(Remote Start) : This button will be on the RKE
transmitter if you have remote start.
To start the vehicle using the remote start feature:
1. Aim the transmitter at the vehicle.
2. Press and release the transmitter's lock button. The vehicle's doors will lock. Immediately press
and hold the transmitter's remote start button until
the turn signal lights flash. If you cannot see the
vehicle's lights, press and hold the remote start
button for two to four seconds. Pressing the remote
start button again after the vehicle has started will
turn the engine off.
When the vehicle starts, the parking lamps will turn
on and remain on while the vehicle is running.
If the vehicle is left running it will automatically shut
off after 10 minutes unless a time extension has
been done.
3. If it is the first remote start since the vehicle has been driven, repeat these steps, while the engine
is still running, to extend the engine running time
by 10 minutes. Remote start can be extended
one time. After entering the vehicle during a remote start, insert
and turn the key to RUN to drive the vehicle.
To manually shut off a remote start, do any of the
following:
.Aim the RKE transmitter at the vehicle and press
the remote start button until the parking lamps
turn off.
.Turn on the hazard warning flashers.
.Turn the ignition switch on and then off.
The vehicle can be remote started two separate times
between driving sequences. The engine will run for
10 minutes after each remote start.
Or, you can extend the engine run time by another
10 minutes within the first 10 minute remote start time
frame, and before the engine stops.
For example, if the lock button and then the remote start
buttons are pressed again after the vehicle has been
running for five minutes, 10 minutes are added, allowing
the engine to run for 15 minutes.
3-8
Page 120 of 550
Doors and Locks
Door Locks
{WARNING:
Unlocked doors can be dangerous.
.Passengers, especially children, can easily
open the doors and fall out of a moving
vehicle. When a door is locked, the handle will
not open it. The chance of being thrown out of
the vehicle in a crash is increased if the doors
are not locked. So, all passengers should
wear safety belts properly and the doors
should be locked whenever the vehicle is
driven.(Continued)
WARNING: (Continued)
.Young children who get into unlocked vehicles
may be unable to get out. A child can be
overcome by extreme heat and can suffer
permanent injuries or even death from heat
stroke. Always lock the vehicle whenever
leaving it.
.Outsiders can easily enter through an
unlocked door when you slow down or stop
your vehicle. Locking your doors can help
prevent this from happening.
There are several ways to lock and unlock your vehicle.
From the outside, use the Remote Keyless Entry (RKE)
transmitter or the key in the driver's door.
From the inside, use the power door locks or manual
door locks. To lock or unlock the door with the manual
locks, push down or pull up on the manual lock knob.
3-10
Page 121 of 550
Power Door Locks
With power door locks, the switches on the front doors
can be used to lock and unlock the vehicle.
"(Unlock):Press to unlock the doors.
Q(Lock):Remove the key from the ignition and press
to lock the doors.
Delayed Locking
The vehicle may have the delayed locking feature.
When locking the doors with the power lock switch and
a door is open, the doors will lock five seconds after the
last door is closed. You will hear three chimes to signal
that the delayed locking feature is in use.
Pressing the power lock switch twice will override the
delayed locking feature and immediately lock all the
doors. This feature will not operate if the key is in the ignition.
You can program this feature using the Driver
Information Center (DIC). See DELAY DOOR LOCK
under
DIC Vehicle Customization (With DIC Buttons)
on
page 4‑67.
Programmable Automatic
Door Locks
Vehicles with an automatic lock/unlock feature enable
you to program the vehicle's power door locks. You can
program this feature through the Driver Information
Center (DIC). See DIC Vehicle Customization (With DIC
Buttons)
on page 4‑67for more information on DIC
programming.
3-11