2010 GMC SIERRA DENALI display
[x] Cancel search: displayPage 41 of 550
Release the control when the lower seatback reaches
the desired level of lumbar support.
Your vehicle may have a memory function which allows
seat settings to be saved and recalled. SeeMemory
Features
on page 2‑6for more information.
Keep in mind that as your seating position changes, as
it may during long trips, so should the position of your
lumbar support. Adjust the seat as needed.
Heated Seats
On vehicles with heated front seats, the controls are
located on the driver and passenger doors.
I (Heated Seatback) : Press to turn on the heated
seatback.
J (Heated Seat and Seatback) : Press to turn on the
heated seat and seatback.
The light on the button will come on to indicate that the
feature is working. Press the button to cycle through the
temperature settings of high, medium, and low and to
turn the heat to the seat off. Indicator lights will show
the level of heat selected: three for high, two for
medium, and one for low.
The heated seats will be canceled 10 seconds after the
ignition is turned off. To use the heated seat feature
after restarting the vehicle, press the heated seat or
seatback button again.
Heated and Cooled Seats
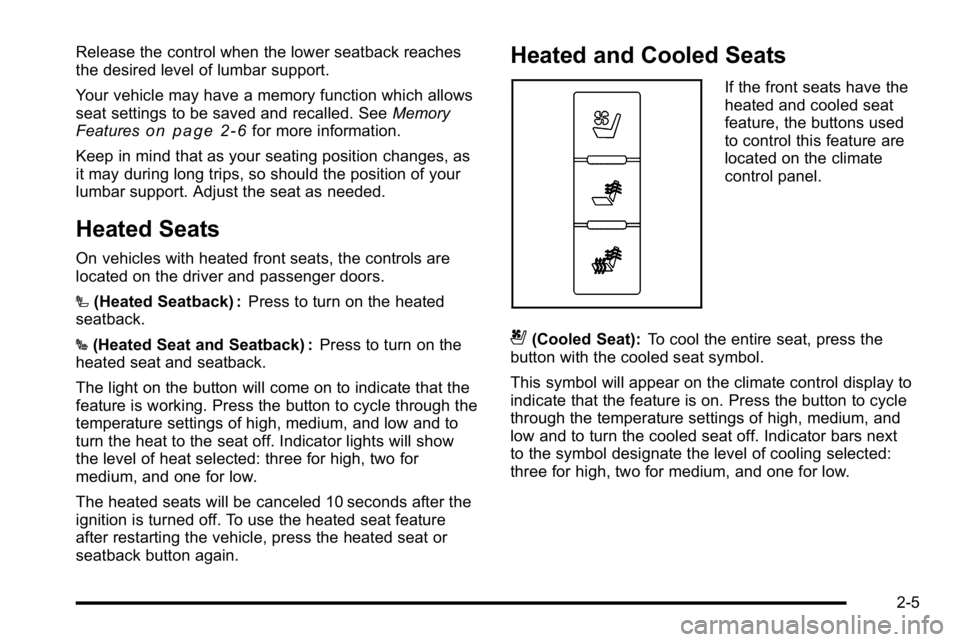
If the front seats have the
heated and cooled seat
feature, the buttons used
to control this feature are
located on the climate
control panel.
{(Cooled Seat): To cool the entire seat, press the
button with the cooled seat symbol.
This symbol will appear on the climate control display to
indicate that the feature is on. Press the button to cycle
through the temperature settings of high, medium, and
low and to turn the cooled seat off. Indicator bars next
to the symbol designate the level of cooling selected:
three for high, two for medium, and one for low.
2-5
Page 42 of 550
+(Heated Seatback):To heat only the seatback,
press the button with the heated seatback symbol.
This symbol will appear on the climate control display to
indicate that the feature is on. Press the button to cycle
through the temperature settings of high, medium, and
low and to turn the heated seatback off. Indicator bars
next to the symbol designate the level of heat selected:
three for high, two for medium, and one for low.
z(Heated Seat and Seatback): To heat the entire
seat, press the button with the heated seat and
seatback symbol.
This symbol will appear on the climate control display to
indicate that the feature is on. Press the button to cycle
through the temperature settings of high, medium, and
low and to turn the heated seat off. Indicator bars next
to the symbol designate the level of heat selected: three
for high, two for medium, and one for low.
The heated and cooled seats will be canceled after the
ignition is turned off. If you want to use the heated and
cooled seat feature after you restart your vehicle, you
will need to press the appropriate seat button again.
Memory Features
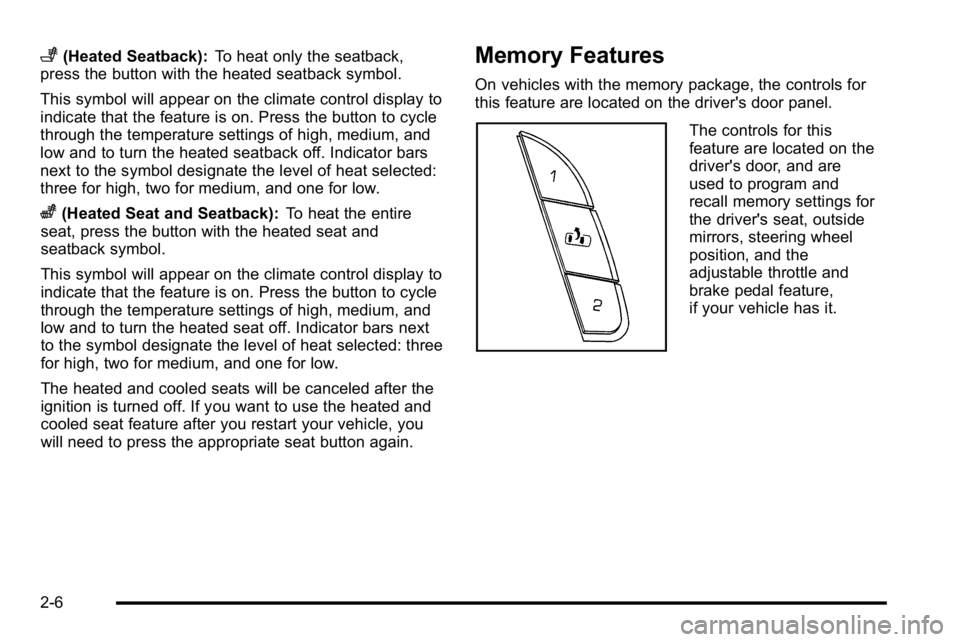
On vehicles with the memory package, the controls for
this feature are located on the driver's door panel.
The controls for this
feature are located on the
driver's door, and are
used to program and
recall memory settings for
the driver's seat, outside
mirrors, steering wheel
position, and the
adjustable throttle and
brake pedal feature,
if your vehicle has it.
2-6
Page 115 of 550
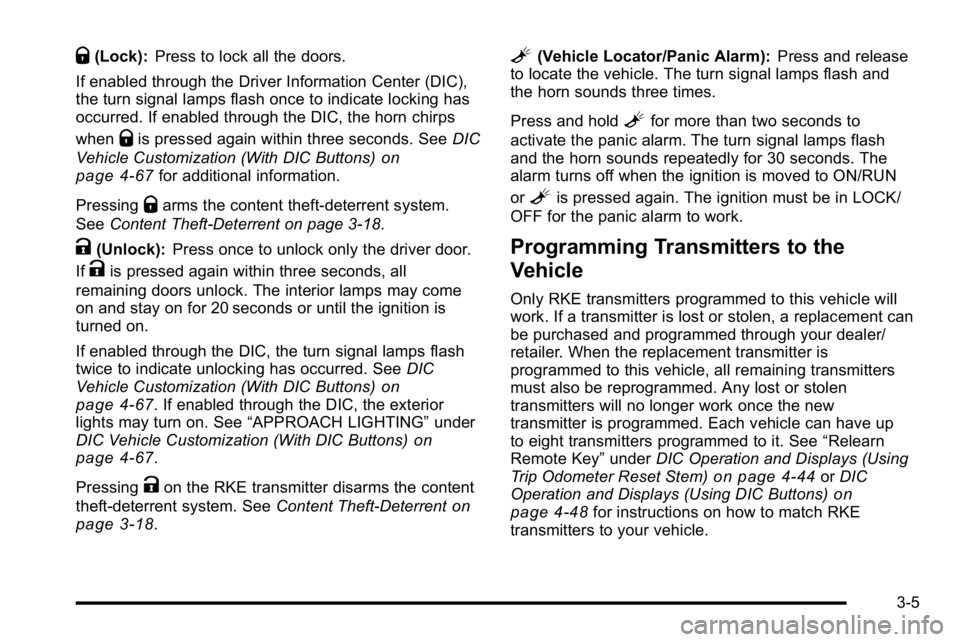
Q(Lock):Press to lock all the doors.
If enabled through the Driver Information Center (DIC),
the turn signal lamps flash once to indicate locking has
occurred. If enabled through the DIC, the horn chirps
when
Qis pressed again within three seconds. See DIC
Vehicle Customization (With DIC Buttons)
on
page 4‑67for additional information.
Pressing
Qarms the content theft‐deterrent system.
See Content Theft-Deterrent on page 3‑18.
K(Unlock): Press once to unlock only the driver door.
If
Kis pressed again within three seconds, all
remaining doors unlock. The interior lamps may come
on and stay on for 20 seconds or until the ignition is
turned on.
If enabled through the DIC, the turn signal lamps flash
twice to indicate unlocking has occurred. See DIC
Vehicle Customization (With DIC Buttons)
on
page 4‑67. If enabled through the DIC, the exterior
lights may turn on. See “APPROACH LIGHTING” under
DIC Vehicle Customization (With DIC Buttons)
on
page 4‑67.
Pressing
Kon the RKE transmitter disarms the content
theft‐deterrent system. See Content Theft-Deterrent
on
page 3‑18.
L(Vehicle Locator/Panic Alarm): Press and release
to locate the vehicle. The turn signal lamps flash and
the horn sounds three times.
Press and hold
Lfor more than two seconds to
activate the panic alarm. The turn signal lamps flash
and the horn sounds repeatedly for 30 seconds. The
alarm turns off when the ignition is moved to ON/RUN
or
Lis pressed again. The ignition must be in LOCK/
OFF for the panic alarm to work.
Programming Transmitters to the
Vehicle
Only RKE transmitters programmed to this vehicle will
work. If a transmitter is lost or stolen, a replacement can
be purchased and programmed through your dealer/
retailer. When the replacement transmitter is
programmed to this vehicle, all remaining transmitters
must also be reprogrammed. Any lost or stolen
transmitters will no longer work once the new
transmitter is programmed. Each vehicle can have up
to eight transmitters programmed to it. See “Relearn
Remote Key” underDIC Operation and Displays (Using
Trip Odometer Reset Stem)
on page 4‑44or DIC
Operation and Displays (Using DIC Buttons)on
page 4‑48for instructions on how to match RKE
transmitters to your vehicle.
3-5
Page 116 of 550
Battery Replacement
Replace the battery if the REPLACE BATTERY IN
REMOTE KEY message displays in the DIC. See
“REPLACE BATTERY IN REMOTE KEY”underDIC
Warnings and Messages
on page 4‑57for additional
information.
Notice: When replacing the battery, do not touch
any of the circuitry on the transmitter. Static from
your body could damage the transmitter.
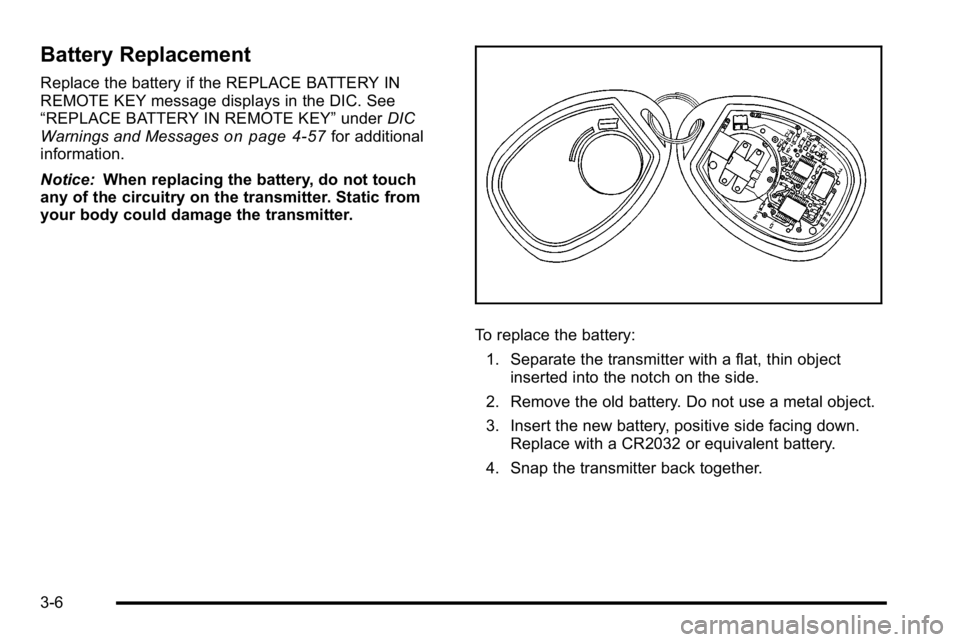
To replace the battery:
1. Separate the transmitter with a flat, thin object inserted into the notch on the side.
2. Remove the old battery. Do not use a metal object.
3. Insert the new battery, positive side facing down. Replace with a CR2032 or equivalent battery.
4. Snap the transmitter back together.
3-6
Page 134 of 550
C (ON/RUN) :This position can be used to operate the
electrical accessories and to display some instrument
panel cluster warning and indicator lights. The switch
stays in this position when the engine is running. The
transmission is also unlocked in this position on
automatic transmission vehicles.
If you leave the key in the ACC/ACCESSORY or ON/
RUN position with the engine off, the battery could be
drained. You may not be able to start the vehicle if the
battery is allowed to drain for an extended period
of time.
D (START) : This is the position that starts the engine.
When the engine starts, release the key. The ignition
switch returns to ON/RUN for driving.
A warning tone will sound when the driver door is
opened, the ignition is in ACC/ACCESSORY or LOCK/
OFF and the key is in the ignition.Retained Accessory Power (RAP)
The following vehicle accessories can be used for up to
10 minutes after the engine is turned off:
.Audio System
.Power Windows
.OnStar®System (if equipped)
.Sunroof (if equipped)
These features work when the key is in ON/RUN or
ACC/ACCESSORY. Once the key is turned from ON/
RUN to LOCK/OFF, the windows and sunroof continue
to work up to 10 minutes until any door is opened. The
radio continues to work for up to 10 minutes or until the
driver door is opened.
Starting the Engine
Move the shift lever to P (Park) or N (Neutral). The
engine will not start in any other position. To restart the
engine when the vehicle is already moving, use
N (Neutral) only.
Notice: Do not try to shift to P (Park) if the vehicle is
moving. If you do, you could damage the
transmission. Shift to P (Park) only when the vehicle
is stopped.
3-24
Page 137 of 550
{WARNING:
Plugging the cord into an ungrounded outlet could
cause an electrical shock. Also, the wrong kind of
extension cord could overheat and cause a fire.
You could be seriously injured. Plug the cord into
a properly grounded three-prong 110-volt AC
outlet. If the cord will not reach, use a heavy-duty
three-prong extension cord rated for at least
15 amps.
4. Before starting the engine, be sure to unplug and store the cord as it was before to keep it away from
moving engine parts. If you do not, it could be
damaged.
The length of time the heater should remain plugged in
depends on several factors. Ask a dealer/retailer in the
area where you will be parking the vehicle for the best
advice on this.
Active Fuel Management™
Vehicles with V8 engines may have Active Fuel
Management™. This system allows the engine to
operate on either all or half of its cylinders, depending
on the driving conditions.
When less power is required, such as cruising at a
constant vehicle speed, the system will operate in the
half cylinder mode, allowing the vehicle to achieve
better fuel economy. When greater power demands are
required, such as accelerating from a stop, passing,
or merging onto a freeway, the system will maintain
full-cylinder operation.
If the vehicle has an Active Fuel Management™
indicator, see DIC Operation and Displays (Using Trip
Odometer Reset Stem)
on page 4‑44or DIC Operation
and Displays (Using DIC Buttons)on page 4‑48for
more information on using this display .
3-27
Page 138 of 550
Automatic Transmission Operation
The vehicle has a Hydra-Matic®6L80 automatic
transmission, and has an electronic shift position
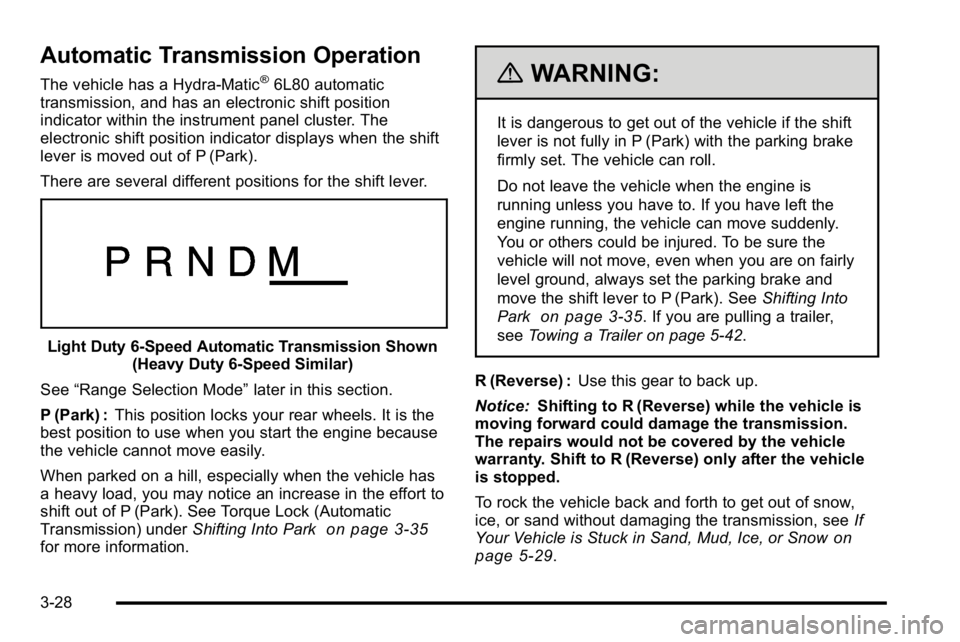
indicator within the instrument panel cluster. The
electronic shift position indicator displays when the shift
lever is moved out of P (Park).
There are several different positions for the shift lever.
Light Duty 6‐Speed Automatic Transmission Shown (Heavy Duty 6‐Speed Similar)
See “Range Selection Mode” later in this section.
P (Park) : This position locks your rear wheels. It is the
best position to use when you start the engine because
the vehicle cannot move easily.
When parked on a hill, especially when the vehicle has
a heavy load, you may notice an increase in the effort to
shift out of P (Park). See Torque Lock (Automatic
Transmission) under Shifting Into Park
on page 3‑35for more information.
{WARNING:
It is dangerous to get out of the vehicle if the shift
lever is not fully in P (Park) with the parking brake
firmly set. The vehicle can roll.
Do not leave the vehicle when the engine is
running unless you have to. If you have left the
engine running, the vehicle can move suddenly.
You or others could be injured. To be sure the
vehicle will not move, even when you are on fairly
level ground, always set the parking brake and
move the shift lever to P (Park). See Shifting Into
Park
on page 3‑35. If you are pulling a trailer,
see Towing a Trailer on page 5‑42.
R (Reverse) : Use this gear to back up.
Notice: Shifting to R (Reverse) while the vehicle is
moving forward could damage the transmission.
The repairs would not be covered by the vehicle
warranty. Shift to R (Reverse) only after the vehicle
is stopped.
To rock the vehicle back and forth to get out of snow,
ice, or sand without damaging the transmission, see If
Your Vehicle is Stuck in Sand, Mud, Ice, or Snow
on
page 5‑29.
3-28
Page 141 of 550
Range Selection Mode
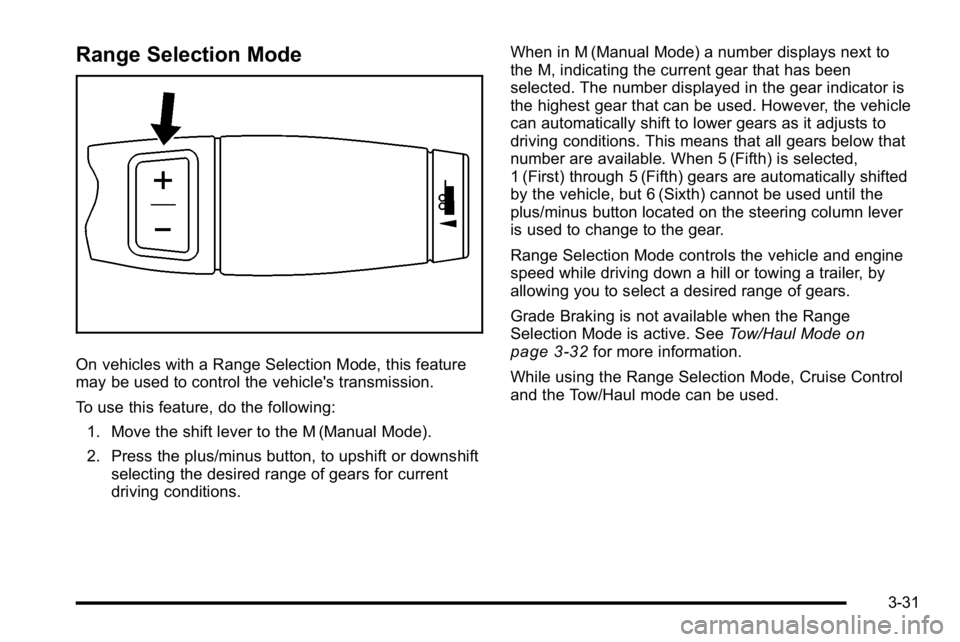
On vehicles with a Range Selection Mode, this feature
may be used to control the vehicle's transmission.
To use this feature, do the following:1. Move the shift lever to the M (Manual Mode).
2. Press the plus/minus button, to upshift or downshift selecting the desired range of gears for current
driving conditions. When in M (Manual Mode) a number displays next to
the M, indicating the current gear that has been
selected. The number displayed in the gear indicator is
the highest gear that can be used. However, the vehicle
can automatically shift to lower gears as it adjusts to
driving conditions. This means that all gears below that
number are available. When 5 (Fifth) is selected,
1 (First) through 5 (Fifth) gears are automatically shifted
by the vehicle, but 6 (Sixth) cannot be used until the
plus/minus button located on the steering column lever
is used to change to the gear.
Range Selection Mode controls the vehicle and engine
speed while driving down a hill or towing a trailer, by
allowing you to select a desired range of gears.
Grade Braking is not available when the Range
Selection Mode is active. See
Tow/Haul Mode
on
page 3‑32for more information.
While using the Range Selection Mode, Cruise Control
and the Tow/Haul mode can be used.
3-31