2010 GMC SAVANA start stop button
[x] Cancel search: start stop buttonPage 137 of 424
2 (Second):This position reduces vehicle speed even
more than 3 (Third) without using the brakes. You can
use 2 (Second) on hills. It can help control vehicle speed
as you go down steep mountain roads, but then you
would also want to use the brakes off and on.
You may use this feature for reducing torque to the rear
wheels when you are trying to start the vehicle from a
stop on slippery road surfaces.
1 (First):This position reduces vehicle speed even
more than 2 (Second) without using the brakes. You
can use it on very steep hills, or in deep snow or mud.
If the shift lever is put in 1 (First) while the vehicle is
moving forward, the transmission will not shift into first
gear until the vehicle is going slowly enough.
Notice:Spinning the tires or holding the vehicle
in one place on a hill using only the accelerator
pedal may damage the transmission. The repair
will not be covered by the vehicle warranty. If you
are stuck, do not spin the tires. When stopping on a
hill, use the brakes to hold the vehicle in place.Tow/Haul Mode
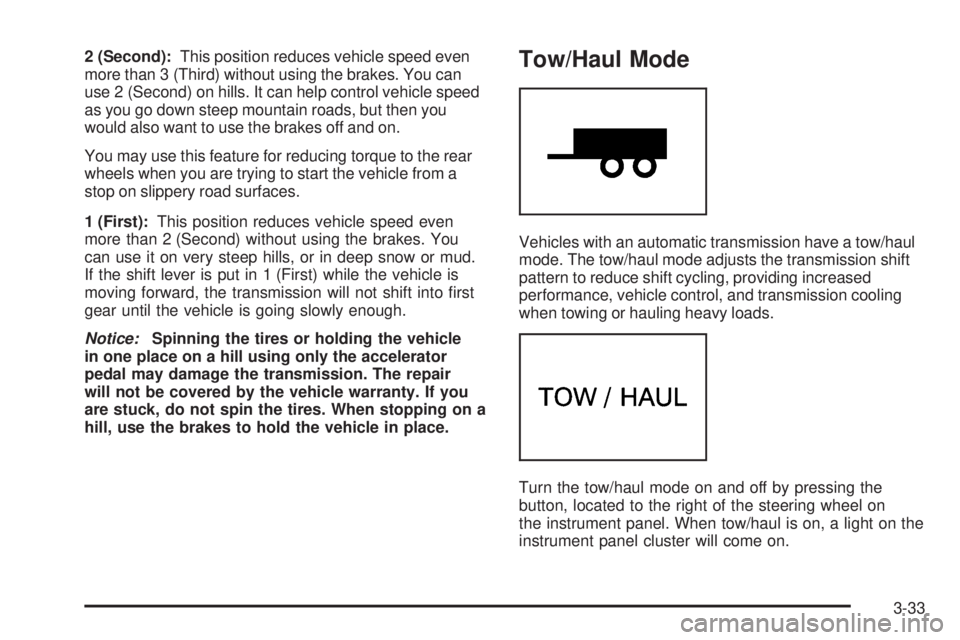
Vehicles with an automatic transmission have a tow/haul
mode. The tow/haul mode adjusts the transmission shift
pattern to reduce shift cycling, providing increased
performance, vehicle control, and transmission cooling
when towing or hauling heavy loads.
Turn the tow/haul mode on and off by pressing the
button, located to the right of the steering wheel on
the instrument panel. When tow/haul is on, a light on the
instrument panel cluster will come on.
3-33
Page 185 of 424
Trip Odometers
Press the trip/fuel button until A or B displays. This
display shows the current distance traveled in either
kilometers (km) or miles (mi) since the last reset for each
trip odometer. Both trip odometers can be used at the
same time.
Each trip odometer can be reset to zero separately by
pressing the set/reset button while the desired trip
odometer is displayed.
The trip odometer has a feature called the retro-active
reset. This can be used to set the trip odometer to
the number of miles (kilometers) driven since the ignition
was last turned on. This can be used if the trip
odometer is not reset at the beginning of the trip.
To use the retro-active reset feature, press and hold
the set/reset button for at least four seconds. The trip
odometer will display the number of kilometers (km) or
miles (mi) driven since the ignition was last turned on and
the vehicle was moving. Once the vehicle begins moving,
the trip odometer will accumulate mileage. For example, if
the vehicle was driven 8 km (5 miles) before it is started
again, and then the retro-active reset feature is activated,
the display will show 8 km (5 miles). As the vehicle
begins moving, the display will then increase to 8.1 km
(5.1 miles), 8.2 km (5.2 miles), etc.If the retro-active reset feature is activated after the
vehicle is started, but before it begins moving, the
display will show the number of kilometers (km) or
miles (mi) that were driven during the last ignition cycle.
Fuel Range
Press the trip/fuel button until FUEL RANGE displays.
This display shows the approximate number of
remaining kilometers (km) or miles (mi) the vehicle can
be driven without refueling. The display will show
LOW if the fuel level is low.
The fuel range estimate is based on an average of the
vehicle’s fuel economy over recent driving history
and the amount of fuel remaining in the fuel tank.
This estimate will change if driving conditions change.
For example, if driving in traffic and making frequent
stops, this display may read one number, but if
the vehicle is driven on a freeway, the number may
change even though the same amount of fuel is in the
fuel tank. This is because different driving conditions
produce different fuel economies. Generally, freeway
driving produces better fuel economy than city driving.
If your vehicle is low on fuel, the FUEL LEVEL LOW
message will be displayed. See “FUEL LEVEL LOW”
underDIC Warnings and Messages on page 4-44
for more information.
4-39
Page 186 of 424
Average Economy
Press the trip/fuel button until AVG ECONOMY displays.
This display shows the approximate average liters per
100 kilometers (L/100 km) or miles per gallon (mpg).
This number is calculated based on the number
of L/100 km (mpg) recorded since the last time this
menu item was reset. To reset AVG ECONOMY, press
and hold the set/reset button. The display will return
to zero.
Fuel Used
Press the trip/fuel button until FUEL USED displays.
This display shows the number of liters (L) or
gallons (gal) of fuel used since the last reset of this
menu item. To reset the fuel used information, press
and hold the set/reset button while FUEL USED is
displayed.
Timer
Press the trip/fuel button until TIMER displays.
This display can be used as a timer.
To start the timer, press the set/reset button while
TIMER is displayed. The display will show the amount
of time that has passed since the timer was last
reset, not including time the ignition is off. Time will
continue to be counted as long as the ignition is
on, even if another display is being shown on the DIC.The timer will record up to 99 hours, 59 minutes and
59 seconds (99:59:59) after which the display will return
to zero.
To stop the timer, press the set/reset button briefly while
TIMER is displayed.
To reset the timer to zero, press and hold the set/reset
button while TIMER is displayed.
Average Speed
Press the trip/fuel button until AVERAGE SPEED
displays. This display shows the average speed of the
vehicle in kilometers per hour (km/h) or miles per hour
(mph). This average is calculated based on the
various vehicle speeds recorded since the last reset of
this value. To reset the value, press and hold the
set/reset button. The display will return to zero.
Digital Tachometer
Press the trip/fuel button until Tachometer ##00 RPM
displays. This display shows the engine speed in
revolutions per minute (RPM).
Blank Display
This display shows no information.
4-40
Page 214 of 424
Playing a CD(s) (Six-Disc CD Player)
LOAD^:Press to load CDs into the CD player.
This CD player holds up to six CDs.
To insert one CD, do the following:
1. Press and release the
^button.
2. Wait for the message to insert the disc.
3. Load a CD. Insert the CD partway into the slot,
label side up. The player pulls the CD in.
To insert multiple CDs, do the following:
1. Press and hold the
^button for two seconds.
A beep sounds and Load All Discs displays.
2. Follow the displayed instruction on when to insert
the discs. The CD player takes up to six CDs.
3. Press the
^button again to cancel loading
more CDs.
Insert a CD partway into the slot, label side up. The
player pulls it in and the CD should begin playing. If you
want to insert a CD with the ignition off, first press the
Zbutton or the DISP knob.
If the ignition or radio is turned off with a CD in the
player it stays in the player. When the ignition or radio
is turned on, the CD starts to play where it stopped, if it
was the last selected audio source.When the CD is inserted, the CD symbol displays. As
each new track starts to play, the track number displays.
The CD player can play the smaller 3 inch (8 cm)
single CDs with an adapter ring. Full-size CDs and the
smaller CDs are loaded in the same manner.
Care of Your CDs and DVDs
If playing a CD-R, the sound quality can be reduced due
to CD-R or CD-RW quality, the method of recording, the
quality of the music that has been recorded, and the way
the CD-R or CD-RW has been handled. Handle them
carefully. Store CD-R(s) or CD-RW(s) in their original
cases or other protective cases and away from direct
sunlight and dust. The CD or DVD player scans the
bottom surface of the disc. If the surface of a CD is
damaged, such as cracked, broken, or scratched, the CD
does not play properly or not at all. Do not touch the
bottom side of a CD while handling it; this could damage
the surface. Pick up CDs by grasping the outer edges or
the edge of the hole and the outer edge.
If the surface of a CD is soiled, take a soft, lint free
cloth or dampen a clean, soft cloth in a mild, neutral
detergent solution mixed with water, and clean it.
Make sure the wiping process starts from the center
to the edge.
4-68
Page 220 of 424
Order of Play
Tracks recorded to the CD-R or CD-RW are played in
the following order:
•Play begins from the first track in the first playlist
and continues sequentially through all tracks in
each playlist. When the last track of the last playlist
has played, play continues from the first track of
the first playlist.
•Play begins from the first track in the first folder and
continues sequentially through all tracks in each
folder. When the last track of the last folder
has played, play continues from the first track of the
first folder.
When play enters a new folder, the display does not
automatically show the new folder name unless
you have chosen the folder mode as the default display.
The new track name displays.
File System and Naming
The song name that displays is the song name that is
contained in the ID3 tag. If the song name is not present
in the ID3 tag, then the radio displays the file name
without the extension (such as .mp3) as the track name.
Track names longer than 32 characters or four pages
are shortened. Parts of words on the last page of
text and the extension of the filename does not display.
Preprogrammed Playlists
Preprogrammed playlists that were created using
WinAmp™, MusicMatch™, or Real Jukebox™ software
can be accessed, however, they cannot be edited
using the radio. These playlists are treated as special
folders containing compressed audio song files.
Playing an MP3
Insert a CD-R or CD-RW partway into the slot (Single
CD Player), or press the load button and wait for
the message to insert disc (Six-Disc CD Player), label
side up. The player pulls it in, and the CD-R or CD-RW
should begin playing.
If the ignition or radio is turned off with a CD-R or
CD-RW in the player, it stays in the player. When the
ignition or radio is turned on, the CD-R or CD-RW starts
to play where it stopped, if it was the last selected
audio source.
As each new track starts to play, the track number and
song title displays.
ZEJECT:Press this button to eject CD-R(s) or
CD-RW(s). To eject the CD-R or CD-RW that is currently
playing, press and release this button. A beep sounds
and Ejecting Disc displays. Once the disc is ejected,
Remove Disc displays. The CD-R or CD-RW can be
removed. If the CD-R or CD-RW is not removed, after
several seconds, the CD-R or CD-RW automatically pulls
back into the player and begins playing.
4-74
Page 330 of 424

TPMS Sensor Matching Process
Each TPMS sensor has a unique identification code.
Any time you rotate your vehicle’s tires or replace one or
more of the TPMS sensors, the identification codes
will need to be matched to the new tire/wheel position.
The sensors are matched to the tire/wheel positions
in the following order: driver side front tire, passenger
side front tire, passenger side rear tire, and driver
side rear tire using a TPMS diagnostic tool. See your
dealer/retailer for service.
The TPMS sensors can also be matched to each
tire/wheel position by increasing or decreasing the tire’s
air pressure. If increasing the tire’s air pressure, do
not exceed the maximum inflation pressure indicated on
the tire’s sidewall.
To decrease air-pressure out of a tire you can use the
pointed end of the valve cap, a pencil-style air pressure
gage, or a key.
You have two minutes to match the first tire/wheel
position, and five minutes overall to match all four tire/
wheel positions. If it takes longer than two minutes,
to match the first tire and wheel, or more than
five minutes to match all four tire and wheel positions
the matching process stops and you need to start over.The TPMS sensor matching process is outlined below:
1. Set the parking brake.
2. Turn the ignition switch to ON/RUN with the
engine off.
3. Press the Remote Keyless Entry (RKE) transmitter’s
LOCK and UNLOCK buttons at the same time for
approximately five seconds. The horn sounds twice
to signal the receiver is in relearn mode and
TIRE LEARNING ACTIVE message displays on the
DIC screen.
If your vehicle does not have RKE, press the Driver
Information Center (DIC) vehicle information
button until the PRESS
VTO RELEARN TIRE
POSITIONS message displays. The horn sounds
twice to signal the receiver is in relearn mode
and TIRE LEARNING ACTIVE message displays on
the DIC screen.
If your vehicle does not have RKE or DIC buttons,
press the trip odometer reset stem located on
the instrument panel cluster until the PRESS
VTO
RELEARN TIRE POSITIONS message displays.
The horn sounds twice to signal the receiver
is in relearn mode and TIRE LEARNING ACTIVE
message displays on the DIC screen.
4. Start with the driver side front tire.
6-68