2010 GMC CANYON horn
[x] Cancel search: hornPage 188 of 448

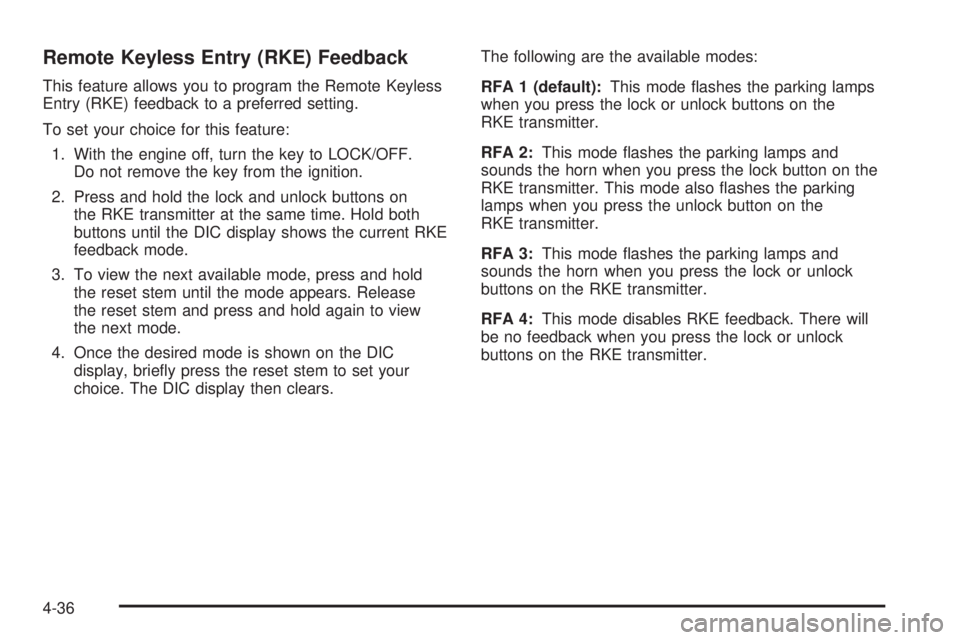
Remote Keyless Entry (RKE) Feedback
This feature allows you to program the Remote Keyless
Entry (RKE) feedback to a preferred setting.
To set your choice for this feature:
1. With the engine off, turn the key to LOCK/OFF.
Do not remove the key from the ignition.
2. Press and hold the lock and unlock buttons on
the RKE transmitter at the same time. Hold both
buttons until the DIC display shows the current RKE
feedback mode.
3. To view the next available mode, press and hold
the reset stem until the mode appears. Release
the reset stem and press and hold again to view
the next mode.
4. Once the desired mode is shown on the DIC
display, briefly press the reset stem to set your
choice. The DIC display then clears.The following are the available modes:
RFA 1 (default):This mode flashes the parking lamps
when you press the lock or unlock buttons on the
RKE transmitter.
RFA 2:This mode flashes the parking lamps and
sounds the horn when you press the lock button on the
RKE transmitter. This mode also flashes the parking
lamps when you press the unlock button on the
RKE transmitter.
RFA 3:This mode flashes the parking lamps and
sounds the horn when you press the lock or unlock
buttons on the RKE transmitter.
RFA 4:This mode disables RKE feedback. There will
be no feedback when you press the lock or unlock
buttons on the RKE transmitter.
4-36
Page 235 of 448

•Attach a flag to the vehicle to be more visible to
approaching traffic on trails or hills.
•Sound the horn as you approach the top of the hill
to let opposing traffic know you are there.
•Use headlamps even during the day to make the
vehicle more visible to oncoming traffic.
{WARNING:
Driving to the top (crest) of a hill at full speed can
cause an accident. There could be a drop-off,
embankment, cliff, or even another vehicle. You
could be seriously injured or killed. As you near
the top of a hill, slow down and stay alert.If the vehicle stalls, or is about to stall, and you cannot
make it up the hill:
•Push the brake pedal to stop the vehicle and keep
it from rolling backwards and apply the parking
brake.
•If the engine is still running, shift the transmission to
R (Reverse), release the parking brake, and slowly
back down the hill in R (Reverse).
•If the engine has stopped running, you need to
restart it. With the brake pedal pressed and the
parking brake still applied, shift the automatic
transmission to P (Park) or the manual transmission
to Neutral and restart the engine. Then, shift to
R (Reverse), release the parking brake, and slowly
back down the hill as straight as possible in
R (Reverse).
•While backing down the hill, put your left hand on the
steering wheel at the 12 o’clock position so you can
tell if the wheels are straight and can maneuver as
you back down. It is best to back down the hill with
the wheels straight rather than in the left or right
direction. Turning the wheel too far to the left or right
will increase the possibility of a rollover.
5-19
Page 346 of 448

The TPMS sensor matching procedure is outlined
below:
1. Set the parking brake.
2. Turn the ignition switch to ON/RUN with the
engine off.
3. Turn the exterior lamp switch from AUTO to OFF
four times within three seconds. A double horn chirp
will sound and the TPMS low tire warning light starts
flashing. The double horn chirp and flashing TPMS
warning light indicates the TPMS matching process
has started. The TPMS warning light should continue
flashing throughout the matching procedure.
The LOW TIRE message displays on the Driver
Information Center (DIC).
4. Start with the driver side front tire.
5. Remove the valve cap from the valve cap stem.
Activate the TPMS sensor by increasing or
decreasing the tire’s air pressure for 10 seconds,
then stop and listen for a single horn chirp. The
single horn chirp should sound within 15 seconds,
confirming that the sensor identification code has
been matched to this tire and wheel position. If you
do not hear the confirming single horn chirp, turn the
ignition switch to LOCK and start over beginning with
Step 2.6. Proceed to the passenger side front tire, and repeat
the procedure in Step 5.
7. Proceed to the passenger side rear tire, and repeat
the procedure in Step 5.
8. Proceed to the driver side rear tire, and repeat the
procedure in Step 5.
9. After hearing the confirming horn chirp for the driver
side rear tire, check to see if the TPMS low tire
warning light and the DIC LOW TIRE messages
have turned off. If yes, the TPMS sensors have been
relearned. Turn the ignition switch to LOCK/OFF.
If the low tire warning light and the SERV TPM
message on the DIC are on after completing Step 5
for the driver side rear tire, the sensor relearn
process has not been successful. Turn the ignition
switch to LOCK/OFF and repeat the matching
process beginning with Step 2.
10. Set all four tires to the recommended air pressure
level as indicated on the Tire and Loading
Information label.
11. Put the valve caps back on the valve stems.
6-70
Page 391 of 448

Fuses Usage
FRT PRK
LAMPFront Park/Turn Lamps, Driver and
Passenger Side Power Window
Switches Lighting
FRT/AXLE Front Axle Actuator
FSCM Fuel System Control Module
BACKUP LAMP Backup Lamp
HORN Horn
HTD/SEAT Heated Seat (If Equipped)
IGNIgnition, Clutch Starter Switch,
Neutral Safety Back-Up Switch,
Ignition Coils 1-5, Air Conditioning
Relay
INJ Injectors
LT HDLP Driver Side Headlamp
PCM B Power Control Module (PCM) B
PCMI Power Control Module (PCM)
PWR/SEATPower Seat Circuit Breaker
(If Equipped)
PWR/WNDW Power Windows (If Equipped)
RDO RadioFuses Usage
REAR PRK
LAMPRear Parking Lamp 1, Passenger
Side Taillamp, License Plate Lamps
REAR PRK
LAMP2Driver Side Rear Taillamp,
Passenger Side Airbag Indicator
Lighting, Instrument Panel Dimming
Power (2WD/4WD switch lighting)
RT HDLP Passenger Side Headlamp
RVC Regulated Voltage Control
S/ROOF Sunroof (If Equipped)
STOP Stop Lamps
STRTR Starter Solenoid Relay
TBC Truck Body Controller
TCM Transmission Control Module
TCCM Transfer Case Control Module
TRAILER
BRAKETrailer Brake
TRANS Transmission Solenoid
TRN/HAZRD
FRTTurn/Hazard/Courtesy/Cargo
Lamps/Mirrors
TRN/HAZRD
REARRear Turn/Hazard Lights
6-115
Page 392 of 448

Fuses Usage
VSES/STOPVehicle Stability Enhancement
System/STOP
WPR Wiper
WSW Wiper/Washer Switch
Relays Usage
A/C CMPRSR Air Conditioning Compressor
BEAM SEL Beam Selection
DRL Daylight Running Lamps
FOG/LAMP Fog Lamps (If Equipped)
BK UP LP Back Up Lamp
HDLP Headlamps
HORN Horn
IGN 3 HVACIgnition 3, Climate Control,
Climate Control Head Fuse,
Power Seat Fuse
PRK/LAMPFront Parking Lamp Fuse,
Rear Parking Lamps
PWR/TRNPowertrain, Electronic Throttle
Control Fuse, Oxygen Sensor Fuse
Relays Usage
RAPRetained Accessory Power
(Power Window Fuse,
Wiper/Washer Switch Fuse),
Sunroof Fuse
RUN/CRNKRun/Crank, Airbag System Fuse,
Cruise Control Fuse, Ignition Fuse,
Back-Up Lamps, ABS Fuse, Front
Axle, PCM-1, Injectors Fuse,
Transmission Fuse, ERLS
STRTR Starter Relay (PCM Relay)
VSESVehicle Stability Enhancement
System
WPR Wipers (On/Off)
WPR 2 Wiper 2 (High/Low)
Miscellaneous Usage
A/C CLTCH Diode — Air Conditioning, Clutch
MEGA FUSE Mega Fuse
WPR Diode — Wiper
6-116
Page 438 of 448

Hill and Mountain Roads..................................5-28
Hitches..........................................................5-55
Hood
Checking Things Under................................6-10
Release.....................................................6-11
Horn ............................................................... 4-3
How OnStar Service Works..............................1-21
How to Add Automatic Transmission Fluid..........6-24
How to Add Coolant to the Radiator..................6-32
How to Add Fluid............................................6-26
How to Check........................................6-25, 6-65
How to Check and Add Fluid............................6-27
How to Check Automatic Transmission Fluid.......6-22
How to Check Lubricant..........................6-47, 6-49
How to Check Power Steering Fluid..................6-37
How to Inspect the Engine Air Cleaner/Filter.......6-20
How to Reset the Engine Oil Life System...........6-19
How to Wear Safety Belts Properly...................2-18
How to Add Coolant to the Recovery Tank.............6-32
Hydraulic Clutch.............................................6-26
Hydroplaning..................................................5-26I
If a Crash Occurs...........................................8-13
If No Steam is Coming from the Engine
Compartment..............................................6-36
If Steam is Coming from the Engine
Compartment..............................................6-35
If the Off Indicator is Lit for an Adult-Size
Occupant...................................................2-78
If the On Indicator is Lit for a Child Restraint......2-77
Ignition Positions.............................................3-17
Ignition Transmission Lock Check....................... 7-9
Infants and Young Children, Restraints...............2-38
Inflation - Tire Pressure...................................6-64
Instrument Panel
Brightness..................................................4-13
Cluster.......................................................4-19
Insuring Your Vehicle.......................................8-12
Interior Mirror.................................................1-11
Introduction...................................................... 7-2
8