Page 99 of 378

Retain the original transmitter for use in other vehicles as well as for
future programming procedures (i.e. new HomeLink�equipped vehicle
purchase). It is also suggested that upon the sale of the vehicle, the
programmed Homelink�buttons be erased for security purposes, refer to
Programmingin this section.
Programming
Do not program HomeLink�with the vehicle parked in the garage.
Note:Your vehicle may require the ignition switch to be turned to the
accessory position for programming and/or operation of the HomeLink�.
It is also recommended that a new battery be placed in the hand-held
transmitter of the device being programmed to HomeLink�for quicker
training and accurate transmission of the radio-frequency signal.
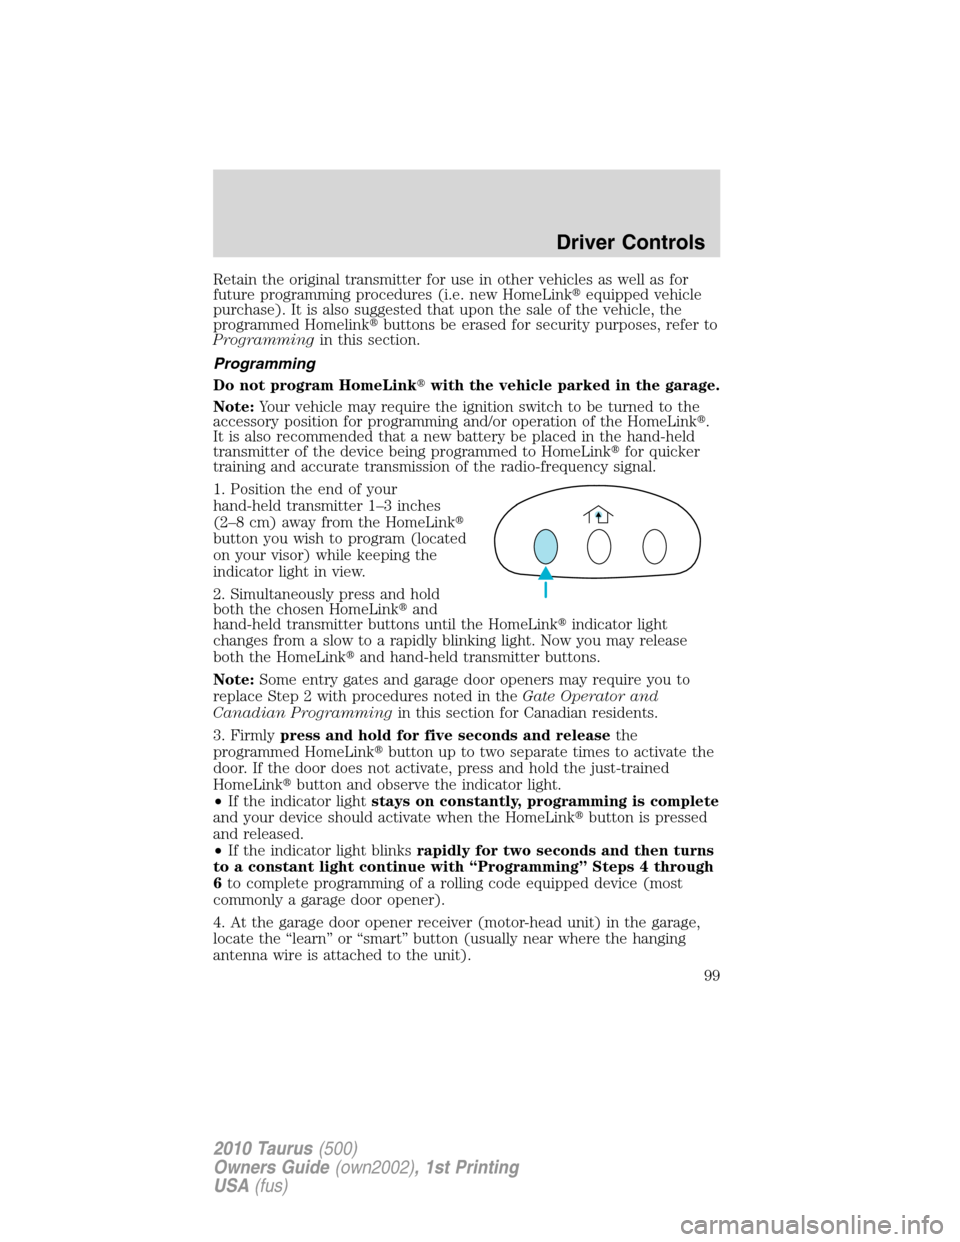
1. Position the end of your
hand-held transmitter 1–3 inches
(2–8 cm) away from the HomeLink�
button you wish to program (located
on your visor) while keeping the
indicator light in view.
2. Simultaneously press and hold
both the chosen HomeLink�and
hand-held transmitter buttons until the HomeLink�indicator light
changes from a slow to a rapidly blinking light. Now you may release
both the HomeLink�and hand-held transmitter buttons.
Note:Some entry gates and garage door openers may require you to
replace Step 2 with procedures noted in theGate Operator and
Canadian Programmingin this section for Canadian residents.
3. Firmlypress and hold for five seconds and releasethe
programmed HomeLink�button up to two separate times to activate the
door. If the door does not activate, press and hold the just-trained
HomeLink�button and observe the indicator light.
•If the indicator lightstays on constantly, programming is complete
and your device should activate when the HomeLink�button is pressed
and released.
•If the indicator light blinksrapidly for two seconds and then turns
to a constant light continue with “Programming” Steps 4 through
6to complete programming of a rolling code equipped device (most
commonly a garage door opener).
4. At the garage door opener receiver (motor-head unit) in the garage,
locate the “learn” or “smart” button (usually near where the hanging
antenna wire is attached to the unit).
Driver Controls
99
2010 Taurus(500)
Owners Guide(own2002), 1st Printing
USA(fus)
Page 100 of 378

5. Firmly press and release the “learn” or “smart” button. (The name and
color of the button may vary by manufacturer.)
Note:There are 30 seconds in which to initiate Step 6.
6. Return to the vehicle and firmlypress, hold for two seconds and
releasethe programmed HomeLink�button. Repeat the
press/hold/releasesequence again and, depending on the brand of the
garage door opener (or other rolling code equipped device), repeat this
sequence a third time to complete the programming.
HomeLink�should now activate your rolling code equipped device. To
program additional HomeLink�buttons begin with Step 1 in this section.
For questions or comments, please contact HomeLink�at
www.homelink.comor1–800–355–3515.
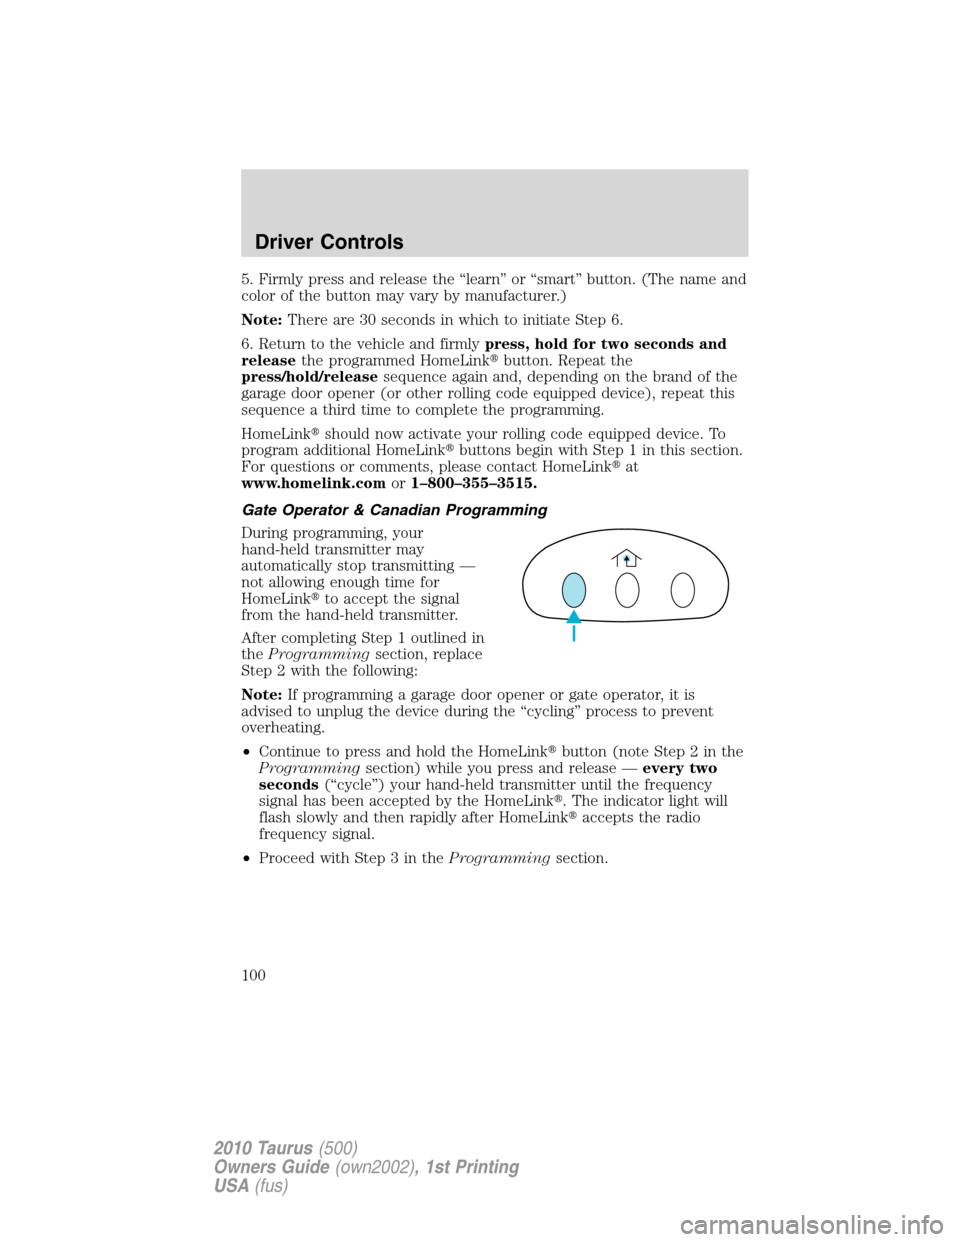
Gate Operator & Canadian Programming
During programming, your
hand-held transmitter may
automatically stop transmitting —
not allowing enough time for
HomeLink�to accept the signal
from the hand-held transmitter.
After completing Step 1 outlined in
theProgrammingsection, replace
Step 2 with the following:
Note:If programming a garage door opener or gate operator, it is
advised to unplug the device during the “cycling” process to prevent
overheating.
•Continue to press and hold the HomeLink�button (note Step 2 in the
Programmingsection) while you press and release —every two
seconds(“cycle”) your hand-held transmitter until the frequency
signal has been accepted by the HomeLink�. The indicator light will
flash slowly and then rapidly after HomeLink�accepts the radio
frequency signal.
•Proceed with Step 3 in theProgrammingsection.
Driver Controls
100
2010 Taurus(500)
Owners Guide(own2002), 1st Printing
USA(fus)
Page 108 of 378
INTERIOR TRUNK CONTROL
The trunk release button is located
on the instrument panel near the
radio. Press the button to open the
trunk.
CARGO AREA FEATURES
Cargo net (if equipped)
The cargo net secures lightweight
objects in the cargo area. Attach the
net to the anchors provided. Do not
put more than 50 lb. (22 kg) in the
net.
WARNING:This net is not
designed to restrain objects
during a collision.
Driver Controls
108
2010 Taurus(500)
Owners Guide(own2002), 1st Printing
USA(fus)
Page 377 of 378

Occupant Classification
Sensor ......................................159
warning light and chime ........166
Safety restraints - LATCH
anchors ......................................194
Safety seats for children ..........190
Safety Compliance
Certification Label ....................364
Satellite Radio (if equipped) .....30
Satellite Radio Information ........44
Seats ..........................................140
child safety seats ....................190
climate control ..................51, 149
easy access/easyout
feature .....................................151
front seats .......................143, 148
heated ..............................147, 157
memory seat ...................122, 150
SecuriCode keyless entry
system ........................................127
SecuriLock passive anti-theft
system ........................................129
Servicing your vehicle ..............326
Setting the clock .........................31
SOS Post Crash Alert ...............185
Spare tire
(see Changing the Tire) ...........290
Spark plugs,
specifications .....................359, 363
Specification chart,
lubricants ...................................360
Speed control ..............................84
Starting your vehicle ........234–236
jump starting ..........................304
push button start system .......237Steering wheel
controls ......................................95
tilting .........................................74
Stereo
6-CD in dash .............................30
CD-MP3 .....................................30
SYNC�..........................................47
T
Temporary mobility kit .............294
Tilt steering wheel ......................74
Tire Pressure Monitoring
System (TPMS)
Roadside Emergencies ...........287
Tires, Wheels and Loading ....218
Tires ...........................203–204, 287
alignment ................................211
care ..........................................207
changing ..........................287, 290
checking the pressure ............207
inflating ...................................205
label .........................................217
replacing ..................................209
rotating ....................................211
safety practices .......................210
sidewall information ...............213
snow tires and chains ............222
spare tire .................................288
Temporary mobility kit ..........294
terminology .............................204
tire grades ...............................204
treadwear ........................203, 208
Towing .......................................230
recreational towing .................232
trailer towing ..........................230
wrecker ....................................309
Transaxle
fluid, refill capacities ..............360
lubricant specifications ..........360
Index
377
2010 Taurus(500)
Owners Guide(own2002), 1st Printing
USA(fus)