2010 FORD SUPER DUTY transmission
[x] Cancel search: transmissionPage 264 of 407
WARNING:If you smell exhaust fumes inside your vehicle, have
your dealer inspect your vehicle immediately. Do not drive if you
smell exhaust fumes.
Important safety precautions
When the engine starts, the idle RPM runs faster to warm the engine. If
the engine idle speed does not slow down automatically, have the vehicle
checked. If your vehicle is operated in a heavy snow storm or blowing
snow conditions, the engine air induction may become partially clogged
with snow and/or ice. If this occurs, the engine may experience a
significant reduction in power output. At the earliest opportunity, clear
all the snow and/or ice away from the air induction inlet. The following
starting instructions are for vehicles equipped with a gasoline engine; if
your vehicle is equipped with a Diesel engine, refer toStarting the
enginein your6.0 and 6.4 Liter Power Stroke Direct Injection Turbo
Diesel Owner’s Guide Supplement.
Before starting the vehicle:
1. Make sure all occupants buckle their safety belts. For more
information on safety belts and their proper usage, refer to theSeating
and Safety Restraintschapter.
2. Make sure the headlamps and electrical accessories are off.
If starting a vehicle with an automatic transmission:
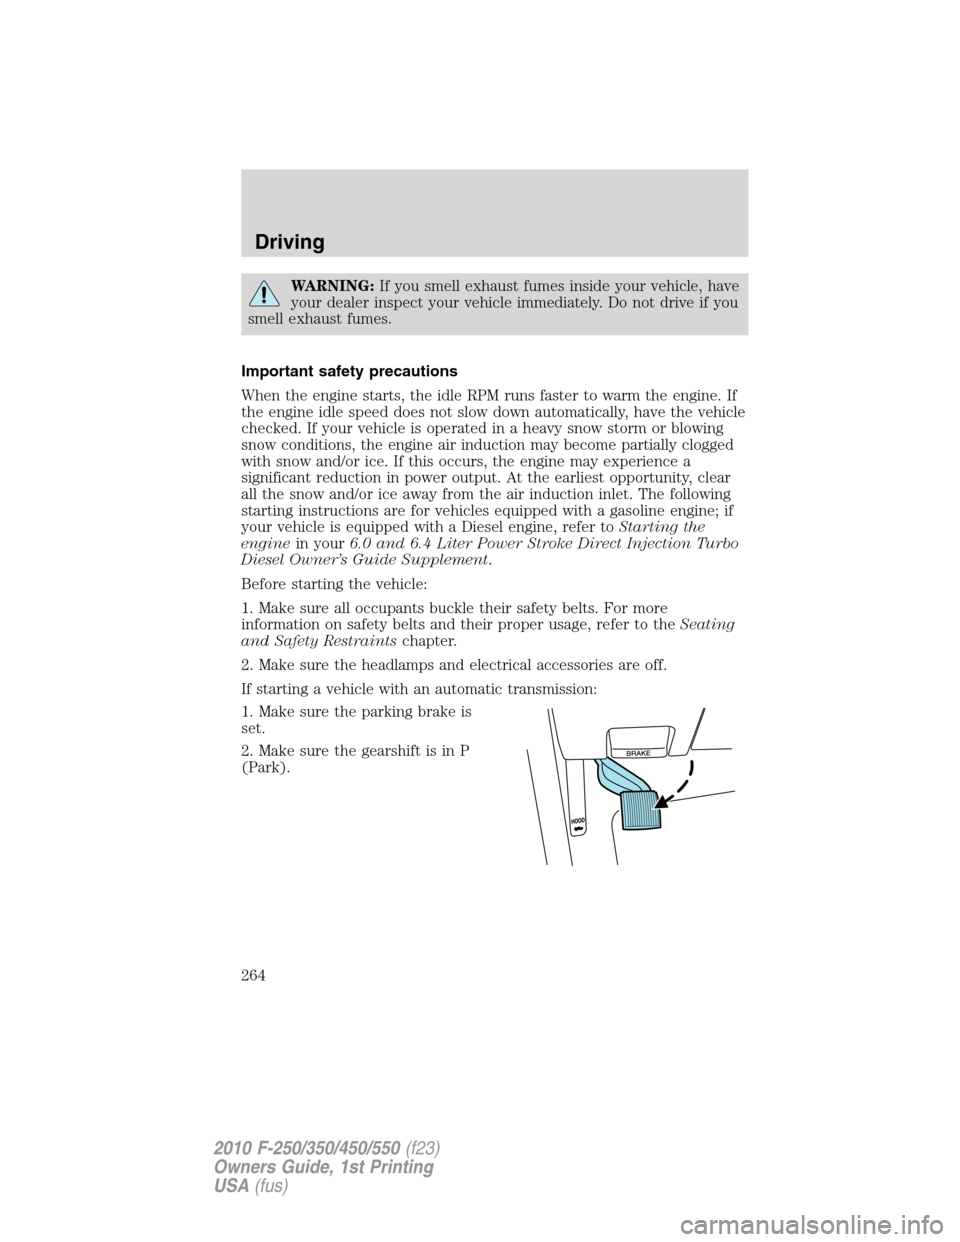
1. Make sure the parking brake is
set.
2. Make sure the gearshift is in P
(Park).
Driving
264
2010 F-250/350/450/550(f23)
Owners Guide, 1st Printing
USA(fus)
Page 265 of 407
If starting a vehicle with a manual
transmission:
1. Make sure the parking brake is
set.
2. Push the clutch pedal to the floor.
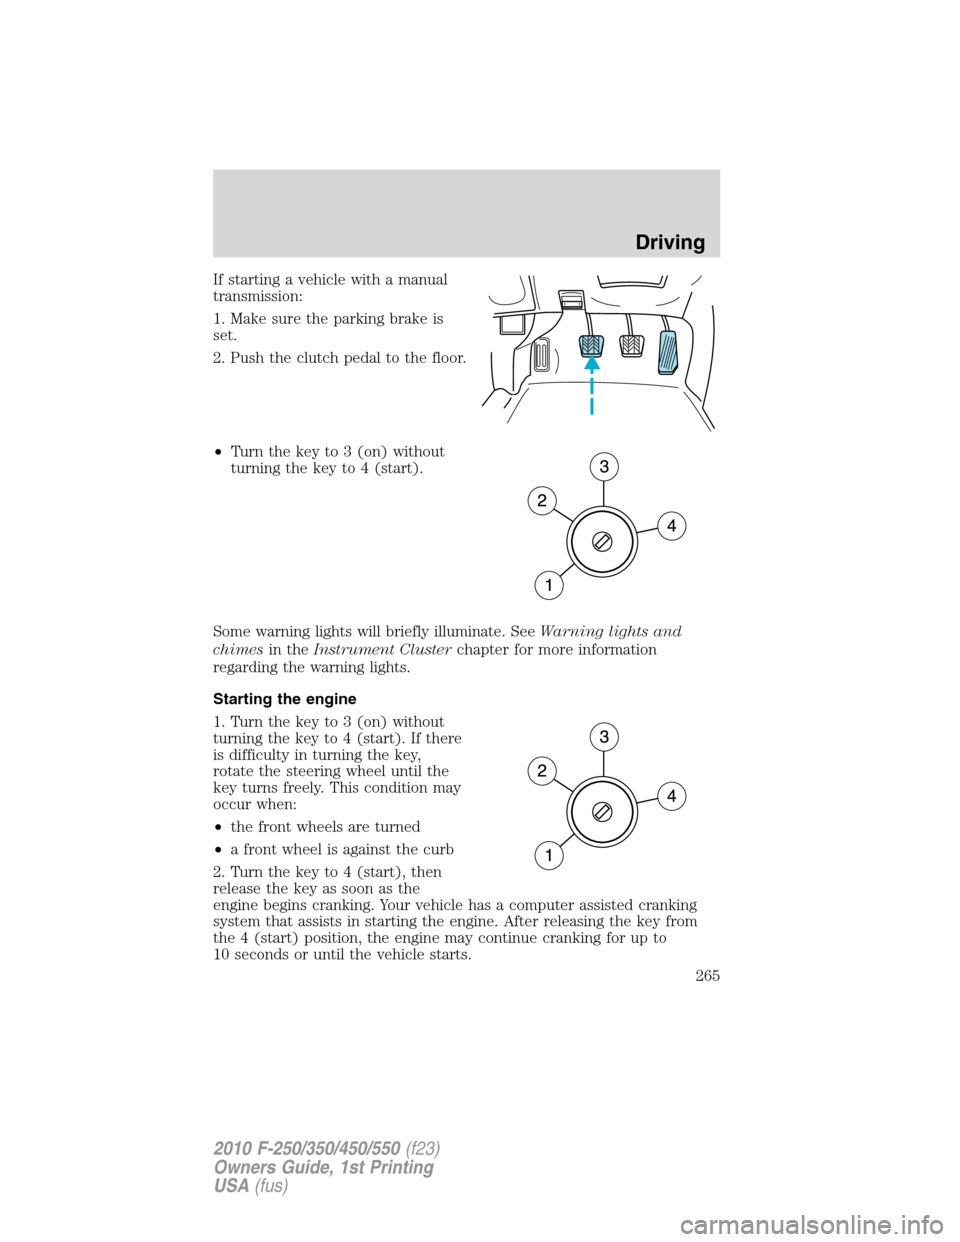
•Turn the key to 3 (on) without
turning the key to 4 (start).
Some warning lights will briefly illuminate. SeeWarning lights and
chimesin theInstrument Clusterchapter for more information
regarding the warning lights.
Starting the engine
1. Turn the key to 3 (on) without
turning the key to 4 (start). If there
is difficulty in turning the key,
rotate the steering wheel until the
key turns freely. This condition may
occur when:
•the front wheels are turned
•a front wheel is against the curb
2. Turn the key to 4 (start), then
release the key as soon as the
engine begins cranking. Your vehicle has a computer assisted cranking
system that assists in starting the engine. After releasing the key from
the 4 (start) position, the engine may continue cranking for up to
10 seconds or until the vehicle starts.
Driving
265
2010 F-250/350/450/550(f23)
Owners Guide, 1st Printing
USA(fus)
Page 270 of 407
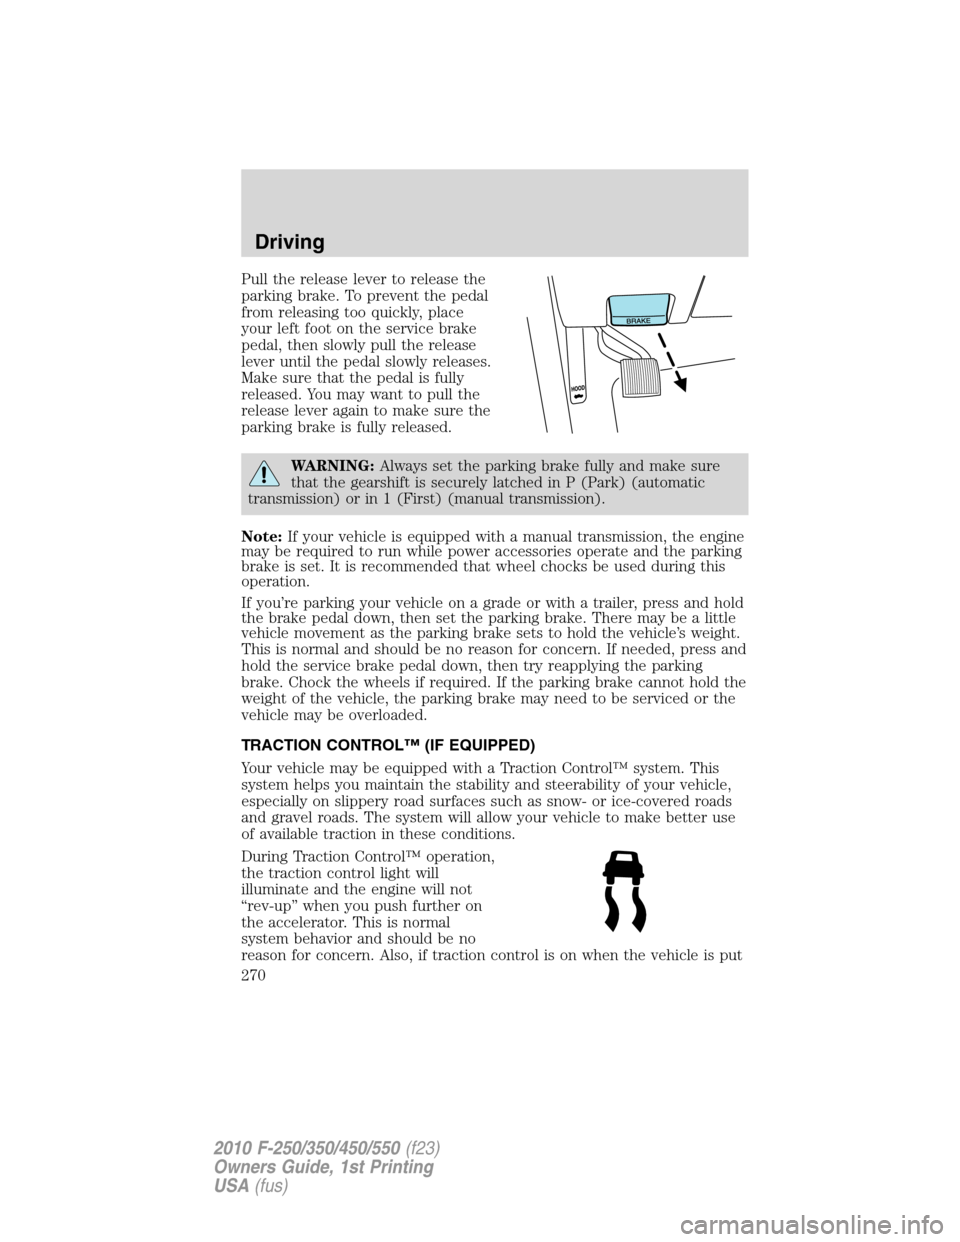
Pull the release lever to release the
parking brake. To prevent the pedal
from releasing too quickly, place
your left foot on the service brake
pedal, then slowly pull the release
lever until the pedal slowly releases.
Make sure that the pedal is fully
released. You may want to pull the
release lever again to make sure the
parking brake is fully released.
WARNING:Always set the parking brake fully and make sure
that the gearshift is securely latched in P (Park) (automatic
transmission) or in 1 (First) (manual transmission).
Note:If your vehicle is equipped with a manual transmission, the engine
may be required to run while power accessories operate and the parking
brake is set. It is recommended that wheel chocks be used during this
operation.
If you’re parking your vehicle on a grade or with a trailer, press and hold
the brake pedal down, then set the parking brake. There may be a little
vehicle movement as the parking brake sets to hold the vehicle’s weight.
This is normal and should be no reason for concern. If needed, press and
hold the service brake pedal down, then try reapplying the parking
brake. Chock the wheels if required. If the parking brake cannot hold the
weight of the vehicle, the parking brake may need to be serviced or the
vehicle may be overloaded.
TRACTION CONTROL™ (IF EQUIPPED)
Your vehicle may be equipped with a Traction Control™ system. This
system helps you maintain the stability and steerability of your vehicle,
especially on slippery road surfaces such as snow- or ice-covered roads
and gravel roads. The system will allow your vehicle to make better use
of available traction in these conditions.
During Traction Control™ operation,
the traction control light will
illuminate and the engine will not
“rev-up” when you push further on
the accelerator. This is normal
system behavior and should be no
reason for concern. Also, if traction control is on when the vehicle is put
Driving
270
2010 F-250/350/450/550(f23)
Owners Guide, 1st Printing
USA(fus)
Page 275 of 407
AUTOMATIC TRANSMISSION OPERATION (IF EQUIPPED)
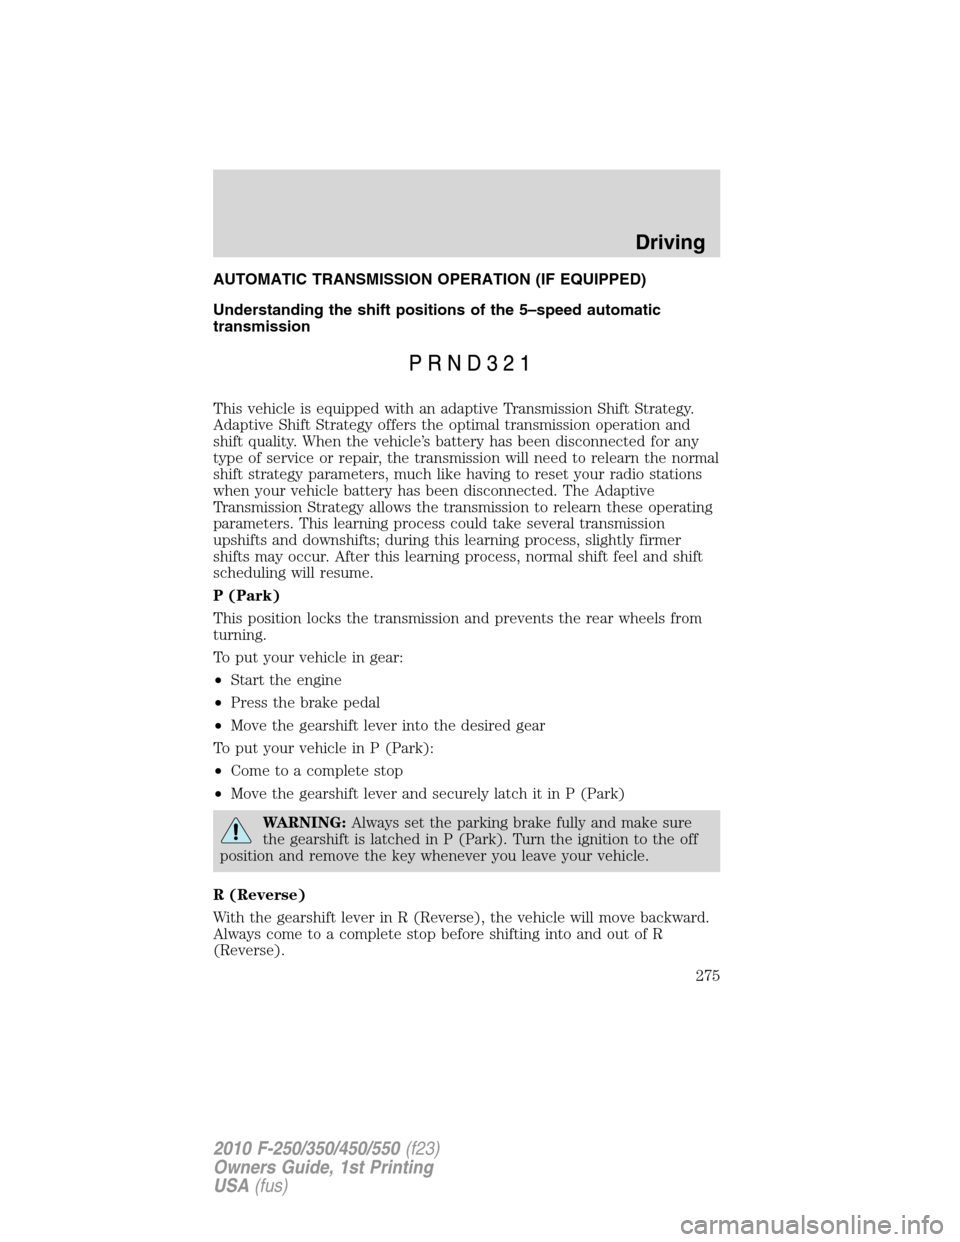
Understanding the shift positions of the 5–speed automatic
transmission
This vehicle is equipped with an adaptive Transmission Shift Strategy.
Adaptive Shift Strategy offers the optimal transmission operation and
shift quality. When the vehicle’s battery has been disconnected for any
type of service or repair, the transmission will need to relearn the normal
shift strategy parameters, much like having to reset your radio stations
when your vehicle battery has been disconnected. The Adaptive
Transmission Strategy allows the transmission to relearn these operating
parameters. This learning process could take several transmission
upshifts and downshifts; during this learning process, slightly firmer
shifts may occur. After this learning process, normal shift feel and shift
scheduling will resume.
P (Park)
This position locks the transmission and prevents the rear wheels from
turning.
To put your vehicle in gear:
•Start the engine
•Press the brake pedal
•Move the gearshift lever into the desired gear
To put your vehicle in P (Park):
•Come to a complete stop
•Move the gearshift lever and securely latch it in P (Park)
WARNING:Always set the parking brake fully and make sure
the gearshift is latched in P (Park). Turn the ignition to the off
position and remove the key whenever you leave your vehicle.
R (Reverse)
With the gearshift lever in R (Reverse), the vehicle will move backward.
Always come to a complete stop before shifting into and out of R
(Reverse).
Driving
275
2010 F-250/350/450/550(f23)
Owners Guide, 1st Printing
USA(fus)
Page 276 of 407
N (Neutral)
With the gearshift lever in N (Neutral), the vehicle can be started and is
free to roll. Hold the brake pedal down while in this position.
D (Overdrive) with Tow/Haul OFF
D (Overdrive) with Tow/Haul OFF is the normal driving position for the
best fuel economy. The overdrive function allows automatic upshifts and
downshifts through gears one through five.
D (Overdrive) with Tow/Haul ON
The Tow/Haul feature improves transmission operation when towing a
trailer or a heavy load. All transmission gear ranges are available when
using Tow/Haul.
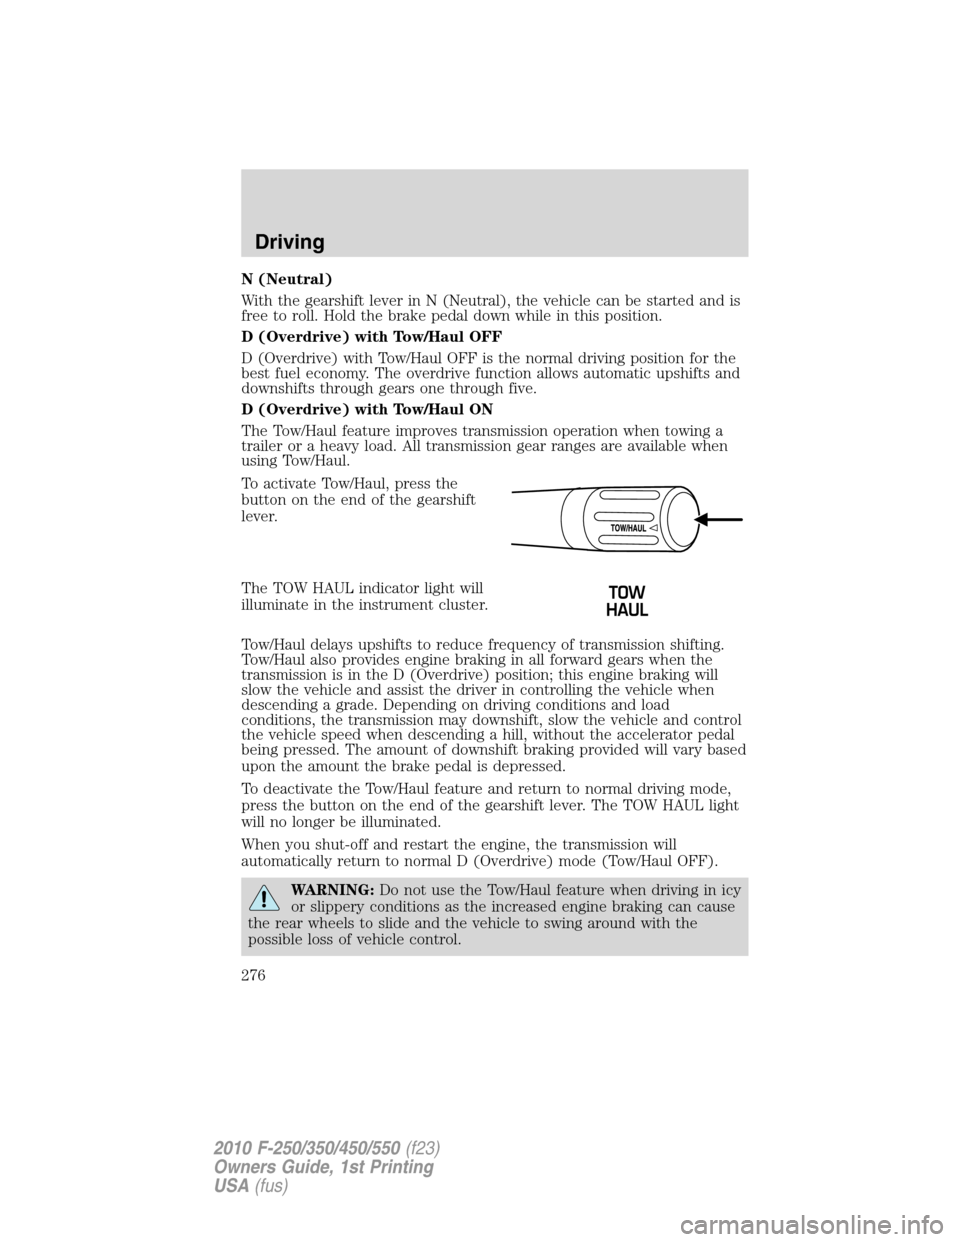
To activate Tow/Haul, press the
button on the end of the gearshift
lever.
The TOW HAUL indicator light will
illuminate in the instrument cluster.
Tow/Haul delays upshifts to reduce frequency of transmission shifting.
Tow/Haul also provides engine braking in all forward gears when the
transmission is in the D (Overdrive) position; this engine braking will
slow the vehicle and assist the driver in controlling the vehicle when
descending a grade. Depending on driving conditions and load
conditions, the transmission may downshift, slow the vehicle and control
the vehicle speed when descending a hill, without the accelerator pedal
being pressed. The amount of downshift braking provided will vary based
upon the amount the brake pedal is depressed.
To deactivate the Tow/Haul feature and return to normal driving mode,
press the button on the end of the gearshift lever. The TOW HAUL light
will no longer be illuminated.
When you shut-off and restart the engine, the transmission will
automatically return to normal D (Overdrive) mode (Tow/Haul OFF).
WARNING:Do not use the Tow/Haul feature when driving in icy
or slippery conditions as the increased engine braking can cause
the rear wheels to slide and the vehicle to swing around with the
possible loss of vehicle control.
Driving
276
2010 F-250/350/450/550(f23)
Owners Guide, 1st Printing
USA(fus)
Page 277 of 407

3 (Third)
Transmission starts and operates in third gear only.
Used for improved traction on slippery roads. Selecting 3 (Third)
provides engine braking.
2 (Second)
Use 2 (Second) to start-up on slippery roads or to provide additional
engine braking on downgrades.
1 (First)
•Provides maximum engine braking.
•Allows upshifts by moving gearshift lever.
•The transmission will not downshift into 1 (First) at high speeds; it
will downshift to a lower gear and then shift into 1 (First) when the
vehicle reaches slower speeds.
Forced downshifts
•Allowed in D (Overdrive) or D (Drive).
•Press the accelerator to the floor.
•Allows transmission to select an appropriate gear.
If your vehicle gets stuck in mud or snow
If your vehicle gets stuck in mud or snow, it may be rocked out by
shifting between forward and reverse gears, stopping between shifts in a
steady pattern. Press lightly on the accelerator in each gear.
Do not rock the vehicle if the engine is not at normal operating
temperature or damage to the transmission may occur.
Do not rock the vehicle for more than a minute or damage to the
transmission and tires may occur, or the engine may overheat.
Driving
277
2010 F-250/350/450/550(f23)
Owners Guide, 1st Printing
USA(fus)
Page 278 of 407

MANUAL TRANSMISSION OPERATION (IF EQUIPPED)
Using the clutch
Manual transmission vehicles have a starter interlock that prevents
cranking the engine unless the clutch pedal is fully pressed.
To start the vehicle:
1. Make sure the parking brake is fully set.
2. Press the clutch pedal to the floor, then put the gearshift lever in the
neutral position.
3. Start the engine.
4. Press the brake pedal and move the gearshift lever to the desired
gear; 1 (First) or R (Reverse).
5. Release the parking brake, then slowly release the clutch pedal while
slowly pressing on the accelerator.
During each shift, the clutch pedal must be fully pressed to the floor.
Make sure the floor mat is properly positioned so it doesn’t interfere with
the full extension of the clutch pedal.
Failure to fully press the clutch pedal to the floor may cause
increased shift efforts, prematurely wear transmission
components or damage the transmission.
Do not drive with your foot resting on the clutch pedal or use the
clutch pedal to hold your vehicle at a standstill while waiting on a
hill. These actions will severely reduce the life of the clutch and
could nullify a clutch warranty claim.
Recommended shift speeds
Do not overspeed the engine when going downhill or steep grades. If
equipped, use the tachometer and do not allow engine speed to exceed
the redline area. Operating the engine beyond the recommended speeds
can cause severe engine damage.
1
24 R
L3D
Driving
278
2010 F-250/350/450/550(f23)
Owners Guide, 1st Printing
USA(fus)
Page 279 of 407
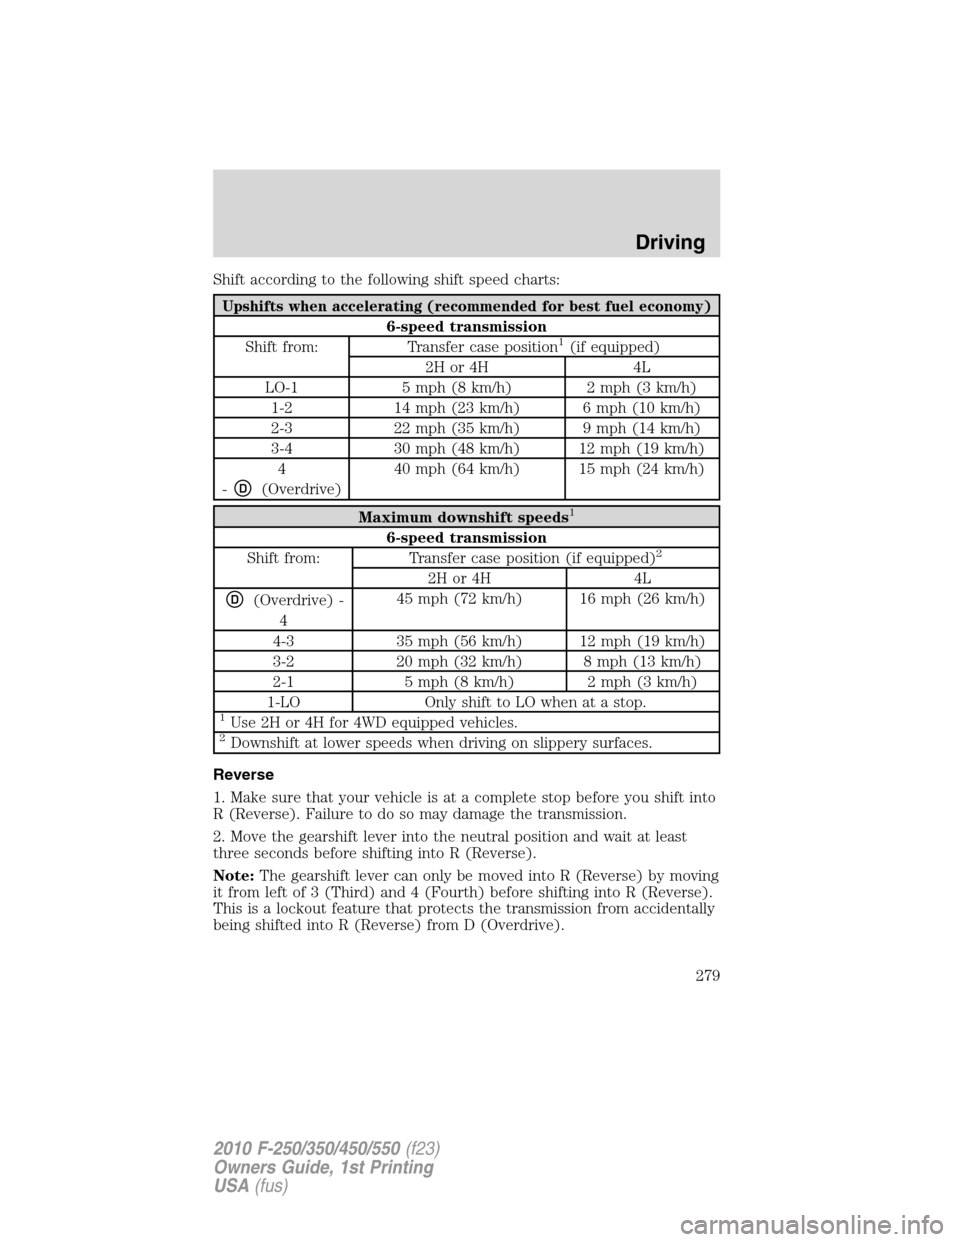
Shift according to the following shift speed charts:
Upshifts when accelerating (recommended for best fuel economy)
6-speed transmission
Shift from: Transfer case position1(if equipped)
2H or 4H 4L
LO-1 5 mph (8 km/h) 2 mph (3 km/h)
1-2 14 mph (23 km/h) 6 mph (10 km/h)
2-3 22 mph (35 km/h) 9 mph (14 km/h)
3-4 30 mph (48 km/h) 12 mph (19 km/h)
4
-
D(Overdrive)40 mph (64 km/h) 15 mph (24 km/h)
Maximum downshift speeds1
6-speed transmission
Shift from: Transfer case position (if equipped)2
2H or 4H 4L
D(Overdrive) -
445 mph (72 km/h) 16 mph (26 km/h)
4-3 35 mph (56 km/h) 12 mph (19 km/h)
3-2 20 mph (32 km/h) 8 mph (13 km/h)
2-1 5 mph (8 km/h) 2 mph (3 km/h)
1-LO Only shift to LO when at a stop.
1Use 2H or 4H for 4WD equipped vehicles.2Downshift at lower speeds when driving on slippery surfaces.
Reverse
1. Make sure that your vehicle is at a complete stop before you shift into
R (Reverse). Failure to do so may damage the transmission.
2. Move the gearshift lever into the neutral position and wait at least
three seconds before shifting into R (Reverse).
Note:The gearshift lever can only be moved into R (Reverse) by moving
it from left of 3 (Third) and 4 (Fourth) before shifting into R (Reverse).
This is a lockout feature that protects the transmission from accidentally
being shifted into R (Reverse) from D (Overdrive).
Driving
279
2010 F-250/350/450/550(f23)
Owners Guide, 1st Printing
USA(fus)