2010 FORD SUPER DUTY child restraint
[x] Cancel search: child restraintPage 198 of 407
training to ensure that all children ages 0 to 16 are properly restrained in
the correct restraint system. Ford recommends checking with a NHTSA
Certified Child Passenger Safety Technician (CPST) and your
pediatrician to make sure your seat is appropriate for your child and
properly installed in the vehicle. To locate a child seat fitting station and
CPST contact the NHTSA toll free at1-888-327-4236or on the internet
at http://www.nhtsa.dot.gov.
Follow all the safety restraint and airbag precautions that apply to adult
passengers in your vehicle.
If the child is the proper height, age, and weight (as specified by your
child safety seat or booster manufacturer), fits the restraint and can be
restrained properly, then restrain the child in the child safety seat or
with the belt-positioning booster. Remember that child seats and
belt-positioning boosters vary and may be designed to fit children of
different heights, ages and weights. Children who are too large for child
safety seats or belt-positioning boosters (as specified by your child safety
seat manufacturer) should always properly wear safety belts.
SAFETY SEATS FOR CHILDREN
Infant and/or toddler seats
Use a safety seat that is recommended for the size and weight of the child.
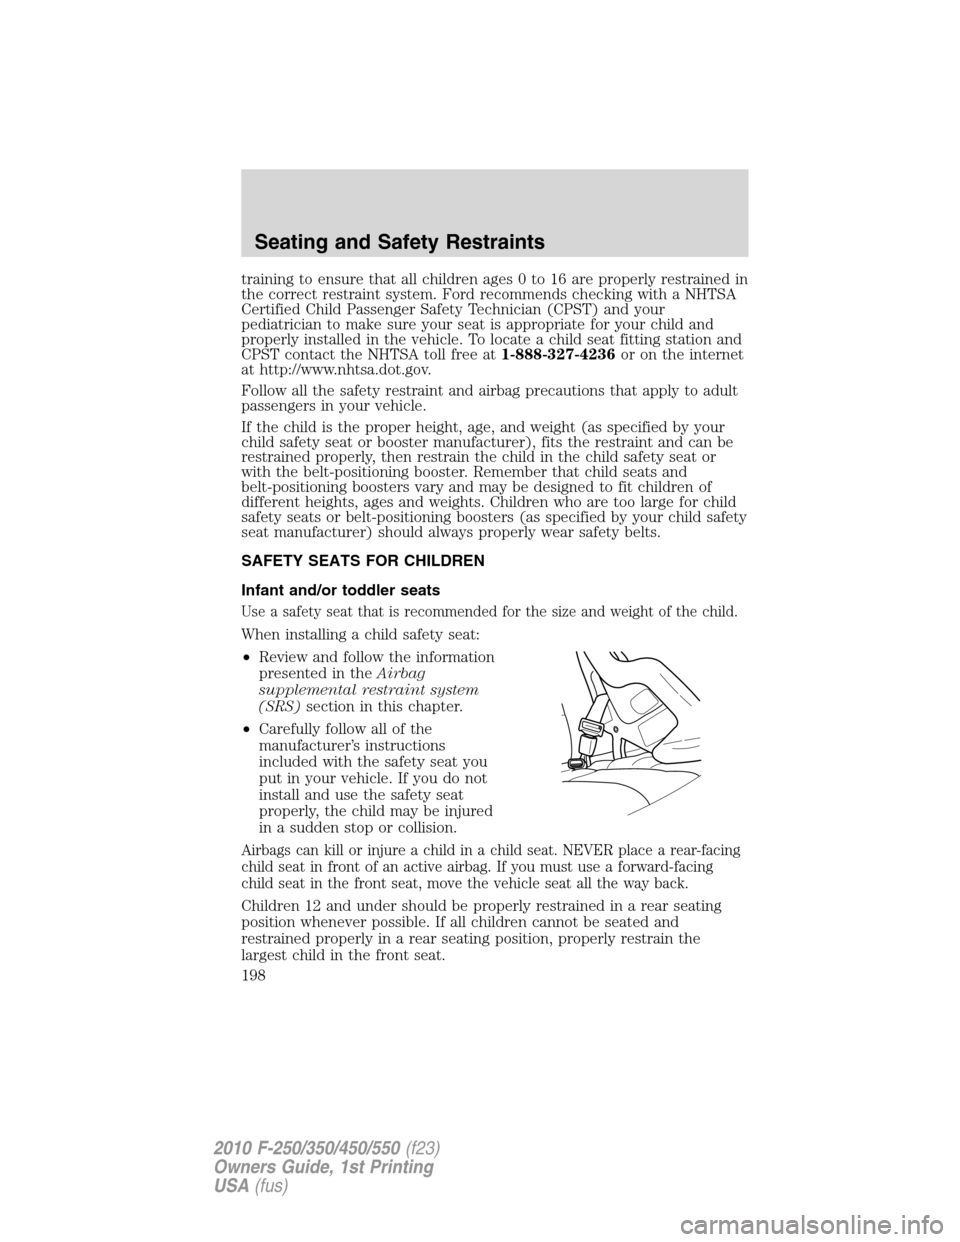
When installing a child safety seat:
•Review and follow the information
presented in theAirbag
supplemental restraint system
(SRS)section in this chapter.
•Carefully follow all of the
manufacturer’s instructions
included with the safety seat you
put in your vehicle. If you do not
install and use the safety seat
properly, the child may be injured
in a sudden stop or collision.
Airbags can kill or injure a child in a child seat. NEVER place a rear-facing
child seat in front of an active airbag. If you must use a forward-facing
child seat in the front seat, move the vehicle seat all the way back.
Children 12 and under should be properly restrained in a rear seating
position whenever possible. If all children cannot be seated and
restrained properly in a rear seating position, properly restrain the
largest child in the front seat.
Seating and Safety Restraints
198
2010 F-250/350/450/550(f23)
Owners Guide, 1st Printing
USA(fus)
Page 199 of 407
Installing child safety seats with automatic locking mode
combination lap and shoulder belts
(front passenger and rear outboard seating positions)
Check to make sure the child seat is properly secured before each use.
Children 12 and under should be properly restrained in a rear seating
position whenever possible. If all children cannot be seated and
restrained properly in a rear seating position, properly restrain the
largest child in the front seat.
When installing a child safety seat with combination lap/shoulder belts:
•Use the correct safety belt buckle for that seating position.
•Insert the belt tongue into the proper buckle until you hear a snap
and feel it latch. Make sure the tongue is securely fastened in the
buckle.
•Keep the buckle release button pointing up and away from the safety
seat, with the tongue between the child seat and the release button,
to prevent accidental unbuckling.
•Place vehicle seat back in upright position.
•This vehicle does not require the use of a locking clip.
WARNING:Depending on where you secure a child restraint,
and depending on the child restraint design, you may block
access to certain safety belt buckle assemblies and/or LATCH lower
anchors, rendering those features potentially unusable. To avoid risk of
injury, occupants should only use seating positions where they are able
to be properly restrained.
Installing the child safety seat
Perform the following steps when installing the child seat in the
outboard combination lap/shoulder belts:
Note:Although the child seat illustrated is a forward facing child seat,
the steps are the same for installing a rear facing child seat.
Seating and Safety Restraints
199
2010 F-250/350/450/550(f23)
Owners Guide, 1st Printing
USA(fus)
Page 200 of 407
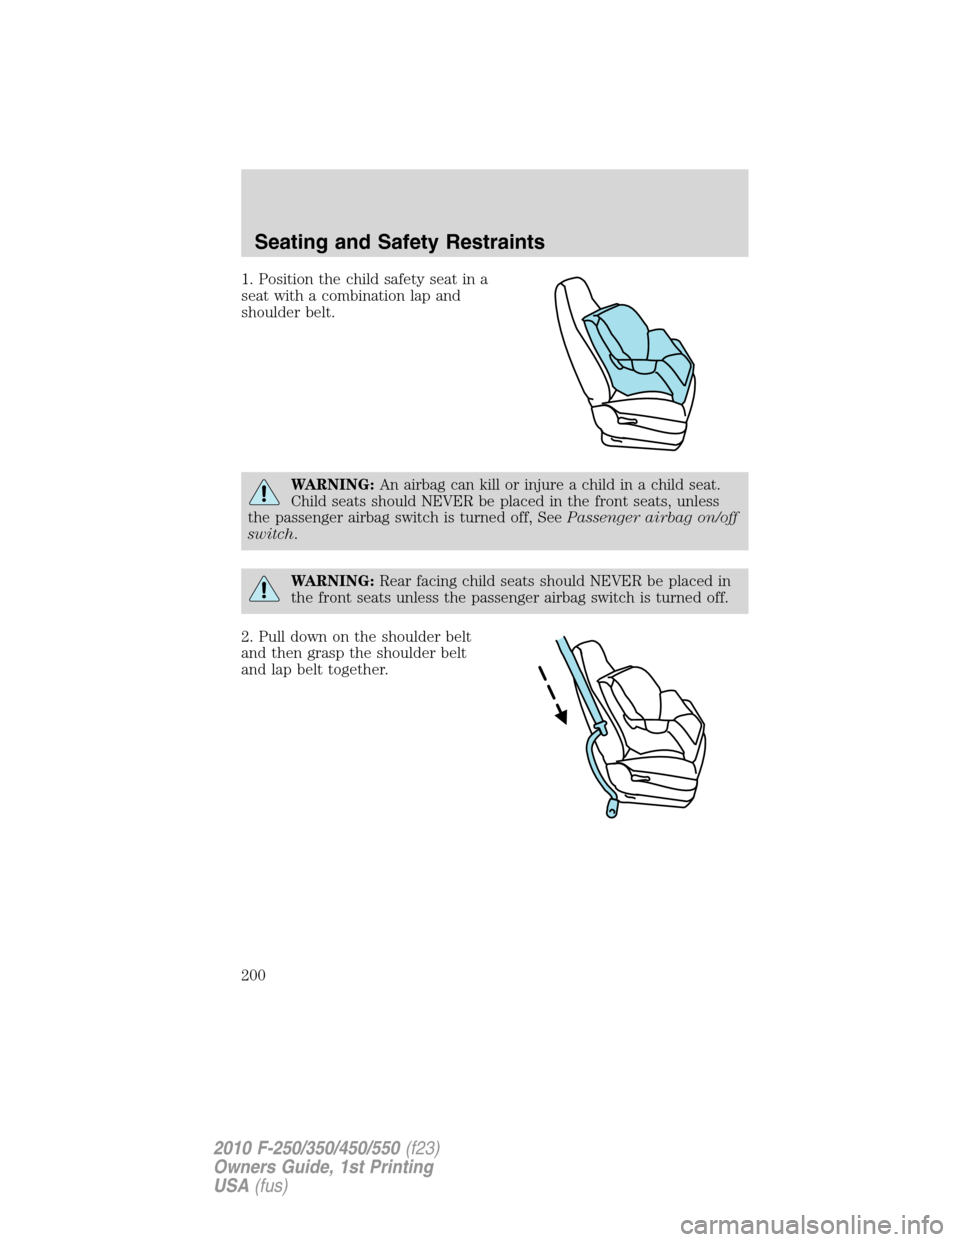
1. Position the child safety seat in a
seat with a combination lap and
shoulder belt.
WARNING:An airbag can kill or injure a child in a child seat.
Child seats should NEVER be placed in the front seats, unless
the passenger airbag switch is turned off, SeePassenger airbag on/off
switch.
WARNING:Rear facing child seats should NEVER be placed in
the front seats unless the passenger airbag switch is turned off.
2. Pull down on the shoulder belt
and then grasp the shoulder belt
and lap belt together.
Seating and Safety Restraints
200
2010 F-250/350/450/550(f23)
Owners Guide, 1st Printing
USA(fus)
Page 201 of 407
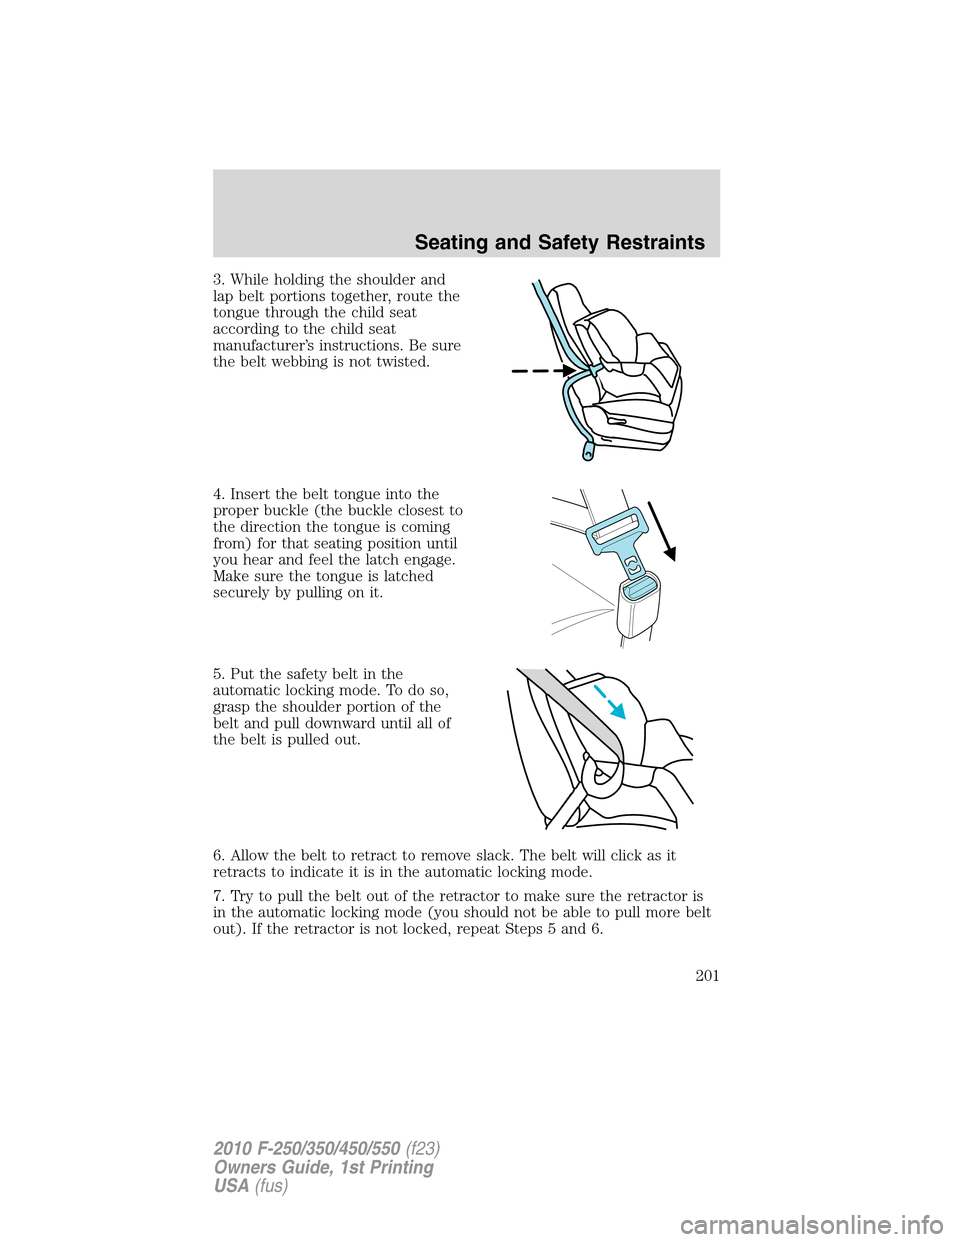
3. While holding the shoulder and
lap belt portions together, route the
tongue through the child seat
according to the child seat
manufacturer’s instructions. Be sure
the belt webbing is not twisted.
4. Insert the belt tongue into the
proper buckle (the buckle closest to
the direction the tongue is coming
from) for that seating position until
you hear and feel the latch engage.
Make sure the tongue is latched
securely by pulling on it.
5. Put the safety belt in the
automatic locking mode. To do so,
grasp the shoulder portion of the
belt and pull downward until all of
the belt is pulled out.
6. Allow the belt to retract to remove slack. The belt will click as it
retracts to indicate it is in the automatic locking mode.
7. Try to pull the belt out of the retractor to make sure the retractor is
in the automatic locking mode (you should not be able to pull more belt
out). If the retractor is not locked, repeat Steps 5 and 6.
Seating and Safety Restraints
201
2010 F-250/350/450/550(f23)
Owners Guide, 1st Printing
USA(fus)
Page 202 of 407
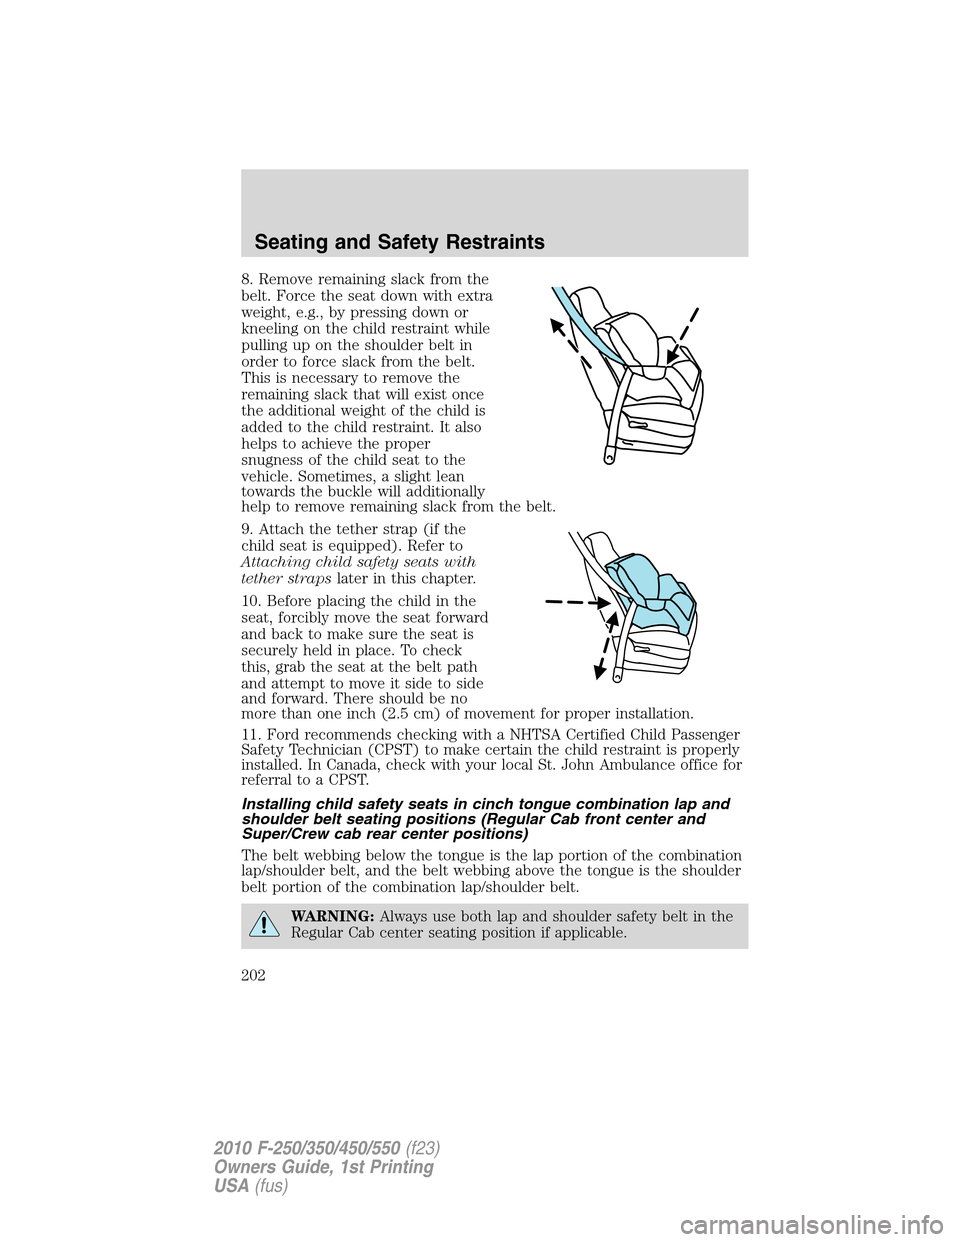
8. Remove remaining slack from the
belt. Force the seat down with extra
weight, e.g., by pressing down or
kneeling on the child restraint while
pulling up on the shoulder belt in
order to force slack from the belt.
This is necessary to remove the
remaining slack that will exist once
the additional weight of the child is
added to the child restraint. It also
helps to achieve the proper
snugness of the child seat to the
vehicle. Sometimes, a slight lean
towards the buckle will additionally
help to remove remaining slack from the belt.
9. Attach the tether strap (if the
child seat is equipped). Refer to
Attaching child safety seats with
tether strapslater in this chapter.
10. Before placing the child in the
seat, forcibly move the seat forward
and back to make sure the seat is
securely held in place. To check
this, grab the seat at the belt path
and attempt to move it side to side
and forward. There should be no
more than one inch (2.5 cm) of movement for proper installation.
11. Ford recommends checking with a NHTSA Certified Child Passenger
Safety Technician (CPST) to make certain the child restraint is properly
installed. In Canada, check with your local St. John Ambulance office for
referral to a CPST.
Installing child safety seats in cinch tongue combination lap and
shoulder belt seating positions (Regular Cab front center and
Super/Crew cab rear center positions)
The belt webbing below the tongue is the lap portion of the combination
lap/shoulder belt, and the belt webbing above the tongue is the shoulder
belt portion of the combination lap/shoulder belt.
WARNING:Always use both lap and shoulder safety belt in the
Regular Cab center seating position if applicable.
Seating and Safety Restraints
202
2010 F-250/350/450/550(f23)
Owners Guide, 1st Printing
USA(fus)
Page 203 of 407
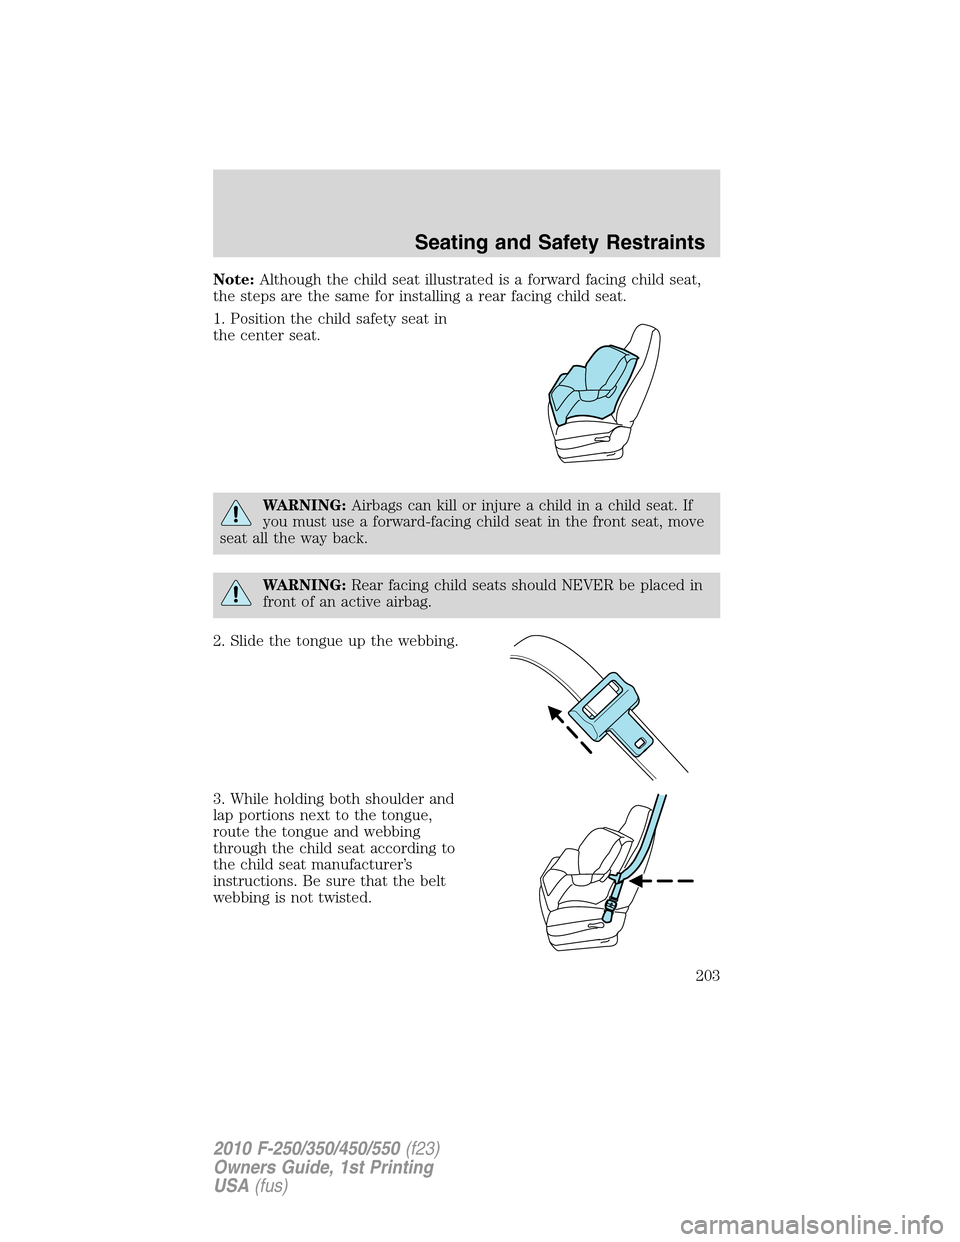
Note:Although the child seat illustrated is a forward facing child seat,
the steps are the same for installing a rear facing child seat.
1. Position the child safety seat in
the center seat.
WARNING:Airbags can kill or injure a child in a child seat. If
you must use a forward-facing child seat in the front seat, move
seat all the way back.
WARNING:Rear facing child seats should NEVER be placed in
front of an active airbag.
2. Slide the tongue up the webbing.
3. While holding both shoulder and
lap portions next to the tongue,
route the tongue and webbing
through the child seat according to
the child seat manufacturer’s
instructions. Be sure that the belt
webbing is not twisted.
Seating and Safety Restraints
203
2010 F-250/350/450/550(f23)
Owners Guide, 1st Printing
USA(fus)
Page 204 of 407
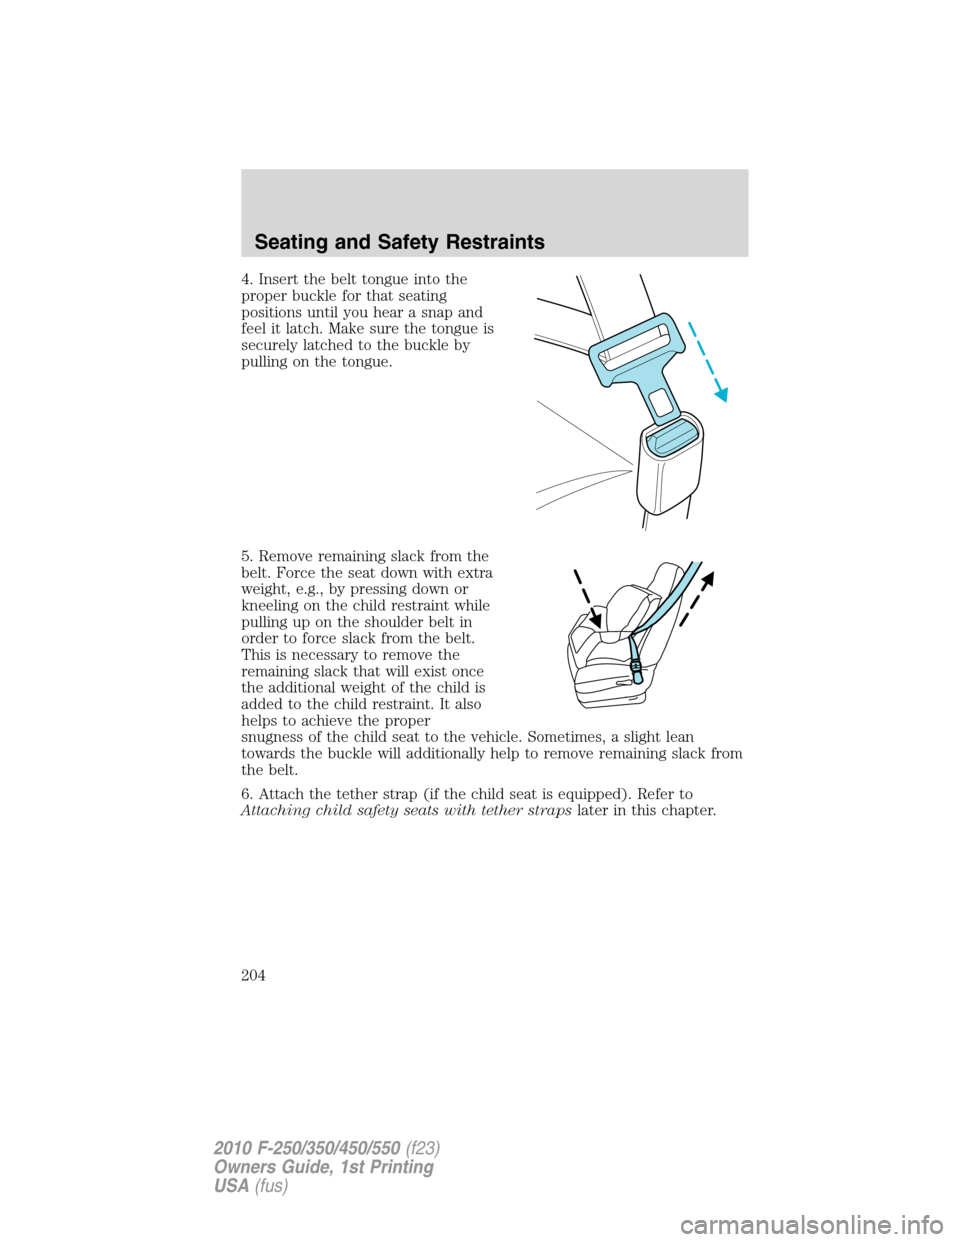
4. Insert the belt tongue into the
proper buckle for that seating
positions until you hear a snap and
feel it latch. Make sure the tongue is
securely latched to the buckle by
pulling on the tongue.
5. Remove remaining slack from the
belt. Force the seat down with extra
weight, e.g., by pressing down or
kneeling on the child restraint while
pulling up on the shoulder belt in
order to force slack from the belt.
This is necessary to remove the
remaining slack that will exist once
the additional weight of the child is
added to the child restraint. It also
helps to achieve the proper
snugness of the child seat to the vehicle. Sometimes, a slight lean
towards the buckle will additionally help to remove remaining slack from
the belt.
6. Attach the tether strap (if the child seat is equipped). Refer to
Attaching child safety seats with tether strapslater in this chapter.
Seating and Safety Restraints
204
2010 F-250/350/450/550(f23)
Owners Guide, 1st Printing
USA(fus)
Page 205 of 407
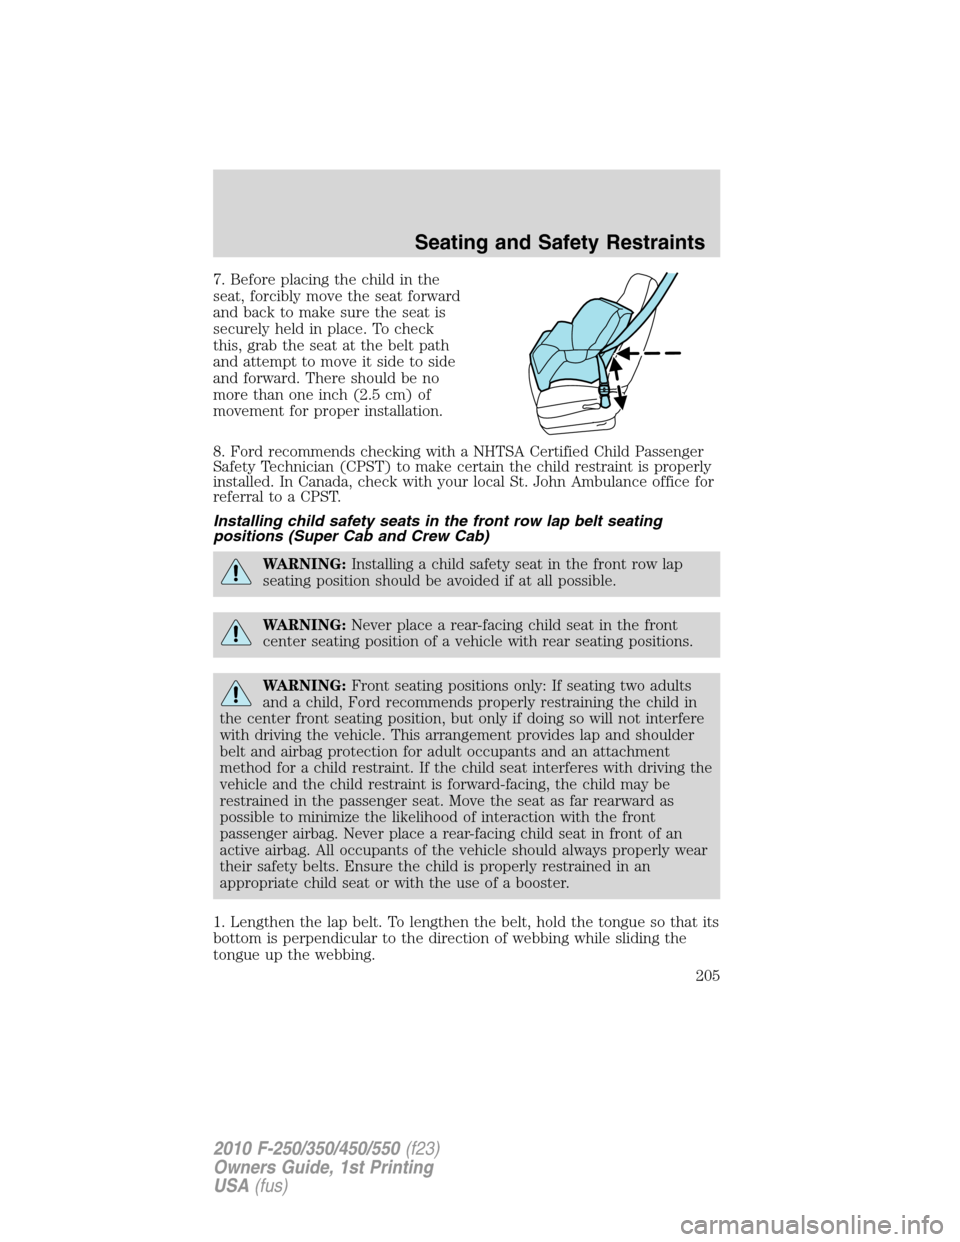
7. Before placing the child in the
seat, forcibly move the seat forward
and back to make sure the seat is
securely held in place. To check
this, grab the seat at the belt path
and attempt to move it side to side
and forward. There should be no
more than one inch (2.5 cm) of
movement for proper installation.
8. Ford recommends checking with a NHTSA Certified Child Passenger
Safety Technician (CPST) to make certain the child restraint is properly
installed. In Canada, check with your local St. John Ambulance office for
referral to a CPST.
Installing child safety seats in the front row lap belt seating
positions (Super Cab and Crew Cab)
WARNING:Installing a child safety seat in the front row lap
seating position should be avoided if at all possible.
WARNING:Never place a rear-facing child seat in the front
center seating position of a vehicle with rear seating positions.
WARNING:Front seating positions only: If seating two adults
and a child, Ford recommends properly restraining the child in
the center front seating position, but only if doing so will not interfere
with driving the vehicle. This arrangement provides lap and shoulder
belt and airbag protection for adult occupants and an attachment
method for a child restraint. If the child seat interferes with driving the
vehicle and the child restraint is forward-facing, the child may be
restrained in the passenger seat. Move the seat as far rearward as
possible to minimize the likelihood of interaction with the front
passenger airbag. Never place a rear-facing child seat in front of an
active airbag. All occupants of the vehicle should always properly wear
their safety belts. Ensure the child is properly restrained in an
appropriate child seat or with the use of a booster.
1. Lengthen the lap belt. To lengthen the belt, hold the tongue so that its
bottom is perpendicular to the direction of webbing while sliding the
tongue up the webbing.
Seating and Safety Restraints
205
2010 F-250/350/450/550(f23)
Owners Guide, 1st Printing
USA(fus)