Page 183 of 226
CD navigation units
Press the microphone mute button. Press
the button once again to turn this function
off.
Changing the active phone
Note:Phones must be bonded to the
system before they can be made active.
Note:After bonding a phone to the
system, this becomes the active phone.
1. Press the PHONEbutton on the unit.
2. Using the BT SETTINGS option in
the menu, select the active phone
from the list.
Debonding a bonded phone
A bonded phone can be deleted from the
system at any time, unless a phone call is
in progress.
1. Press the PHONEbutton on the unit.
2. Select the BT SETTINGS option in
the menu.
3. Select the DEBOND option in the
menu.
4. Select the phone from the list.
181
Telephone
Page 184 of 226

PRINCIPLE OF OPERATION
CAUTION
Using the system with the engine off
will drain the battery.
Voice recognition enables operation of
the system without the need to divert your
attention from the road ahead in order to
change settings, or receive feedback
from the system.
Whenever you issue one of the defined
commands with the system active, the
voice recognition system converts your
command into a control signal for the
system. Your inputs take the form of
dialogues or commands. You are guided
through these dialogues by
announcements or questions.
Please familiarise yourself with the
functions of the system before using voice
recognition.
Supported commands
The voice control system allows you to
control the following vehicle functions:
•
Bluetooth phone
• radio
• CD Player/CD Changer
• external device (USB)
• external device (iPod)
• automatic climate control
• navigation system (DVD units only -
refer to separate DVD navigation
handbook).
System response
As you work through a voice session the
system will prompt you with a beep tone
each time the system is ready to proceed. Do not try to give any commands until the
beep tone has been heard. The voice
control system will repeat each spoken
command back to you.
If you are not sure how to continue say
"HELP" for assistance or "CANCEL" if you
do not wish to continue.
The "HELP" function provides only a
subset of the available voice commands.
Detailed explanations of all possible voice
commands can be found on the following
pages.
Voice commands
All voice commands should be given using
a natural speaking voice, as if speaking to
a passenger or on the phone. Your voice
level should be dependant on the
surrounding noise level inside or outside
the vehicle but do not shout.
USING VOICE CONTROL
System operation
The order and content of the voice
controls are given in the following lists. The
tables show the sequence of user voice
commands and system responses for
each available function.
<>
indicates a number or stored name tag
to be inserted by the user.
Short cuts
There are a number of voice command
short cuts available, which allow you to
control some vehicle features without
having to follow the complete command
menu. These are:
• phone: "MOBILE NAME", "DIAL
NUMBER", "DIAL NAME", and
"REDIAL"
• CD player/CD changer: "DISC" and
"TRACK"
182
Voice control
Page 185 of 226

•
automatic climate control:
"TEMPERATURE", "AUTO MODE",
"DEFROSTING/DEMISTING ON" and
"DEFROSTING/DEMISTING OFF"
• radio: "TUNE NAME"
• external device (USB): "TRACK"
• external device (iPod): "TRACK"
• SD card: "TRACK".
Start communicating with the
system
Before you can start talking to the system
you first have to press the VOICEor
MODE button for each operation and
wait until the system answers with a beep.
See Voice control (page 40).
Press the button again to cancel the voice
session. Name tag
The name tag functionality can support
the phone, audio and navigation features
by using the "STORE NAME" function. You
can assign name tags to items such as
favourite radio stations and personal
phone contacts. See
Audio unit
commands (page 183). See Telephone
commands (page 192). See
Navigation system commands
(page 197).
• Store up to 20 name tags per function.
• The average recording time for each
name tag is approximately 2-3
seconds.
AUDIO UNIT COMMANDS
CD Player
You can control playback directly by voice
control.
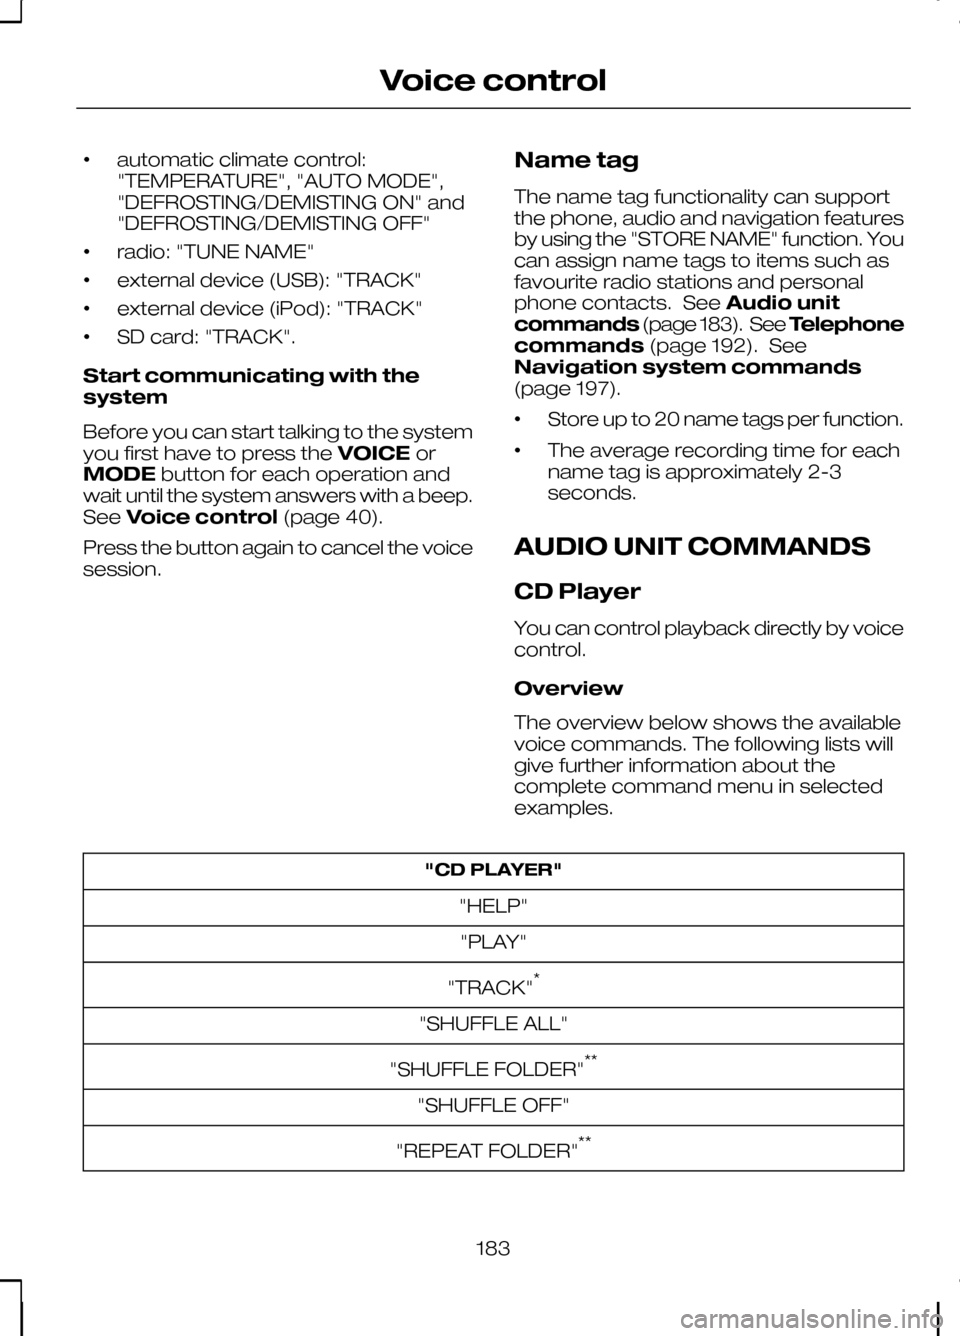
Overview
The overview below shows the available
voice commands. The following lists will
give further information about the
complete command menu in selected
examples. "CD PLAYER"
"HELP""PLAY"
"TRACK" *
"SHUFFLE ALL"
"SHUFFLE FOLDER" **
"SHUFFLE OFF"
"REPEAT FOLDER" **
183
Voice control
Page 199 of 226
Main settings
Reject calls
Calls can be set to be automatically
rejected using voice control. System answer
User says
Steps
"PHONE"
"PHONE"
1
"REJECT CALLS"
"REJECT CALLS"
2
"ACCEPT CALLS"
"ACCEPT CALLS" *
* use this command to turn the reject mode off
NAVIGATION SYSTEM
COMMANDS
Please refer to your separate Navigation
handbook for details of the command
menus. CLIMATE CONTROL
COMMANDS
Climate
The climate voice commands supports
the functionality of the fan speed,
temperature and mode settings. Not all
functions are available on all vehicles.
Overview
The overview below shows the available
voice commands. The following lists will
give further information about the
complete command menu in selected
examples."CLIMATE"
"HELP"
"FAN" *
"DEFROSTING/DEMISTING ON" *
"DEFROSTING/DEMISTING OFF" *
"TEMPERATURE" *
197
Voice control
Page 204 of 226

Bonding the device
Note:Some audio and navigation units
have a separate Bluetooth audio menu. Use this to access setup and control.
To connect the device to the system
follow the same procedure as for
Bluetooth hands free phones. See
Bluetooth setup (page 176).
Operating the device
Select Bluetooth audio as the active
source.
Tracks can be accessed by skipping
forwards and backwards using the
steering wheel controls, or directly from
the audio unit controls.
USING A USB DEVICE
Various icons are used to identify types
of audio file, folders etc. USB device is the active source
Folder
Playlist
Album
Artist
Filename
Track title Information not available
Sony radio
Operation
Select the USB device as the audio
source by repeatedly pressing the
CD/AUX button until USB appears in the
display. After first connecting the USB
device, the first track within the first folder
will start to play automatically.
Subsequently, following audio source
switching, the position of playback on the
USB device is remembered.
To browse the device contents, press the
up/down arrow key or the OK button
once.
The display will show the track
information, together with other important
information described below:
• A vertical scroll bar on the right side of
the display shows the current position
of the folder view.
• ">" after an entry indicates a further
level down is readable (for example a
folder named after an album, with
individual album tracks within that
folder).
• "<" before the list indicates that a
further level up is readable.
• Icons to the left of track/folder text
indicate the type of file/folder. Refer
to the list for an explanation of these
icons.
To navigate the USB device contents, use
the up/down arrow keys to scroll through
lists, and the left/right keys to move up or
down within the folder hierarchy. Once
your desired track, playlist or folder is
highlighted, press the OK button to select
playback.
202
ConnectivityE100029 E100022 E100023 E100024 E100025 E100026 E100027 E100028
Page 210 of 226

ROAD SAFETY
WARNINGS
The system provides you with
information designed to help you
reach your destination quickly and
safely. For reasons of safety, the driver
should only program the system
when the vehicle is stationary.
The system provides no assistance
with respect to stop signs, traffic
lights, areas under construction or
other important safety information. Do not use the system until you
have familiarised yourself with its
operation.
Only view the system display when
driving conditions permit.
Safety information
Read and follow all stated safety
precautions. Failure to do so may increase
your risk of collision and personal injury.
Ford Motor Company shall not be liable
for any damages of any type arising from
failure to follow these guidelines.
If detailed viewing of route instructions is
necessary, pull off the road when it is safe
to do so and park your vehicle.
Do not use the navigation system to
locate emergency services.
To use the system as effectively and
safely as possible, always use the latest
navigation information. Your dealer will be
able to assist with this.
208
Navigation introduction
Page 211 of 226

GETTING STARTED
CAUTION
Using the system with the engine off
will drain the battery.
Note:You will be charged when sending
and receiving text messages.
Note:Refer to your phone handbook for
all phone functions and operation.
Note:Keep the activation code (printed
on the installation guide) in a safe place.
Note:Retain the activation text message
in your mobile phone inbox.
Compatibility of phones CAUTION
As no common agreement exists,
mobile phone manufacturers are able
to implement a variety of profiles in
their Bluetooth devices. Because of this,
an incompatibility can occur between the
phone and hands-free system, which in
some cases may significantly degrade the
system performance. To avoid this
situation, only recommended phones
should be used. Please visit the website
www.ford-mobile-connectivity.com for
full details. Installing the micro SD card 1. Remove the micro SD card from the
adaptor.
2. Insert the micro SD card into the mobile phone.
Activating the mobile phone
navigation system
Note:
The radio must be switched on
before connecting the mobile phone to the in-car GPS receiver.
Note:The Ford Mobile Navigation must
be installed and activated on your mobile phone.
Note:It is possible to activate up to a
maximum of three phones.
Note:Detailed instructions are available
on the micro SD card and at www.ford-mobile-connectivity.com.
1. Switch the radio on.
209
Navigation system12E114212
Page 212 of 226
2.
Switch your mobile phone on and start
the "Ford Mobile Navigation".
3. Choose "Select Destination".
4. Choose "Enter Address".
5. Change route options if necessary and start the route guidance.
6. The vehicle display will show the turn information. Voice instructions are
heard via the vehicle speakers.
Note:Your mobile phone will display your
current position.
7. You are able to exit the application and
continue your route guidance after
restarting the application.
210
Navigation systemE114213