2010 FORD F650 suspension
[x] Cancel search: suspensionPage 2 of 274

Locks and Security 64
Keys 64
Locks 64
Seating and Safety Restraints 65
Seating 65
Safety restraints 69
Child restraints 79
Driving 91
Starting 91
Brakes 99
Air suspension 120
Transmission operation 122
Vehicle loading 136
Roadside Emergencies 142
Hazard flasher switch 143
Fuses and relays 143
Jump starting 151
Wrecker towing 155
Customer Assistance 159
Getting assistance outside the U.S. and Canada 161
Ordering additional owner’s literature 162
Reporting safety defects (U.S. only) 162
Reporting safety defects (Canada only) 163
Cleaning 164
Cleaning your vehicle 164
Repairing paint chips 164
Underbody preservation 167
Table of Contents
2
2010 F-650/750(f67)
Supplement(supplement), 1st Printing
USA(fus)
Page 16 of 274

Front of vehicle
Lights:Make sure all lights illuminate and are clean.
Make sure headlights function on both high
and low beams. Make sure reflectors are clean
and unbroken and of proper color (red on
rear, amber elsewhere). Make sure the running
lights are also clean and unbroken.
Steering gear:Look for missing or loose fasteners, power
steering fluid leaks and damage to power
steering hoses.
Steering linkage:Make sure connecting links, arms and rods are
not worn or cracked; joints, sockets and boot
seals are not worn or loose and that there are
no loose or missing cotter keys, nuts or bolts.
Tow hooks:Front and rear tow hooks should be inspected
for damage or loose mounting. This is
particularly important on vehicles where tow
hooks are frequently used.
Front suspension
Spring:Inspect for missing, broken or shifted leaves or
leaves that are in contact, or nearly contacting
a tire, rim, brake drum, frame or body
component.
Spring mount:Inspect spring hangers, bolts, bushings, axle
mounting bolts and nuts for cracks, breaks,
wear, damage and tightness.
Shock absorber:Inspect for cracks, leaks and missing or broken
bolts or bushings.
Note:Never apply grease to spring pads.
WARNING:Do not operate the vehicle if any suspension
conditions listed in theFront suspensionchart are evident.
Loss of steering or suspension could result in property damage,
personal injury or death.
Vehicle Inspection Guide
16
2010 F-650/750(f67)
Supplement(supplement), 1st Printing
USA(fus)
Page 20 of 274

Tractor - coupling system
Kingpin/Apron:Make sure kingpin is not bent or worn. Also
make sure that the apron lies flat on the fifth
wheel skid plate and that the visible part of the
apron is not bent, worn, cracked or broken.
Rear suspension
Springs:Check for broken or shifted leaves or leaves
that are in contact, or nearly contacting a tire,
rim, brake drum, frame or body component.
Check for missing or broken leaves in the leaf
spring.
Spring mounts:Check for cracked or broken spring hangers,
broken, missing or loose bolts, missing or
damaged bushings, broken, loose or missing
axle mounting parts.
Torsion, shocks:Make sure torsion arm is not cracked, broken
or missing. Check the shock absorber for
cracks or leaks; there should be no missing or
broken mounting bolts or worn bushings.
Rear brakes
Hoses:Checked for cracked, worn or frayed hoses.
Make sure all couplings are secured.
Chambers:Make sure brake chambers are not cracked or
dented and that they are securely mounted.
Slack adjuster:Check for broken, loose or missing parts. The
angle between the push rod and adjuster arm
should be approximately 90° when the brakes
are applied. When pulled by hand, the push
rod should not move more than approximately
one inch (2.5 cm).
Drum:Make sure there are no cracks, dents or holes
and no loose or missing bolts. Make sure brake
linings are not worn, dangerously thin or
contaminated by lubricant.
Vehicle Inspection Guide
20
2010 F-650/750(f67)
Supplement(supplement), 1st Printing
USA(fus)
Page 21 of 274

Rear wheels
Spacers:Make sure dual wheels are evenly separated
and that tires are not touching one another.
Rims:Check for damaged or bent rims. Rims should
not have welding repairs and no rust trails that
indicate it is loose on the wheel.
Lug nuts:Make sure all lug nuts are present and not
loose (look for rust trails around the lug nuts).
There should be no cracks radiating from the
lug bolt holes or distortion of the bolt holes.
Trailer
If you are pulling a trailer, an inspection of the trailer similar to that of
the tractor should be done. Such an inspection should follow trailer
manufacturer recommendations and should include at a minimum:
general condition, landing gear, doors, sides, lights, reflectors,
suspension, brakes, tires, wheels, cargo placement, stability and
tie-downs.
Transmission
If your vehicle is equipped with an automatic transmission, regularly
check the transmission’s neutral start switch. The engine should only
start in the N (Neutral) or P (Park) positions.
WARNING:If the unit starts in gear and/or the neutral start
switch is not functioning correctly, the vehicle may inadvertently
move which could result in property damage, personal injury or death.
Check the transmission fluid level and shift linkage for proper operation.
Vehicle Inspection Guide
21
2010 F-650/750(f67)
Supplement(supplement), 1st Printing
USA(fus)
Page 22 of 274

WARNING LIGHTS AND CHIMES
Warning lights and gauges can alert you to a vehicle condition that may
become serious enough to cause expensive repairs. A warning light may
illuminate when a problem exists with one of your vehicle’s functions.
Many lights will illuminate when you start your vehicle to make sure the
bulb works. If any light remains on after starting the vehicle, have the
respective system inspected immediately.
Some of the warning lights shown are optional based on vehicle
equipment; your vehicle may not have some of the warning lights shown
in this section.
Service engine soon:If this light
illuminates while driving, it is a
possible indication that one of the
engine’s emission control systems
has failed.
Check suspension (if equipped):
Illuminates when the air suspension
dump switch has been activated.
SERVICE
ENGINE
SOON
Instrument Cluster
22
2010 F-650/750(f67)
Supplement(supplement), 1st Printing
USA(fus)
Page 32 of 274

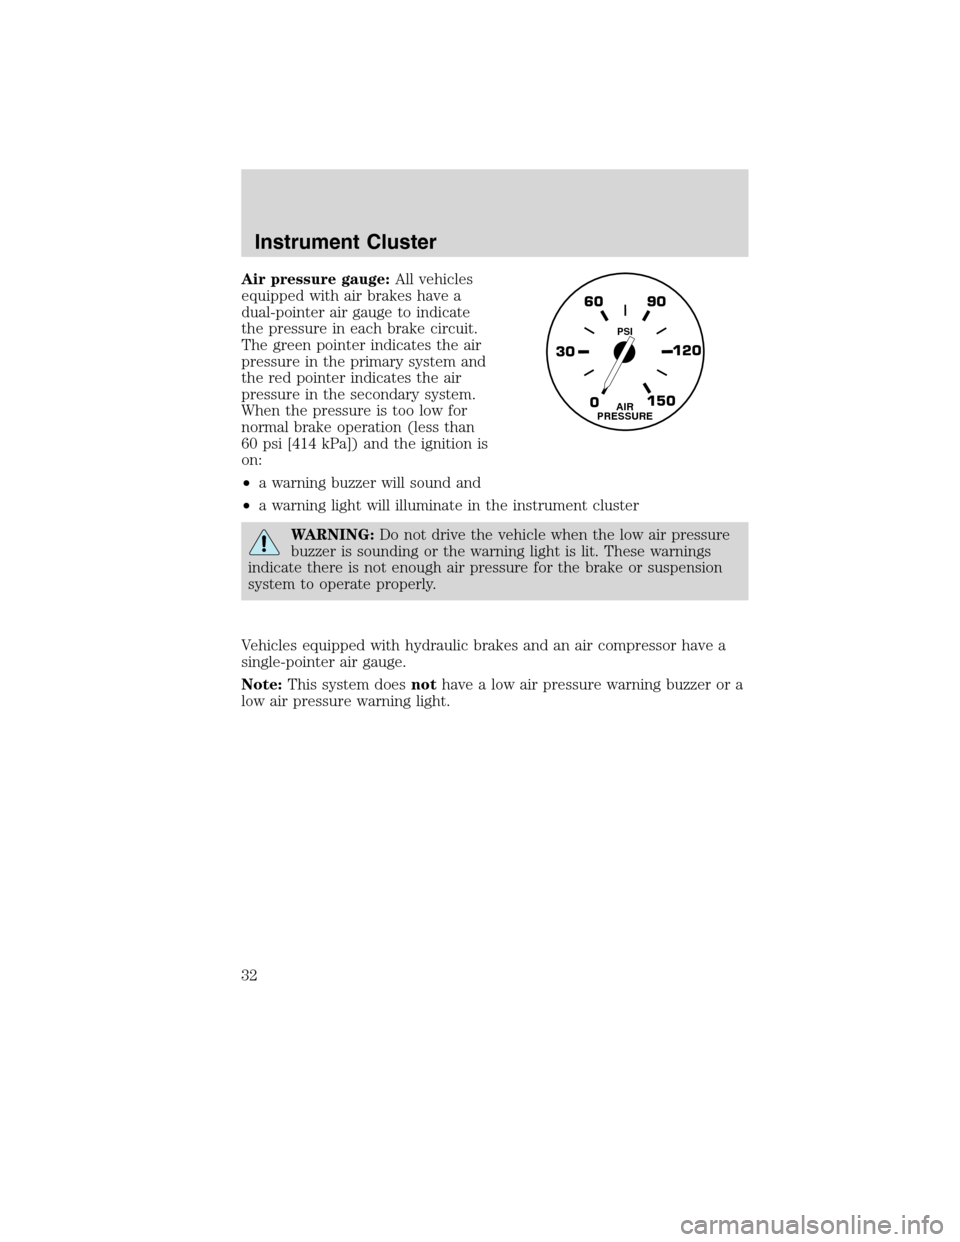
Air pressure gauge:All vehicles
equipped with air brakes have a
dual-pointer air gauge to indicate
the pressure in each brake circuit.
The green pointer indicates the air
pressure in the primary system and
the red pointer indicates the air
pressure in the secondary system.
When the pressure is too low for
normal brake operation (less than
60 psi [414 kPa]) and the ignition is
on:
•a warning buzzer will sound and
•a warning light will illuminate in the instrument cluster
WARNING:Do not drive the vehicle when the low air pressure
buzzer is sounding or the warning light is lit. These warnings
indicate there is not enough air pressure for the brake or suspension
system to operate properly.
Vehicles equipped with hydraulic brakes and an air compressor have a
single-pointer air gauge.
Note:This system doesnothave a low air pressure warning buzzer or a
low air pressure warning light.
0 30120 90 60
150AIR
PRESSURE
PSI
Instrument Cluster
32
2010 F-650/750(f67)
Supplement(supplement), 1st Printing
USA(fus)
Page 120 of 274

WARNING:Aggressive driving in any road conditions can cause
you to lose control of your vehicle increasing the risk of severe
personal injury or property damage. The occurrence of a Traction
Control™ event is an indication that at least some of the tires have
exceeded their ability to grip the road; this may lead to an increased
risk of loss of vehicle control, vehicle rollover, personal injury and
death. If you experience a severe road event, SLOW DOWN.
AIR SUSPENSION (IF EQUIPPED)
Note:The vehicle must not be operated without air in the suspension
springs. Operating the vehicle without air in the air suspension springs
will damage the suspension, degrade ride performance and may cause
property damage.
The suspension system automatically adjusts to different loads to
maintain a constant frame height. The system allows for ease of vehicle
loading and provides improved vehicle ride and increased driver comfort.
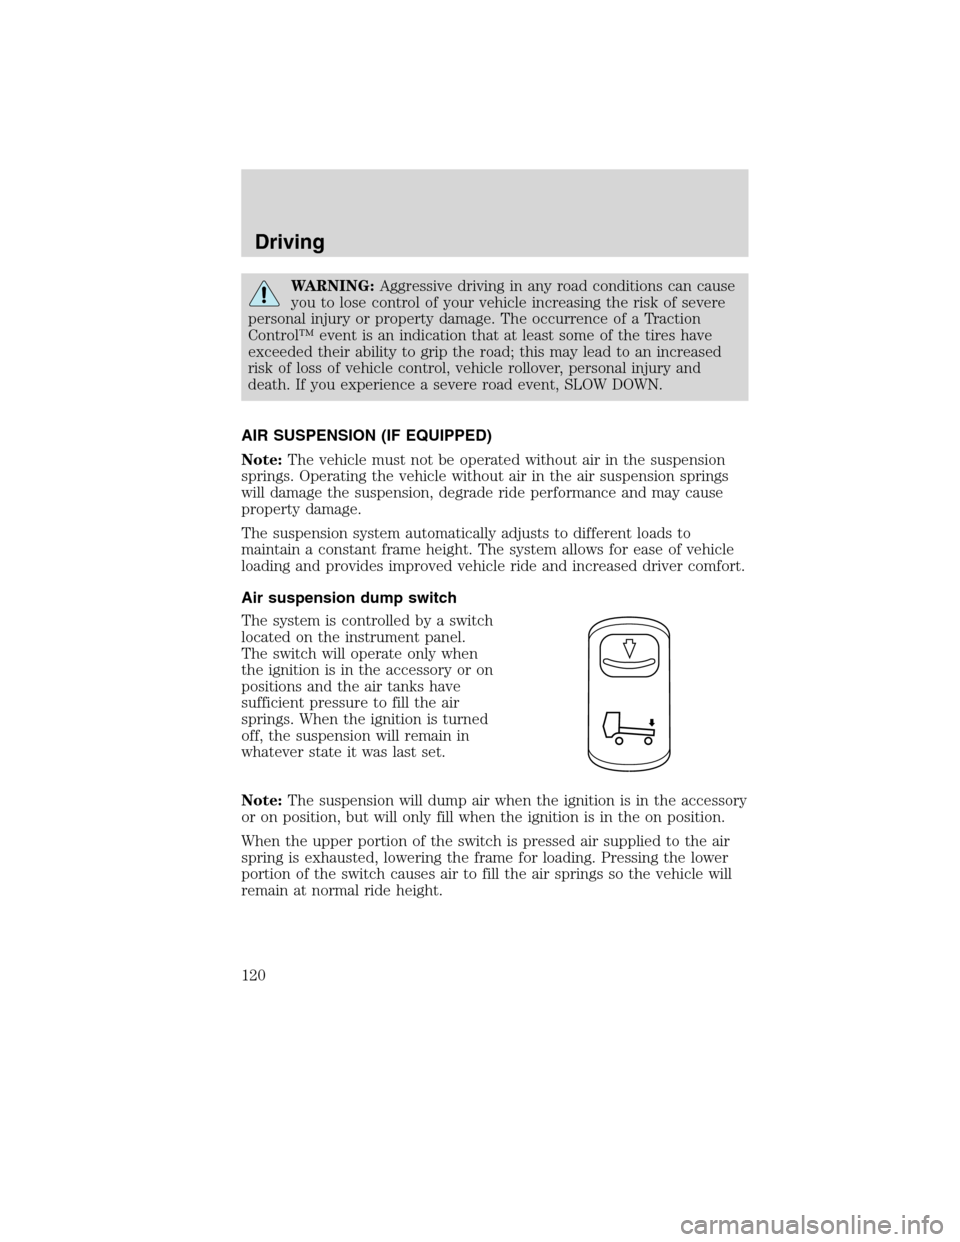
Air suspension dump switch
The system is controlled by a switch
located on the instrument panel.
The switch will operate only when
the ignition is in the accessory or on
positions and the air tanks have
sufficient pressure to fill the air
springs. When the ignition is turned
off, the suspension will remain in
whatever state it was last set.
Note:The suspension will dump air when the ignition is in the accessory
or on position, but will only fill when the ignition is in the on position.
When the upper portion of the switch is pressed air supplied to the air
spring is exhausted, lowering the frame for loading. Pressing the lower
portion of the switch causes air to fill the air springs so the vehicle will
remain at normal ride height.
Driving
120
2010 F-650/750(f67)
Supplement(supplement), 1st Printing
USA(fus)
Page 121 of 274

Tractor-trailer connections
WARNING:To reduce the risk of personal injury, use extreme
caution when making brake and light connections. Inclement
weather and accumulated road contamination deposits on handhold
and stepping surfaces require extra care to avoid slip and falls. Provide
adequate lighting of working areas.
WARNING:Do not climb on the back of the tractor unless it
has been provided with a deck plate and handholds. Use a
three-point stance when climbing up and down from a deck plate. Do
not jump from the vehicle. Whenever possible, make all connections
while standing on the ground.
Connecting and disconnecting a trailer with air suspension
When connecting to a trailer:
•Press the lower portion of the switch and air will exhaust from the air
suspension system.
•After making the connection to the trailer, press the upper portion of
the switch, then raise the landing gear.
When disconnecting the trailer:
•Lower the landing gear, then press the lower portion of the switch.
•Disconnect the brake hoses, trailer-side and rear light connectors,
then pull the release lever on the fifth wheel.
The upper portion of the switch must be pressed before operating with a
trailer or operating in the bobtail mode.
Suspension conversions
It is not recommended, or approved, that suspension conversions be
performed. However, it is understood that, on occasion, aftermarket
add-on suspensions are installed by others on the truck chassis which
allow operator control for weight transfer from other axles (i.e., air lift
axles).
WARNING:When operating a loaded vehicle, the driver must
keep all adjustable axles on the ground at all times, supporting
their share of the vehicle’s load. Failure to do so can overload other
axles, tires, wheels, springs, steering components, brakes and frames,
resulting in early component failure, loss of vehicle control, possible
property damage and personal injury.
Driving
121
2010 F-650/750(f67)
Supplement(supplement), 1st Printing
USA(fus)