2010 FORD F650 automatic transmission fluid
[x] Cancel search: automatic transmission fluidPage 15 of 274

Engine starting (parking brake applied)
Air brake check:Check the air brakes in the following manner
(Chock the wheels, if necessary. Push in the
parking brake and on tractors, also push in the
tractor parking brake knob):
1. Check the that air compressor or governor
cut-out pressure is approximately 120 psi
(827 kPa).
2. Turn off the engine and turn the key back
to the on position, without starting the engine.
3. Without the brake pedal applied, note the
air pressure drop for one minute. It should be
less than 2 psi (14 kPa) for single vehicle and
3 psi (21 kPa) for combination vehicles.
4. Press and hold the brake pedal with 90 psi
(621 kPa) or more and make sure there is no
more than a 3 psi (21 kPa) per minute leak;
for combination vehicles, no more than 4 psi
(28 kPa) per minute.
5. Pump the brake pedal to deplete the system
of air pressure. The warning light and chime
should activate at 57 psi (393 kPa).
6. Pump the brake pedal and make sure the
parking brake and trailer parking brake knobs
pop out at 20 psi (138 kPa) or higher.
Automatic
transmission fluid:With the engine idling at normal operating
temperature and the parking brake applied,
check the automatic transmission fluid. If fluid
needs to be added, place the transmission in
the appropriate gear as specified in the
transmission operator’s manual and refer to
Transmission fluidin theMaintenance and
Specificationschapter.
Vehicle Inspection Guide
15
2010 F-650/750(f67)
Supplement(supplement), 1st Printing
USA(fus)
Page 21 of 274

Rear wheels
Spacers:Make sure dual wheels are evenly separated
and that tires are not touching one another.
Rims:Check for damaged or bent rims. Rims should
not have welding repairs and no rust trails that
indicate it is loose on the wheel.
Lug nuts:Make sure all lug nuts are present and not
loose (look for rust trails around the lug nuts).
There should be no cracks radiating from the
lug bolt holes or distortion of the bolt holes.
Trailer
If you are pulling a trailer, an inspection of the trailer similar to that of
the tractor should be done. Such an inspection should follow trailer
manufacturer recommendations and should include at a minimum:
general condition, landing gear, doors, sides, lights, reflectors,
suspension, brakes, tires, wheels, cargo placement, stability and
tie-downs.
Transmission
If your vehicle is equipped with an automatic transmission, regularly
check the transmission’s neutral start switch. The engine should only
start in the N (Neutral) or P (Park) positions.
WARNING:If the unit starts in gear and/or the neutral start
switch is not functioning correctly, the vehicle may inadvertently
move which could result in property damage, personal injury or death.
Check the transmission fluid level and shift linkage for proper operation.
Vehicle Inspection Guide
21
2010 F-650/750(f67)
Supplement(supplement), 1st Printing
USA(fus)
Page 30 of 274

Engine oil pressure gauge:
Indicates engine oil pressure. The needle should stay in the normal
operating range (as indicated by the arrows). If the needle falls below
the normal range, stop the vehicle, turn off the engine and check the
engine oil level. Add oil if needed. If the oil level is correct, have your
vehicle checked at your dealership or by a qualified technician.
Battery voltage gauge:Indicates
the battery voltage when the
ignition is in the on position. If the
pointer moves and stays outside the
normal operating range (as
indicated by the arrows), have the
vehicle’s electrical system checked
as soon as possible.
Transmission fluid temperature
gauge (if equipped, automatic
transmission only):
Indicates the temperature of the
transmission fluid. The normal
temperature range is 150°–230°F
(65°–110°C). Readings of
230°–250°F (110°–121°C) are
satisfactory for intermittent
operation and are not cause for
alarm. Operation above 250°F
(121°C) can cause the fluid to break down and will result in component
damage.
818
Instrument Cluster
30
2010 F-650/750(f67)
Supplement(supplement), 1st Printing
USA(fus)
Page 107 of 274

Air brake reservoir draining
WARNING:Failure to drain air brake reservoirs can result in a
reduction or loss of braking ability due to fluid accumulation in
the reservoir and/or possible freeze-up during cold weather.
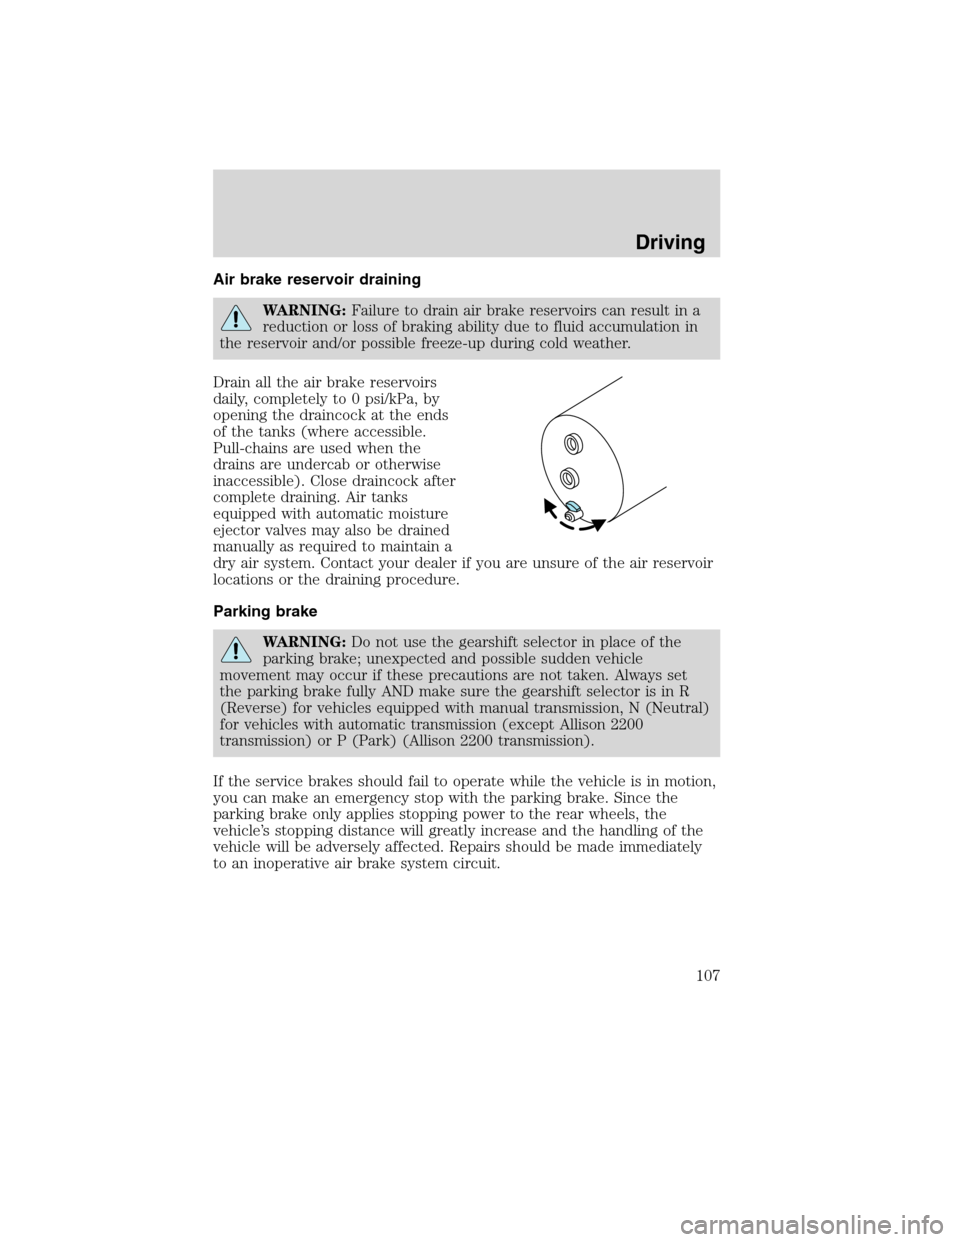
Drain all the air brake reservoirs
daily, completely to 0 psi/kPa, by
opening the draincock at the ends
of the tanks (where accessible.
Pull-chains are used when the
drains are undercab or otherwise
inaccessible). Close draincock after
complete draining. Air tanks
equipped with automatic moisture
ejector valves may also be drained
manually as required to maintain a
dry air system. Contact your dealer if you are unsure of the air reservoir
locations or the draining procedure.
Parking brake
WARNING:Do not use the gearshift selector in place of the
parking brake; unexpected and possible sudden vehicle
movement may occur if these precautions are not taken. Always set
the parking brake fully AND make sure the gearshift selector is in R
(Reverse) for vehicles equipped with manual transmission, N (Neutral)
for vehicles with automatic transmission (except Allison 2200
transmission) or P (Park) (Allison 2200 transmission).
If the service brakes should fail to operate while the vehicle is in motion,
you can make an emergency stop with the parking brake. Since the
parking brake only applies stopping power to the rear wheels, the
vehicle’s stopping distance will greatly increase and the handling of the
vehicle will be adversely affected. Repairs should be made immediately
to an inoperative air brake system circuit.
Driving
107
2010 F-650/750(f67)
Supplement(supplement), 1st Printing
USA(fus)
Page 124 of 274

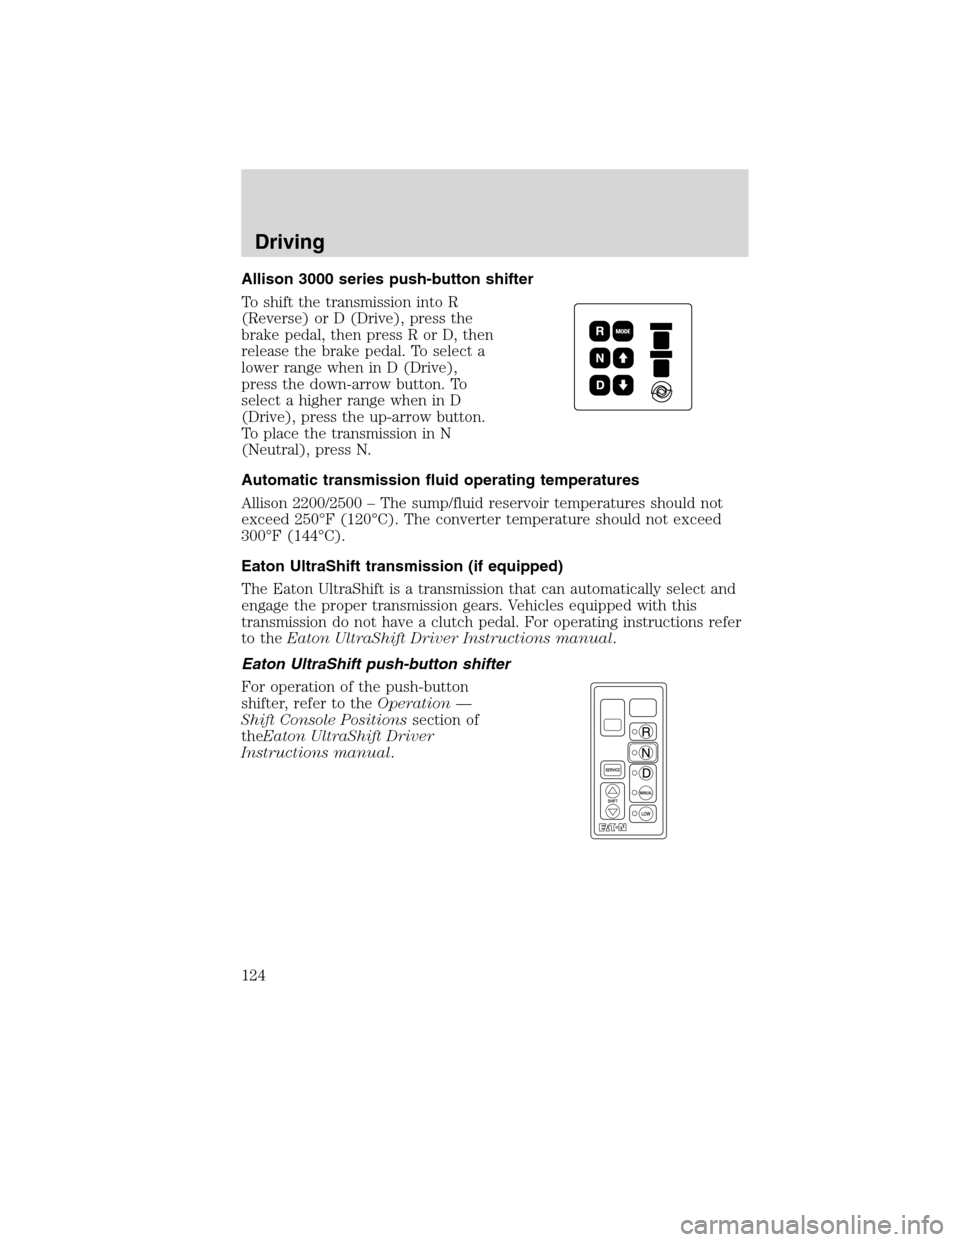
Allison 3000 series push-button shifter
To shift the transmission into R
(Reverse) or D (Drive), press the
brake pedal, then press R or D, then
release the brake pedal. To select a
lower range when in D (Drive),
press the down-arrow button. To
select a higher range when in D
(Drive), press the up-arrow button.
To place the transmission in N
(Neutral), press N.
Automatic transmission fluid operating temperatures
Allison 2200/2500 – The sump/fluid reservoir temperatures should not
exceed 250°F (120°C). The converter temperature should not exceed
300°F (144°C).
Eaton UltraShift transmission (if equipped)
The Eaton UltraShift is a transmission that can automatically select and
engage the proper transmission gears. Vehicles equipped with this
transmission do not have a clutch pedal. For operating instructions refer
to theEaton UltraShift Driver Instructions manual.
Eaton UltraShift push-button shifter
For operation of the push-button
shifter, refer to theOperation —
Shift Console Positionssection of
theEaton UltraShift Driver
Instructions manual.
Driving
124
2010 F-650/750(f67)
Supplement(supplement), 1st Printing
USA(fus)
Page 195 of 274

Engine and Driveline System
•Transmission Enclosure:inspect for cracks, holes, and tears. Clean
any deposits such as oil, dirt, and stones.
•Engine valve covers and block covers are made to damp out engine
mechanical noise and, if needed, should be replaced with
recommended parts. Check for mechanical isolations.
Exhaust System
•Inspect the exhaust system for leaks at various joint connections and
tighten the clamps.
•Do a visual inspection for cracks or holes in the muffler and tail pipe.
•Always use the recommended parts when items need to be replaced.
•The tail pipe elbow or offset tail pipe orientation must not be changed
from the standard position as originally received.
•To avoid abnormal changes in vehicle sound levels, it is necessary for
the owner to perform inspections and necessary maintenance at the
intervals shown in theScheduled Maintenance Guidechapter.
POWER STEERING FLUID
Check the power steering fluid level using the following procedure. If
adding fluid is necessary, refer toLubricant Specificationsin this
chapter for the proper fluid type. Refer to theScheduled Maintenance
Guidechapter for the recommended service intervals.
1. Set the parking brake, shift into N (Neutral) (automatic transmission)
or 1 (First) (manual transmission) and turn the engine off.
2. Open the hood.
3. Clean the top of the power steering fluid reservoir.
4. Remove the dipstick from the reservoir and wipe the dipstick clean.
Maintenance and Specifications
195
2010 F-650/750(f67)
Supplement(supplement), 1st Printing
USA(fus)
Page 199 of 274

TRANSMISSION FLUID
Always dispose of used automotive fluids in a responsible manner.
Follow your community’s standards for disposing of these types of fluids.
Call your recycling center to find out about recycling automotive fluids.
Automatic transmission fluid
Refer to your Allison Automatic Transmission Operator’s Manual for
scheduled intervals for transmission fluid checks and changes. Your
transmission does not consume fluid. However, the fluid level should be
checked if the transmission is not working properly, i.e., if the transmission
slips or shifts slowly or if you notice some sign of fluid leakage.
Automatic transmission fluid expands when warmed. To obtain an
accurate fluid check, drive the vehicle until it is warmed up
(approximately 20 miles [30 km]). If your vehicle has been operated for
an extended period at high speeds, in city traffic or during hot weather,
the vehicle should be turned off for about 30 minutes to allow fluid to
cool before checking.
1. Drive the vehicle 20 miles (30 km) or until it reaches normal operating
temperature.
2. Park the vehicle on a level surface and engage the parking brake.
3. With the parking brake engaged and your foot on the brake pedal,
start the engine and move the gearshift lever through all of the gear
ranges. Allow sufficient time for each gear to engage.
4. Place the gearshift lever in N (Neutral) or P (Park) and leave the
engine running.
5. Remove the dipstick, wiping it clean with a clean, dry lint free rag.
6. Install the dipstick making sure it is fully seated in the filler tube.
7. Remove the dipstick and inspect the fluid level.
If you must add transmission fluid, make sure the correct type of fluid is
being used. The type of fluid used is indicated in your Allison Automatic
Transmission Operator’s Manual.
Fluid levels above the safe range may result in transmission failure; an
overfill condition of transmission fluid may cause shift and/or
engagement concerns and/or possible damage.
Use of a non-approved automatic transmission fluid may cause
internal transmission component damage.
Maintenance and Specifications
199
2010 F-650/750(f67)
Supplement(supplement), 1st Printing
USA(fus)
Page 205 of 274

5. The lubricant level should be up to the bottom of the filler plug
opening.
6. If necessary, add enough lubricant through the filler plug opening so
that the lubricant level is at the bottom of the opening.
7. Clean and install the filler plug securely.
Draining and refilling the rear axle lubricant
1. Drain the rear axle while the lubricant is warm.
2. Park the vehicle on level ground.
3. Set the parking brake and shift into N (Neutral) (automatic
transmission) or 1 (First) (manual transmission) and turn the engine off.
4. Clean any dirt from around the rear axle filler and drain plugs.
5. Remove the filler and drain plugs and drain the lubricant into a
suitable container. Dispose of all used automotive fluids in a responsible
manner following your local authorized standards.
6. Clean and install the drain plug securely.
7. Add enough lubricant through the filler plug opening so that the
lubricant level is up to the bottom of the opening.
8. Clean and install the filler plug securely.
WHEELS
General
Wheel bearings should be inspected, lubricated and adjusted at regular
intervals. This is especially important if operating in deep sand, mud, or
water. Refer toLubricant specificationsin this chapter.
When installing wheel balance weights, they must be mounted on the
dome-side of the wheel only. Failure to do so may result in loss of wheel
weight and/or damage to brakes or wheels.
Important:Remember to replace the wheel air valves when the road
tires are replaced at the end of their useful life.
Maintenance and Specifications
205
2010 F-650/750(f67)
Supplement(supplement), 1st Printing
USA(fus)