2010 FORD F450 weight
[x] Cancel search: weightPage 250 of 408
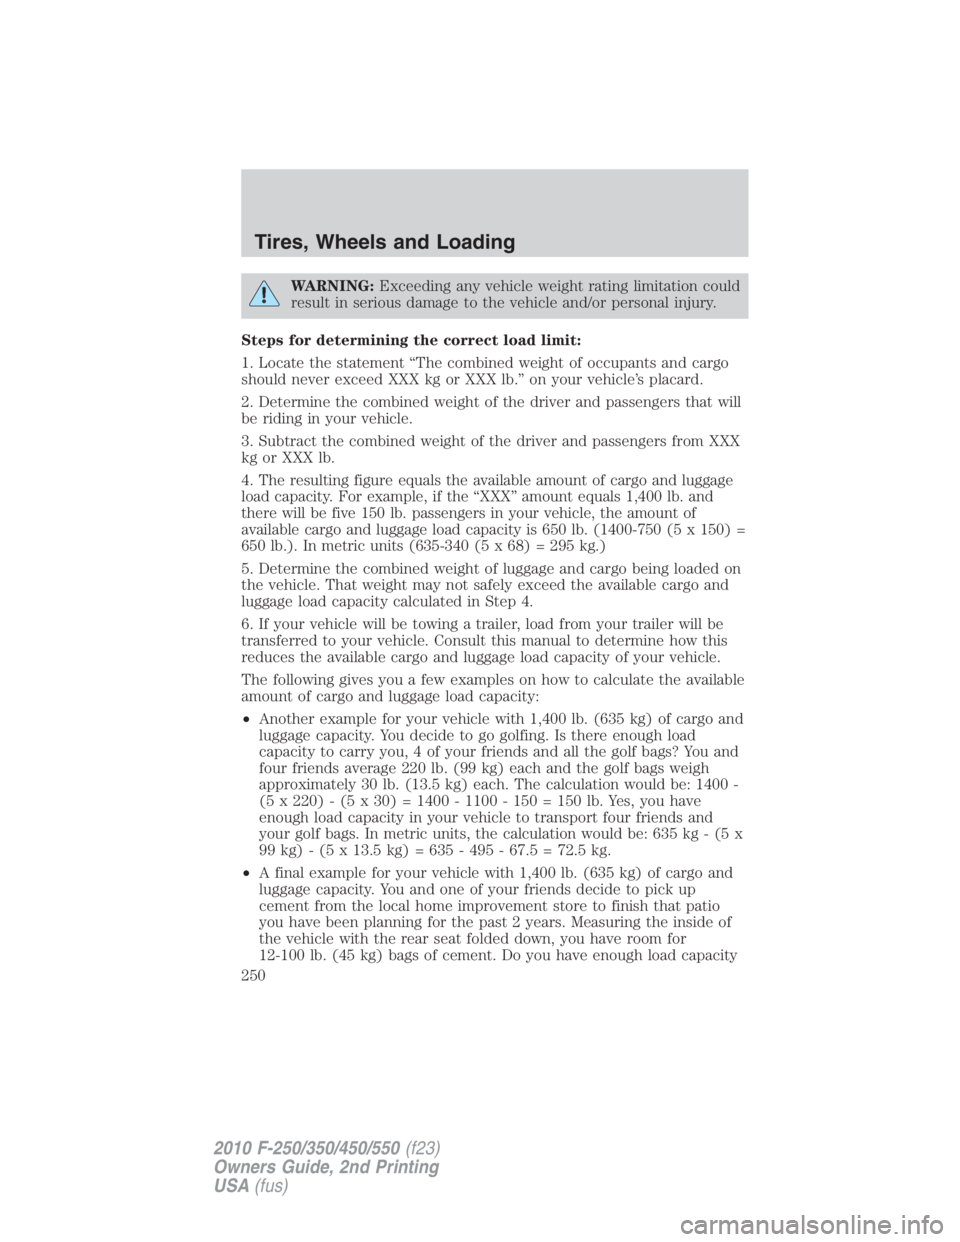
WARNING: Exceeding any vehicle weight rating limitation could
result in serious damage to the vehicle and/or personal injury.
Steps for determining the correct load limit:
1. Locate the statement “The combined weight of occupants and cargo
should never exceed XXX kg or XXX lb.” on your vehicle’s placard.
2. Determine the combined weight of the driver and passengers that will
be riding in your vehicle.
3. Subtract the combined weight of the driver and passengers from XXX
kg or XXX lb.
4. The resulting figure equals the available amount of cargo and luggage
load capacity. For example, if the “XXX” amount equals 1,400 lb. and
there will be five 150 lb. passengers in your vehicle, the amount of
available cargo and luggage load capacity is 650 lb. (1400-750 (5 x 150) =
650 lb.). In metric units (635-340 (5 x 68) = 295 kg.)
5. Determine the combined weight of luggage and cargo being loaded on
the vehicle. That weight may not safely exceed the available cargo and
luggage load capacity calculated in Step 4.
6. If your vehicle will be towing a trailer, load from your trailer will be
transferred to your vehicle. Consult this manual to determine how this
reduces the available cargo and luggage load capacity of your vehicle.
The following gives you a few examples on how to calculate the available
amount of cargo and luggage load capacity:
• Another example for your vehicle with 1,400 lb. (635 kg) of cargo and
luggage capacity. You decide to go golfing. Is there enough load
capacity to carry you, 4 of your friends and all the golf bags? You and
four friends average 220 lb. (99 kg) each and the golf bags weigh
approximately 30 lb. (13.5 kg) each. The calculation would be: 1400 -
(5 x 220) - (5 x 30) = 1400 - 1100 - 150 = 150 lb. Yes, you have
enough load capacity in your vehicle to transport four friends and
your golf bags. In metric units, the calculation would be: 635 kg - (5 x
99 kg) - (5 x 13.5 kg) = 635 - 495 - 67.5 = 72.5 kg.
• A final example for your vehicle with 1,400 lb. (635 kg) of cargo and
luggage capacity. You and one of your friends decide to pick up
cement from the local home improvement store to finish that patio
you have been planning for the past 2 years. Measuring the inside of
the vehicle with the rear seat folded down, you have room for
12-100 lb. (45 kg) bags of cement. Do you have enough load capacityTires, Wheels and Loading
250
2010 F-250/350/450/550 (f23)
Owners Guide, 2nd Printing
USA (fus)
Page 251 of 408
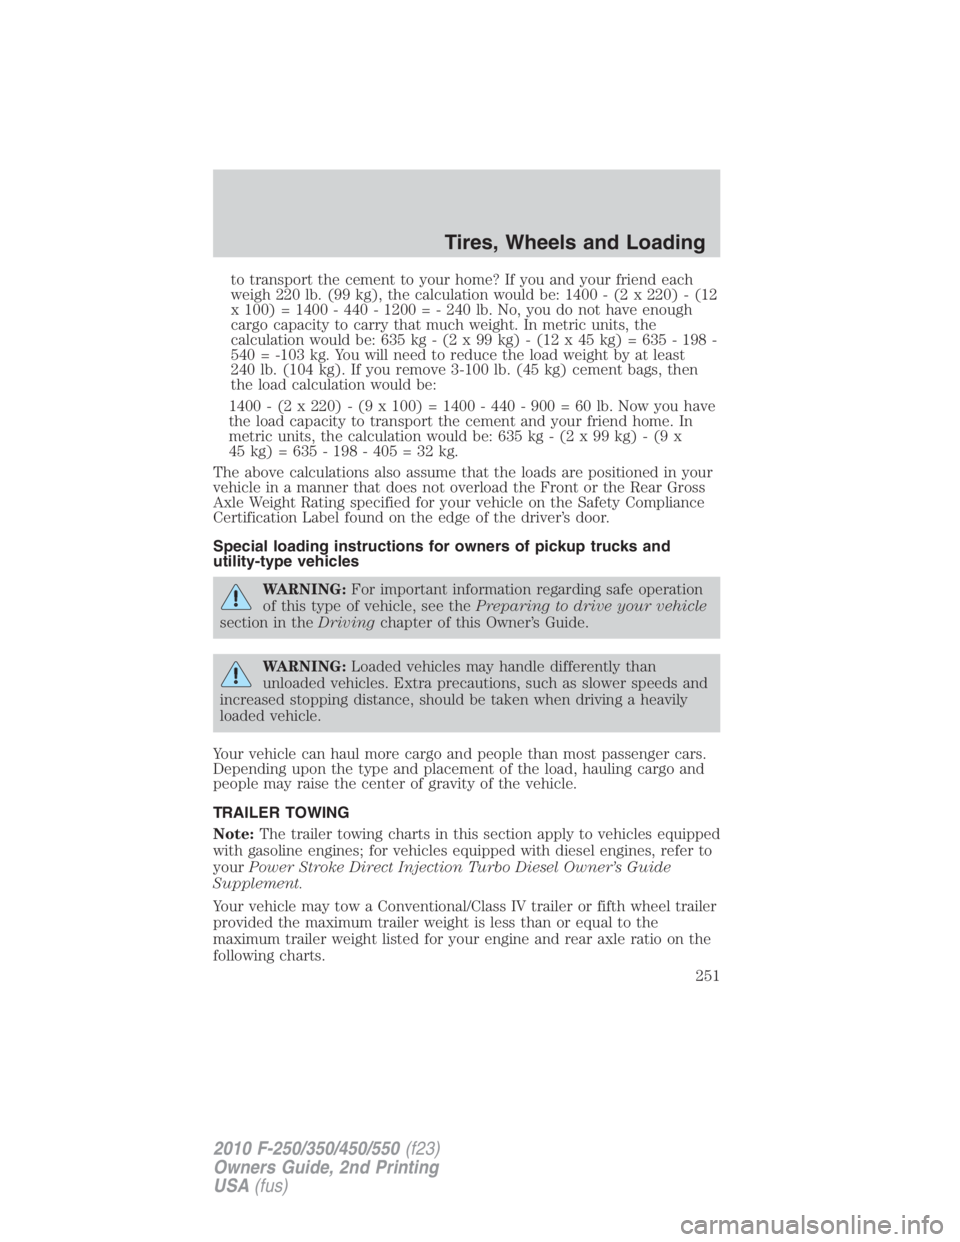
to transport the cement to your home? If you and your friend each
weigh 220 lb. (99 kg), the calculation would be: 1400 - (2 x 220) - (12
x 100) = 1400 - 440 - 1200 = - 240 lb. No, you do not have enough
cargo capacity to carry that much weight. In metric units, the
calculation would be: 635 kg - (2 x 99 kg) - (12 x 45 kg) = 635 - 198 -
540 = -103 kg. You will need to reduce the load weight by at least
240 lb. (104 kg). If you remove 3-100 lb. (45 kg) cement bags, then
the load calculation would be:
1400 - (2 x 220) - (9 x 100) = 1400 - 440 - 900 = 60 lb. Now you have
the load capacity to transport the cement and your friend home. In
metric units, the calculation would be: 635 kg - (2 x 99 kg) - (9 x
45 kg) = 635 - 198 - 405 = 32 kg.
The above calculations also assume that the loads are positioned in your
vehicle in a manner that does not overload the Front or the Rear Gross
Axle Weight Rating specified for your vehicle on the Safety Compliance
Certification Label found on the edge of the driver’s door.
Special loading instructions for owners of pickup trucks and
utility-type vehicles
WARNING: For important information regarding safe operation
of this type of vehicle, see the Preparing to drive your vehicle
section in the Driving chapter of this Owner’s Guide.
WARNING: Loaded vehicles may handle differently than
unloaded vehicles. Extra precautions, such as slower speeds and
increased stopping distance, should be taken when driving a heavily
loaded vehicle.
Your vehicle can haul more cargo and people than most passenger cars.
Depending upon the type and placement of the load, hauling cargo and
people may raise the center of gravity of the vehicle.
TRAILER TOWING
Note: The trailer towing charts in this section apply to vehicles equipped
with gasoline engines; for vehicles equipped with diesel engines, refer to
your Power Stroke Direct Injection Turbo Diesel Owner’s Guide
Supplement.
Your vehicle may tow a Conventional/Class IV trailer or fifth wheel trailer
provided the maximum trailer weight is less than or equal to the
maximum trailer weight listed for your engine and rear axle ratio on the
following charts. Tires, Wheels and Loading
251
2010 F-250/350/450/550 (f23)
Owners Guide, 2nd Printing
USA (fus)
Page 252 of 408
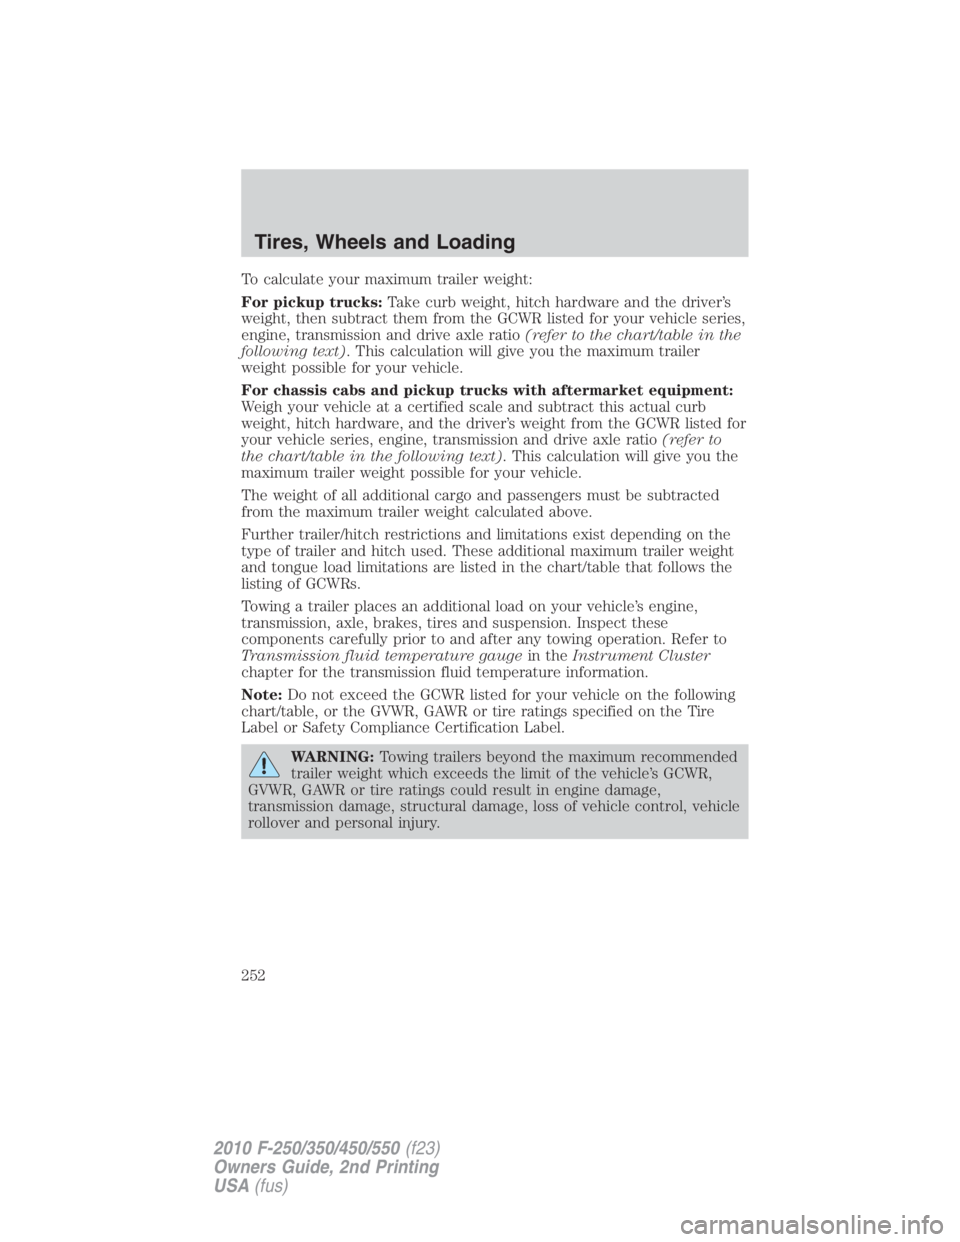
To calculate your maximum trailer weight:
For pickup trucks: Take curb weight, hitch hardware and the driver’s
weight, then subtract them from the GCWR listed for your vehicle series,
engine, transmission and drive axle ratio (refer to the chart/table in the
following text) . This calculation will give you the maximum trailer
weight possible for your vehicle.
For chassis cabs and pickup trucks with aftermarket equipment:
Weigh your vehicle at a certified scale and subtract this actual curb
weight, hitch hardware, and the driver’s weight from the GCWR listed for
your vehicle series, engine, transmission and drive axle ratio (refer to
the chart/table in the following text) . This calculation will give you the
maximum trailer weight possible for your vehicle.
The weight of all additional cargo and passengers must be subtracted
from the maximum trailer weight calculated above.
Further trailer/hitch restrictions and limitations exist depending on the
type of trailer and hitch used. These additional maximum trailer weight
and tongue load limitations are listed in the chart/table that follows the
listing of GCWRs.
Towing a trailer places an additional load on your vehicle’s engine,
transmission, axle, brakes, tires and suspension. Inspect these
components carefully prior to and after any towing operation. Refer to
Transmission fluid temperature gauge in the Instrument Cluster
chapter for the transmission fluid temperature information.
Note: Do not exceed the GCWR listed for your vehicle on the following
chart/table, or the GVWR, GAWR or tire ratings specified on the Tire
Label or Safety Compliance Certification Label.
WARNING: Towing trailers beyond the maximum recommended
trailer weight which exceeds the limit of the vehicle’s GCWR,
GVWR, GAWR or tire ratings could result in engine damage,
transmission damage, structural damage, loss of vehicle control, vehicle
rollover and personal injury.Tires, Wheels and Loading
252
2010 F-250/350/450/550 (f23)
Owners Guide, 2nd Printing
USA (fus)
Page 254 of 408
Hitches
WARNING: ON PICK-UP TRUCKS, the trailer hitch provided on
this vehicle enhances collision protection for the fuel system. DO
NOT REMOVE!
Do not mount a ball hitch (sometimes referred to as a trailer ball hitch
or trailer ball) to the bumper or use hitches that clamp onto the vehicle’s
bumper or attach to the axle. You must distribute the load in your trailer
so that 10–15% for conventional towing or 15-25% fifth-wheel towing of
the total weight of the trailer is on the tongue.
Hitch rating
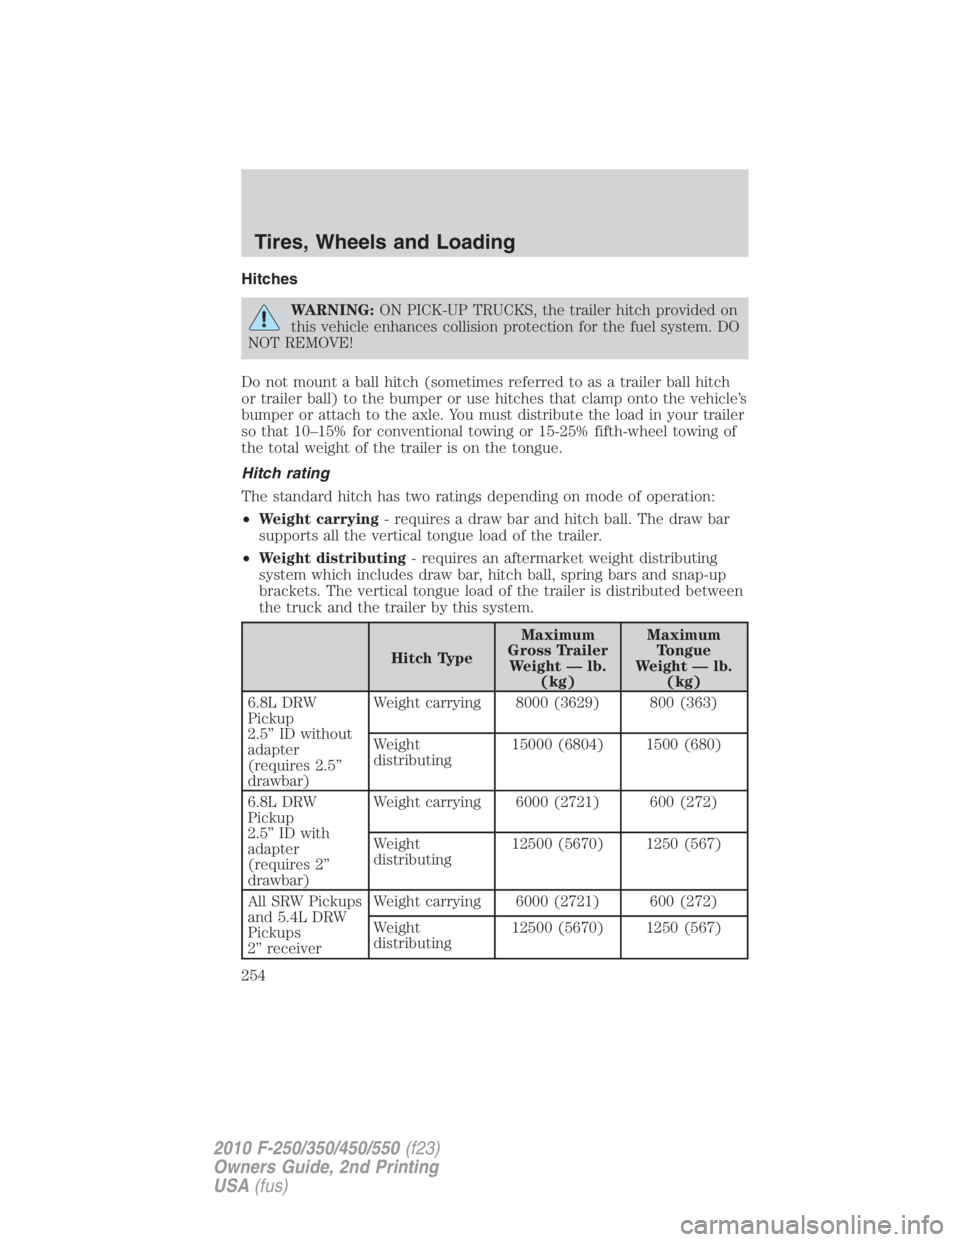
The standard hitch has two ratings depending on mode of operation:
• Weight carrying - requires a draw bar and hitch ball. The draw bar
supports all the vertical tongue load of the trailer.
• Weight distributing - requires an aftermarket weight distributing
system which includes draw bar, hitch ball, spring bars and snap-up
brackets. The vertical tongue load of the trailer is distributed between
the truck and the trailer by this system.
Hitch Type Maximum
Gross Trailer
Weight — lb.
(kg) Maximum
Tongue
Weight — lb.
(kg)
6.8L DRW
Pickup
2.5” ID without
adapter
(requires 2.5”
drawbar) Weight carrying 8000 (3629) 800 (363)
Weight
distributing 15000 (6804) 1500 (680)
6.8L DRW
Pickup
2.5” ID with
adapter
(requires 2”
drawbar) Weight carrying 6000 (2721) 600 (272)
Weight
distributing 12500 (5670) 1250 (567)
All SRW Pickups
and 5.4L DRW
Pickups
2” receiver Weight carrying 6000 (2721) 600 (272)
Weight
distributing 12500 (5670) 1250 (567)Tires, Wheels and Loading
254
2010 F-250/350/450/550 (f23)
Owners Guide, 2nd Printing
USA (fus)
Page 255 of 408
WARNING: Towing trailers beyond the maximum tongue weight
exceeds the limit of the towing system and could result in
vehicle structural damage, loss of vehicle control and personal injury.
Weight-distributing hitch
When hooking-up a trailer using a load-equalizing hitch, always use the
following procedure:
1. Park the unloaded vehicle on a level surface. With the ignition on and
all doors closed, allow the vehicle to stand for several minutes so that it
can level.
2. Measure the height of a reference point on the front and rear bumpers
at the center of the vehicle.
3. Attach the trailer to the vehicle and adjust the hitch equalizers so that
the front bumper height is within 1
� 2
” (13 mm) of the reference point.
After proper adjustment, the rear bumper should be no higher than in
Step 2.
WARNING: Do not adjust a weight-distributing hitch to any
position where the rear bumper of the vehicle is higher than it
was before attaching the trailer. Doing so will defeat the function of
the weight-distributing hitch, which may cause unpredictable handling,
and could result in serious personal injury.
Safety chains
Always connect the trailer’s safety chains to the frame or hook retainers
of the vehicle hitch. To connect the trailer’s safety chains, cross the
chains under the trailer tongue and allow slack for turning corners.
If you use a rental trailer, follow the instructions that the rental agency
gives to you.
Do not attach safety chains to the bumper.
Trailer brakes
Electric brakes and manual, automatic or surge-type trailer brakes are
safe if installed properly and adjusted to the manufacturer’s
specifications. The trailer brakes must meet local and Federal
regulations. Tires, Wheels and Loading
255
2010 F-250/350/450/550 (f23)
Owners Guide, 2nd Printing
USA (fus)
Page 261 of 408
equipped. Refer to Maintenance product specifications and
capacities in the Maintenance and Specifications chapter for the
proper axle lubricant. Remember that regardless of the rear axle
lubricant used, do not tow a trailer for the first 500 miles (800 km) of
a new vehicle, and that the first 500 miles (800 km) of towing be done
at no faster than 70 mph (113 km/h) with no full-throttle starts.
Loading
• Trailer loads should be evenly distributed front to back and left to
right.
• The load distribution within the trailer should be such that 10–15% of
the trailer weight is on the hitch (15–25% for fifth-wheel or gooseneck
towing).
• Never exceed truck, trailer, receiver, ball, tongue, tire or coupler
loading recommendations.
• Keep the center-of-gravity low for best handling.
Braking
• Anticipate the need to stop; allow much more distance and time to
stop than normal.
• Do not apply the trailer brakes for extended periods of time as they
can overheat and lose effectiveness.
• The trailer brakes must be inspected and serviced at intervals
specified by the manufacturer. This includes the shoes, drum and
trailer brake magnets.
• Electric brakes also require periodic adjustment to keep the shoes
properly spaced. If the brakes get hot when driving or if they will not
hold, chances are that they need adjustment.
Backing-up
• Practice backing-up, particularly if you are a novice. Turn the steering
wheel to the right to move the trailer’s rear end to the right.
• Sharp steering movements may cause the trailer to jackknife or go out
of control.
Tires
• Select tires that meet the trailer loading requirements.
• All trailer tires should be of the same size, and construction.
• Always check tow vehicle and trailer tire pressure before towing. Tires, Wheels and Loading
261
2010 F-250/350/450/550 (f23)
Owners Guide, 2nd Printing
USA (fus)
Page 271 of 408
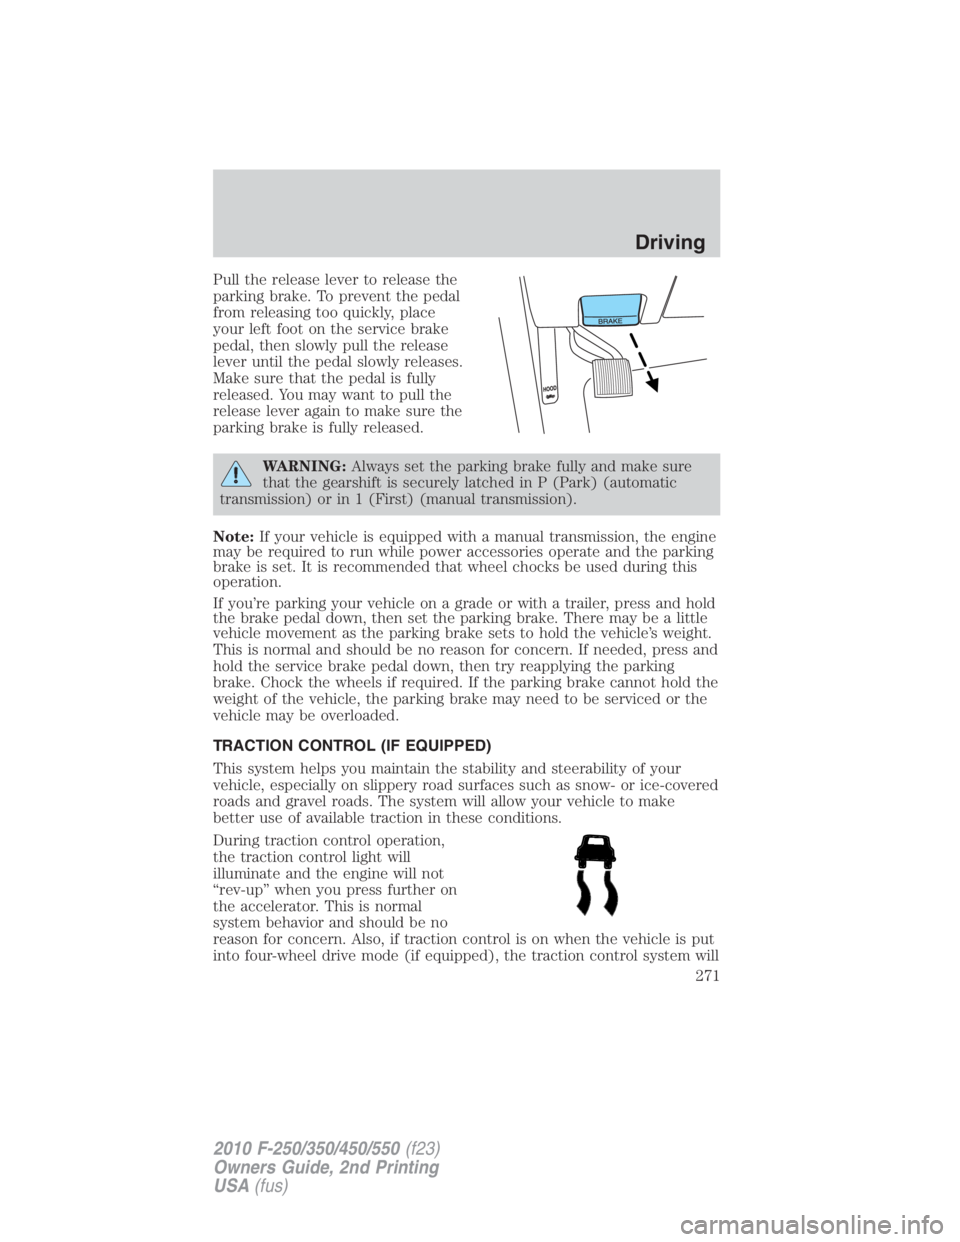
Pull the release lever to release the
parking brake. To prevent the pedal
from releasing too quickly, place
your left foot on the service brake
pedal, then slowly pull the release
lever until the pedal slowly releases.
Make sure that the pedal is fully
released. You may want to pull the
release lever again to make sure the
parking brake is fully released.
WARNING: Always set the parking brake fully and make sure
that the gearshift is securely latched in P (Park) (automatic
transmission) or in 1 (First) (manual transmission).
Note: If your vehicle is equipped with a manual transmission, the engine
may be required to run while power accessories operate and the parking
brake is set. It is recommended that wheel chocks be used during this
operation.
If you’re parking your vehicle on a grade or with a trailer, press and hold
the brake pedal down, then set the parking brake. There may be a little
vehicle movement as the parking brake sets to hold the vehicle’s weight.
This is normal and should be no reason for concern. If needed, press and
hold the service brake pedal down, then try reapplying the parking
brake. Chock the wheels if required. If the parking brake cannot hold the
weight of the vehicle, the parking brake may need to be serviced or the
vehicle may be overloaded.
TRACTION CONTROL (IF EQUIPPED)
This system helps you maintain the stability and steerability of your
vehicle, especially on slippery road surfaces such as snow- or ice-covered
roads and gravel roads. The system will allow your vehicle to make
better use of available traction in these conditions.
During traction control operation,
the traction control light will
illuminate and the engine will not
“rev-up” when you press further on
the accelerator. This is normal
system behavior and should be no
reason for concern. Also, if traction control is on when the vehicle is put
into four-wheel drive mode (if equipped), the traction control system will Driving
271
2010 F-250/350/450/550 (f23)
Owners Guide, 2nd Printing
USA (fus)
Page 300 of 408
the transmission vent tube is submerged may allow water into the
transmission and cause internal transmission damage.
Once through the water, always dry the brakes by moving your
vehicle slowly while applying light pressure on the brake pedal.
Wet brakes do not stop the vehicle as quickly as dry brakes.
SNOWPLOWING
Ford recommends that the Super Duty F-Series used for snow removal
include the Snow Plow Package Option.
Installing the snowplow
Weight limits and guidelines for selecting and installing the snowplow can
be found in the Ford Truck Body Builders Layout Book, Snowplow
section, found at www.fleet.ford.com/truckbbas. A typical installation
affects the following:
• Certification to government safety laws such as occupant protection
and airbag deployment, braking, and lighting. Look for an “Alterer’s
Label” on the vehicle from the snowplow installer certifying that the
installation meets all applicable Federal Motor Vehicle Safety
Standards (FMVSS).
• The Total Accessory Reserve Capacity (TARC) is shown on the lower
right side of the vehicle’s Safety Compliance Certification Label. This
applies to Ford-completed vehicles of 10,000 lb. (4,536 kg) GVWR or
less. This is the weight of permanently-attached auxiliary equipment,
such as snowplow frame-mounting hardware, that can be added to the
vehicle and satisfy Ford compliance certification to FMVSS. Exceeding
this weight may require the auxiliary equipment installer additional
safety certification responsibility. The Front Accessory Reserve
Capacity (FARC) is added for customer convenience.
• Rear ballast weight behind the rear axle may be required to prevent
exceeding the FGAWR, and provide front-to-rear weight balance for
proper braking and steering.
• Front wheel toe may require re-adjustment to prevent premature
uneven tire wear. Specifications are found in the Ford Workshop
Manual.
• Headlight aim may require re-adjustment.
• The tire air pressures recommended for general driving are found on
the vehicle’s Safety Certification Label. The maximum cold inflation
pressure for the tire and associated load rating is imprinted on the tireDriving
300
2010 F-250/350/450/550 (f23)
Owners Guide, 2nd Printing
USA (fus)