2010 FORD F450 stop start
[x] Cancel search: stop startPage 269 of 408

How to Use the Engine Block Heater
Ensure the receptacle terminals are clean and dry prior to use. To clean
them, use a dry cloth.
Depending on the type of factory installed equipment, your engine block
heater system may consume anywhere between 400 watts or 1000 watts
of power per hour. Your factory installed block heater system does not
have a thermostat; however, maximum temperature is attained after
approximately three hours of operation. Block heater operation longer
than three hours will not improve system performance and will
unnecessarily use additional electricity.
Make sure system is unplugged and properly stowed before driving the
vehicle. While not in use, make sure the protective cover seals the
prongs of the engine block heater cord plug.
BRAKES
Occasional brake noise is normal. If a metal-to-metal, continuous grinding
or continuous squeal sound is present, the brake linings may be worn-out
and should be inspected by an authorized dealer. If the vehicle has
continuous vibration or shudder in the steering wheel while braking, the
vehicle should be inspected by an authorized dealer.
Refer to Warning lights and
chimes in the Instrument Cluster
chapter for information on the brake
system warning light.
Four-wheel anti-lock brake system (ABS) (if equipped)
Your vehicle may be equipped with an anti-lock braking system (ABS).
This system helps you maintain steering control during emergency stops
by keeping the brakes from locking. The ABS operates by detecting the
onset of wheel lockup during brake application and compensates for this
tendency. Noise from the ABS pump motor and brake pedal pulsation
may be observed during ABS braking; any pulsation or mechanical noise
you may feel or hear is normal. In addition, the ABS performs a
self-check after you start the engine and begin to drive away. A brief
mechanical noise may be heard during this test. This is normal. P!
BRAKE Driving
269
2010 F-250/350/450/550 (f23)
Owners Guide, 2nd Printing
USA (fus)
Page 270 of 408
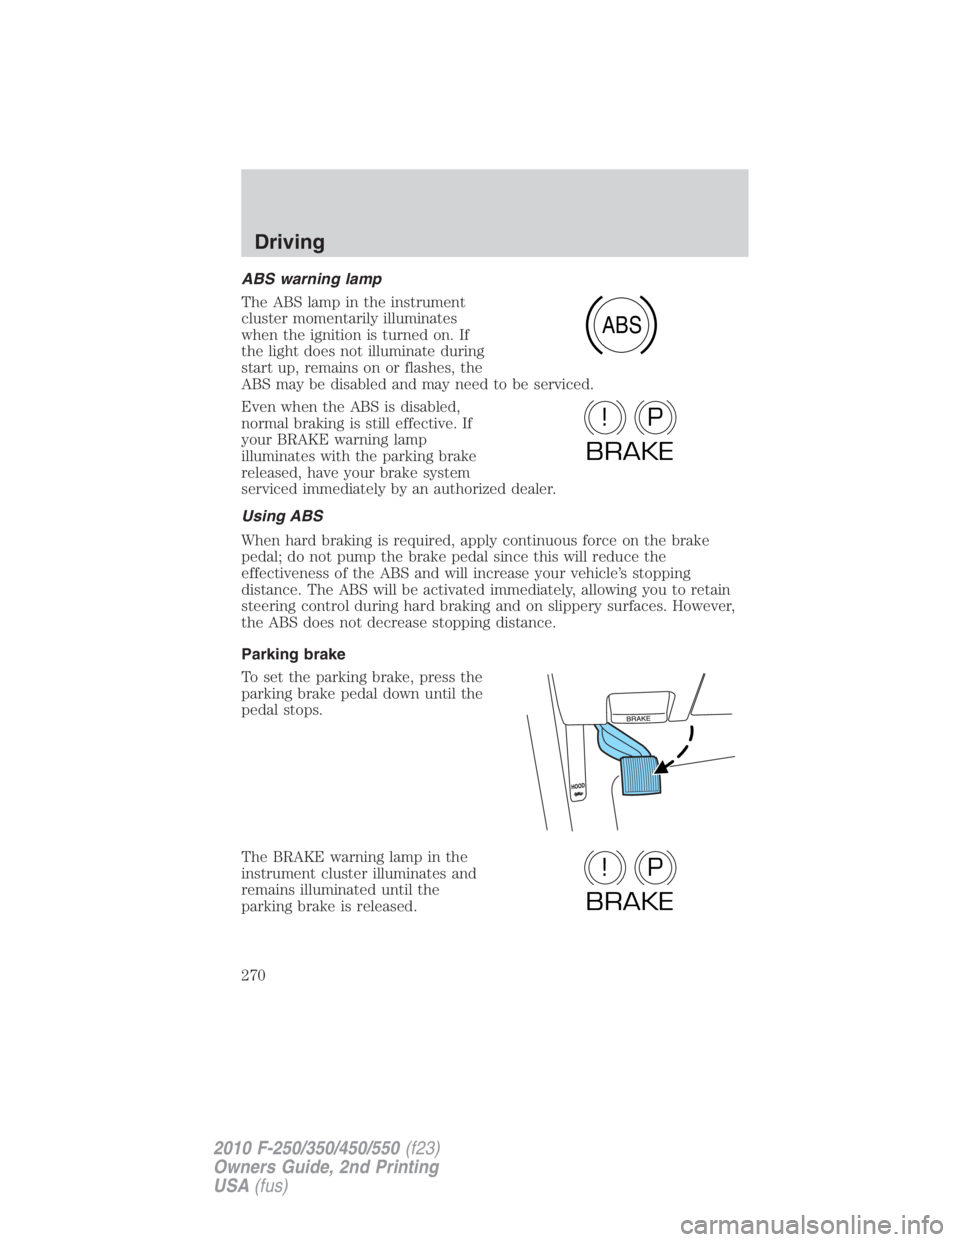
ABS warning lamp
The ABS lamp in the instrument
cluster momentarily illuminates
when the ignition is turned on. If
the light does not illuminate during
start up, remains on or flashes, the
ABS may be disabled and may need to be serviced.
Even when the ABS is disabled,
normal braking is still effective. If
your BRAKE warning lamp
illuminates with the parking brake
released, have your brake system
serviced immediately by an authorized dealer.
Using ABS
When hard braking is required, apply continuous force on the brake
pedal; do not pump the brake pedal since this will reduce the
effectiveness of the ABS and will increase your vehicle’s stopping
distance. The ABS will be activated immediately, allowing you to retain
steering control during hard braking and on slippery surfaces. However,
the ABS does not decrease stopping distance.
Parking brake
To set the parking brake, press the
parking brake pedal down until the
pedal stops.
The BRAKE warning lamp in the
instrument cluster illuminates and
remains illuminated until the
parking brake is released. ABS
P!
BRAKE
P!
BRAKEDriving
270
2010 F-250/350/450/550 (f23)
Owners Guide, 2nd Printing
USA (fus)
Page 274 of 408

WARNING: Loaded vehicles, with a higher center of gravity,
may handle differently than unloaded vehicles. Do not overload
your vehicle and use extra precautions, such as driving at slower
speeds, avoiding abrupt steering changes and allowing for increased
stopping distance, when driving a heavily loaded vehicle. Over-loading
or loading the vehicle improperly can deteriorate handling capability
and contribute to loss of vehicle control and vehicle rollover.
BRAKE-SHIFT INTERLOCK
This vehicle is equipped with a brake-shift interlock feature that prevents
the gearshift lever from being moved from P (Park) when the ignition is
in the 3 (on) position and the brake pedal is not pressed.
If you cannot move the gearshift lever out of P (Park) with ignition in
the on position and the brake pedal pressed, it is possible that a fuse has
blown or the vehicle’s brakelamps are not operating properly. Refer to
Fuses and relays in the Roadside Emergencies chapter.
If the fuse is not blown and the brakelamps are working properly, the
following procedure will allow you to move the gearshift lever from P
(Park):
1. Apply the parking brake. Turn the
ignition key to 1 (off), then remove
the key. Locate the access cover
plate for the brake-shift interlock
override. It is located on top of the
steering column shroud.
2. Apply the brake. Use a tool (or a
small screwdriver) to pry out the
access cover. Insert the tool into the
access hole and slide the white
override button towards the left.
Move the gear shift lever into N
(Neutral) while holding the white
override disc towards the left.
3. Start the vehicle.Driving
274
2010 F-250/350/450/550 (f23)
Owners Guide, 2nd Printing
USA (fus)
Page 276 of 408
To put your vehicle in P (Park):
• Come to a complete stop
• Move the gearshift lever and securely latch it in P (Park)
WARNING: Always set the parking brake fully and make sure
the gearshift is latched in P (Park). Turn the ignition to the off
position and remove the key whenever you leave your vehicle.
R (Reverse)
With the gearshift lever in R (Reverse), the vehicle will move backward.
Always come to a complete stop before shifting into and out of R
(Reverse).
N (Neutral)
With the gearshift lever in N (Neutral), the vehicle can be started and is
free to roll. Hold the brake pedal down while in this position.
D (Overdrive) with Tow/Haul Off
D (Overdrive) with tow/haul off is the normal driving position for the
best fuel economy. The overdrive function allows automatic upshifts and
downshifts through gears one through five.
D (Overdrive) with Tow/Haul On
The tow/haul feature improves transmission operation when towing a
trailer or a heavy load. All transmission gear ranges are available when
using tow/haul.
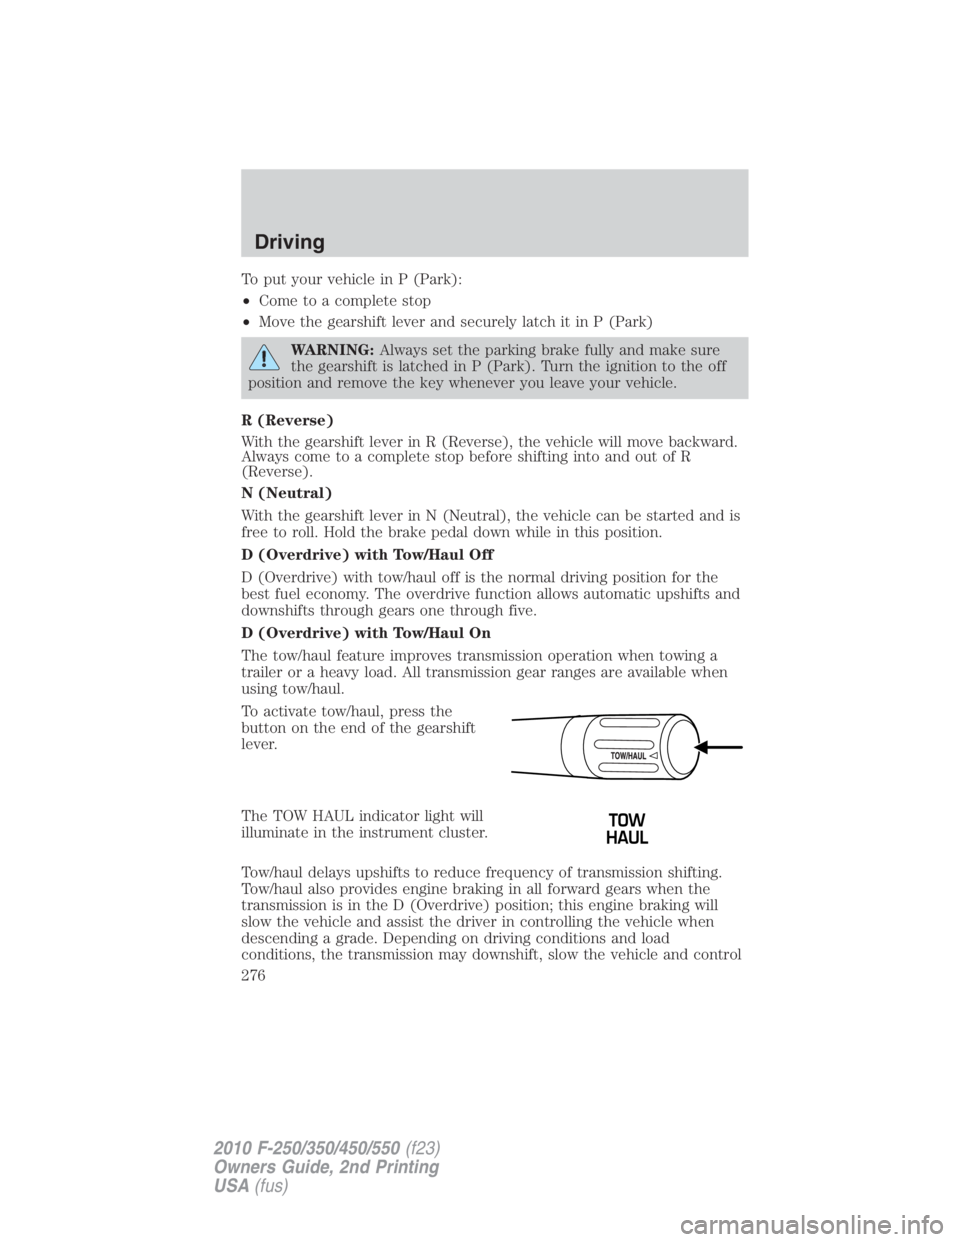
To activate tow/haul, press the
button on the end of the gearshift
lever.
The TOW HAUL indicator light will
illuminate in the instrument cluster.
Tow/haul delays upshifts to reduce frequency of transmission shifting.
Tow/haul also provides engine braking in all forward gears when the
transmission is in the D (Overdrive) position; this engine braking will
slow the vehicle and assist the driver in controlling the vehicle when
descending a grade. Depending on driving conditions and load
conditions, the transmission may downshift, slow the vehicle and controlDriving
276
2010 F-250/350/450/550 (f23)
Owners Guide, 2nd Printing
USA (fus)
Page 277 of 408
the vehicle speed when descending a hill, without the accelerator pedal
being pressed. The amount of downshift braking provided will vary based
upon the amount the brake pedal is depressed.
To deactivate the tow/haul feature and return to normal driving mode,
press the button on the end of the gearshift lever. The TOW HAUL light
will no longer be illuminated.
When you shut-off and restart the engine, the transmission will
automatically return to normal D (Overdrive) mode (Tow/Haul OFF).
WARNING: Do not use the tow/haul feature when driving in icy
or slippery conditions as the increased engine braking can cause
the rear wheels to slide and the vehicle to swing around with the
possible loss of vehicle control.
3 (Third)
Transmission starts and operates in third gear only.
Used for improved traction on slippery roads. Selecting 3 (Third)
provides engine braking.
2 (Second)
Use 2 (Second) to start-up on slippery roads or to provide additional
engine braking on downgrades.
1 (First)
• Provides maximum engine braking.
• Allows upshifts by moving gearshift lever.
• The transmission will not downshift into 1 (First) at high speeds; it
will downshift to a lower gear and then shift into 1 (First) when the
vehicle reaches slower speeds.
Forced downshifts
• Allowed in D (Overdrive) or D (Drive).
• Press the accelerator to the floor.
• Allows transmission to select an appropriate gear.
If your vehicle gets stuck in mud or snow
If your vehicle gets stuck in mud or snow, it may be rocked out by
shifting between forward and reverse gears, stopping between shifts in a
steady pattern. Press lightly on the accelerator in each gear.
Do not rock the vehicle if the engine is not at normal operating
temperature or damage to the transmission may occur. Driving
277
2010 F-250/350/450/550 (f23)
Owners Guide, 2nd Printing
USA (fus)
Page 286 of 408
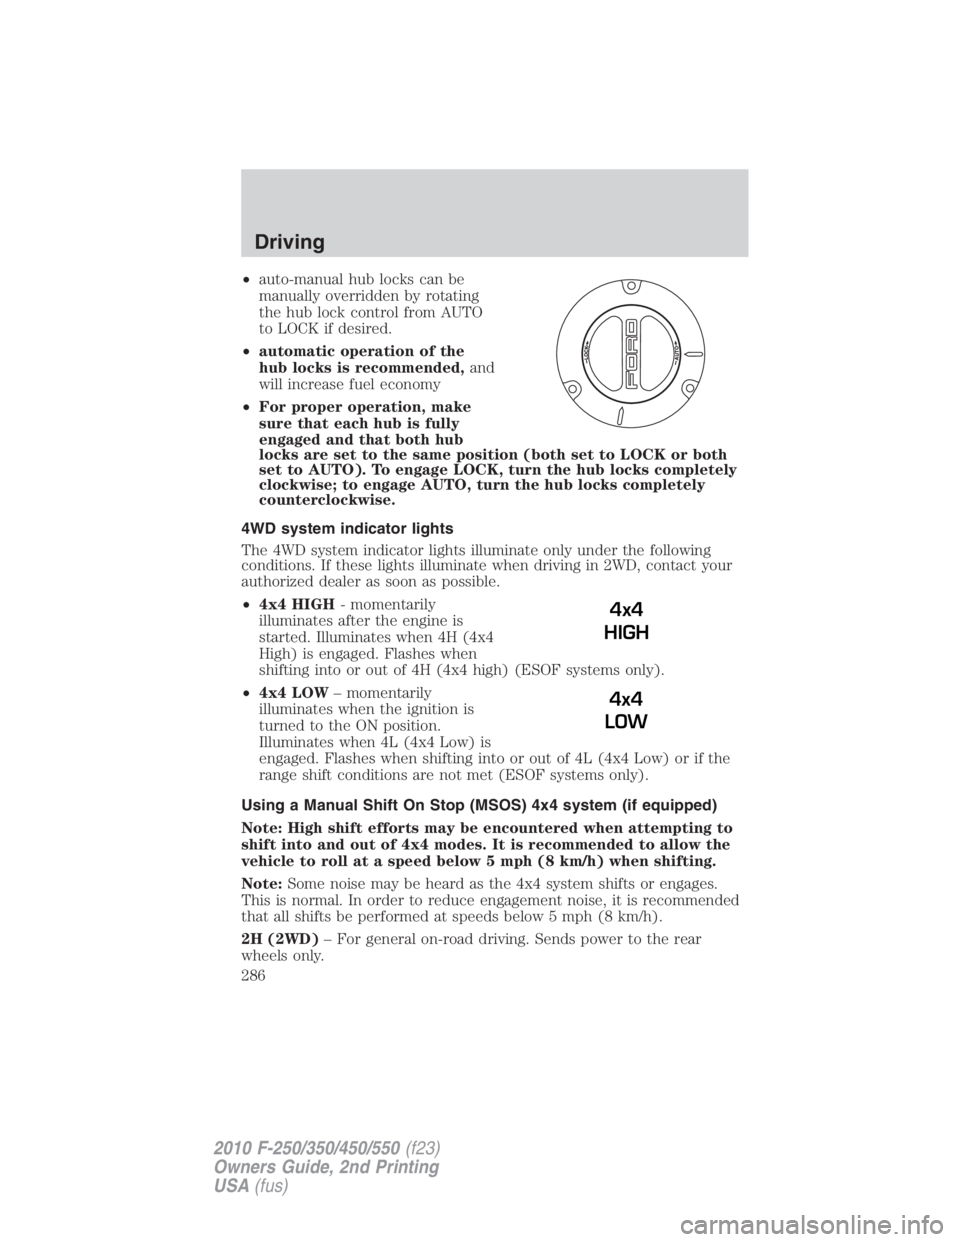
• auto-manual hub locks can be
manually overridden by rotating
the hub lock control from AUTO
to LOCK if desired.
• automatic operation of the
hub locks is recommended, and
will increase fuel economy
• For proper operation, make
sure that each hub is fully
engaged and that both hub
locks are set to the same position (both set to LOCK or both
set to AUTO). To engage LOCK, turn the hub locks completely
clockwise; to engage AUTO, turn the hub locks completely
counterclockwise.
4WD system indicator lights
The 4WD system indicator lights illuminate only under the following
conditions. If these lights illuminate when driving in 2WD, contact your
authorized dealer as soon as possible.
• 4x4 HIGH - momentarily
illuminates after the engine is
started. Illuminates when 4H (4x4
High) is engaged. Flashes when
shifting into or out of 4H (4x4 high) (ESOF systems only).
• 4x4 LOW – momentarily
illuminates when the ignition is
turned to the ON position.
Illuminates when 4L (4x4 Low) is
engaged. Flashes when shifting into or out of 4L (4x4 Low) or if the
range shift conditions are not met (ESOF systems only).
Using a Manual Shift On Stop (MSOS) 4x4 system (if equipped)
Note: High shift efforts may be encountered when attempting to
shift into and out of 4x4 modes. It is recommended to allow the
vehicle to roll at a speed below 5 mph (8 km/h) when shifting.
Note: Some noise may be heard as the 4x4 system shifts or engages.
This is normal. In order to reduce engagement noise, it is recommended
that all shifts be performed at speeds below 5 mph (8 km/h).
2H (2WD) – For general on-road driving. Sends power to the rear
wheels only. 4x4
HIGH
4x4
LOWDriving
286
2010 F-250/350/450/550 (f23)
Owners Guide, 2nd Printing
USA (fus)
Page 298 of 408
Should you start to slide while driving on snowy or icy roads, turn the
steering wheel in the direction of the slide until you regain control.
Avoid sudden applications of power and quick changes of direction on
snow and ice. Apply the accelerator slowly and steadily when starting
from a full stop.
Avoid sudden braking as well. Although a 4WD vehicle may accelerate
better than a two-wheel drive vehicle in snow and ice, it won’t stop any
faster, because as in other vehicles, braking occurs at all four wheels. Do
not become overconfident as to road conditions.
Make sure you allow sufficient distance between you and other vehicles
for stopping. Drive slower than usual and consider using one of the lower
gears. In emergency stopping situations, avoid locking of the wheels. Use
a “squeeze” technique, push on the brake pedal with a steadily increasing
force which allows the wheels to brake yet continue to roll so that you
may steer in the direction you want to travel. If you lock the wheels,
release the brake pedal and repeat the squeeze technique. If your vehicle
is equipped with a Four Wheel Anti-Lock Brake System (ABS), apply the
brake steadily. Do not “pump” the brakes. Refer to the Brakes section of
this chapter for additional information on the operation of the anti-lock
brake system.
WARNING: If you are driving in slippery conditions that require
tire cables, then it is critical that you drive cautiously. Keep
speeds down, allow for longer stopping distances and avoid aggressive
steering to reduce the chances of a loss of vehicle control which can
lead to serious injury or death. If the rear end of the vehicle slides
while cornering, steer in the direction of the slide until you regain
control of the vehicle.
Maintenance and Modifications
The suspension and steering systems on your vehicle have been designed
and tested to provide predictable performance whether loaded or empty
and durable load carrying capability. For this reason, Ford Motor
Company strongly recommends that you do not make modifications such
as adding or removing parts (such as lift kits or stabilizer bars) or by
using replacement parts not equivalent to the original factory equipment.
Any modifications to a vehicle that raise the center of gravity can make
it more likely the vehicle will roll over as a result of a loss of control.
Ford Motor Company recommends that caution be used with any vehicle
equipped with a high load or device (such as ladder racks or pickup box
cover).Driving
298
2010 F-250/350/450/550 (f23)
Owners Guide, 2nd Printing
USA (fus)
Page 305 of 408
Note: With extended use, the flasher may run down your battery.
FUEL PUMP SHUT-OFF SWITCH
This device stops the electric fuel pump from sending fuel to the engine
when your vehicle has had a substantial jolt.
After an accident, if the engine cranks but does not start, this switch
may have been activated.
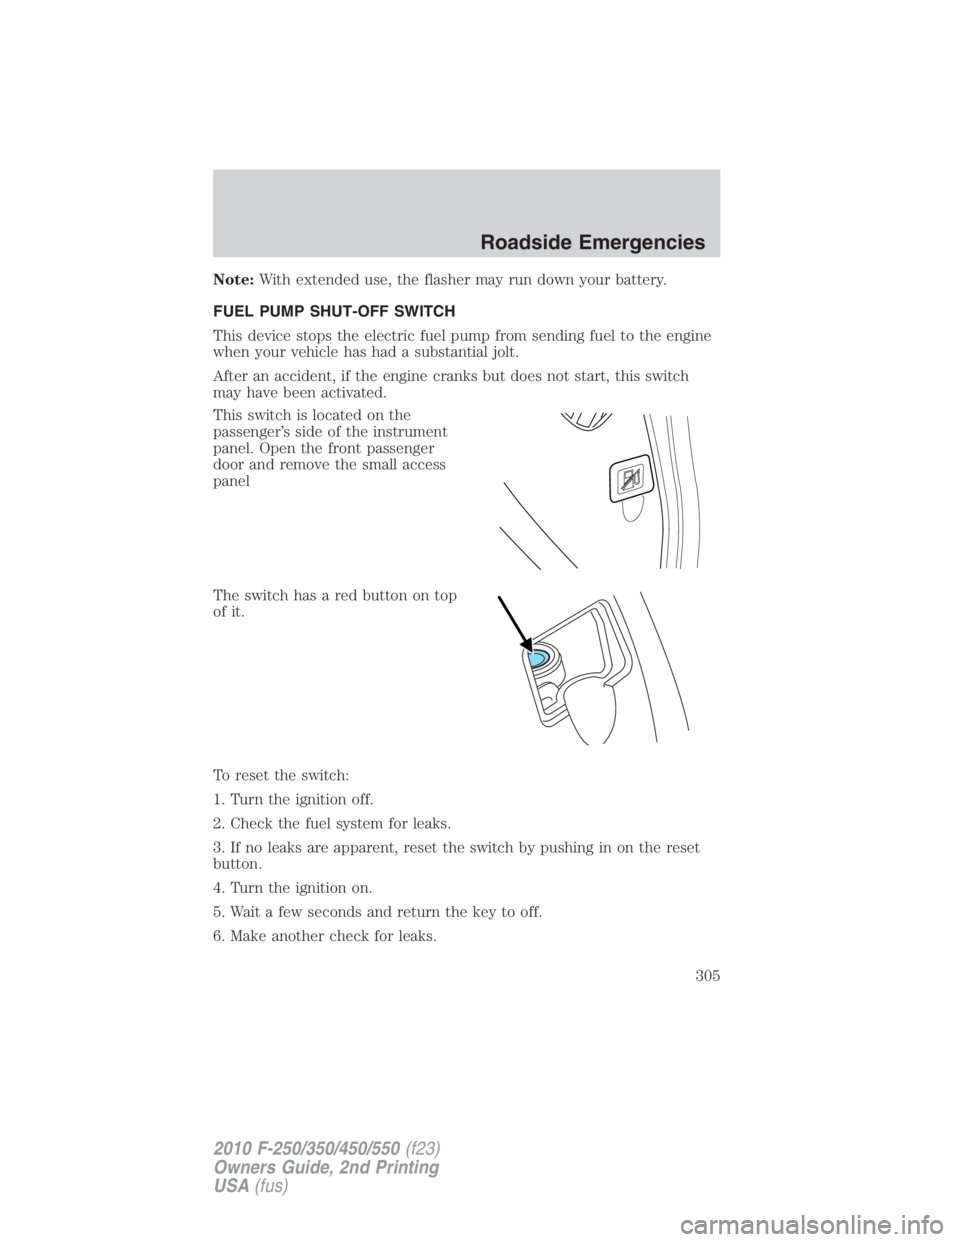
This switch is located on the
passenger’s side of the instrument
panel. Open the front passenger
door and remove the small access
panel
The switch has a red button on top
of it.
To reset the switch:
1. Turn the ignition off.
2. Check the fuel system for leaks.
3. If no leaks are apparent, reset the switch by pushing in on the reset
button.
4. Turn the ignition on.
5. Wait a few seconds and return the key to off.
6. Make another check for leaks. Roadside Emergencies
305
2010 F-250/350/450/550 (f23)
Owners Guide, 2nd Printing
USA (fus)