2010 FORD F250 SUPER DUTY warning
[x] Cancel search: warningPage 239 of 408
To restore the full functionality of the Tire Pressure Monitoring System,
have the damaged road wheel/tire repaired and remounted on your
vehicle. For additional information, refer to Changing tires with TPMS
in this section.
When you believe your system is not operating properly
The main function of the Tire Pressure Monitoring System is to warn you
when your tires need air. It can also warn you in the event the system is
no longer capable of functioning as intended. Please refer to the
following chart for information concerning your Tire Pressure Monitoring
System:
Low Tire Pres-
sure Warning
Light Possible
cause Customer Action Required
Solid Warning
Light Tire(s)
under-
inflated 1. Check your tire pressure to ensure
tires are properly inflated; refer to
Inflating your tires in this chapter.
2. After inflating your tires to the
manufacturer’s recommended infla-
tion pressure as shown on the Tire
Label (located on the edge of driver’s
door or the B-Pillar), the vehicle
must be driven for at least two min-
utes over 20 mph (32 km/h) before
the light will turn OFF.
Spare tire in
use Your temporary spare tire is in use.
Repair the damaged road wheel/tire
and reinstall it on the vehicle to re-
store system functionality. For a de-
scription on how the system func-
tions, refer to When your temporary
spare tire is installed in this section.
TPMS mal-
function If your tires are properly inflated and
your spare tire is not in use and the
light remains ON, have the system
inspected by your authorized dealer.
Tire rotation
without sen-
sor training On vehicles with different front and
rear tire pressures, the TPMS system
must be retrained following every tire
rotation. Refer to Tire rotation in
this chapter.Tires, Wheels and Loading
239
2010 F-250/350/450/550 (f23)
Owners Guide, 2nd Printing
USA (fus)
Page 240 of 408
Low Tire Pres-
sure Warning
Light Possible
cause Customer Action Required
Flashing Warning
Light Spare tire in
use Your temporary spare tire is in use.
Repair the damaged road wheel and
re-mount it on the vehicle to restore
system functionality. For a descrip-
tion of how the system functions un-
der these conditions, refer to When
your temporary spare tire is in-
stalled in this section.
TPMS mal-
function If your tires are properly inflated and
your spare tire is not in use and the
TPMS warning light still flashes, have
the system inspected by your autho-
rized dealer.
When inflating your tires
When putting air into your tires (such as at a gas station or in your
garage), the Tire Pressure Monitoring System may not respond
immediately to the air added to your tires.
It may take up to two minutes of driving over 20 mph (32 km/h) for the
light to turn OFF after you have filled your tires to the recommended
inflation pressure.
How temperature affects your tire pressure
The Tire Pressure Monitoring System (TPMS) monitors tire pressure in
each pneumatic tire. While driving in a normal manner, a typical
passenger tire inflation pressure may increase approximately 2 to 4 psi
(14 to 28 kPa) from a cold start situation. If the vehicle is stationary
over night with the outside temperature significantly lower than the
daytime temperature, the tire pressure may decrease approximately 3 psi
(20.7 kPa) for a drop of 30°F (16.6°C) in ambient temperature. This
lower pressure value may be detected by the TPMS as being significantly
lower than the recommended inflation pressure and activate the TPMS
warning for low tire pressure. If the low tire pressure warning light is
ON, visually check each tire to verify that no tire is flat. (If one or more
tires are flat, repair as necessary.) Check air pressure in the road tires. If
any tire is under-inflated, carefully drive the vehicle to the nearest
location where air can be added to the tires. Inflate all the tires to the
recommended inflation pressure.Tires, Wheels and Loading
240
2010 F-250/350/450/550 (f23)
Owners Guide, 2nd Printing
USA (fus)
Page 241 of 408

TPMS reset procedure
The TPMS reset procedure needs to be performed after each tire
rotation on vehicles that require different recommended tire
pressures in the front tires as compared to the rear tires.
WARNING: To determine the required pressure(s) for your
vehicle – refer to the Safety Compliance Certification Label or
Tire Label located on the B-Pillar or the edge of the driver’s door. See
Vehicle loading in this chapter for more information.
Overview
To provide the vehicle’s load carrying capability, some vehicles require
different recommended tire pressures in the front tires as compared to
the rear tires. The Tire Pressure Monitoring System (TPMS) equipped on
these vehicles is designed to illuminate the Low Tire Pressure Warning
indicator at two different pressures; one for the front tires and one for
the rear tires.
Since tires need to be rotated to provide consistent performance and
maximum tire life, the Tire Pressure Monitoring System needs to know
when the tires are rotated to determine which set of tires are on the
front and which are on the rear. With this information, the system can
detect and properly warn of low tire pressures.
TPMS reset tips:
• To reduce the chances of interference from another vehicle, the TPMS
reset procedure should be performed at least 3 feet (1 meter) away
from another Ford Motor Company vehicle undergoing the TPMS reset
procedure at the same time.
• Do not wait more than two (2) minutes between resetting each tire
sensor or the system will timeout and the entire procedure will have
to be repeated on all four wheels.
• A double horn chirp indicates the need to repeat the procedure.
Performing the TPMS reset procedure
It is recommended that you read the entire procedure before attempting.
1. Drive the vehicle above 20 mph (32 km/h) for at least 2 minutes and
then park in a safe location where you can easily get to all four tires and
have access to an air pump.
2. Place the ignition in the off position and keep the key in the ignition. Tires, Wheels and Loading
241
2010 F-250/350/450/550 (f23)
Owners Guide, 2nd Printing
USA (fus)
Page 243 of 408

8. Remove the valve cap from the valve stem on the right rear tire.
Decrease the air pressure until the horn sounds.
9. Remove the valve cap from the valve stem on the left rear tire.
Decrease the air pressure until the horn sounds.
Training is complete after the horn sounds for the last tire trained
(driver’s side rear tire), the TPMS tell tale stops flashing, and the
message center (if equipped) displays:
TRAINING COMPLETE .
10. Turn the ignition off. If two short horn beeps are heard, the reset
procedure was unsuccessful and must be repeated.
If after repeating the procedure and two short beeps are heard when the
ignition is turned to off, seek assistance from your authorized dealer.
11. Set all four tires to the recommended air pressure as indicated on
the Safety Compliance Certification Label or Tire Label located on the
B-Pillar or the edge of the driver’s door. See Vehicle loading - with and
without a trailer in this chapter for more information.
SNOW TIRES AND CHAINS
WARNING: Snow tires must be the same size, load index, speed
rating as those originally provided by Ford. Use of any tire or
wheel not recommended by Ford can affect the safety and
performance of your vehicle, which could result in an increased risk of
loss of vehicle control, vehicle rollover, personal injury and death.
Additionally, the use of non-recommended tires and wheels could
cause steering, suspension, axle or transfer case/power transfer unit
failure.
Note: Do not use snow chains on vehicles with 20 inch wheels and tires.
The tires on your vehicle have all weather treads to provide traction in
rain and snow. However, in some climates, you may need to use snow
tires and chains. If you need to use chains, it is recommended that steel
wheels (of the same size and specifications) be used, as chains may chip
aluminum wheels. Tires, Wheels and Loading
243
2010 F-250/350/450/550 (f23)
Owners Guide, 2nd Printing
USA (fus)
Page 245 of 408
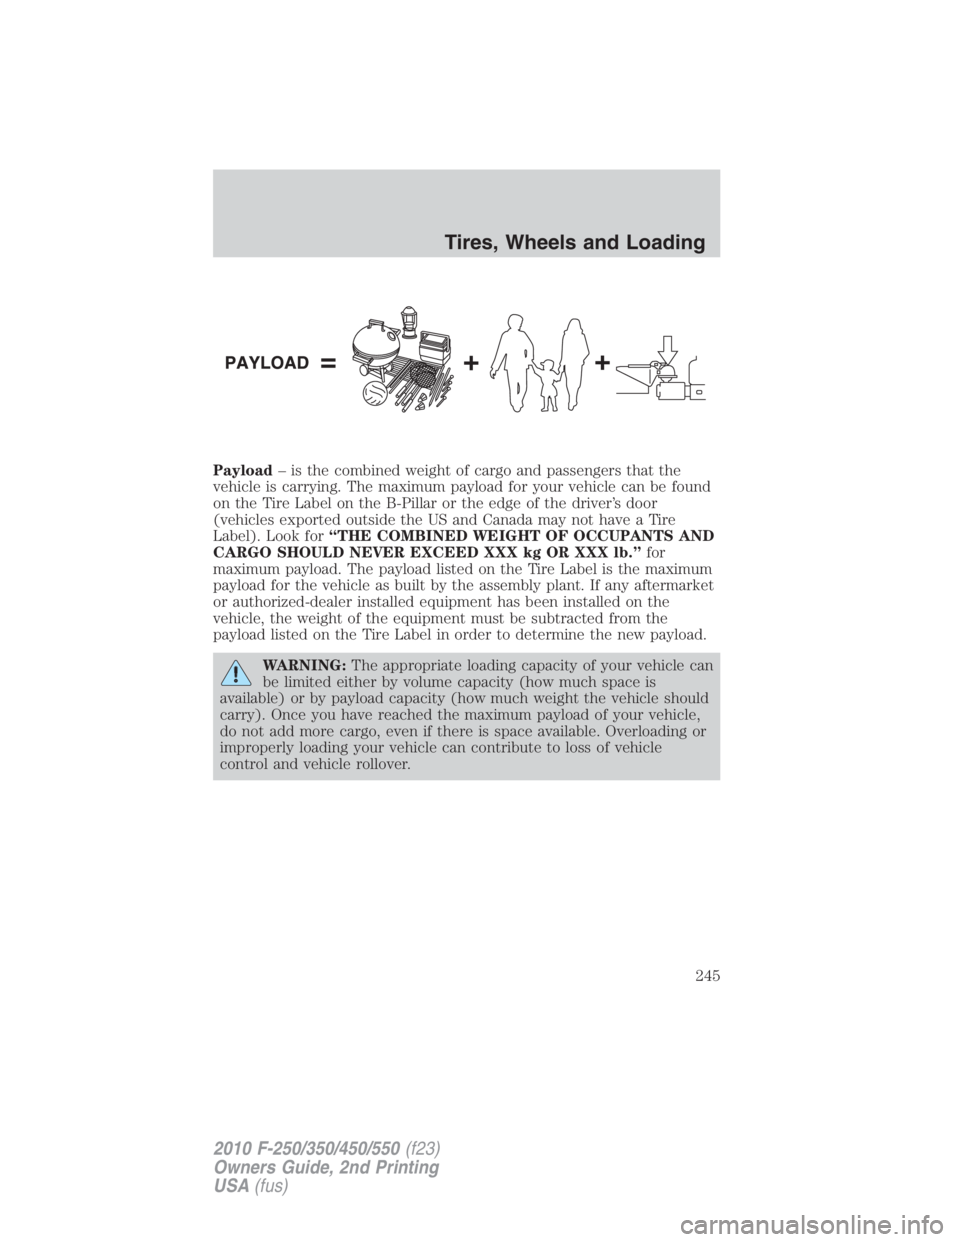
Payload – is the combined weight of cargo and passengers that the
vehicle is carrying. The maximum payload for your vehicle can be found
on the Tire Label on the B-Pillar or the edge of the driver’s door
(vehicles exported outside the US and Canada may not have a Tire
Label). Look for “THE COMBINED WEIGHT OF OCCUPANTS AND
CARGO SHOULD NEVER EXCEED XXX kg OR XXX lb.” for
maximum payload. The payload listed on the Tire Label is the maximum
payload for the vehicle as built by the assembly plant. If any aftermarket
or authorized-dealer installed equipment has been installed on the
vehicle, the weight of the equipment must be subtracted from the
payload listed on the Tire Label in order to determine the new payload.
WARNING: The appropriate loading capacity of your vehicle can
be limited either by volume capacity (how much space is
available) or by payload capacity (how much weight the vehicle should
carry). Once you have reached the maximum payload of your vehicle,
do not add more cargo, even if there is space available. Overloading or
improperly loading your vehicle can contribute to loss of vehicle
control and vehicle rollover. Tires, Wheels and Loading
245
2010 F-250/350/450/550 (f23)
Owners Guide, 2nd Printing
USA (fus)
Page 248 of 408
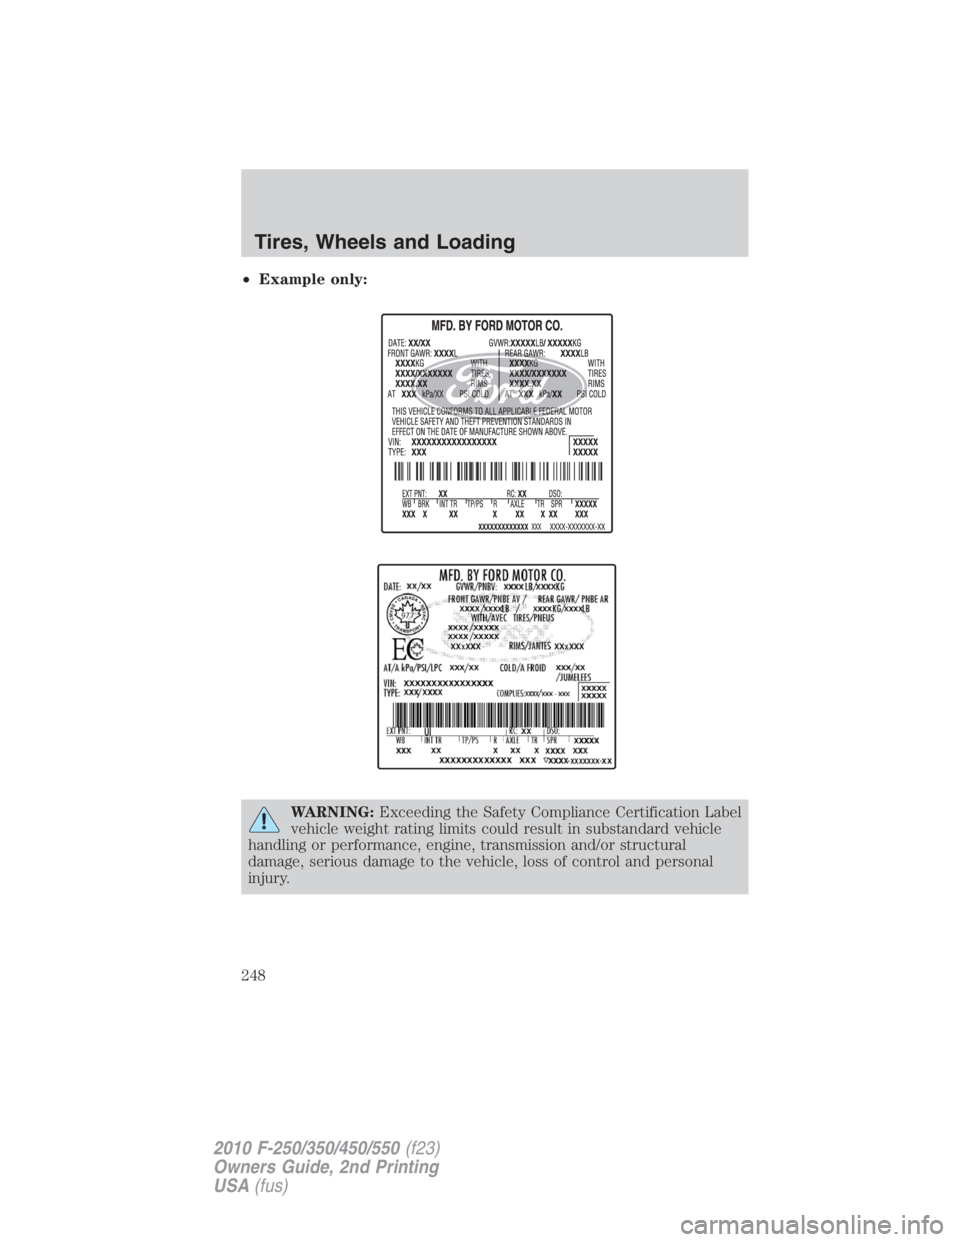
• Example only:
WARNING: Exceeding the Safety Compliance Certification Label
vehicle weight rating limits could result in substandard vehicle
handling or performance, engine, transmission and/or structural
damage, serious damage to the vehicle, loss of control and personal
injury.Tires, Wheels and Loading
248
2010 F-250/350/450/550 (f23)
Owners Guide, 2nd Printing
USA (fus)
Page 249 of 408
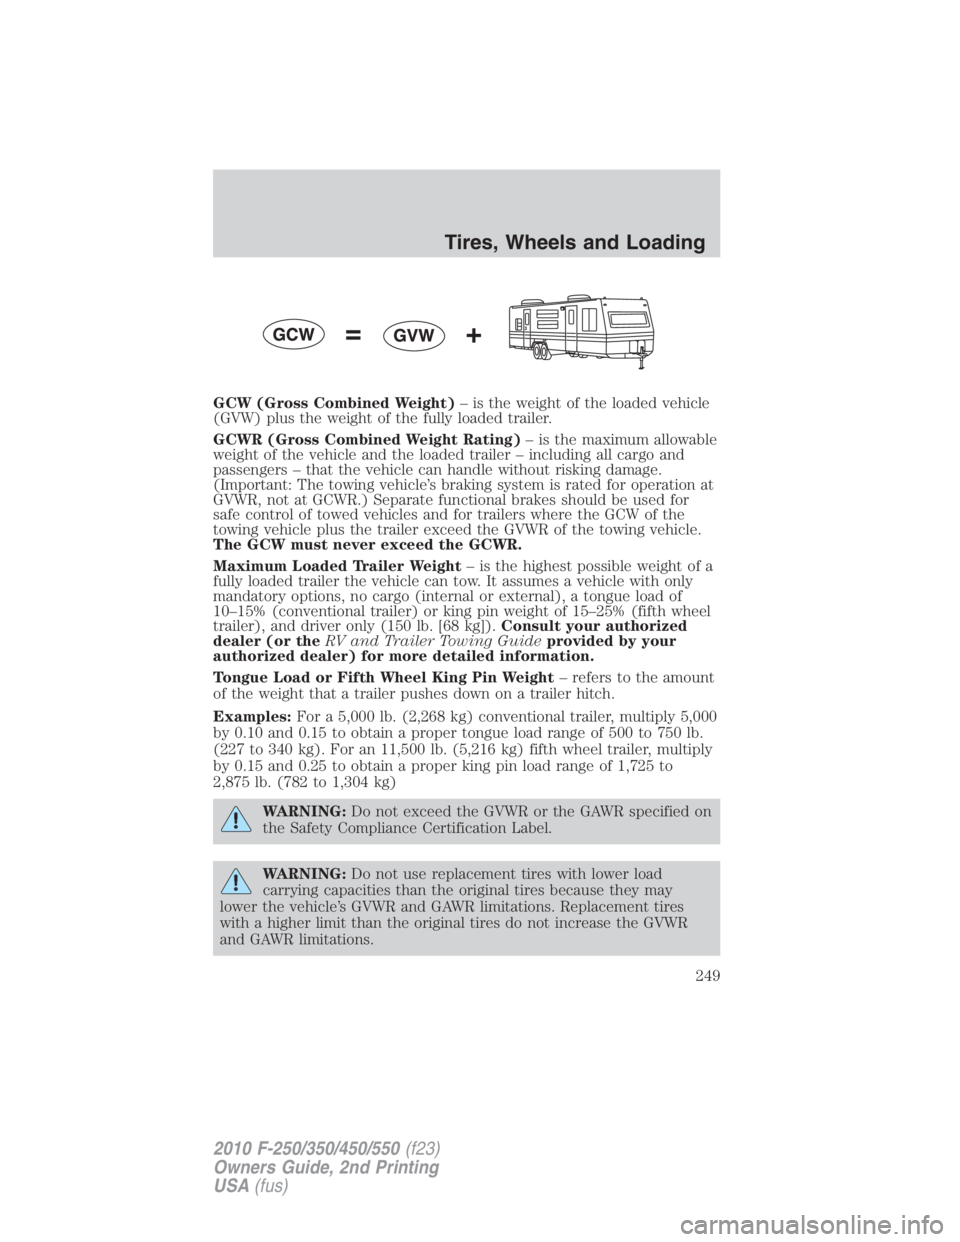
GCW (Gross Combined Weight) – is the weight of the loaded vehicle
(GVW) plus the weight of the fully loaded trailer.
GCWR (Gross Combined Weight Rating) – is the maximum allowable
weight of the vehicle and the loaded trailer – including all cargo and
passengers – that the vehicle can handle without risking damage.
(Important: The towing vehicle’s braking system is rated for operation at
GVWR, not at GCWR.) Separate functional brakes should be used for
safe control of towed vehicles and for trailers where the GCW of the
towing vehicle plus the trailer exceed the GVWR of the towing vehicle.
The GCW must never exceed the GCWR.
Maximum Loaded Trailer Weight – is the highest possible weight of a
fully loaded trailer the vehicle can tow. It assumes a vehicle with only
mandatory options, no cargo (internal or external), a tongue load of
10–15% (conventional trailer) or king pin weight of 15–25% (fifth wheel
trailer), and driver only (150 lb. [68 kg]). Consult your authorized
dealer (or the RV and Trailer Towing Guide provided by your
authorized dealer) for more detailed information.
Tongue Load or Fifth Wheel King Pin Weight – refers to the amount
of the weight that a trailer pushes down on a trailer hitch.
Examples: For a 5,000 lb. (2,268 kg) conventional trailer, multiply 5,000
by 0.10 and 0.15 to obtain a proper tongue load range of 500 to 750 lb.
(227 to 340 kg). For an 11,500 lb. (5,216 kg) fifth wheel trailer, multiply
by 0.15 and 0.25 to obtain a proper king pin load range of 1,725 to
2,875 lb. (782 to 1,304 kg)
WARNING: Do not exceed the GVWR or the GAWR specified on
the Safety Compliance Certification Label.
WARNING: Do not use replacement tires with lower load
carrying capacities than the original tires because they may
lower the vehicle’s GVWR and GAWR limitations. Replacement tires
with a higher limit than the original tires do not increase the GVWR
and GAWR limitations. Tires, Wheels and Loading
249
2010 F-250/350/450/550 (f23)
Owners Guide, 2nd Printing
USA (fus)
Page 250 of 408
WARNING: Exceeding any vehicle weight rating limitation could
result in serious damage to the vehicle and/or personal injury.
Steps for determining the correct load limit:
1. Locate the statement “The combined weight of occupants and cargo
should never exceed XXX kg or XXX lb.” on your vehicle’s placard.
2. Determine the combined weight of the driver and passengers that will
be riding in your vehicle.
3. Subtract the combined weight of the driver and passengers from XXX
kg or XXX lb.
4. The resulting figure equals the available amount of cargo and luggage
load capacity. For example, if the “XXX” amount equals 1,400 lb. and
there will be five 150 lb. passengers in your vehicle, the amount of
available cargo and luggage load capacity is 650 lb. (1400-750 (5 x 150) =
650 lb.). In metric units (635-340 (5 x 68) = 295 kg.)
5. Determine the combined weight of luggage and cargo being loaded on
the vehicle. That weight may not safely exceed the available cargo and
luggage load capacity calculated in Step 4.
6. If your vehicle will be towing a trailer, load from your trailer will be
transferred to your vehicle. Consult this manual to determine how this
reduces the available cargo and luggage load capacity of your vehicle.
The following gives you a few examples on how to calculate the available
amount of cargo and luggage load capacity:
• Another example for your vehicle with 1,400 lb. (635 kg) of cargo and
luggage capacity. You decide to go golfing. Is there enough load
capacity to carry you, 4 of your friends and all the golf bags? You and
four friends average 220 lb. (99 kg) each and the golf bags weigh
approximately 30 lb. (13.5 kg) each. The calculation would be: 1400 -
(5 x 220) - (5 x 30) = 1400 - 1100 - 150 = 150 lb. Yes, you have
enough load capacity in your vehicle to transport four friends and
your golf bags. In metric units, the calculation would be: 635 kg - (5 x
99 kg) - (5 x 13.5 kg) = 635 - 495 - 67.5 = 72.5 kg.
• A final example for your vehicle with 1,400 lb. (635 kg) of cargo and
luggage capacity. You and one of your friends decide to pick up
cement from the local home improvement store to finish that patio
you have been planning for the past 2 years. Measuring the inside of
the vehicle with the rear seat folded down, you have room for
12-100 lb. (45 kg) bags of cement. Do you have enough load capacityTires, Wheels and Loading
250
2010 F-250/350/450/550 (f23)
Owners Guide, 2nd Printing
USA (fus)