Page 118 of 408
Replacing brake/tail/turn/back-up lamp bulbs (chassis cabs only)
(if equipped)
1. Make sure the headlamps are off.
2. Remove the four screws and the
lamp lens from lamp assembly.
3. Carefully pull the bulb straight
out of the socket and push in the
new bulb.
Replacing cargo lamp and high-mount brakelamp bulbs
1. Make sure the headlamps are off.
2. Remove the screws and lamp
assembly from the vehicle as wiring
permits.
3. Remove the bulb socket by
rotating it counterclockwise.
4. Pull the bulb straight out of the
socket.
Lights
118
2010 F-250/350/450/550(f23)
Owners Guide, 2nd Printing
USA(fus)
Page 131 of 408

POWER ADJUSTABLE FOOT PEDALS (IF EQUIPPED)
The accelerator and brake pedal
should only be adjusted when the
vehicle is stopped and the gearshift
lever is in the P (Park) position.
Press and hold the rocker control to
adjust accelerator and brake pedal
toward you or away from you.
WARNING:Never adjust the accelerator and brake pedal with
feet on the pedals while the vehicle is moving.
The accelerator and brake pedal positions are saved when doing a
memory set function and can be recalled along with the vehicle
personality features when a memory position is selected through the
remote entry transmitter, keyless entry keypad or memory switch on the
driver’s door (if equipped with memory feature). Refer toMemory
seats/power mirrors/adjustable pedalsin theSeating and Safety
Restraintschapter.
SPEED CONTROL (IF EQUIPPED)
With speed control set, you can maintain a set speed without keeping
your foot on the accelerator pedal.
WARNING:Do not use the speed control in heavy traffic or on
roads that are winding, slippery or unpaved.
Driver Controls
131
2010 F-250/350/450/550(f23)
Owners Guide, 2nd Printing
USA(fus)
Page 132 of 408
Setting speed control
The controls for using your speed
control are located on the steering
wheel for your convenience.
1. Press the ON control and release
it.
2. Accelerate to the desired speed.
3. Press the SET + control and
release it.
4. Take your foot off the accelerator
pedal.
5. The indicator light
on the
instrument cluster will turn on.
Note:
•Vehicle speed may vary momentarily when driving up and down a
steep hill.
•If the vehicle speed increases above the set speed on a downhill, you
may want to apply the brakes to reduce the speed.
•If the vehicle speed decreases more than 10 mph (16 km/h) below
your set speed on an uphill, your speed control will disengage.
Driver Controls
132
2010 F-250/350/450/550(f23)
Owners Guide, 2nd Printing
USA(fus)
Page 133 of 408

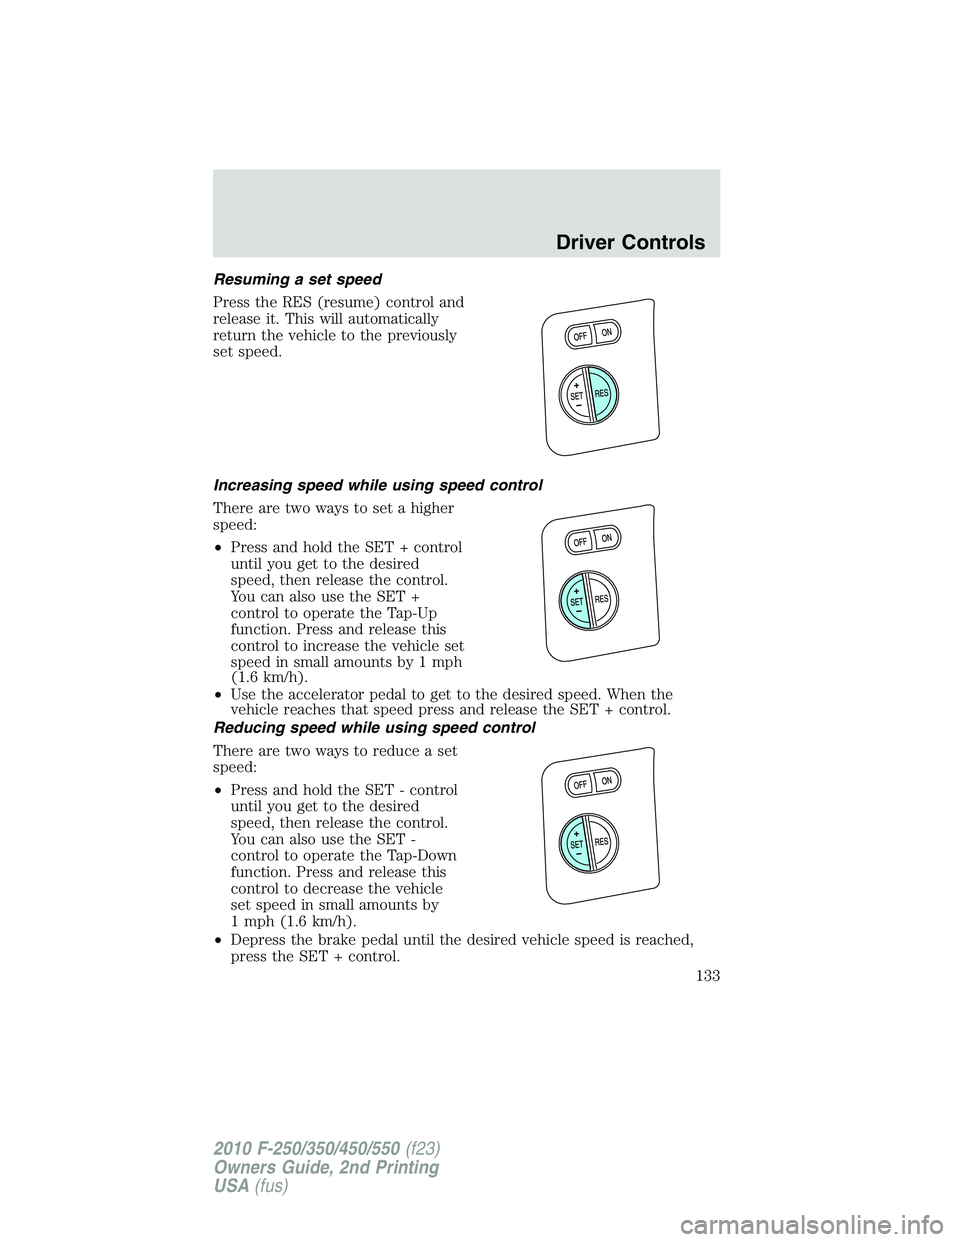
Resuming a set speed
Press the RES (resume) control and
release it. This will automatically
return the vehicle to the previously
set speed.
Increasing speed while using speed control
There are two ways to set a higher
speed:
•Press and hold the SET + control
until you get to the desired
speed, then release the control.
You can also use the SET +
control to operate the Tap-Up
function. Press and release this
control to increase the vehicle set
speed in small amounts by 1 mph
(1.6 km/h).
•Use the accelerator pedal to get to the desired speed. When the
vehicle reaches that speed press and release the SET + control.
Reducing speed while using speed control
There are two ways to reduce a set
speed:
•Press and hold the SET - control
until you get to the desired
speed, then release the control.
You can also use the SET -
control to operate the Tap-Down
function. Press and release this
control to decrease the vehicle
set speed in small amounts by
1 mph (1.6 km/h).
•Depress the brake pedal until the desired vehicle speed is reached,
press the SET + control.
Driver Controls
133
2010 F-250/350/450/550(f23)
Owners Guide, 2nd Printing
USA(fus)
Page 134 of 408
Turning off speed control
There are two ways to turn off the speed control:
•Depress the brake pedal. This will not erase your vehicle’s previously
set speed.
•Press the speed control OFF
control.
Note:When you turn off the speed
control or the ignition, your speed
control set speed memory is erased.
STEERING WHEEL CONTROLS (IF EQUIPPED)
These controls allow you to operate some radio and climate control
features.
Audio control features
Press MEDIA to select:
•AM, FM1, FM2
•CD (if equipped)
•DVD (if equipped)
•SAT1, SAT2 or SAT3 (Satellite
Radio mode, if equipped).
•LINE IN (Auxiliary input jack)
Driver Controls
134
2010 F-250/350/450/550(f23)
Owners Guide, 2nd Printing
USA(fus)
Page 156 of 408

Replacing lost remote entry transmitters
If you would like to have your remote entry transmitter reprogrammed
because you lost one, or would like to buy additional remote entry
transmitters, you can either reprogram them yourself, or takeall
remote entry transmittersto your authorized dealer for
reprogramming.
Note: If your vehicle is equipped with the memory seats/power
mirrors/adjustable pedals feature, you can associate a remote entry
transmitter to each memory position using this procedure. The first
transmitter that is programmed will recall Driver 1 settings, and the
second transmitter that is programmed will recall Driver 2 settings.
How to program your remote entry transmitters
You must haveall remote keyless entry keypads and remote entry
transmitters(maximum of four) available before beginning this
procedure.Note:Do not press the brake pedal anytime during this
sequencing, as doing so will invalidate the procedure.
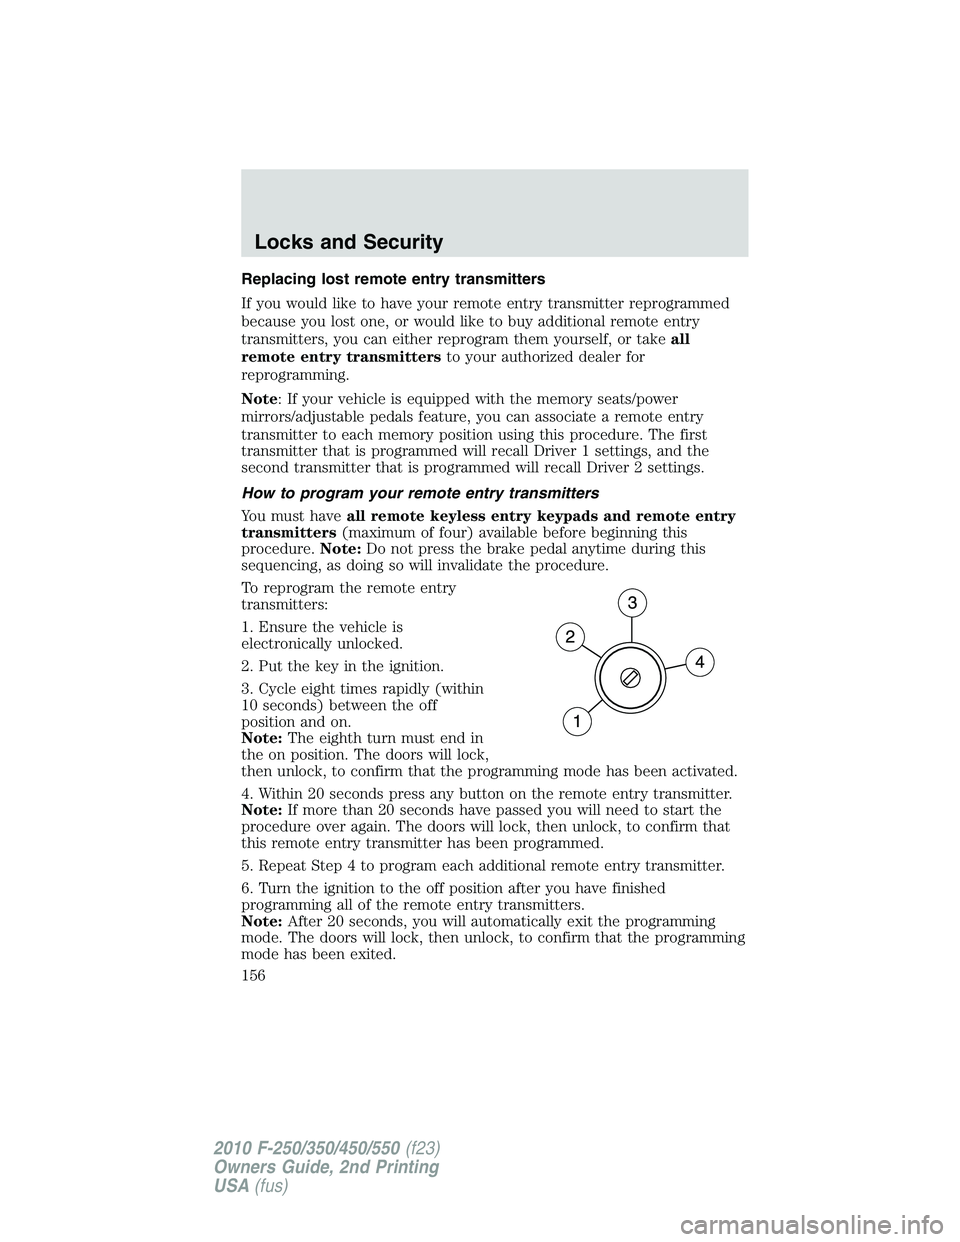
To reprogram the remote entry
transmitters:
1. Ensure the vehicle is
electronically unlocked.
2. Put the key in the ignition.
3. Cycle eight times rapidly (within
10 seconds) between the off
position and on.
Note:The eighth turn must end in
the on position. The doors will lock,
then unlock, to confirm that the programming mode has been activated.
4. Within 20 seconds press any button on the remote entry transmitter.
Note:If more than 20 seconds have passed you will need to start the
procedure over again. The doors will lock, then unlock, to confirm that
this remote entry transmitter has been programmed.
5. Repeat Step 4 to program each additional remote entry transmitter.
6. Turn the ignition to the off position after you have finished
programming all of the remote entry transmitters.
Note:After 20 seconds, you will automatically exit the programming
mode. The doors will lock, then unlock, to confirm that the programming
mode has been exited.
Locks and Security
156
2010 F-250/350/450/550(f23)
Owners Guide, 2nd Printing
USA(fus)
Page 175 of 408

2. To unfasten, push the release
button and remove the tongue from
the buckle.
Vehicle sensitive mode
Combination lap and shoulder belts in normal retractor mode allow free
shoulder belt length adjustment to your movements and locking in
response to vehicle movement. For example, if the driver brakes
suddenly or turns a corner sharply, or the vehicle receives an impact of
approximately 5 mph (8 km/h) or more, the combination safety belts will
lock to help reduce forward movement of the driver and passengers.
Belt sensitive mode
Combination lap and shoulder belts can also be made to lock manually by
quickly pulling on the shoulder belt.
Automatic locking mode
When to use the automatic locking mode
In this mode, the shoulder belt is automatically pre-locked. The belt will
still retract to remove any slack in the shoulder belt. The automatic
locking mode is not available on the driver safety belt.
This mode should be usedany timea child safety seat (except a
booster) is installed in a passenger front or outboard rear seating
position (if equipped). Children 12 years old and under should be
properly restrained in the rear seat whenever possible. Refer toSafety
restraints for childrenorSafety seats for childrenlater in this chapter.
Seating and Safety Restraints
175
2010 F-250/350/450/550(f23)
Owners Guide, 2nd Printing
USA(fus)
Page 179 of 408

How to fasten the cinch tongue (Regular cab center seating
position and Super Cab/Crew Cab rear center seating positions)
1. Pull the combination lap and shoulder belt from the retractor so that
the shoulder belt portion of the safety belt crosses your shoulder and
chest.
2. Be sure the belt is not twisted. If the belt is twisted, remove the twist.
3. Insert the belt tongue into the proper buckle for your seating position
until you hear a snap and feel it latch.
4. Make sure the tongue is securely fastened to the buckle by pulling on
the tongue.
WARNING:The lap belt should fit snugly and as low as possible
around the hips, not across the waist.
While you are fastened in the safety belt, the combination lap/shoulder
belt with a cinch tongue adjusts to your movement. However, if you
brake hard, turn hard, or if your vehicle receives an impact of 5 mph
(8 km/h) or more, the safety belt will become locked and help reduce
your forward movement.
Lap belts
Adjusting the lap belt
WARNING:The lap belt should fit snugly and as low as possible
around the hips, not across the waist.
•1st row center seating position on SuperCab and Crew Cab
The lap belt does not adjust automatically.
Seating and Safety Restraints
179
2010 F-250/350/450/550(f23)
Owners Guide, 2nd Printing
USA(fus)