2010 FORD F150 ECO mode
[x] Cancel search: ECO modePage 129 of 419
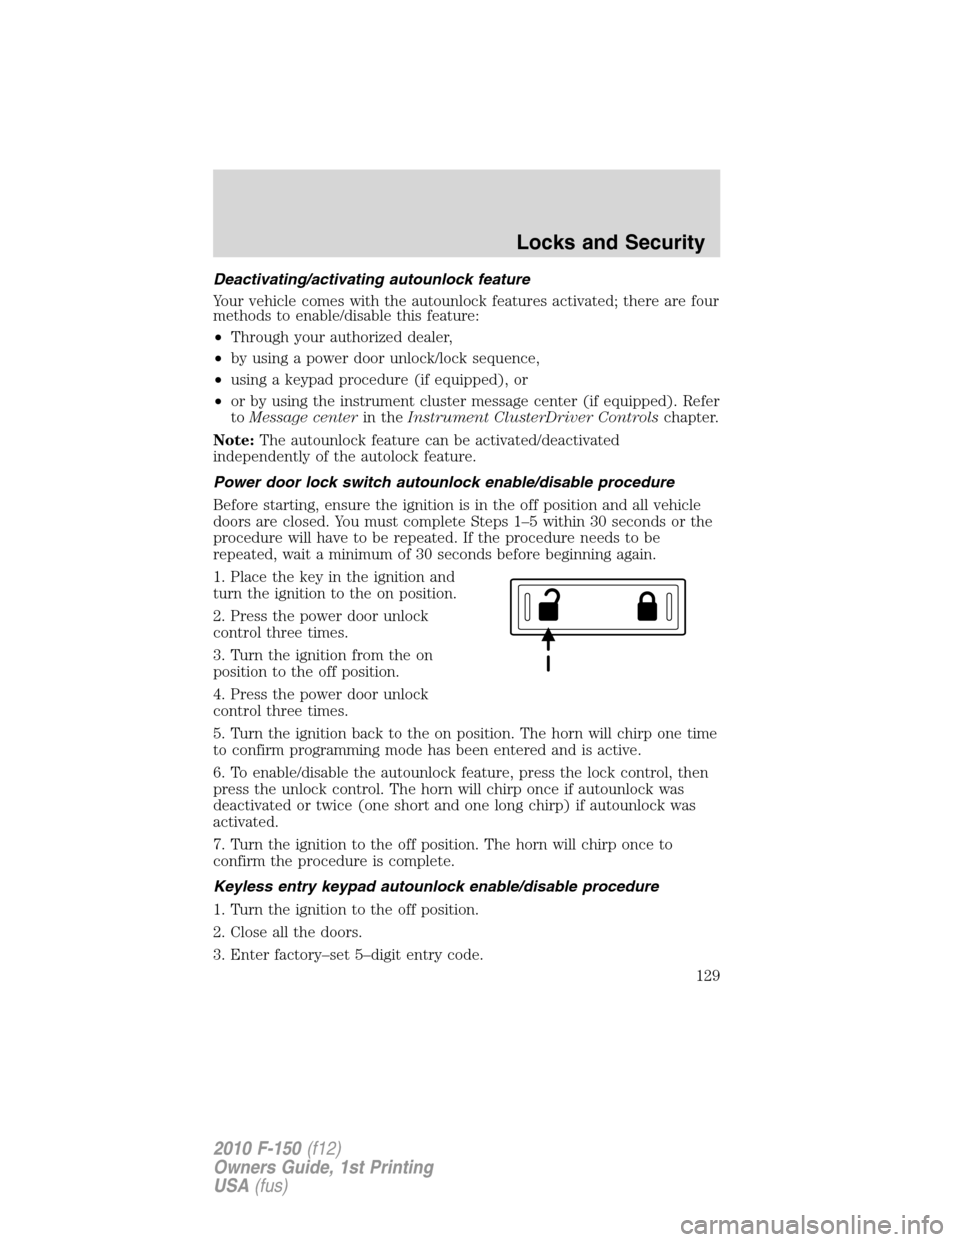
Deactivating/activating autounlock feature
Your vehicle comes with the autounlock features activated; there are four
methods to enable/disable this feature:
•Through your authorized dealer,
•by using a power door unlock/lock sequence,
•using a keypad procedure (if equipped), or
•or by using the instrument cluster message center (if equipped). Refer
toMessage centerin theInstrument ClusterDriver Controlschapter.
Note:The autounlock feature can be activated/deactivated
independently of the autolock feature.
Power door lock switch autounlock enable/disable procedure
Before starting, ensure the ignition is in the off position and all vehicle
doors are closed. You must complete Steps 1–5 within 30 seconds or the
procedure will have to be repeated. If the procedure needs to be
repeated, wait a minimum of 30 seconds before beginning again.
1. Place the key in the ignition and
turn the ignition to the on position.
2. Press the power door unlock
control three times.
3. Turn the ignition from the on
position to the off position.
4. Press the power door unlock
control three times.
5. Turn the ignition back to the on position. The horn will chirp one time
to confirm programming mode has been entered and is active.
6. To enable/disable the autounlock feature, press the lock control, then
press the unlock control. The horn will chirp once if autounlock was
deactivated or twice (one short and one long chirp) if autounlock was
activated.
7. Turn the ignition to the off position. The horn will chirp once to
confirm the procedure is complete.
Keyless entry keypad autounlock enable/disable procedure
1. Turn the ignition to the off position.
2. Close all the doors.
3. Enter factory–set 5–digit entry code.
Locks and Security
129
2010 F-150(f12)
Owners Guide, 1st Printing
USA(fus)
Page 135 of 419
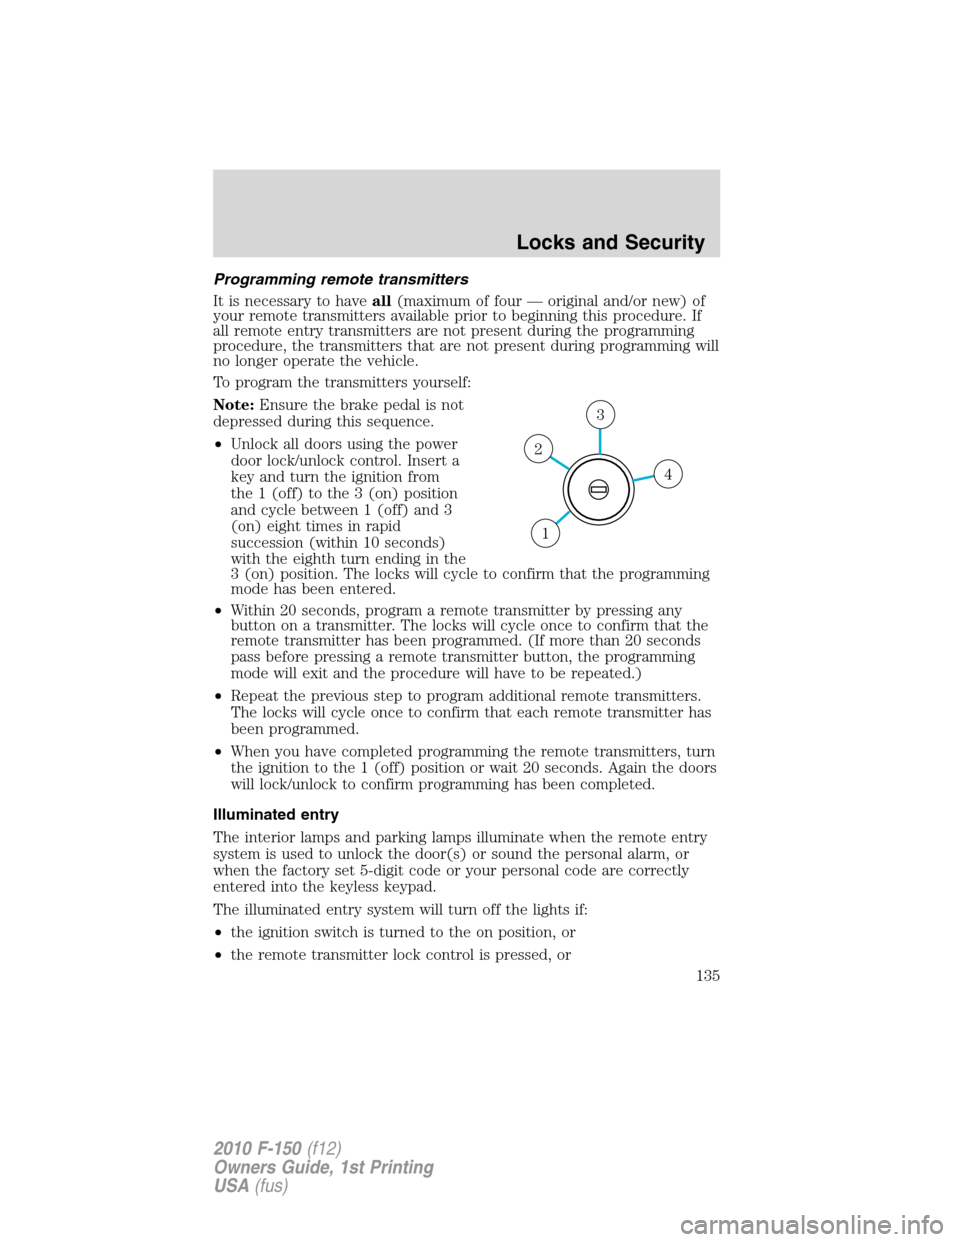
Programming remote transmitters
It is necessary to haveall(maximum of four — original and/or new) of
your remote transmitters available prior to beginning this procedure. If
all remote entry transmitters are not present during the programming
procedure, the transmitters that are not present during programming will
no longer operate the vehicle.
To program the transmitters yourself:
Note:Ensure the brake pedal is not
depressed during this sequence.
•Unlock all doors using the power
door lock/unlock control. Insert a
key and turn the ignition from
the 1 (off) to the 3 (on) position
and cycle between 1 (off) and 3
(on) eight times in rapid
succession (within 10 seconds)
with the eighth turn ending in the
3 (on) position. The locks will cycle to confirm that the programming
mode has been entered.
•Within 20 seconds, program a remote transmitter by pressing any
button on a transmitter. The locks will cycle once to confirm that the
remote transmitter has been programmed. (If more than 20 seconds
pass before pressing a remote transmitter button, the programming
mode will exit and the procedure will have to be repeated.)
•Repeat the previous step to program additional remote transmitters.
The locks will cycle once to confirm that each remote transmitter has
been programmed.
•When you have completed programming the remote transmitters, turn
the ignition to the 1 (off) position or wait 20 seconds. Again the doors
will lock/unlock to confirm programming has been completed.
Illuminated entry
The interior lamps and parking lamps illuminate when the remote entry
system is used to unlock the door(s) or sound the personal alarm, or
when the factory set 5-digit code or your personal code are correctly
entered into the keyless keypad.
The illuminated entry system will turn off the lights if:
•the ignition switch is turned to the on position, or
•the remote transmitter lock control is pressed, or
4
3
2
1
Locks and Security
135
2010 F-150(f12)
Owners Guide, 1st Printing
USA(fus)
Page 224 of 419
Power is supplied to all four wheels through a transfer case or power
transfer unit. 4WD vehicles allow you to select different drive modes as
necessary. Information on transfer case operation and shifting procedures
can be found in theDrivingchapter. Information on transfer case
maintenance can be found in theMaintenance and Specifications
chapter. You should become thoroughly familiar with this information
before you operate your vehicle.
On some 4WD models, the initial shift from two-wheel drive to 4WD
while the vehicle is moving can cause a momentary clunk and ratcheting
sound. These sounds are normal as the front drivetrain comes up to
speed and is not cause for concern.
WARNING:Do not become overconfident in the ability of 4WD
and AWD vehicles. Although a 4WD or AWD vehicle may
accelerate better than two-wheel drive vehicle in low traction
situations, it won’t stop any faster than two-wheel drive vehicles.
Always drive at a safe speed.
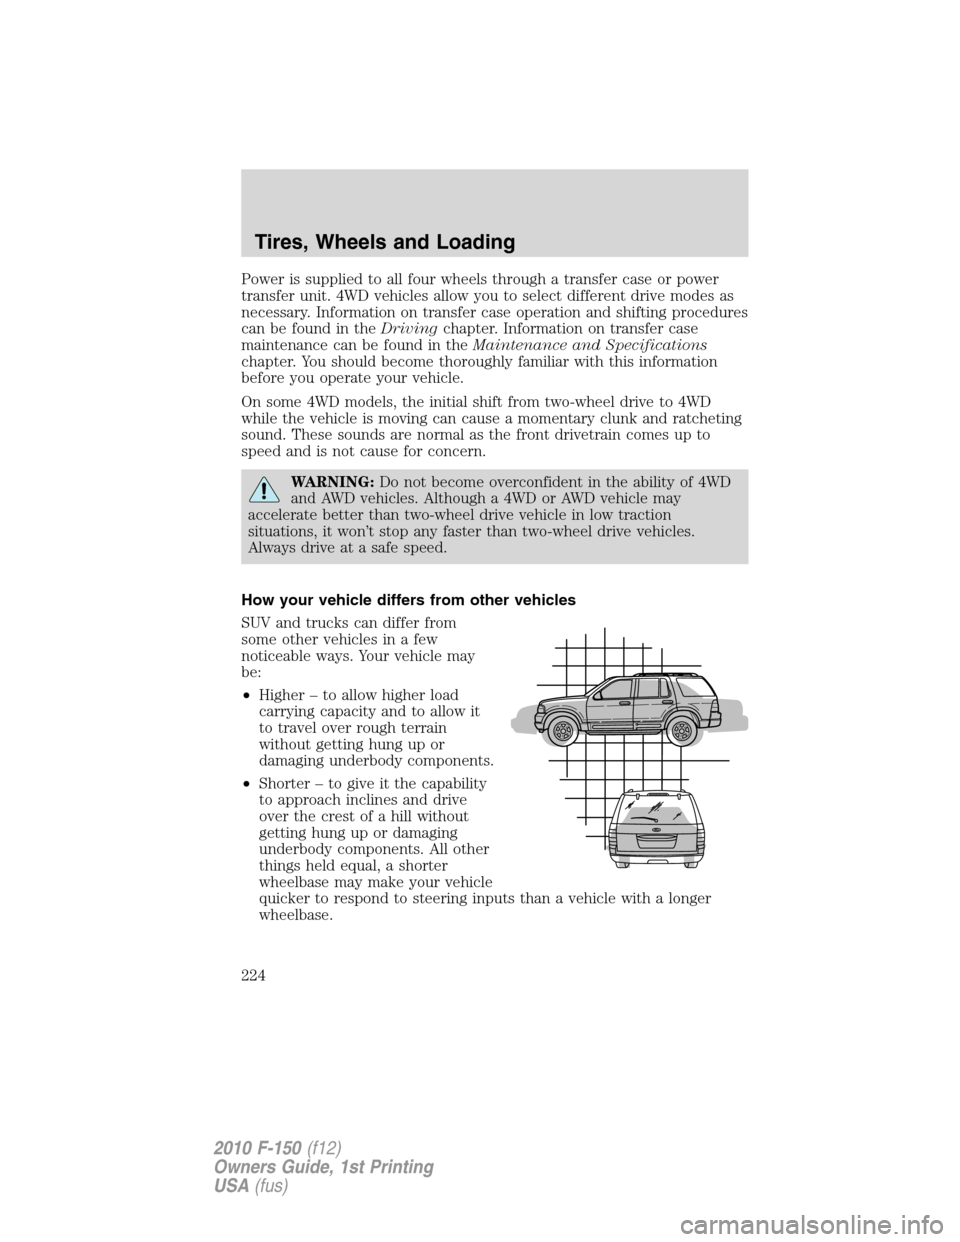
How your vehicle differs from other vehicles
SUV and trucks can differ from
some other vehicles in a few
noticeable ways. Your vehicle may
be:
•Higher – to allow higher load
carrying capacity and to allow it
to travel over rough terrain
without getting hung up or
damaging underbody components.
•Shorter – to give it the capability
to approach inclines and drive
over the crest of a hill without
getting hung up or damaging
underbody components. All other
things held equal, a shorter
wheelbase may make your vehicle
quicker to respond to steering inputs than a vehicle with a longer
wheelbase.
Tires, Wheels and Loading
224
2010 F-150(f12)
Owners Guide, 1st Printing
USA(fus)
Page 247 of 419

3. Cycle the ignition to the on
position with the engine off.
4. Turn the hazard flashers on then
off 3 times. This must be
accomplished within ten seconds.
If the reset mode has been entered successfully, the horn will sound
once, the TPMS indicator
will flash and the message center (if
equipped) will displayTRAIN LEFT FRONT TIRE. If this does not
occur, please try again starting at step 2.
If after repeated attempts to enter the reset mode, the horn does not
sound, the TPMS indicator
does not flash and the message center (if
equipped) does not displayTRAIN LEFT FRONT TIRE, seek service
from your authorized dealer.
5. Train the TPMS sensors in the tires using the following TPMS reset
sequence starting with theleft front tirein the following clockwise
order:
•Left front (Driver’s side front tire)
•Right front (Passenger’s side front tire)
•Right rear (Passenger’s side rear tire)
•Left rear (Driver’s side rear tire)
6. Remove the valve cap from the valve stem on the left front tire.
Decrease the air pressure until the horn sounds.
Note:The single horn chirp confirms that the sensor identification code
has been learned by the module for this position. If a double horn is
heard, the reset procedure was unsuccessful, and must be repeated.
7. Remove the valve cap from the valve stem on the right front tire.
Decrease the air pressure until the horn sounds.
Tires, Wheels and Loading
247
2010 F-150(f12)
Owners Guide, 1st Printing
USA(fus)
Page 268 of 419

Trailer towing tips
•Practice turning, stopping and backing up before starting on a trip to
get the feel of the vehicle trailer combination. When turning, make
wider turns so the trailer wheels will clear curbs and other obstacles.
•Allow more distance for stopping with a trailer attached.
•If you are driving down a long or steep hill, shift to a lower gear. Do
not apply the brakes continuously, as they may overheat and become
less effective. Also, see the information on tow/haul mode operation
underAutomatic transmission operationin theDrivingchapter.
•The trailer tongue weight should be 10–15% of the loaded trailer
weight.
•If you will be towing a trailer frequently in hot weather, hilly
conditions, at GCWR, or any combination of these factors, consider
refilling your rear axle with synthetic gear lube if not already so
equipped. Refer to theMaintenance and Specificationschapter for
the lubricant specification. Remember that regardless of the rear axle
lube used, do not tow a trailer for the first 1,000 miles (1,600 km) of a
new vehicle, and that the first 500 miles (800 km) of towing be done
at no faster than 70 mph (113 km/h) with no full throttle starts.
•After you have traveled 50 miles (80 km), thoroughly check your
hitch, electrical connections and trailer wheel lug nuts.
•To aid in engine/transmission cooling and A/C efficiency during hot
weather while stopped in traffic, place the gearshift lever in P (Park).
•Vehicles with trailers should not be parked on a grade. If you must
park on a grade, place wheel chocks under the trailer’s wheels.
Launching or retrieving a boat
Disconnect the wiring to the trailer before backing the trailer
into the water. Reconnect the wiring to the trailer after the
trailer is removed from the water.
When backing down a ramp during boat launching or retrieval:
•do not allow the static water level to rise above the bottom edge of
the rear bumper.
•do not allow waves to break higher than 6 inches (15 cm) above the
bottom edge of the rear bumper.
Tires, Wheels and Loading
268
2010 F-150(f12)
Owners Guide, 1st Printing
USA(fus)
Page 269 of 419
Exceeding these limits may allow water to enter vehicle components:
•causing internal damage to the components.
•affecting driveability, emissions and reliability.
Replace the rear axle lubricant any time the axle has been submerged in
water. Rear axle lubricant quantities are not to be checked or changed
unless a leak is suspected or repair required.
RECREATIONAL TOWING
Follow these guidelines if you have a need for recreational (RV) towing.
An example of recreational towing would be towing your vehicle behind
a motorhome. These guidelines are designed to ensure that your
transmission is not damaged.
Note:Put your climate control system in recirculated air mode to
prevent exhaust fumes from entering the vehicle. Refer to theClimate
controlschapter for more information.
2WD vehicles:Do not tow your vehicle with any wheels on the ground,
as vehicle or transmission damage may occur. It is recommended to tow
your vehicle with all four (4) wheels off the ground such as when using a
car-hauling trailer. Otherwise, no recreational towing is permitted.
4WD vehicles equipped with manual-shift transfer case:
•Release the parking brake.
•Turn the key in the ignition to the off position.
•Place the transmission in N (Neutral).
•Place the transfer case lever in N (Neutral).
•The maximum recommended distance is unlimited.
•The vehicle must be towed in the forward position to ensure no
damage is done to the internal transfer case components.
The transfer case N (Neutral) position overrides the transmission and
puts the vehicle in neutral regardless of transmission gearshift lever
position. The vehicle can move forward or backward. This position
should only be used when towing the vehicle.
WARNING:Do not leave the vehicle unattended with the
transfer case in the N (Neutral) position. Always set the parking
brake fully and turn off the ignition when leaving the vehicle.
After reaching the destination, you must place your vehicle’s 4x4
gearshift lever in gear (2H, 4H or 4L).
Tires, Wheels and Loading
269
2010 F-150(f12)
Owners Guide, 1st Printing
USA(fus)
Page 302 of 419
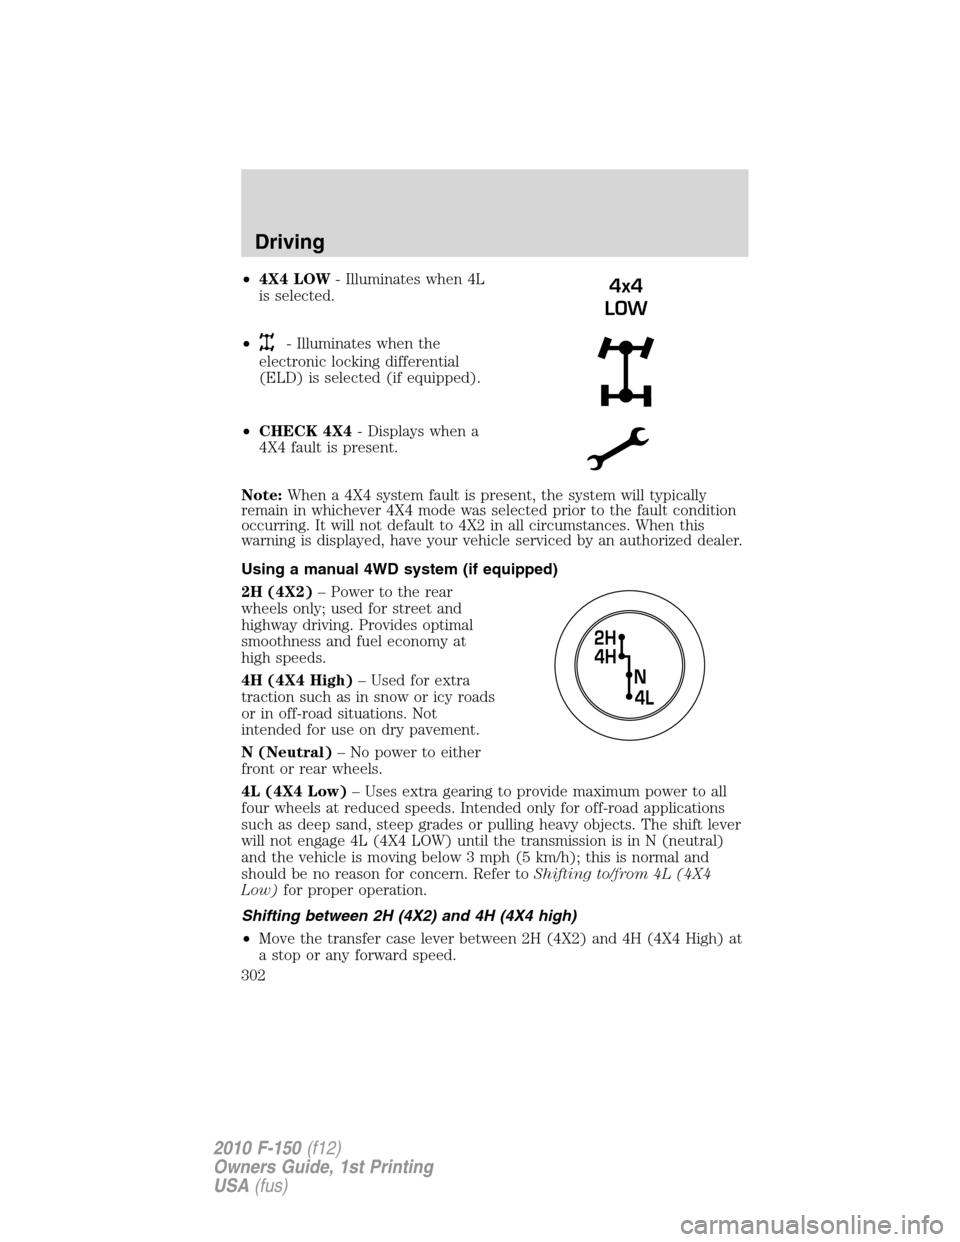
•4X4 LOW- Illuminates when 4L
is selected.
•
- Illuminates when the
electronic locking differential
(ELD) is selected (if equipped).
•CHECK 4X4- Displays when a
4X4 fault is present.
Note:When a 4X4 system fault is present, the system will typically
remain in whichever 4X4 mode was selected prior to the fault condition
occurring. It will not default to 4X2 in all circumstances. When this
warning is displayed, have your vehicle serviced by an authorized dealer.
Using a manual 4WD system (if equipped)
2H (4X2)– Power to the rear
wheels only; used for street and
highway driving. Provides optimal
smoothness and fuel economy at
high speeds.
4H (4X4 High)– Used for extra
traction such as in snow or icy roads
or in off-road situations. Not
intended for use on dry pavement.
N (Neutral)– No power to either
front or rear wheels.
4L (4X4 Low)– Uses extra gearing to provide maximum power to all
four wheels at reduced speeds. Intended only for off-road applications
such as deep sand, steep grades or pulling heavy objects. The shift lever
will not engage 4L (4X4 LOW) until the transmission is in N (neutral)
and the vehicle is moving below 3 mph (5 km/h); this is normal and
should be no reason for concern. Refer toShifting to/from 4L (4X4
Low)for proper operation.
Shifting between 2H (4X2) and 4H (4X4 high)
•Move the transfer case lever between 2H (4X2) and 4H (4X4 High) at
a stop or any forward speed.
4x4
LOW
Driving
302
2010 F-150(f12)
Owners Guide, 1st Printing
USA(fus)
Page 304 of 419
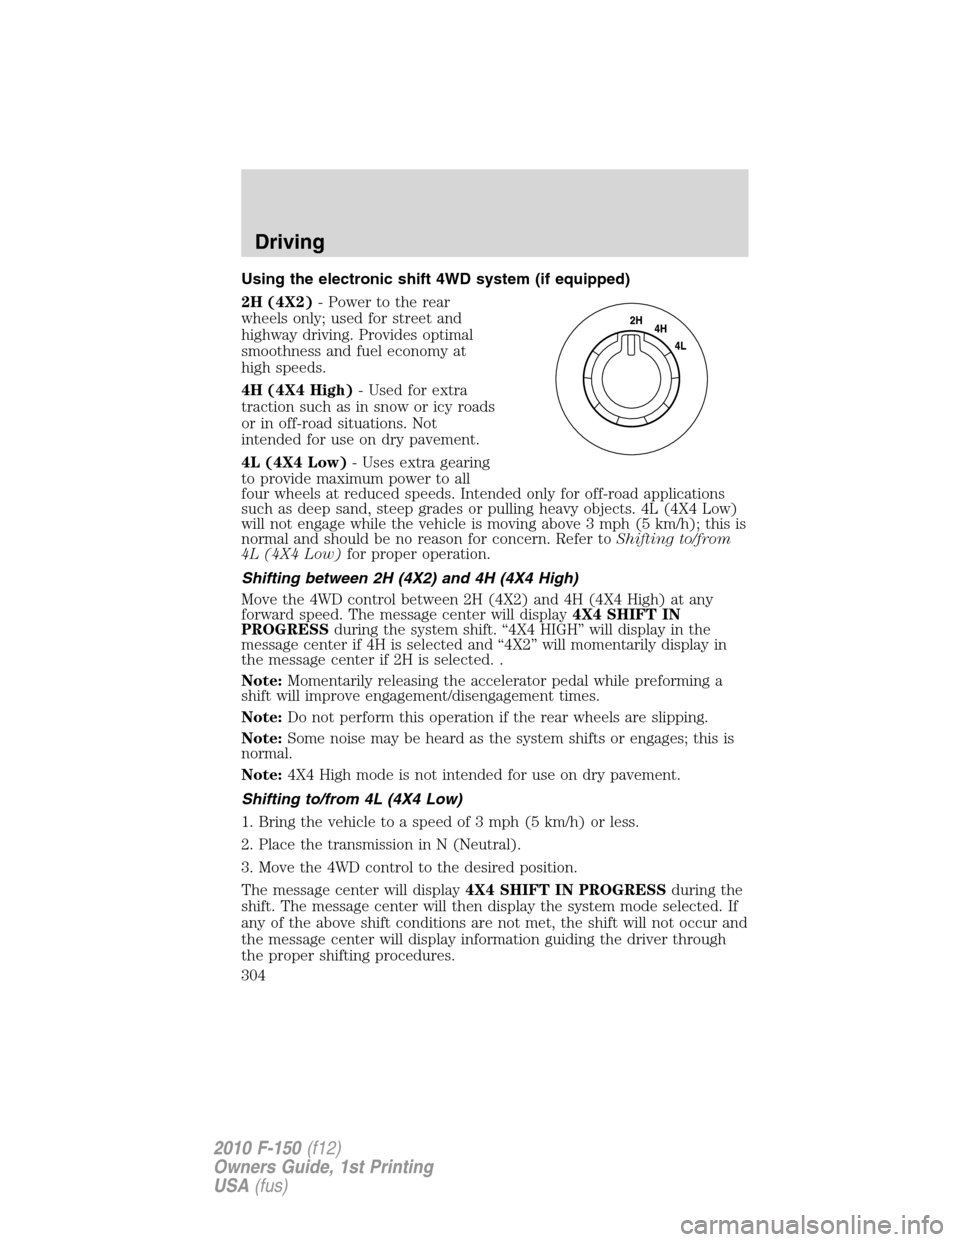
Using the electronic shift 4WD system (if equipped)
2H (4X2)- Power to the rear
wheels only; used for street and
highway driving. Provides optimal
smoothness and fuel economy at
high speeds.
4H (4X4 High)- Used for extra
traction such as in snow or icy roads
or in off-road situations. Not
intended for use on dry pavement.
4L (4X4 Low)- Uses extra gearing
to provide maximum power to all
four wheels at reduced speeds. Intended only for off-road applications
such as deep sand, steep grades or pulling heavy objects. 4L (4X4 Low)
will not engage while the vehicle is moving above 3 mph (5 km/h); this is
normal and should be no reason for concern. Refer toShifting to/from
4L (4X4 Low)for proper operation.
Shifting between 2H (4X2) and 4H (4X4 High)
Move the 4WD control between 2H (4X2) and 4H (4X4 High) at any
forward speed. The message center will display4X4 SHIFT IN
PROGRESSduring the system shift. “4X4 HIGH” will display in the
message center if 4H is selected and “4X2” will momentarily display in
the message center if 2H is selected. .
Note:Momentarily releasing the accelerator pedal while preforming a
shift will improve engagement/disengagement times.
Note:Do not perform this operation if the rear wheels are slipping.
Note:Some noise may be heard as the system shifts or engages; this is
normal.
Note:4X4 High mode is not intended for use on dry pavement.
Shifting to/from 4L (4X4 Low)
1. Bring the vehicle to a speed of 3 mph (5 km/h) or less.
2. Place the transmission in N (Neutral).
3. Move the 4WD control to the desired position.
The message center will display4X4 SHIFT IN PROGRESSduring the
shift. The message center will then display the system mode selected. If
any of the above shift conditions are not met, the shift will not occur and
the message center will display information guiding the driver through
the proper shifting procedures.
Driving
304
2010 F-150(f12)
Owners Guide, 1st Printing
USA(fus)