Page 213 of 327

The adaptive transmission shift strategy allows the transmission to
relearn these operating parameters. This learning process could take
several transmission upshifts and downshifts; during this learning
process, slightly firmer shifts may occur. After this learning process,
normal shift feel and shift scheduling will resume.
P (Park)
This position locks the transmission and prevents the rear wheels from
turning.
To put your vehicle in gear:
1. Start the engine
2. Press the brake pedal
3. Move the gearshift lever into the desired gear
To put your vehicle in P (Park):
1. Come to a complete stop
2. Move the gearshift lever and securely latch it in P (Park)
WARNING:Always set the parking brake fully and make sure
the gearshift is latched in P (Park). Turn the ignition to the lock
position and remove the key whenever you leave your vehicle.
R (Reverse)
With the gearshift lever in R (Reverse), the vehicle will move backward.
Always come to a complete stop before shifting into and out of R
(Reverse).
N (Neutral)
With the gearshift lever in N (Neutral), the vehicle can be started and is
free to roll. Hold the brake pedal down while in this position.
D (Overdrive) with Tow/Haul off
D (Overdrive) with tow/haul off is the normal driving position for the
best fuel economy. The overdrive function allows automatic upshifts and
downshifts through gears one through five.
D (Overdrive) with Tow/Haul on
The tow/haul feature improves transmission operation when towing a
trailer or a heavy load. All transmission gear ranges are available when
using tow/haul.
Driving
213
2010 Econoline(eco)
Owners Guide, 3rd Printing
USA(fus)
Page 214 of 327

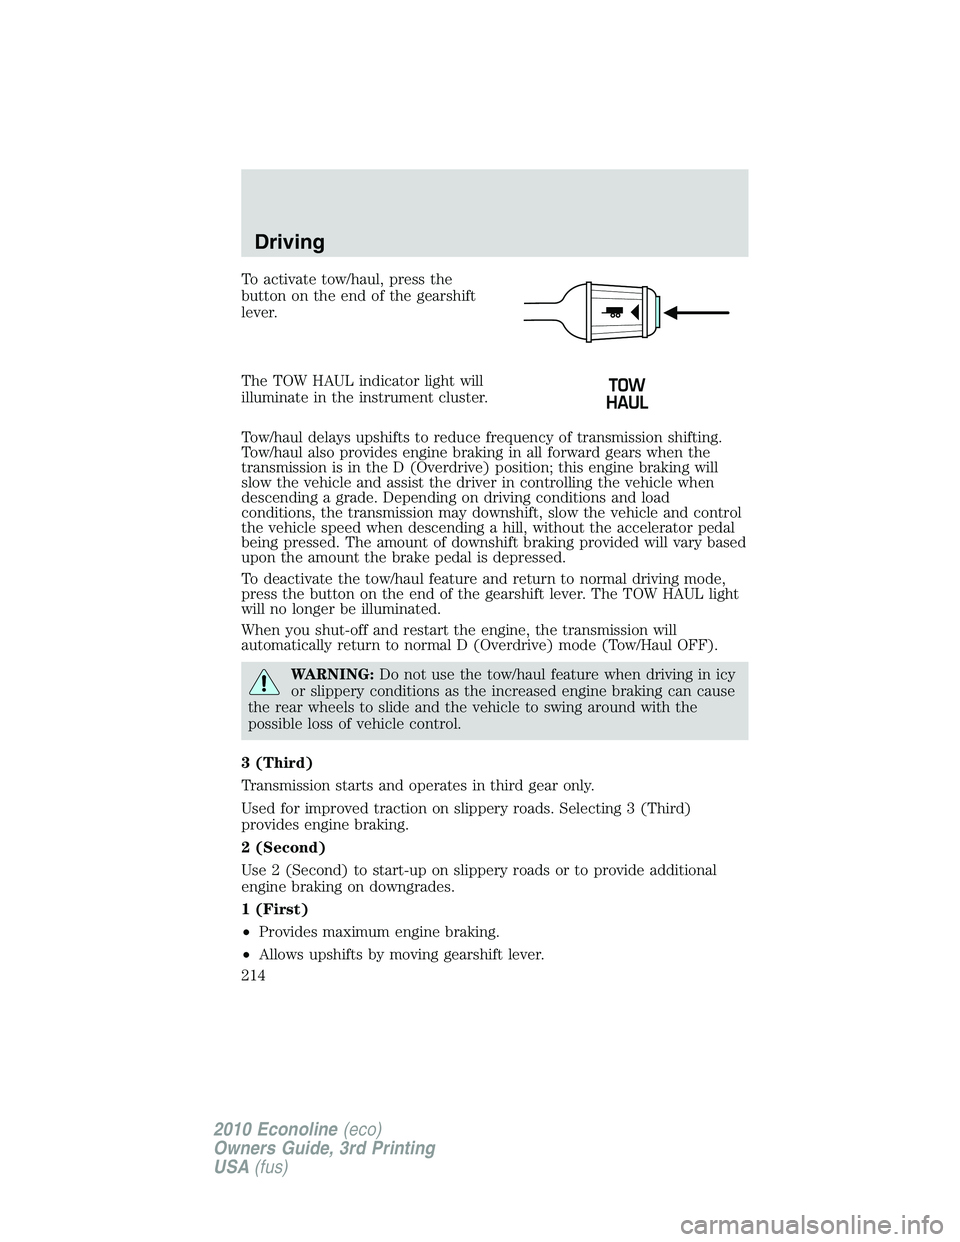
To activate tow/haul, press the
button on the end of the gearshift
lever.
The TOW HAUL indicator light will
illuminate in the instrument cluster.
Tow/haul delays upshifts to reduce frequency of transmission shifting.
Tow/haul also provides engine braking in all forward gears when the
transmission is in the D (Overdrive) position; this engine braking will
slow the vehicle and assist the driver in controlling the vehicle when
descending a grade. Depending on driving conditions and load
conditions, the transmission may downshift, slow the vehicle and control
the vehicle speed when descending a hill, without the accelerator pedal
being pressed. The amount of downshift braking provided will vary based
upon the amount the brake pedal is depressed.
To deactivate the tow/haul feature and return to normal driving mode,
press the button on the end of the gearshift lever. The TOW HAUL light
will no longer be illuminated.
When you shut-off and restart the engine, the transmission will
automatically return to normal D (Overdrive) mode (Tow/Haul OFF).
WARNING:Do not use the tow/haul feature when driving in icy
or slippery conditions as the increased engine braking can cause
the rear wheels to slide and the vehicle to swing around with the
possible loss of vehicle control.
3 (Third)
Transmission starts and operates in third gear only.
Used for improved traction on slippery roads. Selecting 3 (Third)
provides engine braking.
2 (Second)
Use 2 (Second) to start-up on slippery roads or to provide additional
engine braking on downgrades.
1 (First)
•Provides maximum engine braking.
•Allows upshifts by moving gearshift lever.
Driving
214
2010 Econoline(eco)
Owners Guide, 3rd Printing
USA(fus)
Page 215 of 327

•The transmission will not downshift into 1 (First) at high speeds; it
will downshift to a lower gear and then shift into 1 (First) when the
vehicle reaches slower speeds.
Forced downshifts
•Allowed in
(Overdrive) or Drive.
•Press the accelerator to the floor.
•Allows transmission to select an appropriate gear.
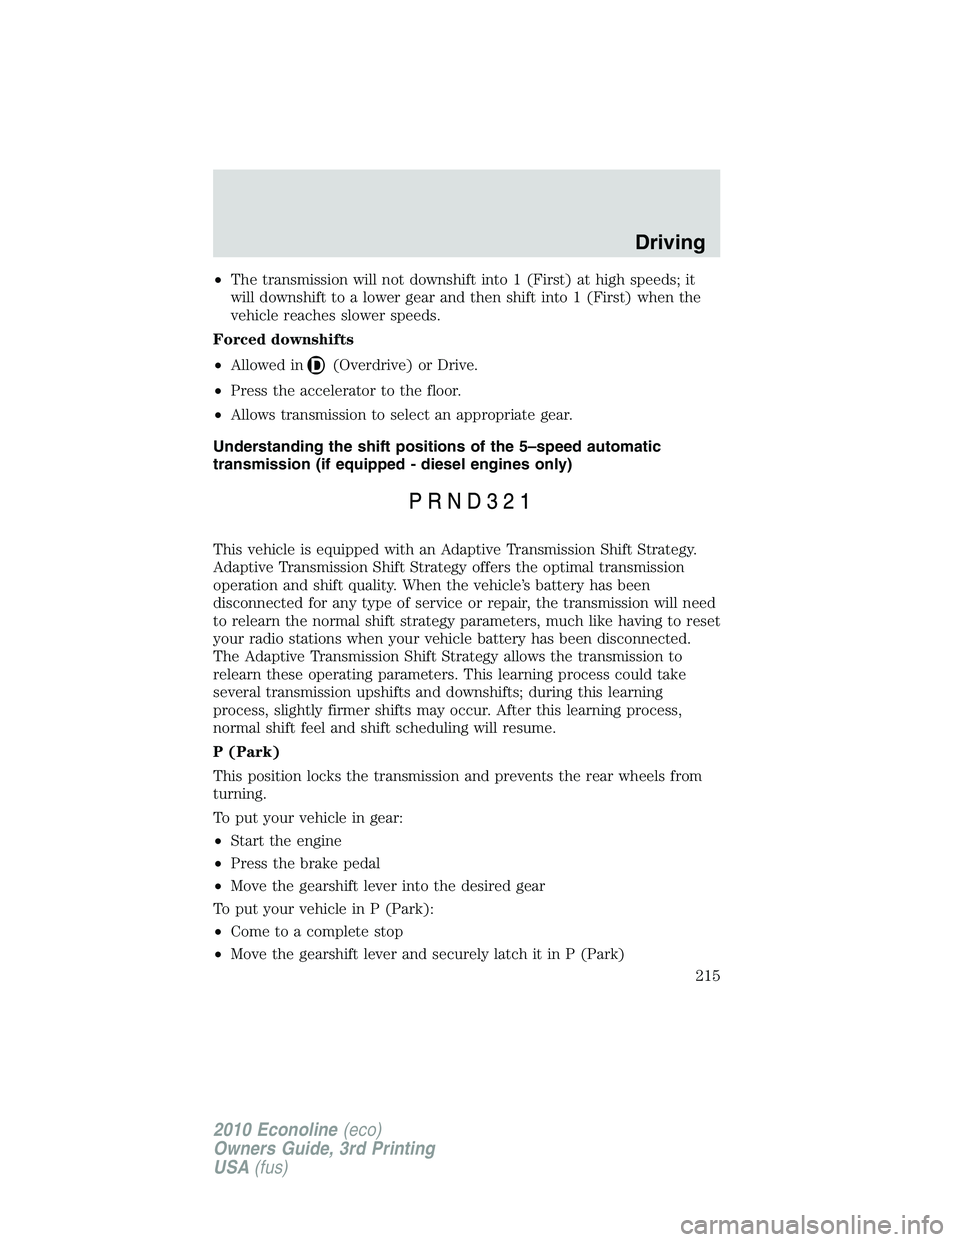
Understanding the shift positions of the 5–speed automatic
transmission (if equipped - diesel engines only)
This vehicle is equipped with an Adaptive Transmission Shift Strategy.
Adaptive Transmission Shift Strategy offers the optimal transmission
operation and shift quality. When the vehicle’s battery has been
disconnected for any type of service or repair, the transmission will need
to relearn the normal shift strategy parameters, much like having to reset
your radio stations when your vehicle battery has been disconnected.
The Adaptive Transmission Shift Strategy allows the transmission to
relearn these operating parameters. This learning process could take
several transmission upshifts and downshifts; during this learning
process, slightly firmer shifts may occur. After this learning process,
normal shift feel and shift scheduling will resume.
P (Park)
This position locks the transmission and prevents the rear wheels from
turning.
To put your vehicle in gear:
•Start the engine
•Press the brake pedal
•Move the gearshift lever into the desired gear
To put your vehicle in P (Park):
•Come to a complete stop
•Move the gearshift lever and securely latch it in P (Park)
Driving
215
2010 Econoline(eco)
Owners Guide, 3rd Printing
USA(fus)
Page 222 of 327

Night time and dark area use
At night time or in dark areas, the camera system relies on the reverse
lamp lighting to produce an image. Therefore it is necessary that both
reverse lamps are operating in order to get a clear image in the dark. If
either of the lamps are not operating, stop using the camera system, at
least in the dark, until the lamp(s) are replaced and functioning.
Servicing
•If the image comes on while the vehicle is not in R (Reverse), have
the system inspected by your authorized dealer.
•If the image is not clear, then check if there is anything covering the
lens such as dirt, mud, ice, snow, etc. If the image is still not clear
after cleaning, have your system inspected by your authorized dealer.
BLIND SPOT MIRRORS (IF EQUIPPED)
Blind spot mirrors have an
integrated convex spotter mirror
built into the upper outboard corner
of the outside mirrors. They are
designed to assist the driver by
increasing visibility along the side of
the vehicle. For more information on
your side view mirrors, refer to
Exterior mirrorsin theDriver
Controlschapter.
Driving
222
2010 Econoline(eco)
Owners Guide, 3rd Printing
USA(fus)
Page 224 of 327

Your vehicle is qualified for use as a stationary power source, within
limits detailed in theFord Truck Body Builders Layout Book,found at
www.fleet.ford.com/truckbbas, and through the Ford Truck Body Builders
Advisory Service.
Gas engine vehicles are qualified for up to 10 minutes of continuous
operation as a stationary power source, due to the potential for the
normal venting of fuel vapors. For stationary PTO operation of extended
duration (beyond 10 minutes), diesel engine is recommended. Further
consult your aftermarket PTO installer, since the duration of operation
limit for the aftermarket PTO may be less than the vehicle is capable of.
DRIVING THROUGH WATER
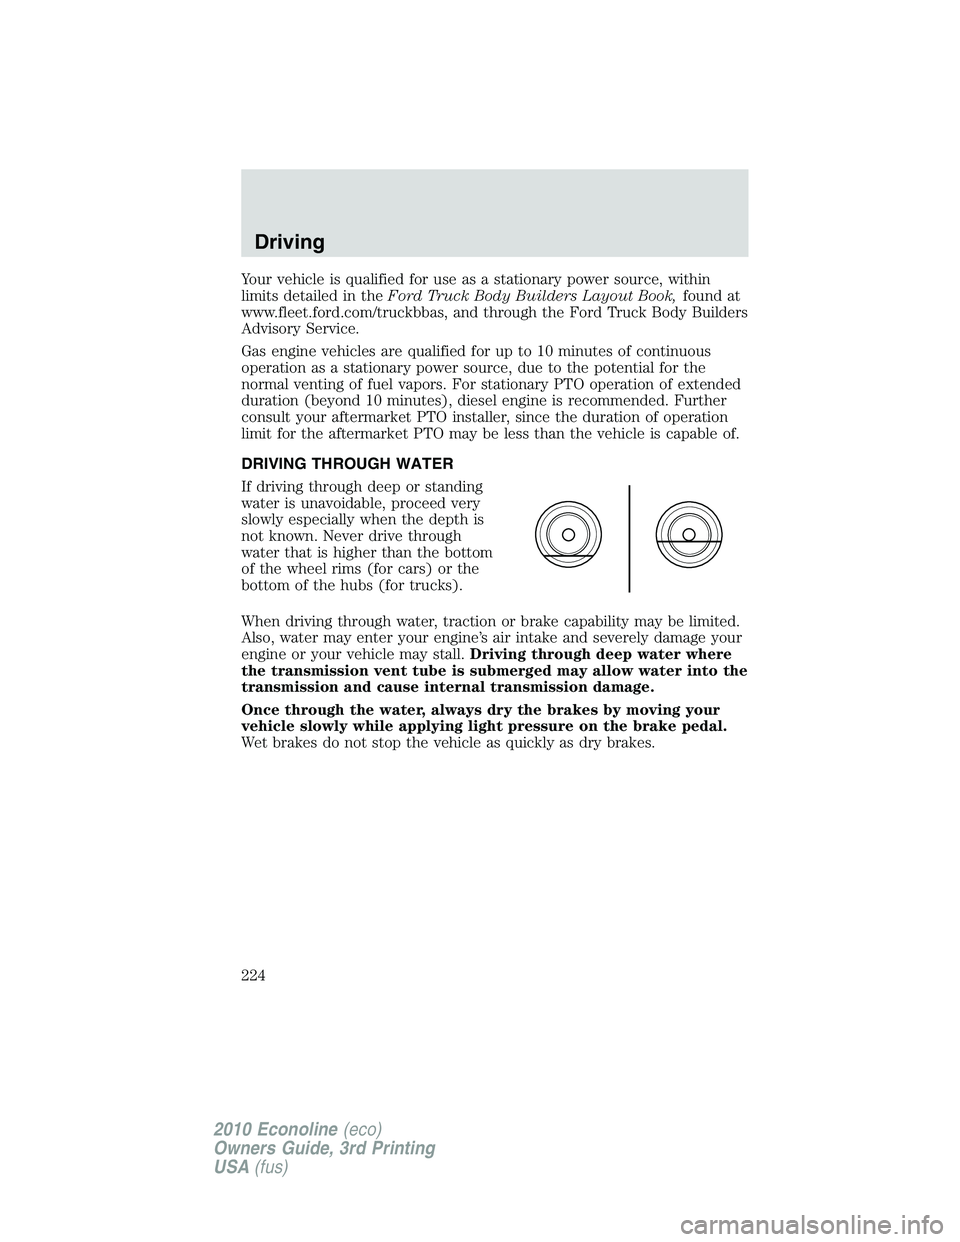
If driving through deep or standing
water is unavoidable, proceed very
slowly especially when the depth is
not known. Never drive through
water that is higher than the bottom
of the wheel rims (for cars) or the
bottom of the hubs (for trucks).
When driving through water, traction or brake capability may be limited.
Also, water may enter your engine’s air intake and severely damage your
engine or your vehicle may stall.Driving through deep water where
the transmission vent tube is submerged may allow water into the
transmission and cause internal transmission damage.
Once through the water, always dry the brakes by moving your
vehicle slowly while applying light pressure on the brake pedal.
Wet brakes do not stop the vehicle as quickly as dry brakes.
Driving
224
2010 Econoline(eco)
Owners Guide, 3rd Printing
USA(fus)
Page 231 of 327
Fuse/Relay
LocationFuse Amp
RatingProtected Circuits
1 30A Not used (spare)
2 15A Not used (spare)
3 15A Not used (spare)
4 30A Not used (spare)
5 10A Passenger compartment fuse
panel (SPDJB)/Brake-shift
interlock
6 20A Turn signal, Hazard, Stop lamps
7 10A Left low beam
8 10A Right low beam
9 15A Courtesy lamps
10 15A Switch illumination
11 10A Not used (spare)
12 7.5A Not used (spare)
13 5A Mirrors
14 10A SYNC�, GPS module
15 10A Satellite radio
16 15A Not used (spare)
17 20A Door locks
18 20A Not used (spare)
19 25A Not used (spare)
20 15A Diagnostic connector (except
stripped chassis)
21 15A Not used (spare)
22 15A Park lamps, License plate lamps
23 15A High beams
24 20A Horn (except stripped chassis)
25 10A Demand lighting
26 10A Cluster (except stripped chassis)
27 20A Ignition switch feed
28 5A Audio mute (start)
Roadside Emergencies
231
2010 Econoline(eco)
Owners Guide, 3rd Printing
USA(fus)
Page 236 of 327
Fuse/Relay
LocationFuse Amp
RatingProtected Circuits
54 10A* Fuel pump relay coil (gas engine
only)
55 10A* PCM (diesel engine only)
56 20A* Diesel fuel conditioner module
(DFCM) (diesel engine only)
57 20A* Trailer tow park lamp
58 15A* Trailer tow backup lamp
59 — Not used
60 — One touch integrated start (OTIS)
(diode)
61 — Auxiliary battery (diode)
62 HC Micro relay Upfitter #2
63 30A** Trailer tow battery charge
64 — Not used
65 20A** Power point 2 (glove box)
66 20A** Power point 3 (left-hand B-pillar)
67 20A** Power point 1 (instrument panel)
68 50A** Modified vehicle
69 — Not used
70 30A** Stripped chassis
71 — Not used
72 20A** Cigar lighter
73 — Not used
74 30A** Power seat
75 20A* Vehicle power (VPWR) 1, PCM
power
76 20A* VPWR 2, PCM – emission related
powertrain components
77 10A* VPWR 3, PCM – general
powertrain components
Roadside Emergencies
236
2010 Econoline(eco)
Owners Guide, 3rd Printing
USA(fus)
Page 237 of 327

Fuse/Relay
LocationFuse Amp
RatingProtected Circuits
78 15A* VPWR 4 (gas engine only),
Ignition coil (diesel engine only),
Fuel pump relay coil
79 10A* VPWR 5, Transmission
80 10A* Cluster run/start (stripped chassis
only)
81 15A* FICM logic (diesel engine only)
82 — Not used
83 — Fuel pump (diode)
84 — Not used
85 HC Micro relay Upfitter #1
* Mini fuses ** A1S fuses
CHANGING THE TIRES
If you get a flat tire while driving, do not apply the brake heavily.
Instead, gradually decrease your speed. Hold the steering wheel firmly
and slowly move to a safe place on the side of the road.
Note:The tire pressure monitoring system (TPMS) indicator light will
illuminate when the spare tire is in use. To restore the full functionality
of the monitoring system, all road wheels equipped with tire pressure
monitoring sensors must be mounted on the vehicle.
Have a flat serviced by an authorized dealer in order to prevent damage
to the TPMS sensors, refer toTire pressure monitoring system
(TPMS)in theTires, Wheels and Loadingchapter. Replace the spare
tire with a road tire as soon as possible. During repairing or replacing of
the flat tire, have the authorized dealer inspect the TPMS sensor for
damage.
WARNING:The use of tire sealants may damage your tire
pressure monitoring system and should not be used.
WARNING:Refer toTire pressure monitoring system (TPMS)
in theTires, Wheels and Loadingchapter for important
information. If the tire pressure monitor sensor becomes damaged, it
will no longer function.
Roadside Emergencies
237
2010 Econoline(eco)
Owners Guide, 3rd Printing
USA(fus)