Page 126 of 315

Tuning
Press the TUNE control up or down to increase or
decrease the frequency. If you press and hold the button,
the radio will continue to tune until you release the
button. The frequency will be displayed and continu-
ously updated while the button is pressed.
Balance
The Balance control adjusts the left-to-right speaker bal-
ance. Press the AUDIO button, select BALANCE, then
press SEEK + or SEEK�to adjust the balance.
Fade
The Fade control provides for balance between the front
and rear speakers. Press the AUDIO button, select FADE,
then press SEEK + or SEEK �to adjust the fade balance.
Tone Control
The Bass and/or Treble controls sound for the desired
tone. Press the AUDIO button, select Bass or TREBLE,
then press SEEK + or SEEK �to increase or decrease
amplification of the band.
To Set the Radio Pushbutton Memory
When you are receiving a station that you wish to
commit to pushbutton memory, press the SET button.
SET 1 will show in the display window. Select the
pushbutton you wish to lock onto this station and press
and release that button. If a station is not selected within
five seconds after pressing the SET button, the station
will continue to play but will not be locked into push-
button memory.
You may add a second station to each pushbutton by
repeating the above procedure with this exception: Press
the SET button twice and SET 2 will show in the display
window. Each button can be set for SET 1 and SET 2 in
122 UNDERSTANDING YOUR INSTRUMENT PANEL
Page 127 of 315

both AM and FM. This allows a total of 10 AM and 10 FM
stations to be locked into memory. You can recall the
stations stored in SET 2 memory by pressing the push-
button twice.
To Change from Clock to Radio Mode
Press the TIME button to change the display between
radio frequency and time.
General Information
This radio complies with Part 15 of FCC rules and with
RSS-210 of Industry Canada. Operation is subject to the
following conditions:
1. This device may not cause harmful interference.
2.
This device must accept any interference received, in-
cluding interference that may cause undesired operation.
NOTE: Changes or modifications not expressively ap-
proved by the party responsible for compliance could
void the user’s authority to operate the equipment.
CD Player Operation
NOTE:
•The ignition switch must be in the ON or ACC
position and the volume control ON before the CD
player will operate.
•This Radio is capable of playing compact discs (CD),
recordable compact discs (CD-R), rewritable compact
discs (CD-RW), compact discs with MP3 tracks, and
multisession compact discs with CD and MP3 tracks.
Inserting The Compact Disc
CAUTION!
This CD player will accept only 4–3/4 in (12 cm) discs
only. The use of other sized discs may damage the
CD player mechanism.
You may either insert or eject a disc with the radio OFF.
4
UNDERSTANDING YOUR INSTRUMENT PANEL 123
Page 135 of 315

Selecting Uconnect™ Multimedia (Satellite) Mode
in RBP, RBU, RAZ, RB1 and RBQ Radios
Press the MODE button repeatedly until the word
�SIRIUS�appears in the display. These radios will also
display the following:
•After three seconds, the current channel name and
channel number will be displayed for five seconds.
•The current program type and channel number will
then be displayed for five seconds.
•The current channel number will then be displayed
until an action occurs.
A CD or tape may remain in the radio while in the
Satellite radio mode.
Selecting a Channel
Press and release the SEEK or TUNE buttons to search for
the next channel. Press the top of the button to search up and the bottom of the button to search down. Holding the
TUNE button causes the radio to bypass channels until
the button is released.
Press and release the SCAN button (if equipped) to
automatically change channels every seven seconds. The
radio will pause on each channel for seven seconds
before moving on to the next channel. The word
�SCAN�
will appear in the display between each channel change.
Press the SCAN button a second time to stop the search.
NOTE: Channels that may contain objectionable content
can be blocked. Contact Sirius Customer Care at 888-539-
7474 to discuss options for channel blocking or unblock-
ing. Please have your ESN/SID information available.
Storing and Selecting Pre-Set Channels
In addition to the 10 AM and 10 FM pre-set stations, you
may also commit 10 satellite stations to pushbutton
memory. These satellite channel pre-set stations will not
4
UNDERSTANDING YOUR INSTRUMENT PANEL 131
Page 137 of 315

Reception Quality
Satellite reception may be interrupted due to one of the
following reasons.
•The vehicle is parked in an underground parking
structure or under a physical obstacle.
•Dense tree coverage may interrupt reception in the
form of short audio mutes.
•Driving under wide bridges or along tall buildings can
cause intermittent reception.
•Placing objects over or too close to the antenna can
cause signal blockage.
RADIO ANTENNA
The radio antenna is located in the windshield.
CD/DVD DISC MAINTENANCE
To keep a CD/DVD in good condition, take the following
precautions:
1. Handle the disc by its edge; avoid touching the
surface.
2. If the disc is stained, clean the surface with a soft cloth,
wiping from center to edge.
3. Do not apply paper or tape to the disc; avoid scratch-
ing the disc.
4. Do not use solvents such as benzene, thinner, cleaners,
or anti-static sprays.
5. Store the disc in its case after playing.
6. Do not expose the disc to direct sunlight.
7. Do not store the disc where temperatures may become
too high.
4
UNDERSTANDING YOUR INSTRUMENT PANEL 133
Page 139 of 315
Blower Control
Use this control to regulate the
amount of air forced through the sys-
tem in any mode you select. Turn the
control clockwise to increase fan
speed. Turn the control to the O (Off)
position to shut off the fan and to
prevent any outside air from entering
the vehicle. This also turns off the A/C compressor.
NOTE: For vehicles equipped with Remote Start, the
climate controls will not function during Remote Start
operation if the blower control is left in the “O” (Off)
position.
Temperature Control
Use this control to regulate the tem-
perature of the air inside the passenger
compartment. The blue area of the
control indicates cooler temperatures
while the red area indicates warmer
temperatures.
Mode Control
Use this control to select the direction
of air flow.
NOTE: The dot between the mode control icons is a mix
position between the two modes.
4
UNDERSTANDING YOUR INSTRUMENT PANEL 135
Page 140 of 315

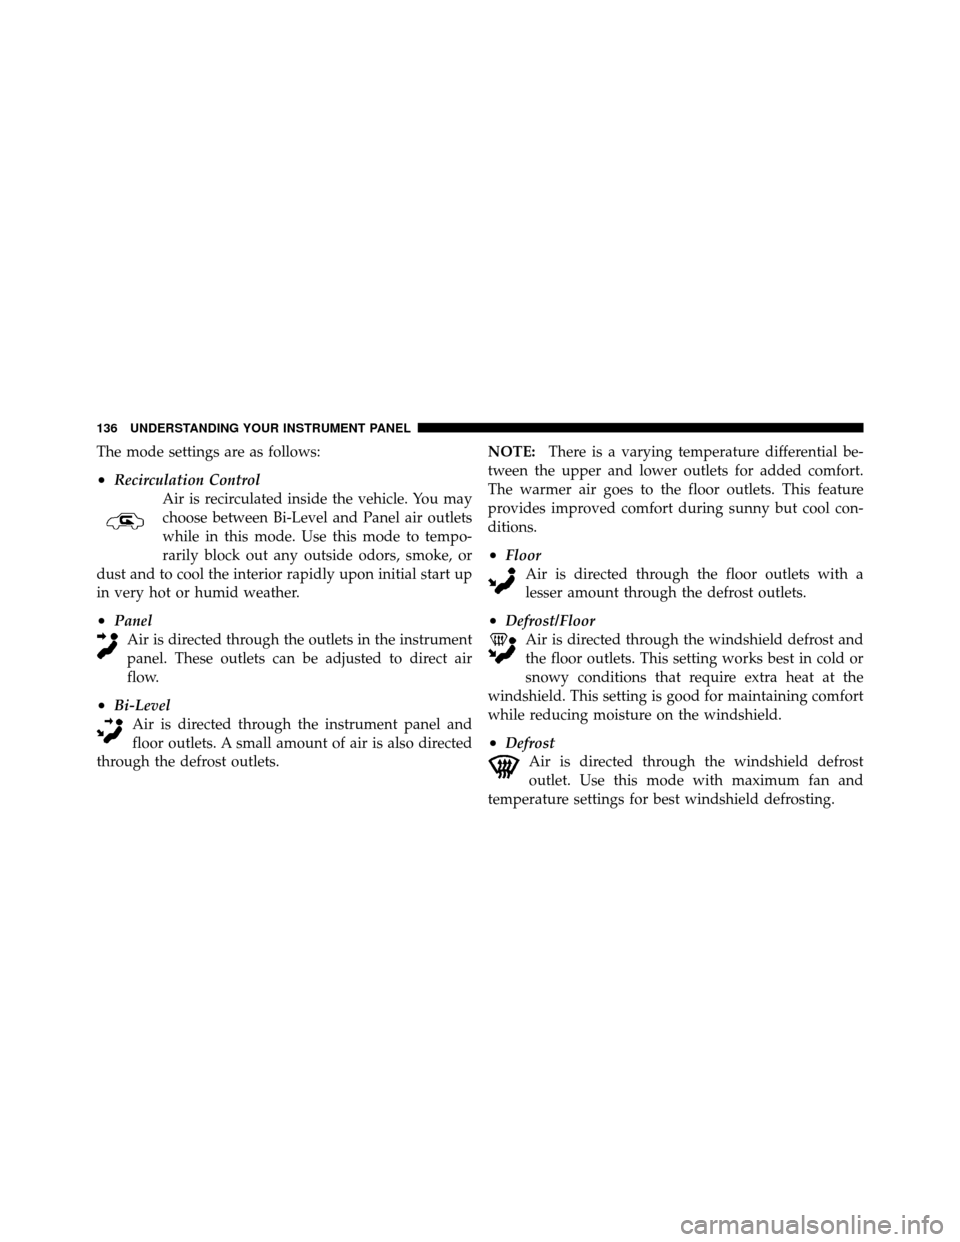
The mode settings are as follows:
•Recirculation ControlAir is recirculated inside the vehicle. You may
choose between Bi-Level and Panel air outlets
while in this mode. Use this mode to tempo-
rarily block out any outside odors, smoke, or
dust and to cool the interior rapidly upon initial start up
in very hot or humid weather.
•Panel Air is directed through the outlets in the instrument
panel. These outlets can be adjusted to direct air
flow.
•Bi-Level Air is directed through the instrument panel and
floor outlets. A small amount of air is also directed
through the defrost outlets. NOTE:
There is a varying temperature differential be-
tween the upper and lower outlets for added comfort.
The warmer air goes to the floor outlets. This feature
provides improved comfort during sunny but cool con-
ditions.
•Floor Air is directed through the floor outlets with a
lesser amount through the defrost outlets.
•Defrost/FloorAir is directed through the windshield defrost and
the floor outlets. This setting works best in cold or
snowy conditions that require extra heat at the
windshield. This setting is good for maintaining comfort
while reducing moisture on the windshield.
•Defrost Air is directed through the windshield defrost
outlet. Use this mode with maximum fan and
temperature settings for best windshield defrosting.
136 UNDERSTANDING YOUR INSTRUMENT PANEL
Page 146 of 315

▫Anti-Lock Brake System ............... 158
� Tire Safety Information ................. 161
▫ Tire Markings ....................... 161
▫ Tire Identification Number (TIN) ......... 165
▫ Tire Terminology And Definitions ......... 166
▫ Tire Loading And Tire Pressure .......... 167
� Tires — General Information ............. 171
▫ Tire Pressure ....................... 171
▫ Tire Inflation Pressures ................ 172
▫ Tire Pressures For High Speed Operation . . . 174
▫ Radial Ply Tires ..................... 174
▫ Tire Spinning ....................... 174
▫ Tread Wear Indicators ................. 175 ▫
Life Of Tire ........................ 176
▫ Replacement Tires .................... 176
▫ Tire Storage ........................ 177
� Snow Tires .......................... 178
� Tire Rotation Recommendations ........... 178
� Tire Pressure Monitor System (TPMS) ....... 179
▫ Low Tire Indicator ................... 179
� Fuel Requirements ..................... 181
▫ 8.4L Engine ........................ 181
▫ Reformulated Gasoline ................ 181
▫ Gasoline/Oxygenate Blends ............. 182
▫ E-85 Usage In Non-Flex Fuel Vehicles ...... 182
▫ MMT In Gasoline .................... 183
142 STARTING AND OPERATING
Page 149 of 315
NOTE:
•You must disarm the security system in order to start
the engine. Refer to “Security Alarm System” in
“Things To Know Before Starting Your Vehicle” for
further information.
•Normal starting of either a cold or a warm engine does
not require pumping or pressing the accelerator pedal.
However, if the engine has not started within three
seconds, slightly press the accelerator pedal while
continuing to crank. If the engine fails to start within
15 seconds, turn the key to the OFF/LOCK position,
wait five seconds, then repeat the “Normal Starting”
procedure.To start the engine:
1. Fully apply the parking brake.
2. Press the clutch pedal to the floor.
NOTE:
The engine will not start unless the clutch pedal
is pressed to the floor.
3. Place the shift lever in NEUTRAL
4. Insert the ignition key fully into the ignition switch
5. Turn the key to the ON/RUN position.
5
STARTING AND OPERATING 145