Page 55 of 315

their seat. If the PAD Indicator Light comes on when an
adult or teenager is in the passenger seat, have the
passenger reposition their self in the seat until the light
goes out. Remember, if the PAD Indicator Light is illu-
minated the passenger airbag will not inflate in the event
of a collision.
The passenger airbag will not be enabled for most any
size child who is seated properly in the passenger seat
and for most properly installed child restraint systems.
However, under certain conditions, even with a properly
installed child restraint system, the PAD Indicator Light
may not be on, even though the airbag is disabled. This
can occur if the child restraint is lighter than the thresh-
old weight necessary to turn the PAD Indicator Light on.
In any case, do not assume the airbag is turned off if the
PAD Indicator Light is not illuminated.WARNING!
An infant in rear facing child safety seat, designed
for a child up to one year or approximately 20 lbs
(9 kg), should never ride in the front seat of a vehicle
equipped with a passenger airbag, unless the airbag
is shut OFF. An airbag deployment can cause severe
injury or death to an infant in this position.
Flex Mat
The Flex Mat is located beneath the passenger seat
cushion foam. The Flex Mat sends signals to the OCM for
classifying the occupant in the passenger seat.
Any weight on the seat will be sensed by the Flex Mat.
Therefore, the occupant in the passenger seat needs to sit
in a normal position (with their feet on or near the floor)
in order to be classified properly. If an occupant’s weight
is transferred to another part of the vehicle (like the door
or instrument panel), the system may not classify the
2
THINGS TO KNOW BEFORE STARTING YOUR VEHICLE 51
Page 59 of 315

Maintaining Your Airbag System
WARNING!
•Modifications to any part of the airbag system
could cause it to fail when you need it. You could
be injured if the airbag system is not there to
protect you. Do not modify the components or
wiring, including adding any kind of badges or
stickers to the steering wheel hub trim cover or the
upper right side of the instrument panel. Do not
modify the front bumper, vehicle body structure,
or add aftermarket side steps or running boards.
•It is dangerous to try to repair any part of the
airbag system yourself. Be sure to tell anyone who
works on your vehicle that it has an airbag system.(Continued)
WARNING! (Continued)
•Do not attempt to modify any part of your ad-
vanced airbag system. The airbag may inflate
accidentally or may not function properly if modi-
fications are made. Take your vehicle to an autho-
rized dealer for any advanced airbag system ser-
vice. If your seat including your trim cover and
cushion needs to be serviced in any way (includ-
ing removal or loosening/tightening of seat attach-
ment bolts), take the vehicle to your authorized
dealer. Only manufacturer approved seat accesso-
ries may be used. If it is necessary to modify the
airbag system for persons with disabilities, contact
your authorized dealer.
2
THINGS TO KNOW BEFORE STARTING YOUR VEHICLE 55
Page 71 of 315

WARNING! (Continued)
•Always make sure that objects cannot fall into the
driver foot well while the vehicle is moving.
Objects can become trapped under the brake pedal
and accelerator pedal causing a loss of vehicle
control.
•If required, mounting posts must be properly
installed, if not equipped from the factory.
Failure to properly follow floor mat installation or
mounting can cause interference with the brake
pedal and accelerator pedal operation causing loss
of control of the vehicle.
Periodic Safety Checks You Should Make Outside
the Vehicle
Tires
Examine tires for excessive tread wear and uneven wear
patterns. Check for stones, nails, glass, or other objectslodged in the tread. Inspect the tread and sidewall for
cuts and cracks. Check the wheel nuts for tightness.
Check the tires (including spare) for proper pressure.
Lights
Have someone observe the operation of exterior lights
while you work the controls. Check turn signal and high
beam indicator lights on the instrument panel.
Door Latches
Check for positive closing, latching, and locking.
Fluid Leaks
Check area under vehicle after overnight parking for fuel,
engine coolant, oil, or other fluid leaks. Also, if gasoline
fumes are detected or if fuel, power steering fluid, or
brake fluid leaks are suspected, the cause should be
located and corrected immediately.
2
THINGS TO KNOW BEFORE STARTING YOUR VEHICLE 67
Page 92 of 315

CAUTION!
•Do not leave the hood open in areas where strong
gusts of wind are likely. Such a place might be by
the side of the road where large trucks pass by.
Strong gusts of wind may damage your hood.
Always close the hood in such situations.
•To prevent possible damage, do not slam the hood
to close it. Simply lower the hood until it is open
approximately 6 in (15 cm) and then drop it. This
should secure both latches. Never drive your ve-
hicle unless the hood is fully closed with both
latches engaged.
WARNING!
Be sure the hood is fully latched before driving your
vehicle. If the hood is not fully latched, it could open
when the vehicle is in motion and block your vision.
Failure to follow this warning could result in serious
injury or death.
LIGHTS
Exterior and Interior Lighting Control
The multifunction lever on the left side of the
steering column controls the operation of the
headlights, parking lights, turn signal lights, front
fog lights, instrument panel lights and interior lights.
Headlights and Parking Lights
Turn the end of the multifunction lever to the first detent
for parking light operation. Turn the end of the lever to
the second detent for headlight operation.
88 UNDERSTANDING THE FEATURES OF YOUR VEHICLE
Page 97 of 315

dimmer control in the multifunction lever. This light is
also controlled automatically by the Illuminated Entry
system.
Battery Saver Feature — Interior Lights
To protect the battery, the interior lights will turn off
automatically 15 minutes after the ignition switch is
moved to the OFF/LOCK position. This will occur if the
interior lights were switched on manually or are on
because a door is open or the liftgate is open (Coupe
models). To restore interior light operation, turn the
ignition switch to the ON/RUN position or cycle the
light switch.
Dimmer Control
The dimmer control is part of the multifunction lever. It
controls the operation of the interior lights and the
brightness of the instrument panel lights.
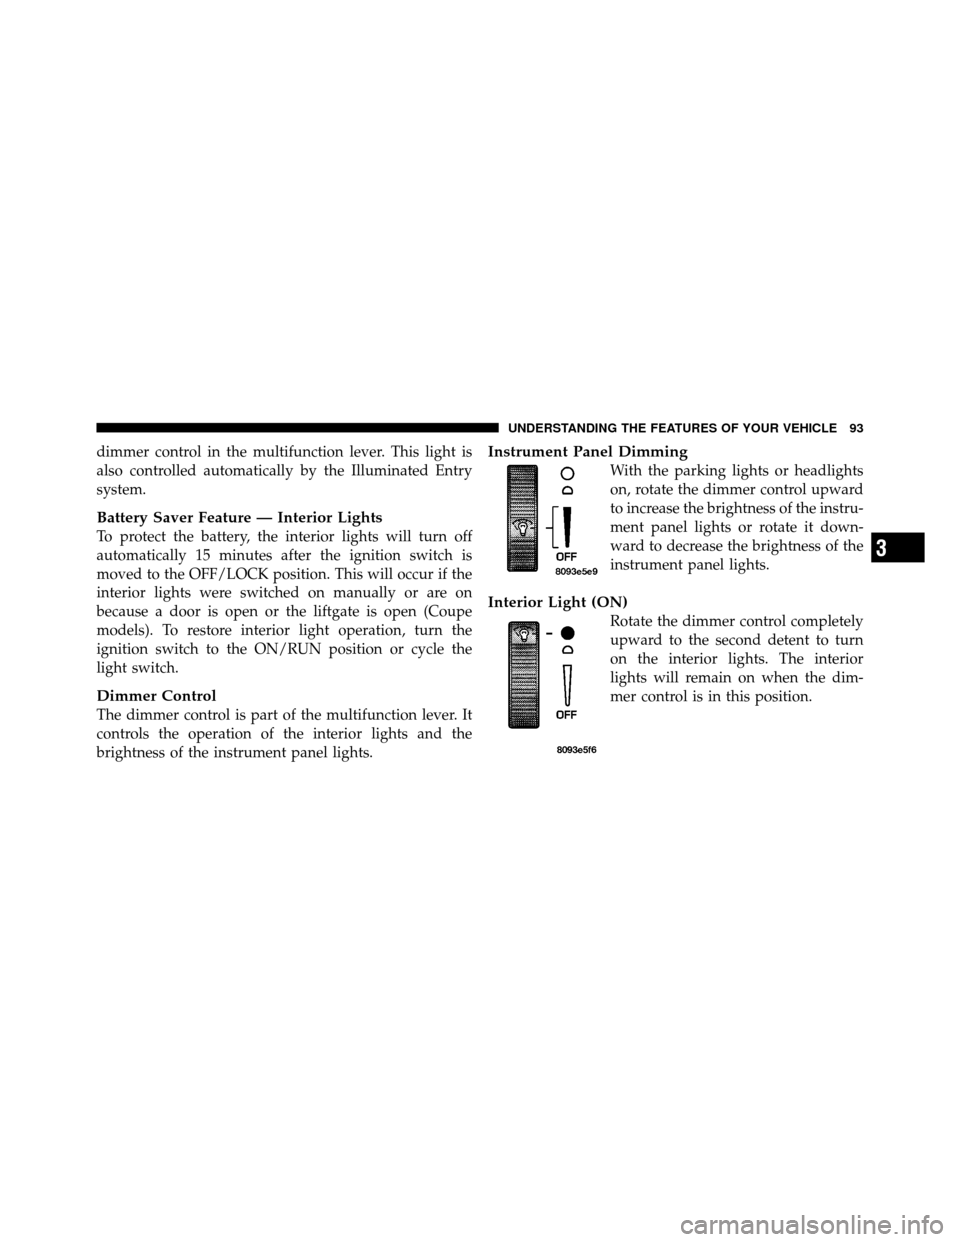
Instrument Panel Dimming
With the parking lights or headlights
on, rotate the dimmer control upward
to increase the brightness of the instru-
ment panel lights or rotate it down-
ward to decrease the brightness of the
instrument panel lights.
Interior Light (ON)
Rotate the dimmer control completely
upward to the second detent to turn
on the interior lights. The interior
lights will remain on when the dim-
mer control is in this position.
3
UNDERSTANDING THE FEATURES OF YOUR VEHICLE 93
Page 107 of 315
STORAGE
A glove box storage compartment is located on the
passenger side of the instrument panel.Pull outward on the handle/latch to open this compart-
ment.
Glove Box Storage Compartment
Opening Glove Box Storage Compartment
3
UNDERSTANDING THE FEATURES OF YOUR VEHICLE 103
Page 108 of 315

REAR WINDOW FEATURES
Rear Window Defroster
The rear window defroster button is located on the
climate control panel. Press this button to turn on
the rear window defroster and the heated outside mirrors
(if equipped). An indicator in the button will illuminate
when the rear window defroster is on. The rear window
defroster automatically turns off after approximately
10 minutes. For an additional five minutes of operation,
press the button a second time.
NOTE: To prevent excessive battery drain, use the rear
window defroster only when the engine is operating.
CAUTION!
Failure to follow these cautions can cause damage to
the heating elements:
•Use care when washing the inside of the rear
window. Do not use abrasive window cleaners on
the interior surface of the window. Use a soft cloth
and a mild washing solution, wiping parallel to
the heating elements. Labels can be peeled off
after soaking with warm water.
•Do not use scrapers, sharp instruments, or abra-
sive window cleaners on the interior surface of the
window.
•Keep all objects a safe distance from the window.
104 UNDERSTANDING THE FEATURES OF YOUR VEHICLE
Page 109 of 315
UNDERSTANDING YOUR INSTRUMENT PANEL
CONTENTS
�Instrument Panel Features ............... 107
� Instrument Cluster Descriptions ........... 108
▫ Speedometer ....................... 108
▫ Message Center ..................... 109
▫ Gauges And Indicator Lights ............ 116
� Setting The Digital Clock ................ 118
▫ Clock Setting Procedure ............... 119 �
Sales Code RAH — AM And FM Stereo Radio
With CD Player And CD/DVD Changer
Controls ............................. 119
▫ Radio Operation ..................... 119
▫ CD Player Operation .................. 123
▫ CD/DVD Changer Operation ........... 125
▫ Notes On Playing MP3 Files ............ 125
▫ Operation Instructions -
(CD Mode For MP3 Audio Play) ......... 128
4