Page 17 of 315

NOTE:The Power Accessory Delay feature allows you
to operate the radio and the power windows for two
minutes after turning OFF the ignition switch. Removing
the key from the ignition switch and opening the driver’s
door will cancel this feature. Your authorized dealership
can enable or disable the Power Accessory Delay feature
as desired.
Key-In-Ignition Reminder
If you open the driver’s door when the key is in the
ignition, a chime will sound to remind you to remove the
key.
NOTE: The Key-In-Ignition reminder only sounds
when the ignition switch is placed in the OFF/LOCK or
ACC positions.
VEHICLE SECURITY ALARM SYSTEM
The Vehicle Security Alarm monitors the doors, trunk/
liftgate, and hood for unauthorized entry and the ignition
switch for unauthorized operation. If something triggers
the alarm, the Vehicle Security Alarm will prevent the
vehicle from starting. It will also sound the horn and
flash the park lights, the taillights and the fog lights.
Rearming of the System
If something triggers the alarm, and no action is taken to
disarm it, the Vehicle Security Alarm will turn off the
horn after three minutes, turn off all of the visual signals
(flashing lights) after 15 minutes, and then rearm itself.
To Arm the System
Remove the key from the ignition switch and either press
a power door LOCK switch while the driver’s or passen-
ger’s door is open or press the LOCK button on the
Remote Keyless Entry (RKE) transmitter. After the last
door is closed, or if all doors are closed, the system will
2
THINGS TO KNOW BEFORE STARTING YOUR VEHICLE 13
Page 28 of 315

If your RKE transmitter fails to operate from a normal
distance, check for these two conditions:
1. Closeness to a radio transmitter, such as a radio station
tower, airport transmitter, and some mobile or CB radios
can affect transmitter operation. To verify if this is the
cause, move the vehicle to another area and test RKE
transmitter operation.
2. The RKE transmitter may become “out of sync” and
will no longer function if operated more than 255 times
while out of range of the vehicle (23 ft or 7 m) or if
operated while the vehicle battery is dead or discon-
nected. To “synchronize” the RKE transmitter, remove
the key from the ignition. Close the hood and all doors.
Press both buttons on the RKE transmitter for about
10 seconds. The horn will chirp once to acknowledge the
signal. Normal RKE transmitter operation should re-
sume.3. The RKE transmitter battery may be weak or dead.
The expected life of the battery is a minimum of three
years.
DOOR LOCKS
WARNING!
•Do not touch the exhaust pipe sill covers when
entering or exiting your vehicle. They can be hot
enough to burn you. Observe the warning labels
on each door closure panel.
•For personal security and safety in the event of an
accident, lock the vehicle doors as you drive as
well as when you park and leave the vehicle.
•When leaving the vehicle, always remove the key
from the ignition lock, and lock your vehicle.
Unsupervised use of vehicle equipment may cause
severe personal injuries and death.
(Continued)
24 THINGS TO KNOW BEFORE STARTING YOUR VEHICLE
Page 48 of 315

WARNING! (Continued)
•Do not put anything on or around the airbag
covers or attempt to open them manually. You may
damage the airbags and you could be injured
because the airbags are no longer functional.
These protective covers for the airbag cushions are
designed to open only when the airbags are inflat-
ing.
•Do not drill, cut, or tamper with the knee bolster
in any way.
•Do not mount any accessories to the knee bolster
such as alarm lights, stereos, citizens band radios,
etc.(Continued)
WARNING! (Continued)
•Relying on the airbags alone could lead to more
severe injuries in a collision. The airbags work
with your seat belt to restrain you properly. In
some collisions, the airbags won’t deploy at all.
Always wear your seat belts even though you have
airbags.
•Being too close to the steering wheel or instrument
panel during airbag deployment could cause seri-
ous injury. Airbags need room to inflate. Sit back,
extending your arms comfortably to reach the
steering wheel or instrument panel.
Knee Impact Bolsters
The Knee Impact Bolsters help protect the knees of the
driver and the passenger, and position front occupants
for the best interaction with the airbags.
44 THINGS TO KNOW BEFORE STARTING YOUR VEHICLE
Page 98 of 315

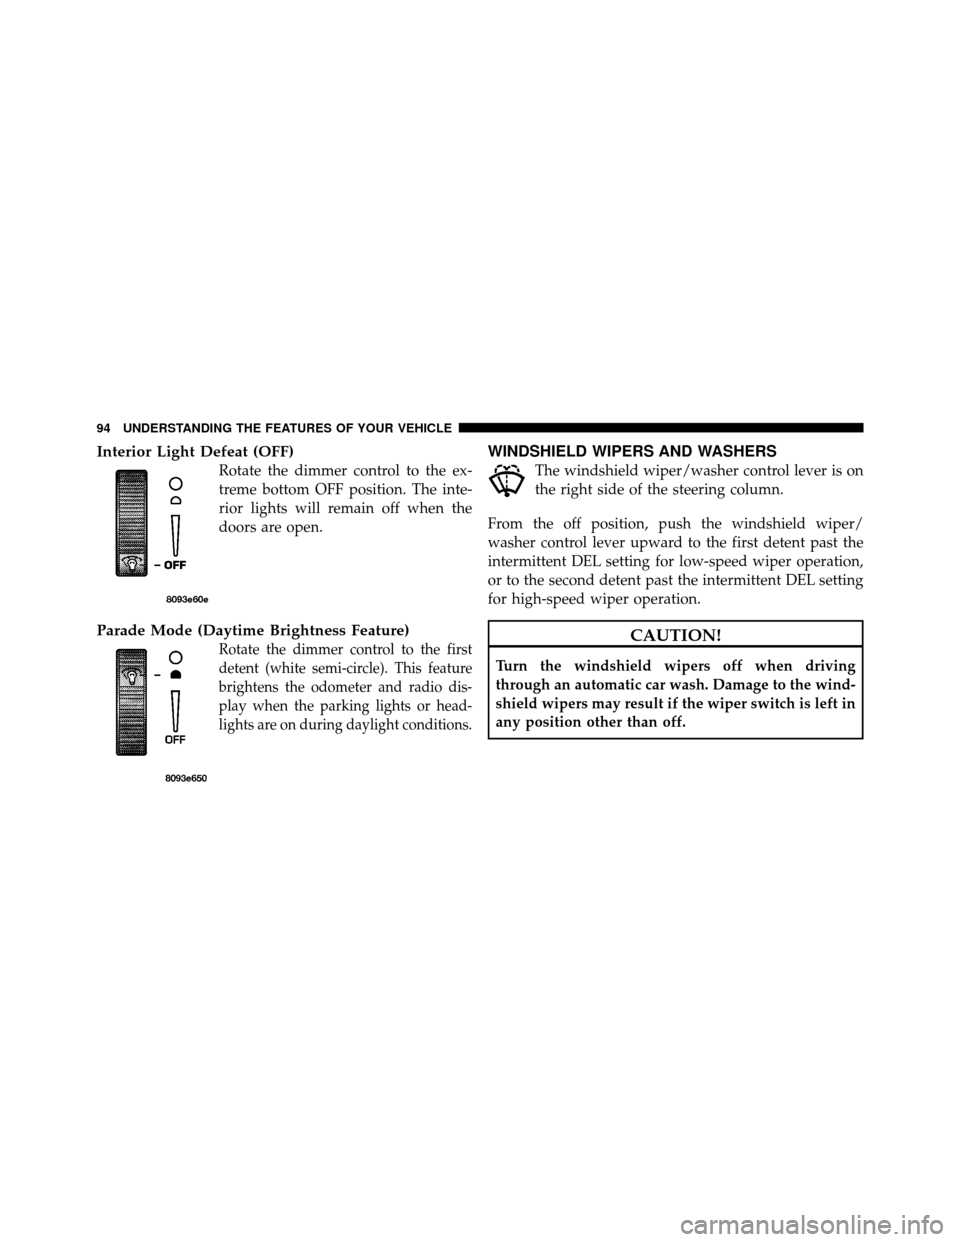
Interior Light Defeat (OFF)
Rotate the dimmer control to the ex-
treme bottom OFF position. The inte-
rior lights will remain off when the
doors are open.
Parade Mode (Daytime Brightness Feature)
Rotate the dimmer control to the first
detent (white semi-circle). This feature
brightens the odometer and radio dis-
play when the parking lights or head-
lights are on during daylight conditions.
WINDSHIELD WIPERS AND WASHERS
The windshield wiper/washer control lever is on
the right side of the steering column.
From the off position, push the windshield wiper/
washer control lever upward to the first detent past the
intermittent DEL setting for low-speed wiper operation,
or to the second detent past the intermittent DEL setting
for high-speed wiper operation.
CAUTION!
Turn the windshield wipers off when driving
through an automatic car wash. Damage to the wind-
shield wipers may result if the wiper switch is left in
any position other than off.
94 UNDERSTANDING THE FEATURES OF YOUR VEHICLE
Page 109 of 315
UNDERSTANDING YOUR INSTRUMENT PANEL
CONTENTS
�Instrument Panel Features ............... 107
� Instrument Cluster Descriptions ........... 108
▫ Speedometer ....................... 108
▫ Message Center ..................... 109
▫ Gauges And Indicator Lights ............ 116
� Setting The Digital Clock ................ 118
▫ Clock Setting Procedure ............... 119 �
Sales Code RAH — AM And FM Stereo Radio
With CD Player And CD/DVD Changer
Controls ............................. 119
▫ Radio Operation ..................... 119
▫ CD Player Operation .................. 123
▫ CD/DVD Changer Operation ........... 125
▫ Notes On Playing MP3 Files ............ 125
▫ Operation Instructions -
(CD Mode For MP3 Audio Play) ......... 128
4
Page 110 of 315

�Uconnect™ Multimedia (Satellite Radio) —
If Equipped .......................... 129
▫ System Activation .................... 129
▫ Electronic Serial Number/Sirius
Identification Number (ESN/SID) ......... 130
▫ Selecting Uconnect™ Multimedia (Satellite)
Mode In RBB, RAH, REV And RBK Radios . . 130
▫ Selecting Uconnect™ Multimedia (Satellite)
Mode In RBP, RBU, RAZ, RB1 And RBQ
Radios ............................ 131
▫ Selecting a Channel ................... 131
▫ Storing And Selecting Pre-Set Channels ..... 131
▫ Using The PTY (Program Type) Button
(If Equipped) ....................... 132 ▫
PTY (Scan) Button .................... 132
▫ PTY (Seek) Button .................... 132
▫ Satellite Antenna ..................... 132
▫ Reception Quality .................... 133
� Radio Antenna ....................... 133
� CD/DVD Disc Maintenance .............. 133
� Radio Operation And Cellular Phones ....... 134
� Climate Controls ...................... 134
▫ Air Conditioning And Heating System ..... 134
▫ Operating Tips ...................... 137
106 UNDERSTANDING YOUR INSTRUMENT PANEL
Page 122 of 315

Fuel Gauge
This gauge shows the amount of fuel in the gas
tank. The reaction time of the gauge has been
slowed to avoid needle fluctuation during pe-
riods of high G force cornering.
Voltage Gauge
This gauge shows the electrical system voltage.
The normal operating voltage is from 12 to
14 Volts with the engine running. If the pointer
remains at either the high or low ends of the
scale, the electrical system should be serviced.
Charge System Light
The red Charge System Light is located in the
Voltage Gauge. It will turn on when there is a
charging system malfunction or a possible accessory
drive belt failure. If jump starting is required, refer to “Jump Starting
Procedures” in “What To Do In Emergencies”.
CAUTION!
The accessory belt also drives the water pump. Op-
erating the vehicle with a failed belt can cause engine
overheating and possible severe engine damage.
SETTING THE DIGITAL CLOCK
The digital display panel on the radio displays the time in
hours and minutes. The display panel is operative when
the ignition switch is in the ON/RUN or ACC position.
Press and release the TIME button on the radio to display
the time. Press and release the button a second time to
turn off the time display.
118 UNDERSTANDING YOUR INSTRUMENT PANEL
Page 123 of 315
Clock Setting Procedure
1. Turn the ignition switch to the ON/RUN or ACC
position.
2. Using the point of a ballpoint pen or similar object,
press either the H (HOUR) or M (MINUTE) button on the
radio. The display will show the time.
3. Press the “H” button to set hours or the “M” button to
set minutes. The time setting will increase each time you
press a button.
SALES CODE RAH — AM AND FM STEREO
RADIO WITH CD PLAYER AND CD/DVD
CHANGER CONTROLS
NOTE:The radio sales code is located on the lower left
side of your radio faceplate.
Radio Operation
Power/Volume Control
Push the ON/VOL control to turn the radio on. Turn the
volume control clockwise to increase the volume.
RAH Radio
4
UNDERSTANDING YOUR INSTRUMENT PANEL 119