2010 DODGE CHARGER oil pressure
[x] Cancel search: oil pressurePage 176 of 484

The gauge pointer will likely indicate a higher tempera-
ture when driving in hot weather, up mountain grades,
or when towing a trailer. It should not be allowed to
exceed the upper limits of the normal operating range.
CAUTION!
Driving with a hot engine cooling system could
damage your vehicle. If the temperature gauge reads
“H,” pull over and stop the vehicle. Idle the vehicle
with the air conditioner turned off until the pointer
drops back into the normal range. If the pointer
remains on the “H,” and you hear a chime, turn the
engine OFF immediately and call for service.
WARNING!
A hot engine cooling system is dangerous. You or
others could be badly burned by steam or boiling
coolant. You may want to call a service center if your
vehicle overheats. If you decide to look under the
hood yourself, refer to “Maintaining Your Vehicle”
and follow the warnings under the Cooling System
Pressure Cap paragraph.
9. Turn Signal Indicators The arrow will flash with the exterior turn signal
when the turn signal lever is operated.
NOTE:
•A continuous chime will sound if the vehicle is driven
more than 1 mile (1.6 km) with either turn signal on.
•Check for an inoperative outside light bulb if either
indicator flashes at a rapid rate.
4
UNDERSTANDING YOUR INSTRUMENT PANEL 175
Page 178 of 484

WARNING!
If a warning light remains on the system may not be
working and you will not have the benefit of ESP or
BAS. Under certain driving conditions, where ESP or
BAS would be beneficial, you - if you have not
adjusted your driving speeds and stopping in or to
account for the lack of the feature, may be in acci-
dent.
14. Oil Pressure Warning Light This light indicates low engine oil pressure. The
light should turn on momentarily when the engine
is started. If the light turns on while driving, stop the
vehicle and shut off the engine as soon as possible. A
chime will sound for four minutes when this light turns
on. Do not operate the vehicle until the cause is corrected.
This light does not indicate how much oil is in the engine.
The engine oil level must be checked under the hood.
15. High Beam Indicator
This indicator will turn on when the high beam
headlights are on. Push the multifunction lever
away from the steering wheel to switch the headlights to
high beam.
16. Seat Belt Reminder Light This light will turn on for five to eight seconds as
a bulb check when the ignition switch is first
turned ON. A chime will sound if the driver’s seat
belt is unbuckled during the bulb check. The Seat Belt
Warning Light will flash or remain on continuously if the
driver’s seat belt remains unbuckled after the bulb check
or when driving. Refer to “Occupant Restraints” in
“Things To Know Before Starting Your Vehicle” for
further information.
4
UNDERSTANDING YOUR INSTRUMENT PANEL 177
Page 314 of 484

Keep dismounted tires in a cool, dry place with as little
exposure to light as possible. Protect tires from contact
with oil, grease, and gasoline.
Replacement Tires
The tires on your new vehicle provide a balance of many
characteristics. They should be inspected regularly for
wear and correct cold tire inflation pressure. The manu-
facturer strongly recommends that you use tires equiva-
lent to the originals in size, quality and performance
when replacement is needed. (Refer to the paragraph on
“Tread Wear Indicators”). Refer to the “Tire and Loading
Information” placard for the size designation of your tire.
The service description and load identification will be
found on the original equipment tire. Failure to use
equivalent replacement tires may adversely affect the
safety, handling, and ride of your vehicle. We recommend
that you contact your original equipment or an autho-
rized tire dealer with any questions you may have on tire
specifications or capability.
WARNING!
•Do not use a tire, wheel size or rating other than
that specified for your vehicle. Some combinations
of unapproved tires and wheels may change sus-
pension dimensions and performance characteris-
tics, resulting in changes to steering, handling, and
braking of your vehicle. This can cause unpredict-
able handling and stress to steering and suspen-
sion components. You could lose control and have
an accident resulting in serious injury or death.
Use only the tire and wheel sizes with load ratings
approved for your vehicle.
•Never use a tire with a smaller load index or
capacity, other than what was originally equipped
on your vehicle. Using a tire with a smaller load
index could result in tire overloading and failure.
You could lose control and have an accident.(Continued)
5
STARTING AND OPERATING 313
Page 376 of 484

ENGINE COMPARTMENT — 5.7L
1 — Integrated Power Module6 — Air Cleaner Filter
2 — Coolant Pressure Cap 7 — Engine Oil Fill
3 — Brake Fluid Reservoir Access Cover 8 — Engine Oil Dipstick
4 — Engine Coolant Reservoir 9 — Remote Jump Start (Positive Battery Post)
5 — Power Steering Fluid Reservoir 10 — Washer Fluid Reservoir
7
MAINTAINING YOUR VEHICLE 375
Page 381 of 484

CAUTION! (Continued)
•Your vehicle has been built with improved fluids
that protect the performance and durability of
your vehicle and also allow extended maintenance
intervals. Do not use chemical flushes in these
components as the chemicals can damage your
engine, transmission, power steering or air condi-
tioning. Such damage is not covered by the New
Vehicle Limited Warranty. If a flush is needed
because of component malfunction, use only the
specified fluid for the flushing procedure.
Engine Oil
Checking Oil Level – 2.7L and 3.5L Engines
To assure proper engine lubrication, the engine oil must
be maintained at the correct level. Check the oil level atregular intervals, such as every fuel stop. The best time to
check the engine oil level is about five minutes after a
fully warmed engine is shut off.
Checking the oil while the vehicle is on level ground will
improve the accuracy of the oil level readings. Maintain
the oil level between the MIN and MAX markings on the
dipstick. Adding 1.0 qt (1.0 L) of oil when the reading is
at the MIN mark will result in a MAX reading on these
engines.
CAUTION!
Overfilling or underfilling will cause oil aeration or
loss of oil pressure. This could damage your engine.
Checking Oil Level – 5.7L Engine
To assure proper engine lubrication, the engine oil must
be maintained at the correct level. Check the oil level at
380 MAINTAINING YOUR VEHICLE
Page 382 of 484

regular intervals, such as every fuel stop. The best time to
check the engine oil level is about five minutes after a
fully warmed engine is shut off.
Checking the oil while the vehicle is on level ground will
improve the accuracy of the oil level readings. Maintain
the oil level in the “SAFE” range. Adding 1.0 qt (1.0 L) of
oil when the reading is at the bottom of the “SAFE” range
will result in an oil level at the top of the “SAFE” range
on these engines.
CAUTION!
Overfilling or underfilling will cause oil aeration or
loss of oil pressure. This could damage your engine.
Change Engine Oil
The oil change indicator system will remind you that it is
time to take your vehicle in for scheduled maintenance.
Refer to “Maintenance Schedule” for further information.NOTE: Under no circumstances should oil change
intervals exceed 6,000 miles (10 000 km) or six months,
whichever occurs first.
Engine Oil Selection
For best performance and maximum protection under all
types of operating conditions, the manufacturer only
recommends engine oils that are API Certified and meet
the requirements of Chrysler Material Standard MS-6395.
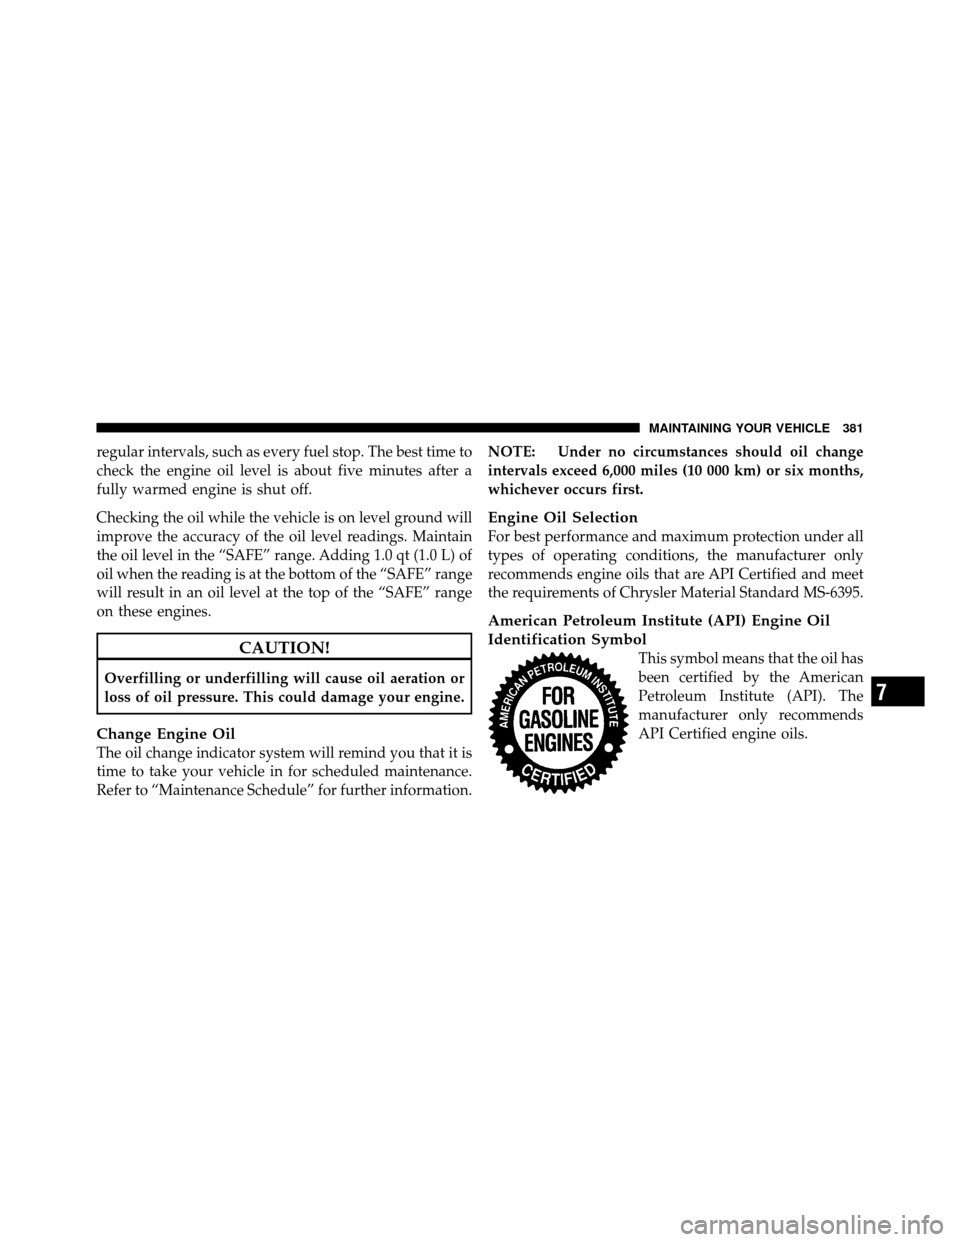
American Petroleum Institute (API) Engine Oil
Identification Symbol
This symbol means that the oil has
been certified by the American
Petroleum Institute (API). The
manufacturer only recommends
API Certified engine oils.
7
MAINTAINING YOUR VEHICLE 381
Page 388 of 484

WARNING!
•Use only refrigerants and compressor lubricants
approved by the manufacturer for your air condi-
tioning system. Some unapproved refrigerants are
flammable and can explode, injuring you. Other
unapproved refrigerants or lubricants can cause
the system to fail, requiring costly repairs. Refer to
Warranty Information Book, located on the DVD,
for further warranty information.
•The air conditioning system contains refrigerant
under high pressure. To avoid risk of personal
injury or damage to the system, adding refrigerant
or any repair requiring lines to be disconnected
should be done by an experienced technician.
Refrigerant Recovery and Recycling
R-134a Air Conditioning Refrigerant is a hydrofluoro-
carbon (HFC) that is endorsed by the Environmental
Protection Agency and is an ozone-saving product. How-
ever, the manufacturer recommends that air conditioning
service be performed by authorized dealers or other
service facilities using recovery and recycling equipment.
NOTE:Use only manufacturer approved A/C System
Sealers, Stop Leak Products, Seal Conditioners, Compres-
sor Oil, and Refrigerants.
A/C Air Filter
The filter is located in the fresh air inlet under the hood,
behind a removable panel in the cowl on the passenger
side of the vehicle, next to the windshield wipers. When
installing a new filter, ensure its proper orientation.
7
MAINTAINING YOUR VEHICLE 387
Page 434 of 484

NOTE:
•The oil change indicator message will not monitor the
time since the last oil change. Change your vehicle’s
oil if it has been six months since your last oil change,
even if the oil change indicator message is NOT
illuminated.
•Change your engine oil more often if you drive your
vehicle off-road for an extended period of time.
•Under no circumstances should oil change intervals
exceed 6,000 miles (10,000 km) or six months, which-
ever comes first.
Your authorized dealer will reset the oil change indicator
message after completing the scheduled oil change. If a
scheduled oil change is performed by someone other
than your authorized dealer, the message can be reset by
referring to the steps described under “Electronic Vehicle
Information Center (EVIC)/Oil Change Required” in “Understanding Your Instrument Panel” or under “In-
strument Cluster Description/Odometer/Trip Odom-
eter” in “Understanding Your Instrument Panel” for
further information.
At Each Stop for Fuel
•Check the engine oil level. Refer to “Maintenance
Procedures/Engine Oil” in “Maintaining Your Ve-
hicle” for further information.
•Check the windshield washer solvent and add if
required.
Once a Month
•Check tire pressure and look for unusual wear or
damage.
•Inspect the battery, and clean and tighten the terminals
as required.
8
M A I
N T
E
N A
N CE
S
C
H E
D
U L
E
SMAINTENANCE SCHEDULES 433