Page 3 of 76

INTRODUCTION/WELCOME
WELCOME FROM CHRYSLER GROUP LLC . 2
CONTROLS AT A GLANCE
DRIVER COCKPIT.............. 4
INSTRUMENT CLUSTER ..........6
GETTING STARTED
KEYFOB...................8
THEFT ALARM................ 9
SEATBELT ................. 9
CHILD RESTRAINTS ............. 9
FRONTSEATS................11
REARSEATS ................14
HEATEDSEATS...............14
TILT / TELESCOPING STEERING
COLUMN ..................15
PROGRAMMABLEFEATURES .......15
OPERATING YOUR VEHICLE
TURN SIGNAL/LIGHTS LEVER .......17
WIPER/WASHER LEVER ..........18
SPEED CONTROL LEVER ..........18
MANUAL CLIMATE CONTROLS ...... 20
AUTOMATIC TEMPERATURE CONTROLS
(ATC) ................... 20
POWERSUNROOF .............21
WIND BUFFETING ............. 22
ELECTRONICS
NON-TOUCH-SCREENRADIOS.......23
TOUCH-SCREENRADIOS......... 26
REMOTE AUDIO CONTROLS ........31
ELECTRONIC VEHICLE INFORMATION
CENTER (EVIC) ...............31
UNIVERSAL GARAGE DOOR OPENER
(HOMELINK
®) ...............32
POWER OUTLET ..............33
Uconnect™ Phone ............33
VOICECOMMAND .............35
UTILITY
TRAILER TOWING WEIGHTS (MAXIMUM
TRAILER WEIGHT RATINGS) ........37RECREATIONAL TOWING (BEHIND
MOTORHOME, ETC.)
........... 38
BRAKE/TRANSAXLE INTERLOCK MANUAL
OVERRIDE ................ 38
WHAT TO DO IN EMERGENCIES
24-HOUR TOWING ASSISTANCE
- U.S. ONLY ................ 39
INSTRUMENT CLUSTER WARNING
LIGHTS .................. 39
IF YOUR ENGINE OVERHEATS ...... 42
JACKINGANDTIRECHANGING.......43
JUMP-STARTING ..............47
TOWINGADISABLEDVEHICLE.......51
FREEING A STUCK VEHICLE ........52
EVENT DATA RECORDER (EDR) ......53
MAINTAINING YOUR VEHICLE
OPENING THE HOOD............54
ENGINE COMPARTMENT ..........55
FLUIDS AND CAPACITIES ..........58
MAINTENANCE CHART .......... 60
FUSES................... 62
TIREPRESSURES............. 64
WHEEL AND WHEEL TRIM CARE ..... 64
EXTERIOR BULBS ..............65
CONSUMER ASSISTANCE
CHRYSLER GROUP LLC CUSTOMER
CENTER.................. 66
CHRYSLER CANADA INC. CUSTOMER
CENTER.................. 66
ASSISTANCE FOR THE HEARING
IMPAIRED................. 66
PUBLICATIONS ORDERING ........ 66
REPORTING SAFETY DEFECTS IN THE
50 UNITED STATES AND
WASHINGTON, D.C. ............67
TIRE WARRANTY ..............67
MOPAR ACCESSORIES
MOPAR®ACCESSORIES..........70
TABLE OF CONTENTS
Page 34 of 76

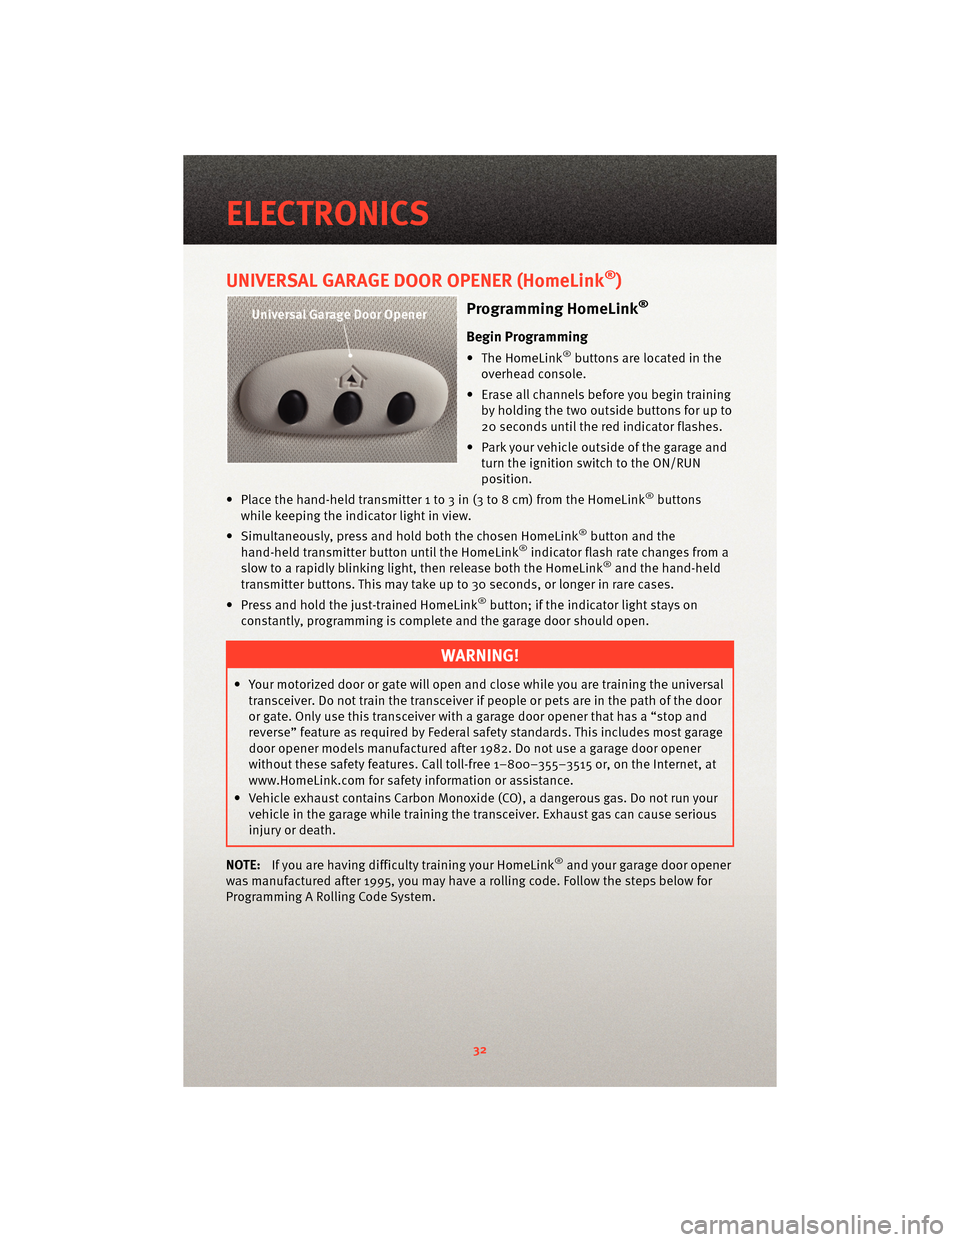
UNIVERSAL GARAGE DOOR OPENER (HomeLink®)
Programming HomeLink®
Begin Programming
• The HomeLink®buttons are located in the
overhead console.
• Erase all channels before you begin training by holding the two outside buttons for up to
20 seconds until the red indicator flashes.
• Park your vehicle outside of the garage and turn the ignition switch to the ON/RUN
position.
• Place the hand-held transmitter 1 to 3 in (3 to 8 cm) from the HomeLink
®buttons
while keeping the indicator light in view.
• Simultaneously, press and hold both the chosen HomeLink
®button and the
hand-held transmitter button until the HomeLink®indicator flash rate changes from a
slow to a rapidly blinking light, then release both the HomeLink®and the hand-held
transmitter buttons. This may take up to 30 seconds, or longer in rare cases.
• Press and hold the just-trained HomeLink
®button; if the indicator light stays on
constantly, programming is complete and the garage door should open.
WARNING!
• Your motorized door or gate will open and close while you are training the universal transceiver. Do not train the transceiver if people or pets are in the path of the door
or gate. Only use this transceiver with a garage door opener that has a “stop and
reverse” feature as required by Federal sa fety standards. This includes most garage
door opener models manufactured after 1982. Do not use a garage door opener
without these safety features. Call toll-free 1–800–355–3515 or, on the Internet, at
www.HomeLink.com for safety inf ormation orassistance.
• Vehicle exhaust contains Carbon Monoxide (CO), a dangerous gas. Do not run your vehicle in the garage while training the transceiver. Exhaust gas can cause serious
injury or death.
NOTE: If you are having difficulty training your HomeLink
®and your garage door opener
was manufactured after 1995, you may have a rolling code. Follow the steps below for
Programming A Rolling Code System.
ELECTRONICS
32
Page 35 of 76

Programming A Rolling Code System
• At the garage door opener motor (in the garage), locate the “learn” or “training”button. This can usually be found where the hanging antenna wire is attached to the
garage door opener motor (it is NOT the button normally used to open and close the
door).
• Firmly press and release the “learn” or “training” button. The name and color of the
button may vary by manufacturer. Within 30 seconds, return to the vehicle and press
the programmed HomeLink
®button twice (holding the button for two seconds each
time). If the device is plugged in and activates, programming is complete.
• If the device does not activate, press the button a third time (for two seconds) to
complete the training.
Using HomeLink®
• To operate, simply press and release the programmed HomeLink®button and the
trained device will operate.
• Refer to your Owner’s Manual on the DVD for further details. If you have any problems programming HomeLink
®, or require assistance, please call toll-free 1–800–355–3515
or, on the Internet, at www.HomeLink.com.
POWER OUTLET
• There are two 12 Volt electrical outlets on this vehicle.
• The outlet on the front console has power available only when the ignition is in the ON/RUN position. If desired, this outlet can be converted by your authorized dealer to
provide power with the ignition switch in the LOCK position.
• The second outlet in the center console is p owered directly from the battery (power
available at all times). Items plugged into this outlet may discharge the battery and/or
prevent engine starting.
NOTE: Do not exceed the maximum power of 160 Watts (13 Amps) at 12 Volts. If the 160
Watt (13 Amp) power rating is exceeded the fuse protecting the system will need to be
replaced.
Uconnect™ Phone
• The Uconnect™ Phone is a voice-activated, hands-free, in-vehicle communications system.
• The Uconnect™ Phone allows you to dial a phone number with your cellular phone using simple voice commands.
• For vehicles equipped with Video Entertainment System (VES)™, refer to the Uconnect™ Phone section of the Uconnect™ User's Manual on the DVD for further
details.
• For vehicles not equipped with VES™, refer to your vehicle Owner's Manual on the DVD for further details.
33
ELECTRONICS