Page 141 of 538
WARNING!
In the event of a collision you could be injured if the
seat is not fully latched.
Swivel ’n Go™ Premium Seating — If Equipped
Premium second row Swivel ’n Go™ Seating features
include:
•A table that installs between the second and third row
seats. The table disassembles and stows in the hidden
second row floor storage bin
•Seats rotate to face forward or rearward
•Seat belts are integrated into the swivel seats
•Dual folding armrests
•A side storage pocket that will accommodate a phone
or handheld game
•Seats are removable
Swivel ’n Go™ Seating Features
1 — Moveable Armrest 4 — Fore-Aft Adjustment
2 — Seatback Release 5 — Seat Release
3 — Swivel Release
140 UNDERSTANDING THE FEATURES OF YOUR VEHICLE
Page 143 of 538
WARNING!
Failure to comply with the following conditions
could result in serious injury or even death:
•NEVER place any child seat or infant carrier in the
Swivel ’n Go™ seat while it is in the rearward
facing position.
•The swivel seat should be locked in the forward
position when using any child seat or infant
carriers, with the vehicle in motion.
•Occupants riding in Swivel ’n Go™ seating must
be wearing their seat belt and the seat must be
locked in either the forward-facing or rearward-
facing position.
•Make sure the Swivel ’n Go™ seat is in a locked
position with the release handle fully engaged.
Test the seat after it is locked to see that it doesn’t
swivel.
Removing Swivel ’n Go™ Premium Seating — If
Equipped
1. Remove any obstructions from the floor behind the
seat, and stow the third row seat.
2. Pull up on the release bar located at the bottom front
edge of the swivel seat.
Release Bar
142 UNDERSTANDING THE FEATURES OF YOUR VEHICLE
Page 152 of 538
NOTE:
•Disconnect the center shoulder belt from the small
buckle and lower the head restraints before attempting
to fold/stow the power third row seats.
•To abort seat operation while seat is in motion, press a
different seat position selector switch to stop the seat.
Once the seat stops moving, then the desired position
can be selected.
•The third row power seat system includes obstacle
detection for safe operation. When the system detects
an obstacle, the motors will stop and reverse the
motion a short distance to move the seat away from
the obstacle. Should this occur, remove the obstacle
and press the button again, for the desired position.
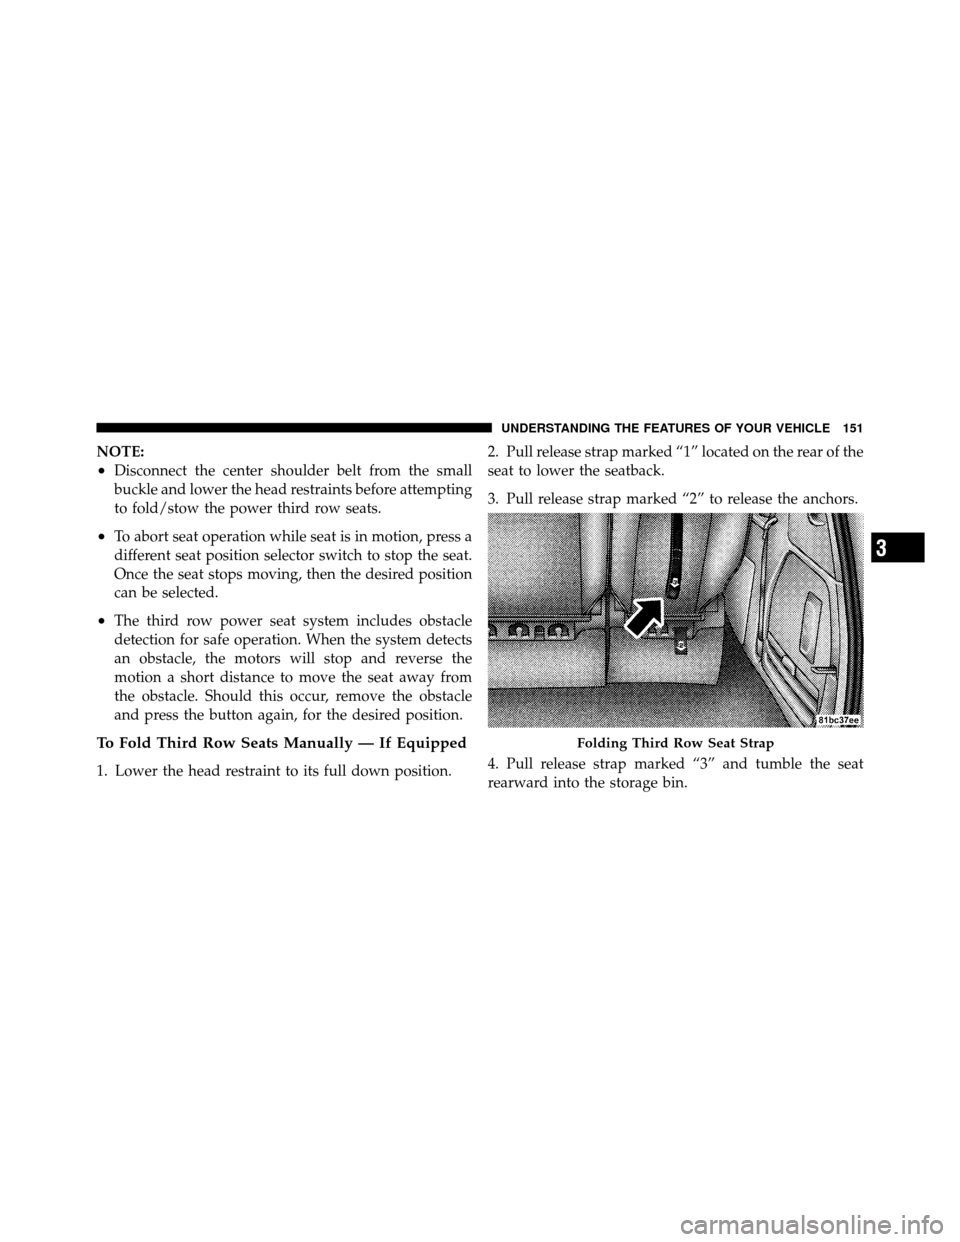
To Fold Third Row Seats Manually — If Equipped
1. Lower the head restraint to its full down position.2. Pull release strap marked “1” located on the rear of the
seat to lower the seatback.
3. Pull release strap marked “2” to release the anchors.
4. Pull release strap marked “3” and tumble the seat
rearward into the storage bin.
Folding Third Row Seat Strap
3
UNDERSTANDING THE FEATURES OF YOUR VEHICLE 151
Page 199 of 538
2. This device must accept any interference that may be
received including interference that may cause undesired
operation.
NOTE:
•The transmitter has been tested and it complies with
FCC and IC rules. Changes or modifications not
expressly approved by the party responsible for com-
pliance could void the user ’s authority to operate the
device.
•The term IC before the certification/registration num-
ber only signifies that Industry Canada technical
specifications were met.
POWER SUNROOF — IF EQUIPPED
The power sunroof control switch is located in the front
overhead console.
The sunroof panel tilts upward at the rear for ventilation
or slides rearward under the roof.
Power Sunroof Operation
Opening the Sunroof Manually
Press the switch rearward and hold, and the sunroof will
open automatically from any position. The sunroof will
open fully, then stop automatically. During this opera-
tion, any release of the sunroof switch will stop the
sunroof.
WARNING!
In an accident, there is greater risk of being thrown
from a vehicle with an open sunroof. You could also
be seriously injured or killed. Always fasten your
seat belt properly and make sure all passengers are
properly secured.
198 UNDERSTANDING THE FEATURES OF YOUR VEHICLE
Page 241 of 538
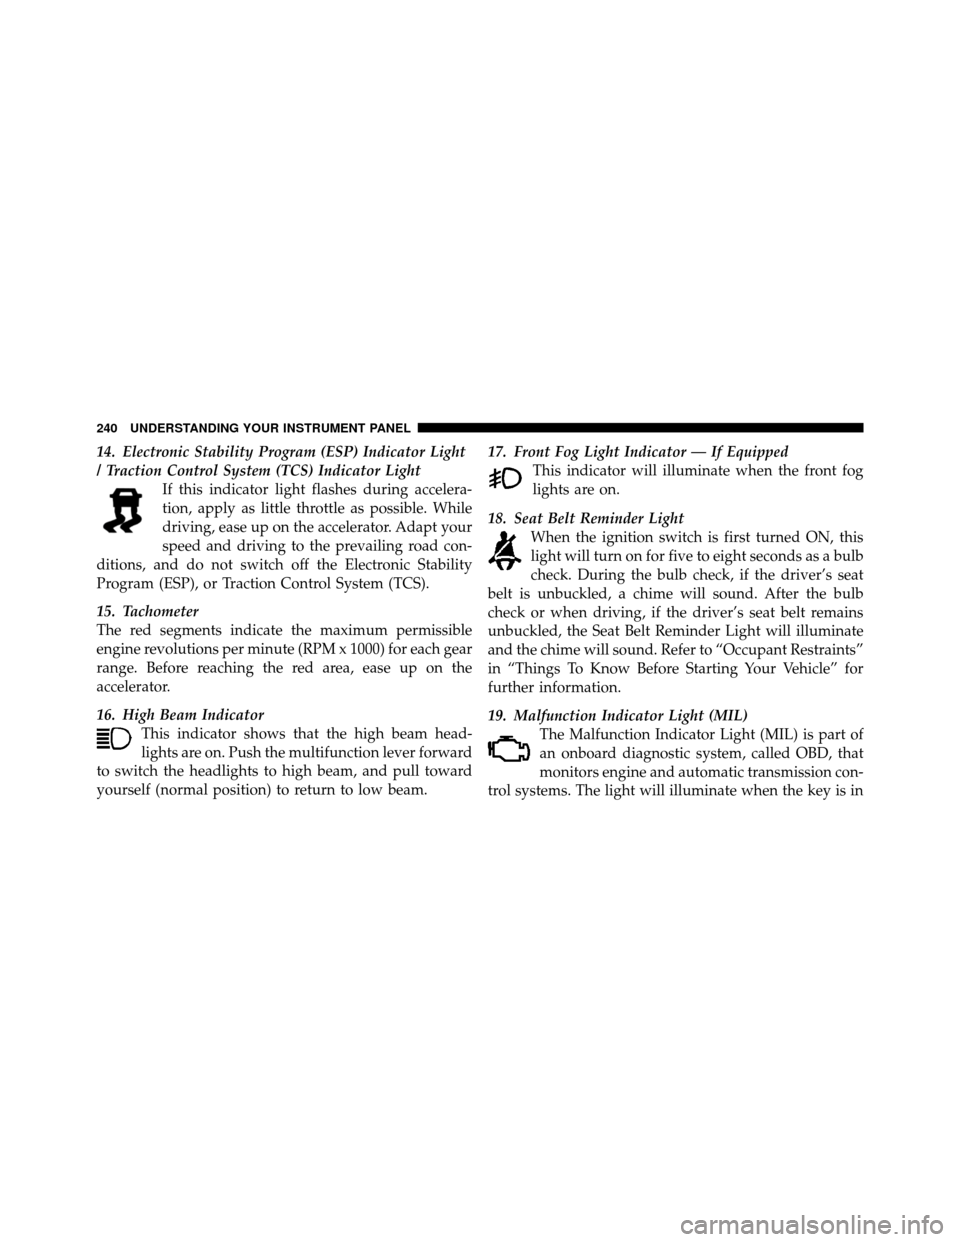
14. Electronic Stability Program (ESP) Indicator Light
/ Traction Control System (TCS) Indicator LightIf this indicator light flashes during accelera-
tion, apply as little throttle as possible. While
driving, ease up on the accelerator. Adapt your
speed and driving to the prevailing road con-
ditions, and do not switch off the Electronic Stability
Program (ESP), or Traction Control System (TCS).
15. Tachometer
The red segments indicate the maximum permissible
engine revolutions per minute (RPM x 1000) for each gear
range. Before reaching the red area, ease up on the
accelerator.
16. High Beam Indicator This indicator shows that the high beam head-
lights are on. Push the multifunction lever forward
to switch the headlights to high beam, and pull toward
yourself (normal position) to return to low beam. 17. Front Fog Light Indicator — If Equipped
This indicator will illuminate when the front fog
lights are on.
18. Seat Belt Reminder Light When the ignition switch is first turned ON, this
light will turn on for five to eight seconds as a bulb
check. During the bulb check, if the driver’s seat
belt is unbuckled, a chime will sound. After the bulb
check or when driving, if the driver’s seat belt remains
unbuckled, the Seat Belt Reminder Light will illuminate
and the chime will sound. Refer to “Occupant Restraints”
in “Things To Know Before Starting Your Vehicle” for
further information.
19. Malfunction Indicator Light (MIL) The Malfunction Indicator Light (MIL) is part of
an onboard diagnostic system, called OBD, that
monitors engine and automatic transmission con-
trol systems. The light will illuminate when the key is in
240 UNDERSTANDING YOUR INSTRUMENT PANEL
Page 328 of 538
STARTING PROCEDURES
Before starting your vehicle, adjust your seat, adjust the
inside and outside mirrors, fasten your seat belt, and if
present, instruct all other occupants to buckle their seat
belts.
WARNING!
Never leave unattended children alone in a vehicle.
Leaving children in a vehicle is dangerous for a
number of reasons. A child or others could be seri-
ously or fatally injured. Do not leave the key fob in
the ignition switch. A child could operate power
windows, other controls, or move the vehicle.
Automatic Transmission
The shift lever must be in the NEUTRAL or PARK
position before you can start the engine. Press the brake
pedal before shifting into any driving gear.
Normal Starting
1. Do not press the accelerator.
2. Use the Fob with Integrated Key to briefly turn the
ignition switch to the START position and release it as
soon as the starter engages. The starter motor will
continue to run, and it will disengage automatically
when the engine is running.
3. If the engine fails to start, the starter will disengage
automatically in 10 seconds. If this occurs, turn the
ignition switch to the OFF position, wait 10 to 15 seconds,
then repeat the “Normal Starting” procedure (Steps 1–3
above).
NOTE: This vehicle is equipped with a transmission
shift interlocking system. The brake pedal must be
pressed to shift out of PARK.
5
STARTING AND OPERATING 327
Page 449 of 538
CAUTION!
•It is essential when replacing the cables on the
battery that the positive cable is attached to the
positive post and the negative cable is attached to
the negative post. Battery posts are marked posi-
tive (+) and negative (-) and are identified on the
battery case. Cable clamps should be tight on the
terminal posts and free of corrosion.
•If a “fast charger” is used while the battery is in
the vehicle, disconnect both vehicle battery cables
before connecting the charger to the battery. Do
not use a “fast charger” to provide starting voltage.
Air Conditioner Maintenance
For best possible performance, your air conditioner
should be checked and serviced by an authorized dealer
at the start of each warm season. This service should
include cleaning of the condenser fins and a system
performance check. Drive belt tension should also be
checked at this time.
CAUTION!
Do not use chemical flushes in your air conditioning
system as the chemicals can damage your air condi-
tioning components. Such damage is not covered by
the New Vehicle Limited Warranty.
448 MAINTAINING YOUR VEHICLE
Page 470 of 538
Cleaning Plastic Instrument Cluster Lenses
The lenses in front of the instruments in this vehicle are
molded in clear plastic. When cleaning the lenses, care
must be taken to avoid scratching the plastic.
1. Clean with a wet soft rag. A mild soap solution may be
used, but do not use high alcohol content or abrasive
cleaners. If soap is used, wipe clean with a clean damp
rag.
2. Dry with a soft tissue.
Seat Belt Maintenance
Do not bleach, dye or clean the seat belts with chemical
solvents or abrasive cleaners. This will weaken the fabric.
Sun damage can also weaken the fabric.
If the seat belts need cleaning, use a mild soap solution or
lukewarm water. Do not remove the belts from the car to
wash them.Replace the seat belts if they appear frayed or worn, or if
the buckles do not work properly.
Cleaning the Instrument Panel Cupholders
Removal
Pull the flexible liner from the cupholder drawer starting
at one edge to ease removal.
Cleaning
The liner is top shelf dishwasher safe, or you may follow
the cleaning procedure below.
Soak the liner in a mixture of medium hot tap water and
one teaspoon of mild liquid dish soap. Let soak for
approximately 30 minutes. After 30 minutes, pull the
liner from the water and dip it back into the water about
six times. This will loosen any remaining debris. Rinse
the liner thoroughly under warm running water. Shake
the excess water from the liner and dry the outer surfaces
with a clean soft cloth.
7
MAINTAINING YOUR VEHICLE 469