Page 379 of 538
5. Once you repair or replace the original road tire, and
reinstall it on the vehicle in place of the compact spare,
the TPMS will update automatically. In addition, the
“TPMS Telltale Warning Light” will turn off and the
graphic in the EVIC will display a new pressure value
instead of dashes (- -), as long no tire pressure is below
the low pressure warning limit in any of the four active
road tires.
NOTE:The vehicle may need to be driven for up to
20 minutes above 15 mph (25 km/h) in order for the
TPMS to receive this information.
General Information
This device complies with Part 15 of the FCC rules and
RSS 210 of Industry Canada. Operation is subject to the
following conditions:
•This device may not cause harmful interference.
•This device must accept any interference received,
including interference that may cause undesired
operation.
The tire pressure sensors are regulated under one of the
following licenses:
United States ..................... KR5S120123
Canada ........................ 2671-S120123
FUEL REQUIREMENTS
3.3L and 3.8L Engine
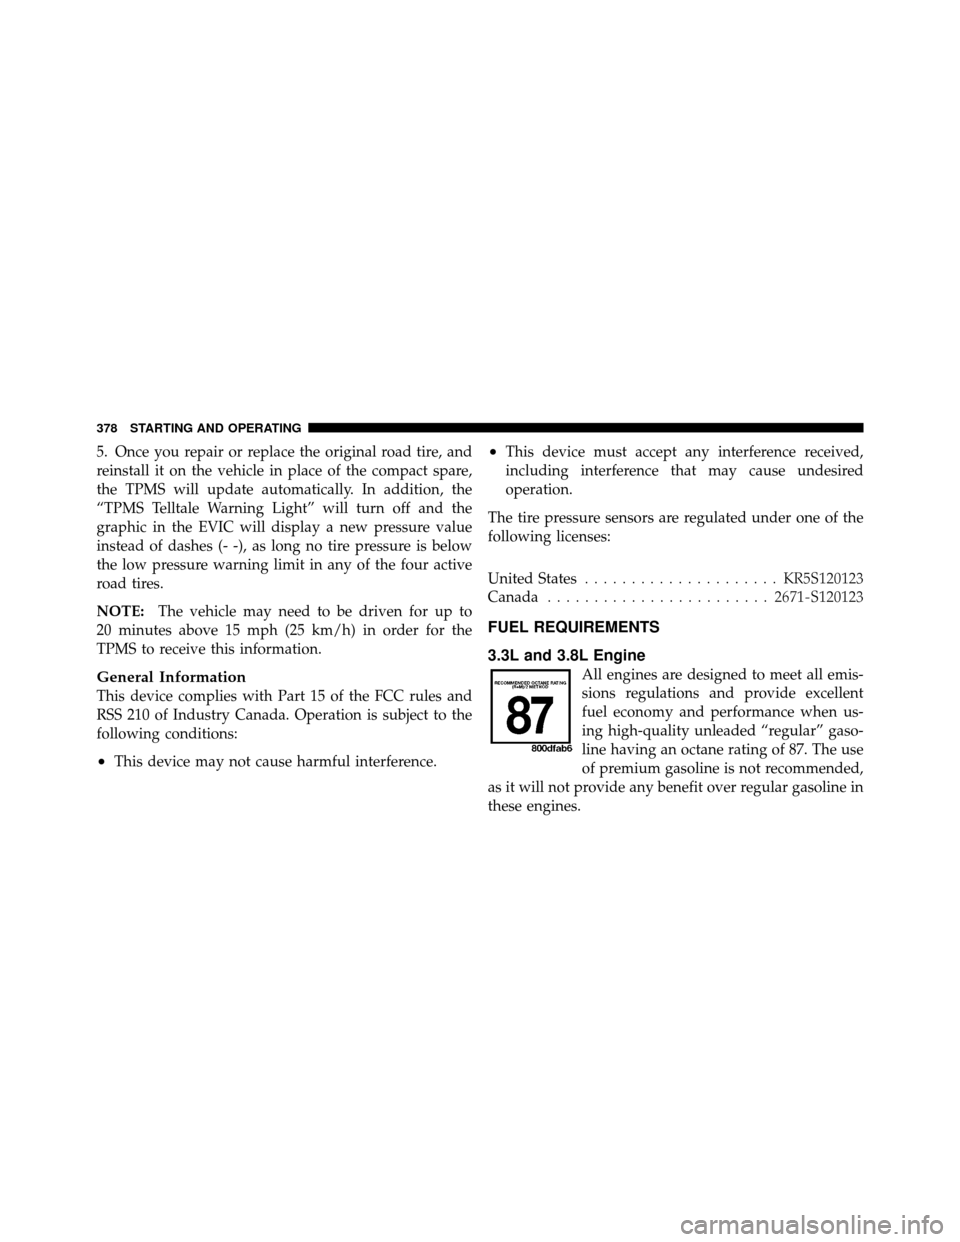
All engines are designed to meet all emis-
sions regulations and provide excellent
fuel economy and performance when us-
ing high-quality unleaded “regular” gaso-
line having an octane rating of 87. The use
of premium gasoline is not recommended,
as it will not provide any benefit over regular gasoline in
these engines.
378 STARTING AND OPERATING
Page 392 of 538
Rim Size
This is the rim size that is appropriate for the tire size
listed.
Inflation Pressure
This is the cold tire inflation pressure for your vehicle, for
all loading conditions up to full GAWR.
Curb Weight
The curb weight of a vehicle is defined as the total weight
of the vehicle with all fluids, including vehicle fuel, at full
capacity conditions, and with no occupants or cargo
loaded into the vehicle. The front and rear curb weight
values are determined by weighing your vehicle on a
commercial scale before any occupants or cargo are
added.
Overloading
The load carrying components (axle, springs, tires,
wheels, etc.) of your vehicle will provide satisfactory
service as long as you do not exceed the GVWR and front
and rear GAWR.
The best way to figure out the total weight of your
vehicle is to weigh it when it is fully loaded and ready for
operation. Weigh it on a commercial scale to ensure that
it is not over the GVWR.
Figure out the weight on the front and rear of the vehicle
separately. It is important that you distribute the load
evenly over the front and rear axles.
Overloading can cause potential safety hazards and
shorten useful service life. Heavier axles or suspension
components do not necessarily increase the vehicle’s
GVWR.
5
STARTING AND OPERATING 391
Page 405 of 538
WARNING! (Continued)
3. GAWR
4. Trailer tongue weight rating for that trailer hitch.
(This requirement may limit the ability to always
achieve the 10% to 15% range of trailer tongue weight
as a percentage of total trailer weight.)
Towing Requirements – Tires
•
Do not attempt to tow a trailer while using a compact
spare tire.
•Proper tire inflation pressures are essential to the safe
and satisfactory operation of your vehicle. Refer to
“Tires – General Information” in “Starting and Oper-
ating” for proper tire inflation procedures.
•Check the trailer tires for proper tire inflation pres-
sures before trailer usage.
•Check for signs of tire wear or visible tire damage
before towing a trailer. Refer to “Tires – General
Information” in “Starting and Operating” for the
proper inspection procedure.
•When replacing tires, refer to “Tires – General Infor-
mation” in “Starting and Operating” for proper tire
replacement procedures. Replacing tires with a higher
load carrying capacity will not increase the vehicle’s
GVWR and GAWR limits.
Towing Requirements – Trailer Brakes
•
Donot interconnect the hydraulic brake system or
vacuum system of your vehicle with that of the trailer.
This could cause inadequate braking and possible
personal injury.
404 STARTING AND OPERATING
Page 414 of 538
CAUTION!
Driving with a hot cooling system could damage
your vehicle. If temperature gauge reads “H”, pull
over and stop the vehicle. Idle the vehicle with the air
conditioner turned off until the pointer drops back
into the normal range. If the pointer remains on the
“H”, turn the engine off immediately, and call for
service.
WARNING!
You or others can be badly burned by hot engine
coolant (antifreeze) or steam from your radiator. If
you see or hear steam coming from under the hood,
do not open the hood until the radiator has had time
to cool. Never try to open a cooling system pressure
cap when the radiator or coolant bottle is hot.
JACKING AND TIRE CHANGING
WARNING!
•Getting under a jacked-up vehicle is dangerous.
The vehicle could slip off the jack and fall on you.
You could be crushed. Never get any part of your
body under a vehicle that is on a jack. If you need
to get under a raised vehicle, take it to a service
center where it can be raised on a lift.
•The jack is designed to use as a tool for changing
tires only. The jack should not be used to lift the
vehicle for service purposes. The vehicle should
be jacked on a firm level surface only. Avoid ice or
slippery areas.
•If it is necessary to retrieve the spare tire from
under the vehicle on the side of the vehicle close to
moving traffic. Pull far enough off the road to
avoid the danger of being hit.
6
WHAT TO DO IN EMERGENCIES 413
Page 424 of 538
10. Lower the vehicle by turning the jack screw to the
left.
11. Finish tightening the lug nuts. Push down on the
wrench while tightening for increased leverage. Alternate
lug nuts until each nut has been tightened twice. The
correct wheel nut tightness is 95 ft lbs (130 N·m). If in
doubt about the correct tightness, have them checked
with a torque wrench by your authorized dealer or at a
service station.
12. Lower the jack to its fully-closed position.
WARNING!
A loose tire or jack thrown forward in a collision or
hard stop could endanger the occupants of the ve-
hicle. Always stow the jack parts and the spare tire in
the places provided. Have the deflated (flat) tire
repaired or replaced immediately.13. Place the deflated (flat) tire and compact spare tire
cover assembly. in the rear cargo area.
Do not stow the
deflated tire in the spare tire location. Have the full-
sized tire repaired or replaced, as soon as possible.
14. Stow the cable and wheel spacer before driving the
vehicle. Reassemble the winch handle extensions to form
a “T” and fit the winch “T” handle over the drive nut.
Rotate the nut to the right until the winch mechanism
clicks at least three times.
15. Stow the jack, jack handle and winch handle tools.
16. Check the compact spare tire pressure as soon as
possible. Correct the tire pressure, as required.Wheel Nuts
All wheel nuts should be tightened occasionally, to
eliminate the possibility of wheel studs being sheared or
the bolt holes in the wheels becoming elongated. This is
especially important during the first few hundred miles
6
WHAT TO DO IN EMERGENCIES 423
Page 431 of 538
FREEING A STUCK VEHICLE
If your vehicle becomes stuck in mud, sand or snow, it
can often be moved by a rocking motion. Turn your
steering wheel right and left to clear the area around the
front wheels. Then move the shift lever back and forth
between REVERSE and DRIVE. Using minimal accelera-
tor pedal pressure to maintain the rocking motion, with-
out spinning the wheels, is most effective.
CAUTION!
•When “rocking” a stuck vehicle by moving be-
tween 1st and REVERSE, do not spin the wheels
faster than 15 mph (24 km/h), or drivetrain damage
may result.(Continued)
CAUTION! (Continued)
•Revving the engine or spinning the wheels too fast
may lead to transmission overheating and failure.
It can also damage the tires. Do not spin the
wheels above 30 mph (48 km/h) while in gear (no
transmission shifting occurring).
NOTE: To improve the vehicle’s traction when starting
off in deep snow, sand or gravel, it may be desirable to
switch the Electronic Stability Program (ESP) to “Partial
Off” mode. Refer to “Electronic Brake Control System” in
“Starting and Operating” for further information.
430 WHAT TO DO IN EMERGENCIES
Page 454 of 538
Cooling System
WARNING!
•When working near the radiator cooling fan, dis-
connect the fan motor lead or turn the ignition
switch to the OFF position. The fan is temperature
controlled and can start at anytime the ignition
switch is in the ON position.
•You or others can be badly burned by hot engine
coolant (antifreeze) or steam from your radiator. If
you see or hear steam coming from under the
hood, do not open the hood until the radiator has
had time to cool. Never try to open a cooling
system pressure cap when the radiator is hot.
Coolant Checks
Check the engine coolant (antifreeze) protection every
12 months (before the onset of freezing weather, where
applicable). If the engine coolant (antifreeze) is dirty orrusty in appearance, the system should be drained,
flushed and refilled with fresh coolant. Check the front of
the A/C condenser for any accumulation of bugs, leaves,
etc. If dirty, clean by gently spraying water from a garden
hose vertically down the face of the condenser.
Check the coolant recovery bottle tubing for brittle rub-
ber, cracking, tears, cuts and tightness of the connection
at the bottle and radiator. Inspect the entire system for
leaks.
With the engine at normal operating temperature (but
not running), check the cooling system pressure cap for
proper vacuum sealing by draining a small amount of
engine coolant (antifreeze) from the radiator drain cock.
If the cap is sealing properly, the engine coolant (anti-
freeze) will begin to drain from the coolant recovery
bottle. DO NOT REMOVE THE COOLANT PRESSURE
CAP WHEN THE COOLING SYSTEM IS HOT.
7
MAINTAINING YOUR VEHICLE 453
Page 476 of 538
FUSES/TIPM
Cavity Cartridge
Fuse Mini-Fuse Description
M15 — 20 Amp Yel- lowRear View Mir-
ror, Instrument
Cluster, Multi-
Function Con-
trol Switch, Tire
Pressure Moni-
tor, Glow Plug
Module – Ex-
port Diesel
Only, Assy-
Shifter (Hall
Effect), Acoustic
Noise Cancella-
tionFUSES/TIPM
Cavity Cartridge
Fuse Mini-Fuse Description
M16 — 10 Amp Red Airbag Module/
Occupant Clas-
sification Mod-
ule
M17 — 15 Amp BlueLeft Tail/
License/Park
Lamp, Running
Lamps
M18 — 15 Amp
BlueRight Tail/
Park/Run
Lamp
M19 — 25 Amp
NaturalAutomatic
Shutdown #1
and #2
7
MAINTAINING YOUR VEHICLE 475