Page 416 of 538
NOTE:The base console, if equipped, must be removed
to raise and lower the spare tire. Refer to “Console
Features” in “Understanding the Features of Your Ve-
hicle” for console removal procedure.
The tool pouch contains three pieces and can be as-
sembled into a spare tire hook; to remove the compact
spare tire/cover assembly from under the vehicle, or a
Winch “T” Handle; to raise/lower the compact spare
tire/cover assembly.
Preparations For Jacking
1. Park the vehicle on a firm, level surface. Avoid ice or
slippery areas.
WARNING!
Do not attempt to change a tire on the side of the
vehicle close to moving traffic. Pull far enough off
the road to avoid being hit when operating the jack
or changing the wheel.
2. Set the parking brake.
3. Place the shift lever into PARK.
4. Turn OFF the ignition.
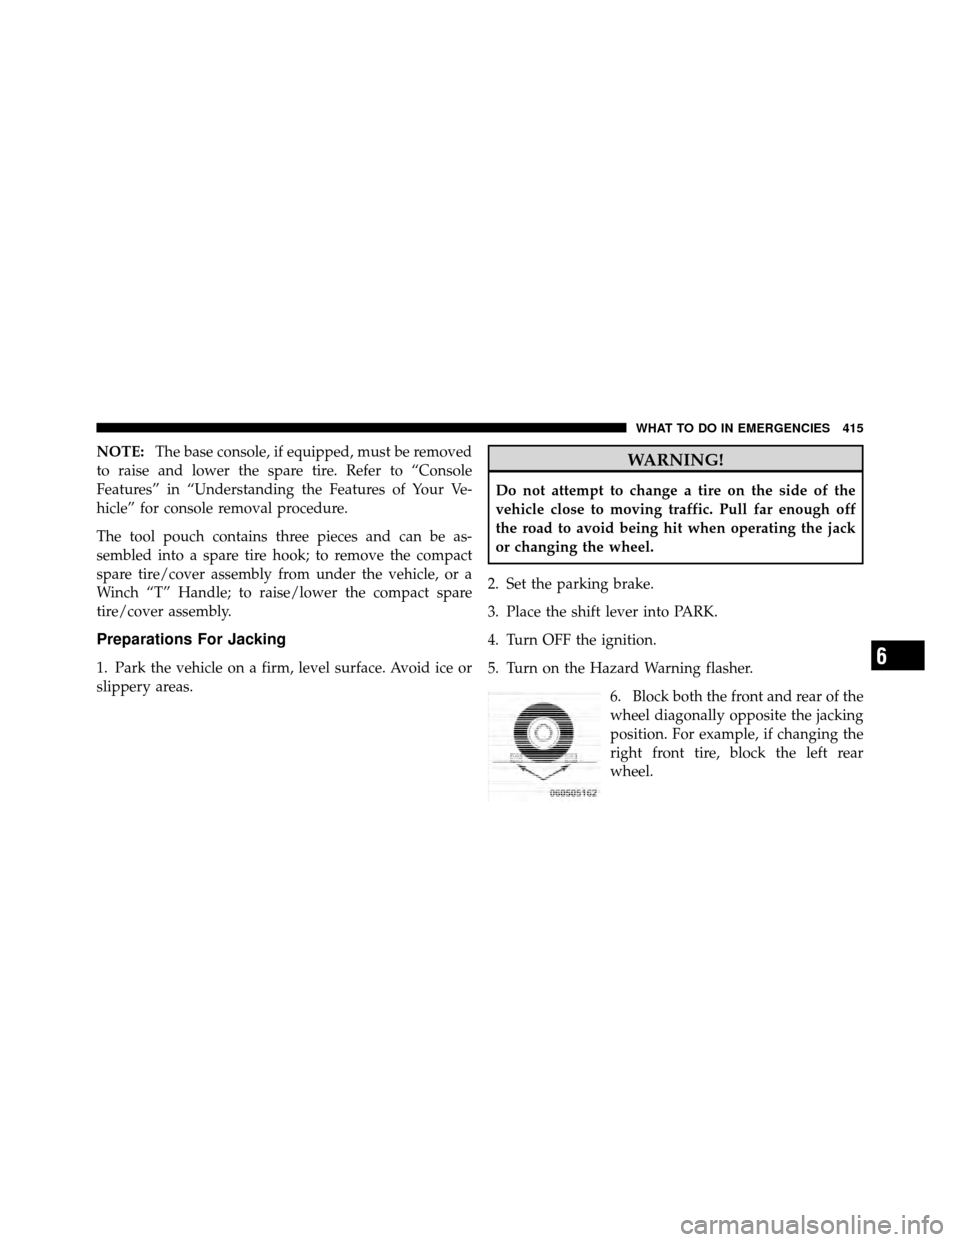
5. Turn on the Hazard Warning flasher. 6. Block both the front and rear of the
wheel diagonally opposite the jacking
position. For example, if changing the
right front tire, block the left rear
wheel.
6
WHAT TO DO IN EMERGENCIES 415
Page 428 of 538
Preparations for Jump-Start
The battery in your vehicle is located on the left side of
the engine compartment.WARNING!
•Take care to avoid the radiator cooling fan when-
ever the hood is raised. It can start anytime the
ignition switch is on. You can be injured by
moving fan blades.
•Remove any metal jewelry such as watch bands or
bracelets that might make an inadvertent electrical
contact. You could be seriously injured.
•Batteries contain sulfuric acid that can burn your
skin or eyes and generate hydrogen gas which is
flammable and explosive. Keep open flames or
sparks away from the battery.
1. Set the parking brake, shift the automatic transmission
into PARK and turn the ignition to LOCK.
2. Turn off the heater, radio, and all unnecessary electri-
cal accessories.
Positive Battery Post
6
WHAT TO DO IN EMERGENCIES 427
Page 429 of 538
3. If using another vehicle to jump-start the battery, park
the vehicle within the jumper cables reach, set the
parking brake and make sure the ignition is OFF.
WARNING!
Do not allow vehicles to touch each other as this
could establish a ground connection and personal
injury could result.
Jump-Starting Procedure
WARNING!
Failure to follow this procedure could result in per-
sonal injury or property damage due to battery ex-
plosion.
CAUTION!
Failure to follow these procedures could result in
damage to the charging system of the booster vehicle
or the discharged vehicle.
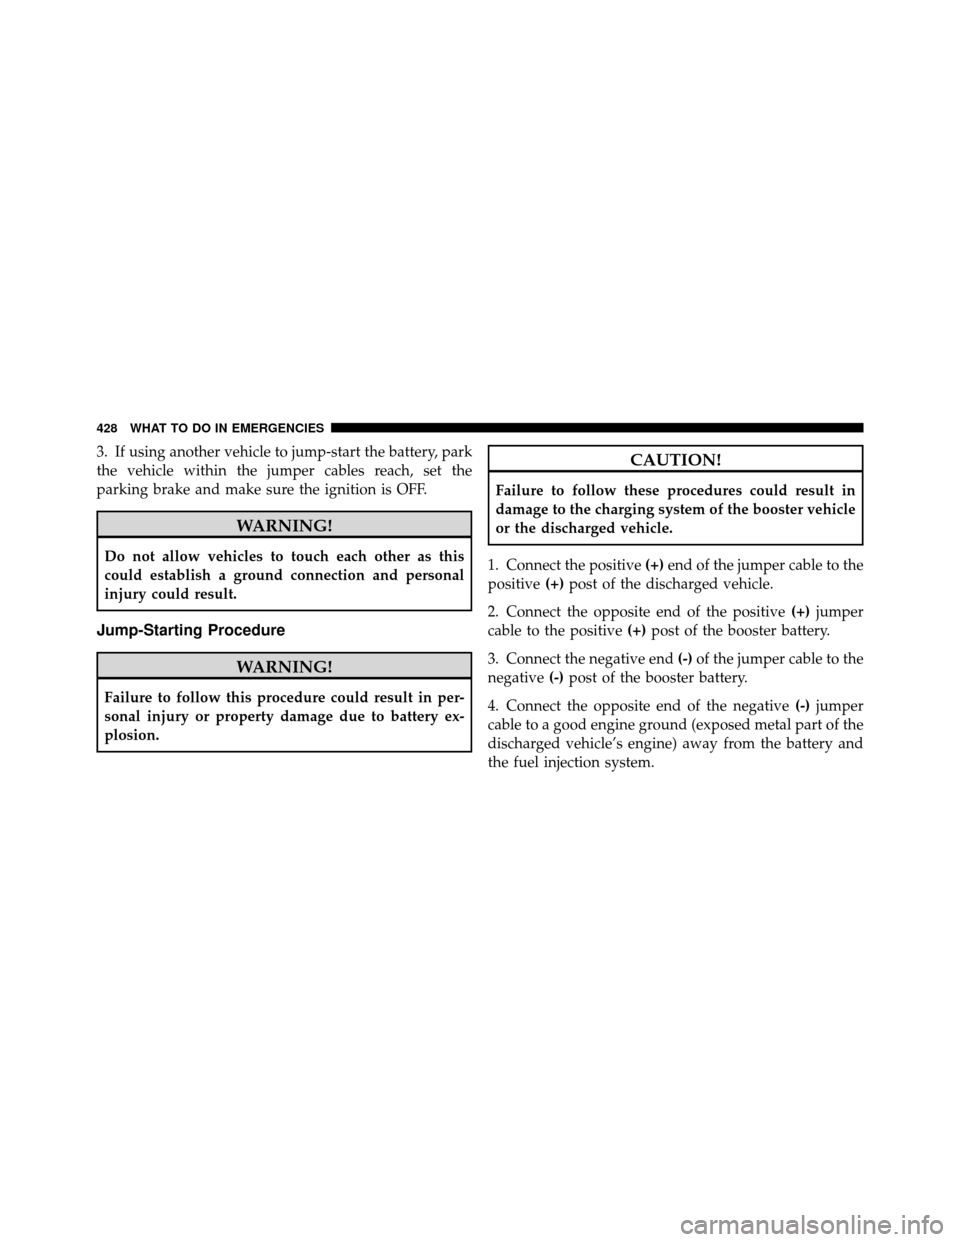
1. Connect the positive (+)end of the jumper cable to the
positive (+)post of the discharged vehicle.
2. Connect the opposite end of the positive (+)jumper
cable to the positive (+)post of the booster battery.
3. Connect the negative end (-)of the jumper cable to the
negative (-)post of the booster battery.
4. Connect the opposite end of the negative (-)jumper
cable to a good engine ground (exposed metal part of the
discharged vehicle’s engine) away from the battery and
the fuel injection system.
428 WHAT TO DO IN EMERGENCIES
Page 432 of 538
WARNING!
Fast spinning tires can be dangerous. Forces gener-
ated by excessive wheel speeds may cause damage, or
even failure, of the axle and tires. A tire could
explode and injure someone. Do not spin your vehi-
cle’s wheels faster than 30 mph (48 km/h) or for
longer than 30 seconds continuously without stop-
ping when you are stuck and do not let anyone near
a spinning wheel, no matter what the speed.
TOWING A DISABLED VEHICLE
Towing With The Ignition Key
Your vehicle may be towed under the following condi-
tions:
•The shift lever must be in NEUTRAL.
•The distance to be traveled must not exceed 15 miles
(25 km).
•The towing speed must not exceed 30 mph (50 km/h).
CAUTION!
Exceeding these towing limits may cause severe
transmission damage. Such damage is not covered by
the New Vehicle Limited Warranty.
If the transmission is inoperative, or if the vehicle is to be
towed more than 15 miles (25 km), the vehicle must be
towed with the front wheels off the ground.
CAUTION!
•Do not attempt to tow this vehicle from the front
with sling-type towing equipment. Damage to the
front fascia will result. (Continued)
6
WHAT TO DO IN EMERGENCIES 431
Page 433 of 538
CAUTION! (Continued)
•Always use wheel lift equipment when towing
from the front. The only other approved method of
towing is with a flatbed truck.
•Do not tow the vehicle from the rear. Damage to
the rear sheet metal, liftgate and fascia will occur.
•Do not push or tow this vehicle with another
vehicle as damage to the bumper fascia and trans-
mission may result.
•If the vehicle being towed requires steering, the
ignition switch must be in the ON position, not in
the LOCK or ACC positions.
If it is necessary to use the accessories while being towed
(wipers, defrosters, etc.), the key must be in the ON
position, not the ACC position. Make certain the trans-
mission remains in NEUTRAL.
Towing Without The Ignition Key
Special care must be taken when the vehicle is towed
with the ignition in the OFF position. The only approved
method of towing without the ignition key is with a
flatbed truck. Proper towing equipment is necessary to
prevent damage to the vehicle.
Towing This Vehicle Behind Another Vehicle (Flat
Towing With All Four Wheels On The Ground)
Flat towing of vehicles equipped with an automatic
transmission, is only permitted within the limitations
described in this section.
Towing This Vehicle Behind Another Vehicle With
A Tow Dolly
The manufacturer does not recommend that you tow a
front wheel drive vehicle on a tow dolly. Vehicle damage
may occur.
432 WHAT TO DO IN EMERGENCIES
Page 439 of 538
“Electronic Vehicle Information Center (EVIC)” in ”Un-
derstanding Your Instrument Panel” for further informa-
tion. Tighten the gas cap until a�clicking�sound is heard.
This is an indication that the gas cap is properly tight-
ened.
Press the odometer reset button to turn the message off.
If the problem persists, the message will appear the next
time the vehicle is started. This might indicate a damaged
cap. If the problem is detected twice in a row, the system
will turn on the MIL. Resolving the problem will turn the
MIL light off.
EMISSIONS INSPECTION AND MAINTENANCE
PROGRAMS
In some localities, it may be a legal requirement to pass
an inspection of your vehicle’s emissions control system.
Failure to pass could prevent vehicle registration. For states that require an Inspection and Mainte-
nance (I/M), this check verifies the “Malfunction
Indicator Light (MIL)” is functioning and is not
on when the engine is running, and that the OBD II
system is ready for testing.
Normally, the OBD II system will be ready. The OBD II
system may notbe ready if your vehicle was recently
serviced, recently had a dead battery or a battery replace-
ment. If the OBD II system should be determined not
ready for the I/M test, your vehicle may fail the test.
Your vehicle has a simple ignition key-actuated test,
which you can use prior to going to the test station. To
check if your vehicle’s OBD II system is ready, you must
do the following:
1. Turn the ignition switch to the ON position, but do not
crank or start the engine.
438 MAINTAINING YOUR VEHICLE
Page 440 of 538
2. If you crank or start the engine, you will have to start
this test over.
3. As soon as you turn the ignition switch to the ON
position, you will see the MIL symbol come on as part of
a normal bulb check.
4. Approximately 15 seconds later, one of two things will
happen:a. The MIL will flash for about 10 seconds and then
return to being fully illuminated until you turn OFF
the ignition or start the engine. This means that your
vehicle’s OBD II system is not readyand you should
not proceed to the I/M station.
b. The MIL will not flash at all and will remain fully
illuminated until you turn OFF the ignition or start the
engine. This means that your vehicle’s OBD II system
is ready and you can proceed to the I/M station. If your OBD II system is
not ready,you should see your
authorized dealer or repair facility. If your vehicle was
recently serviced or had a battery failure or replacement,
you may need to do nothing more than drive your
vehicle as you normally would in order for your OBD II
system to update. A recheck with the above test routine
may then indicate that the system is now ready.
Regardless of whether your vehicle’s OBD II system is
ready or not, if the MIL is illuminated during normal
vehicle operation you should have your vehicle serviced
before going to the I/M station. The I/M station can fail
your vehicle because the MIL is on with the engine
running.
7
MAINTAINING YOUR VEHICLE 439
Page 448 of 538
To minimize the possibility of catalytic converter dam-
age:
•Do not shut off the engine or interrupt the ignition,
when the transmission is in gear and the vehicle is in
motion.
•Do not try to start the engine by pushing or towing the
vehicle.
•Do not idle the engine with any spark plug wires
disconnected or removed, such as when diagnostic
testing, or for prolonged periods during very rough
idle or malfunctioning operating conditions.
Maintenance-Free Battery
Your vehicle is equipped with a maintenance-free battery.
You will never have to add water, nor is periodic main-
tenance required.
WARNING!
•Battery fluid is a corrosive acid solution and can
burn or even blind you. Do not allow battery fluid
to contact your eyes, skin, or clothing. Do not lean
over a battery when attaching clamps. If acid
splashes in eyes or on skin, flush the area imme-
diately with large amounts of water. Refer to
“Jump-Starting Procedures” in “What To Do In
Emergencies” for further information.
•Battery gas is flammable and explosive. Keep
flame or sparks away from the battery. Do not use
a booster battery or any other booster source with
an output greater than 12 Volts. Do not allow cable
clamps to touch each other.
•Battery posts, terminals, and related accessories
contain lead and lead compounds. Wash hands
after handling.
7
MAINTAINING YOUR VEHICLE 447