Page 14 of 60

Six-Way Power Seats
• The power seat switch is located on theoutboard side of the seat near the floor.
Use the switch to move the seat up, down,
forward, rearward, or to tilt the seat.
CAUTION!
DO NOT place any article under a power seat or impede its ability to move as it
may cause damage to the seat controls. Seat travel may become limited if
movement is stopped by an obstruction in the seat’s path.
Heated Seats
• The controls for the front heated seats arelocated on the center instrument panel
area.
• Press the switch once to select High-level heating. Press the switch a second time to
select Low-level heating. Press the switch a
third time to shut the heating elements
Off.
WARNING!
• Persons who are unable to feel pain to the skin because of advanced age,chronic illness, diabetes, spinal cord injury, medication, alcohol use, exhaustion
or other physical conditions must exercise care when using the seat heater. It
may cause burns even at low temperatures, especially if used for long periods of
time.
• Do not place anything on the seat that insulates against heat, such as a blanket or cushion. This may cause the seat heater to overheat. Sitting in a seat that has
been overheated could cause serious burns due to the increased surface
temperature of the seat.
GETTING STARTED
12
Page 30 of 60

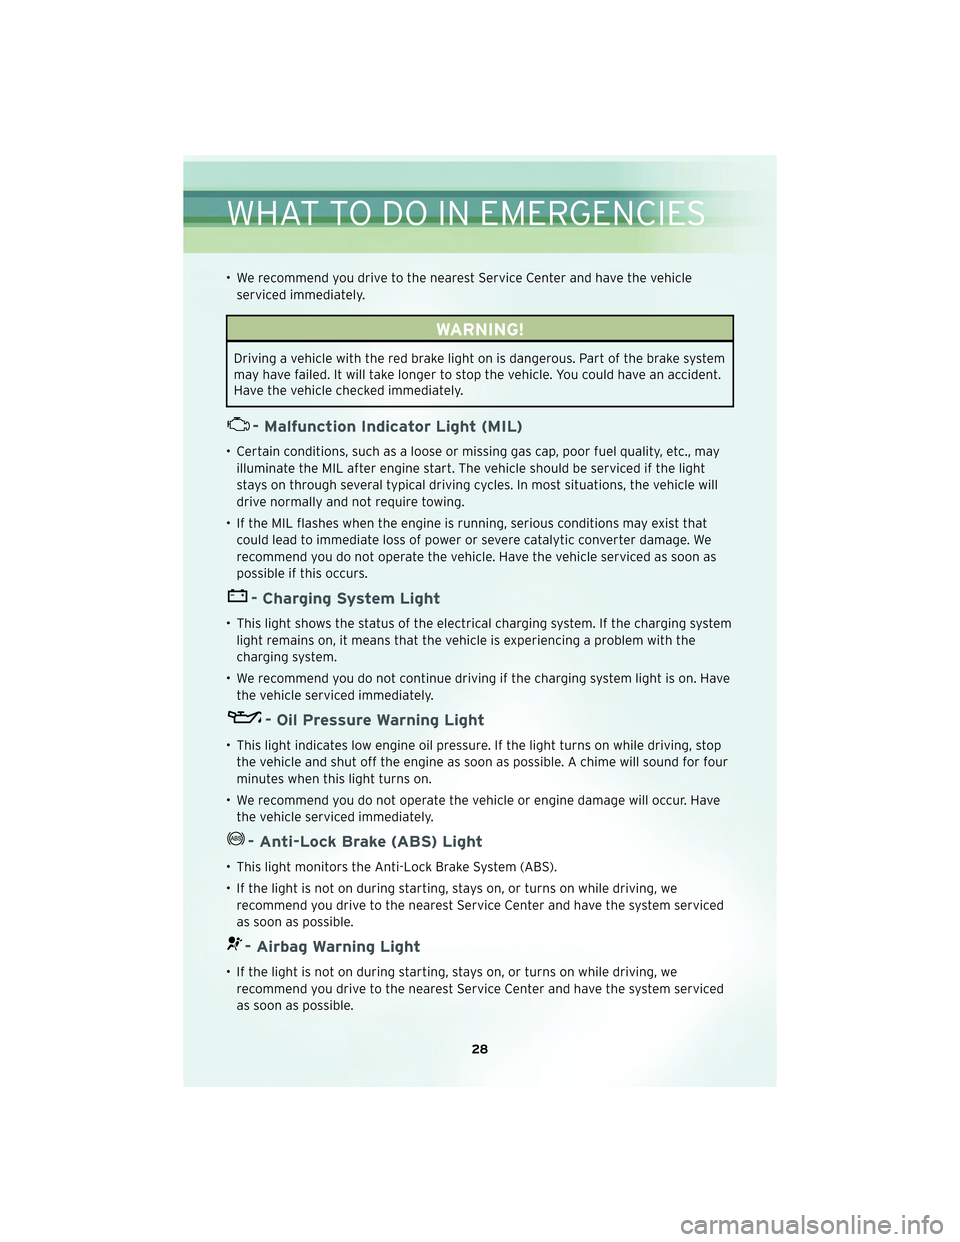
• We recommend you drive to the nearest Service Center and have the vehicleserviced immediately.
WARNING!
Driving a vehicle with the red brake light on is dangerous. Part of the brake system
may have failed. It will take longer to stop the vehicle. You could have an accident.
Have the vehicle checked immediately.
- Malfunction Indicator Light (MIL)
• Certain conditions, such as a loose or missing gas cap, poor fuel quality, etc., mayilluminate the MIL after engine start. The vehicle should be serviced if the light
stays on through several typical driving cycles. In most situations, the vehicle will
drive normally and not require towing.
• If the MIL flashes when the engine is running, serious conditions may exist that could lead to immediate loss of power or severe catalytic converter damage. We
recommend you do not operate the vehicle. Have the vehicle serviced as soon as
possible if this occurs.
- Charging System Light
• This light shows the status of the electrical charging system. If the charging systemlight remains on, it means that the vehicle is experiencing a problem with the
charging system.
• We recommend you do not continue driving if the charging system light is on. Have the vehicle serviced immediately.
- Oil Pressure Warning Light
• This light indicates low engine oil pressure. If the light turns on while driving, stopthe vehicle and shut off the engine as soon as possible. A chime will sound for four
minutes when this light turns on.
• We recommend you do not operate the vehicle or engine damage will occur. Have the vehicle serviced immediately.
- Anti-Lock Brake (ABS) Light
• This light monitors the Anti-Lock Brake System (ABS).
• If the light is not on during starting, stays on, or turns on while driving, werecommend you drive to the nearest Service Center and have the system serviced
as soon as possible.
- Airbag Warning Light
• If the light is not on during starting, stays on, or turns on while driving, werecommend you drive to the nearest Service Center and have the system serviced
as soon as possible.
WHAT TO DO IN EMERGENCIES
28
Page 36 of 60

NOTE:The wheel cover is held on the wheel by the wheel nuts. When reinstalling
original wheel, properly align the wheel cover to the valve stem, place the wheel
cover onto the wheel, then install the wheel nuts.
• Lower the vehicle by turning the jack screw to the left.
• Finish tightening the nuts. Push down on the wrench while tightening the wheel nuts. Alternate nuts until each nut has been tightened twice. The correct wheel nut
torque is 100 ft lbs (135 N m). If you doubt that you have tightened the nuts
correctly, have them checked with a torque wrench by your authorized dealer or at
a qualified service station.
• Remove the wheel blocks and lower the jack until it is free. Stow the lug wrench and jack in their designated location. Secure all parts using the means provided.
WARNING!
A loose tire or jack thrown forward in a collision or hard stop could endanger the
occupants of the vehicle. Always stow the jack parts and the spare tire in the
places provided. Have the deflated (flat) tire repaired or replaced immediately.
• Place the deflated (flat) tire in the cargo area; have the tire repaired or replaced
as soon as possible.
• Check the tire pressure as soon as possible. Correct the pressure as required.
JUMP-STARTING
• If your vehicle has a discharged battery it can be jump-started using a set of jumper
cables and a battery in another vehicle or
by using a portable battery booster pack.
• Jump-starting can be dangerous if done improperly so please follow the procedures
in this section carefully.
NOTE: When using a portable battery
booster pack follow the manufacturer’s
operating instructions and precautions.
CAUTION!
Do not use a portable battery booster pack or any other booster source with a
system voltage greater than 12 Volts or damage to the battery, starter motor,
alternator or electrical system may occur.
WHAT TO DO IN EMERGENCIES
34