Page 332 of 465
1. Signal interference due to electronic devices or driving
next to facilities emitting the same radio frequencies as
the TPM sensors.
2. Installing aftermarket window tinting that contains
materials that may block radio wave signals.
3. Accumulation of snow or ice around the wheels or
wheel housings.
4. Using tire chains on the vehicle.
5. Using wheels/tires not equipped with TPM sensors.
Vehicles with Full Size Spare
1. The matching full size spare wheel and tire assembly
has a TPM sensor that can be monitored by the TPMS.
2. If you install the full size spare in place of a road tire
that has a pressure below the low-pressure warning limit,
upon the next ignition switch cycle, a chime will sound
and the TPM Telltale Light will turn ON. In addition, theEVIC will display a low pressure message and a graphic
showing the low tire pressure value flashing.
3. After driving the vehicle for up to 20 minutes above
15 mph (25 km/h) the TPM Telltale Light will turn OFF,
as long as no tire pressure is below the low-pressure
warning limit in any of the four active road tires.
Vehicles with Compact Spare
1. The compact spare tire does not have a TPM sensor.
Therefore, the TPMS will not monitor the pressure in the
compact spare tire.
2. If you install the compact spare tire in place of a road
tire that has a pressure below the low-pressure warning
limit, upon the next ignition switch cycle, the TPM
Telltale Light will remain ON and a chime will sound. In
addition, the graphic in the EVIC will still display a
flashing pressure value.
5
STARTING AND OPERATING 331
Page 333 of 465
3. After driving the vehicle for up to 20 minutes above
15 mph (25 km/h), the TPM Telltale Light will flash on
and off for 75 seconds and then remain on solid. In
addition, the EVIC will display a�CHECK TPM SYS-
TEM� message for three seconds and then display dashes
(- -) in place of the pressure value.
4. For each subsequent ignition switch cycle, a chime will
sound, the TPM Telltale Light will flash on and off for
75 seconds and then remain on solid, and the EVIC will
display a �CHECK TPM SYSTEM� message for three
seconds and then display dashes (- -) in place of the
pressure value.
5. Once you repair or replace the original road tire and
reinstall it on the vehicle in place of the compact spare,
the TPMS will update automatically. In addition, the
TPM Telltale Light will turn OFF and the graphic in the
EVIC will display a new pressure value instead of dashes
(- -), as long as no tire pressure is below the low-pressure warning limit in any of the four active road tires. The
vehicle may need to be driven for up to 20 minutes above
15 mph (25 km/h) in order for the TPMS to receive this
information.
General Information
This device complies with Part 15 of the FCC rules and
RSS 210 of Industry Canada. Operation is subject to the
following conditions:
•This device may not cause harmful interference.
•This device must accept any interference received,
including interference that may cause undesired
operation.
The TPM sensors are regulated under one of the follow-
ing licenses:
United States ..................... KR5S120123
Canada ........................ 2671-S120123
332 STARTING AND OPERATING
Page 343 of 465
NOTE:
•Refer to the “Vehicle Certification Label” affixed to the
rear of the driver’s door for your vehicle’s GVWR and
GAWRs.
•Refer to the “Tire Placard” for your vehicle’s proper
tire pressure.
TRAILER TOWING
Trailer towing with this vehicle is not recommended.
RECREATIONAL TOWING (BEHIND
MOTORHOME, ETC.)
Recreational towing is allowed ONLY if the driveshaft
is removed.Towing with the rear wheels on the ground
while the driveshaft is connected can result in severe
transmission damage.
WARNING!
If the driveshaft is removed, the vehicle can roll even
if the transmission is in PARK, which could cause
serious injury or death.
The parking brake must be firmly engaged and the
wheels chocked during driveshaft removal and installa-
tion. The parking brake must remain engaged unless the
vehicle is securely and properly connected to the tow
vehicle, or the driveshaft is completely reinstalled. See
your authorized dealer for proper driveshaft removal
and reinstallation procedures, including flange
orientation/alignment, use of thread-locking compound,
proper bolt torque specifications, etc.
342 STARTING AND OPERATING
Page 346 of 465
CAUTION!
Driving with a hot cooling system could damage
your vehicle. If the temperature gauge reads 240°F
(116°C) or greater pull over and stop the vehicle. Idle
the vehicle with the air conditioner turned off until
the pointer drops back into the normal range 200–
230°F (93–110°C). If the pointer remains at 240°F
(116°C) or greater and you hear a chime, turn the
engine off immediately and call for service.
NOTE: There are steps that you can take to slow down
an impending overheat condition:
•If your air conditioner (A/C) is on, turn it off. The A/C
system adds heat to the engine cooling system and
turning the A/C off can help remove this heat.
•You can also turn the temperature control to maximum
heat, the mode control to floor and the blower control to high. This allows the heater core to act as a
supplement to the radiator and aids in removing heat
from the engine cooling system.
WARNING!
You or others can be badly burned by hot engine
coolant (antifreeze) or steam from your radiator. If
you see or hear steam coming from under the hood,
do not open the hood until the radiator has had time
to cool. Never try to open a cooling system pressure
cap when the radiator or coolant bottle is hot.
TIREFIT KIT
Small punctures up to1�4” (6 mm) in the tire tread can be
sealed with TIREFIT. Foreign objects (e.g., screws or
nails) should not be removed from the tire. TIREFIT can
be used in outside temperatures down to approximately
-4°F (-20°C).
6
WHAT TO DO IN EMERGENCIES 345
Page 347 of 465
This kit will provide a temporary tire seal, allowing you
to drive your vehicle up to 100 miles (160 km) with a
maximum speed of 55 mph (88 km/hr).
TIREFIT Storage
The TIREFIT kit is located in the trunk.
TIREFIT Kit Components and Operation
1. Sealant Bottle
2. Deflation Button — If Equipped
3. Pressure Gauge
4. Power Button
TIREFIT Location
346 WHAT TO DO IN EMERGENCIES
Page 348 of 465
5. Mode Select Knob
6. Sealant Hose (Clear with Yellow Cap)
7. Air Pump Hose (Black)
8. Power Plug
Using the Mode Select Knob and Hoses
Your TIREFIT kit may be equipped with either of the
following symbols to indicate the air or sealant mode.
Selecting Air ModeTurn the Mode Select Knob (5) to this
position for air pump operation only.
Use the Black Air Pump Hose (7)
when selecting this mode. Selecting Sealant Mode
Turn the Mode Select Knob (5) to this
position to inject the TIREFIT Sealant
and to inflate the tire. Use the Sealant
Hose (clear hose with the yellow cap)
(6) when selecting this mode.
Using the Power Button Push and release the Power Button (4) once to
turn ON the TIREFIT kit. Push and release the
Power Button (4) again to turn OFF the TIRE-
FIT kit.
Using the Deflation Button — If Equipped Press the Deflation Button (2) to reduce the air
pressure in the tire if it becomes over-inflated.
6
WHAT TO DO IN EMERGENCIES 347
Page 350 of 465
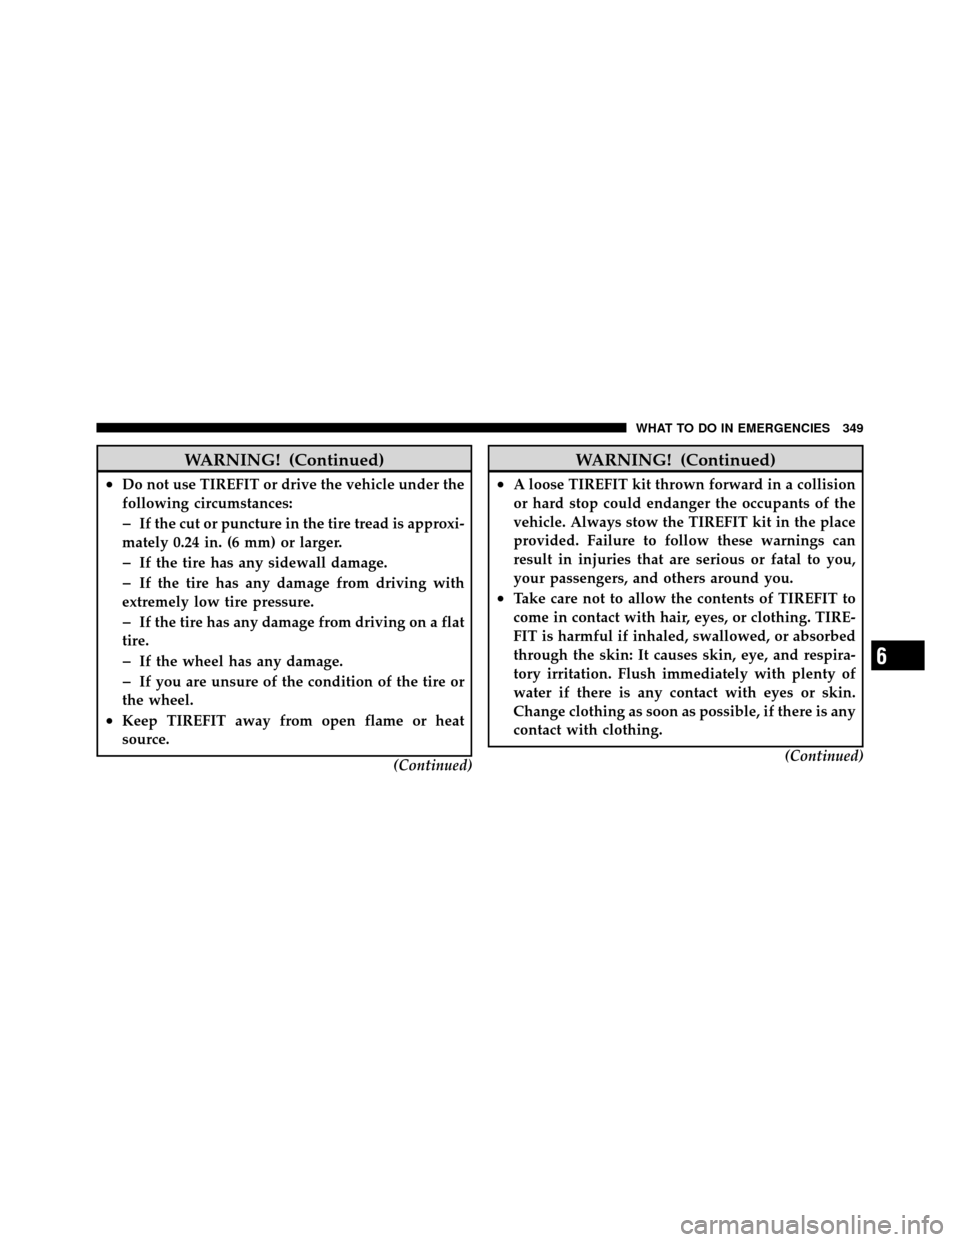
WARNING! (Continued)
•Do not use TIREFIT or drive the vehicle under the
following circumstances:
�If the cut or puncture in the tire tread is approxi-
mately 0.24 in. (6 mm) or larger.
�If the tire has any sidewall damage.
�If the tire has any damage from driving with
extremely low tire pressure.
�If the tire has any damage from driving on a flat
tire.
�If the wheel has any damage.
�If you are unsure of the condition of the tire or
the wheel.
•Keep TIREFIT away from open flame or heat
source.
(Continued)
WARNING! (Continued)
•A loose TIREFIT kit thrown forward in a collision
or hard stop could endanger the occupants of the
vehicle. Always stow the TIREFIT kit in the place
provided. Failure to follow these warnings can
result in injuries that are serious or fatal to you,
your passengers, and others around you.
•Take care not to allow the contents of TIREFIT to
come in contact with hair, eyes, or clothing. TIRE-
FIT is harmful if inhaled, swallowed, or absorbed
through the skin: It causes skin, eye, and respira-
tory irritation. Flush immediately with plenty of
water if there is any contact with eyes or skin.
Change clothing as soon as possible, if there is any
contact with clothing.(Continued)
6
WHAT TO DO IN EMERGENCIES 349
Page 353 of 465
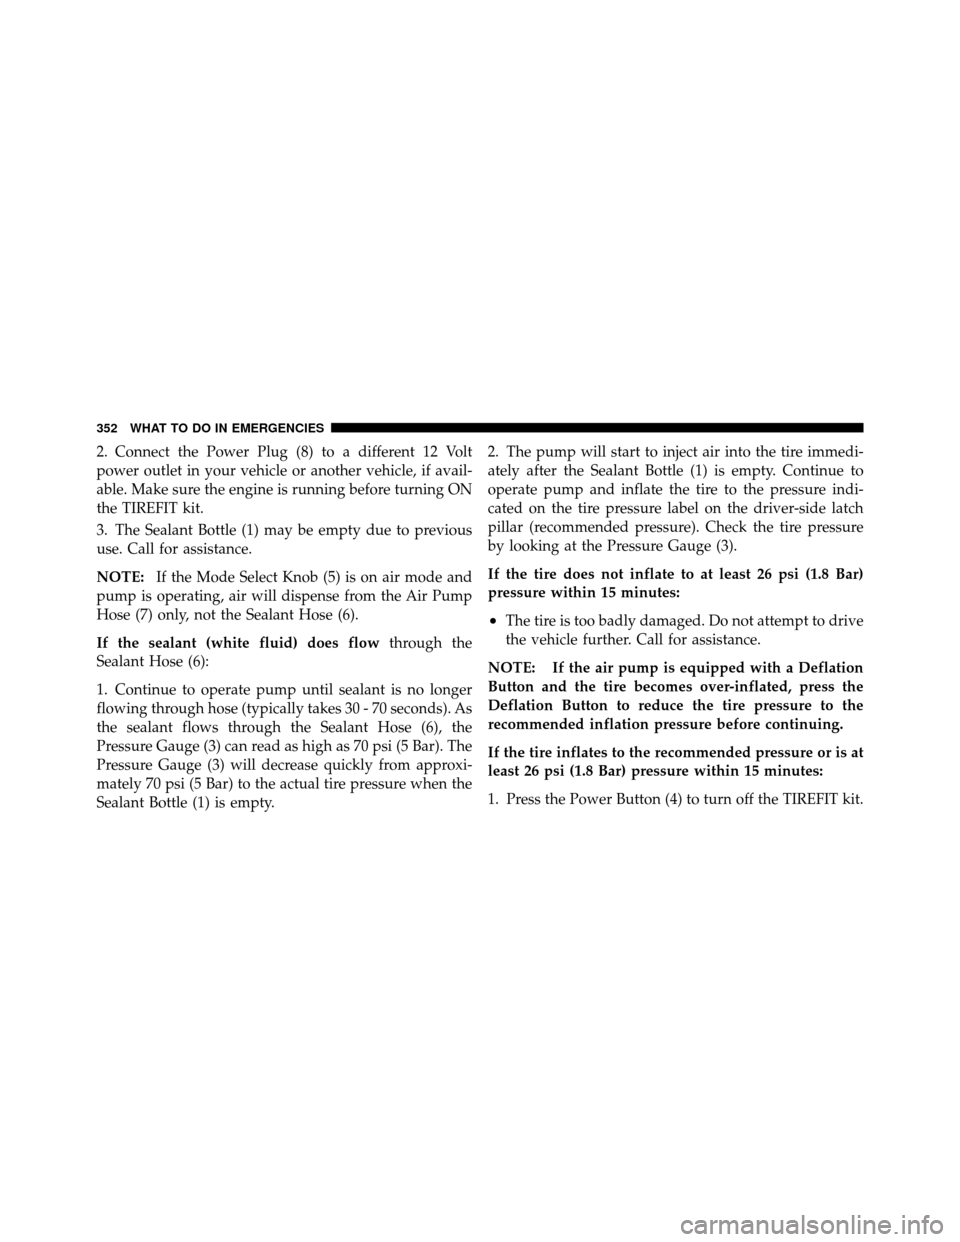
2. Connect the Power Plug (8) to a different 12 Volt
power outlet in your vehicle or another vehicle, if avail-
able. Make sure the engine is running before turning ON
the TIREFIT kit.
3. The Sealant Bottle (1) may be empty due to previous
use. Call for assistance.
NOTE:If the Mode Select Knob (5) is on air mode and
pump is operating, air will dispense from the Air Pump
Hose (7) only, not the Sealant Hose (6).
If the sealant (white fluid) does flow through the
Sealant Hose (6):
1. Continue to operate pump until sealant is no longer
flowing through hose (typically takes 30 - 70 seconds). As
the sealant flows through the Sealant Hose (6), the
Pressure Gauge (3) can read as high as 70 psi (5 Bar). The
Pressure Gauge (3) will decrease quickly from approxi-
mately 70 psi (5 Bar) to the actual tire pressure when the
Sealant Bottle (1) is empty. 2. The pump will start to inject air into the tire immedi-
ately after the Sealant Bottle (1) is empty. Continue to
operate pump and inflate the tire to the pressure indi-
cated on the tire pressure label on the driver-side latch
pillar (recommended pressure). Check the tire pressure
by looking at the Pressure Gauge (3).
If the tire does not inflate to at least 26 psi (1.8 Bar)
pressure within 15 minutes:
•The tire is too badly damaged. Do not attempt to drive
the vehicle further. Call for assistance.
NOTE: If the air pump is equipped with a Deflation
Button and the tire becomes over-inflated, press the
Deflation Button to reduce the tire pressure to the
recommended inflation pressure before continuing.
If the tire inflates to the recommended pressure or is at
least 26 psi (1.8 Bar) pressure within 15 minutes:
1. Press the Power Button (4) to turn off the TIREFIT kit.
352 WHAT TO DO IN EMERGENCIES