Page 251 of 465
for that track. Pressing theINFObutton again jumps
to the next screen of data for that track. Once all
screens have been viewed, the last INFObutton press
will go back to the play mode screen on the radio.
•Pressing the REPEATbutton will change the iPod�
mode to repeat the current playing track.
•Press the SCANbutton to use iPod� scan mode, which
will play the first five seconds of each track in the
current list and then forward to the next song. To stop
SCAN mode and start playing the desired track, when
it is playing the track, press the SCANbutton again.
During Scan mode, pressing the << SEEKandSEEK
>> buttons will select the previous and next tracks.
•RND button (available on sales code RES radio only):
Pressing this button toggles between Shuffle ON and
Shuffle OFF modes for the iPod�.IftheRND icon is
showing on the radio display, then the shuffle mode is
ON.
List Or Browse Mode
During Play mode, pressing any of the buttons described
below, will bring up List mode. List mode enables
scrolling through the list of menus and tracks on the
iPod�.
•TUNE control knob: The TUNEcontrol knob functions
in a similar manner as the scroll wheel on the iPod�.
•Turning it clockwise (forward) and counterclock-
wise (backward) scrolls through the lists, displaying
the track detail on the radio display. Once the track
to be played is highlighted on the radio display,
press the TUNEcontrol knob to select and start
playing the track. Turning the TUNEcontrol knob
fast will scroll through the list faster. During fast
scroll, a slight delay in updating the information on
the radio display may be noticed.
250 UNDERSTANDING YOUR INSTRUMENT PANEL
Page 252 of 465
•During all List modes, the iPod�displays all lists in
“wrap-around” mode. So if the track is at the
bottom of the list, just turn the wheel backwards
(counter-clockwise) to get to the track faster.
•In List mode, the radio PRESETbuttons are used as
shortcuts to the following lists on the iPod�.
•Preset 1 – Playlists
•Preset 2 – Artists
•Preset 3 – Albums
•Preset 4 – Genres
•Preset 5 – Audiobooks
•Preset 6 – Podcasts
•Pressing a PRESET button will display the current
list on the top line and the first item in that list on
the second line.
•To Exit List mode without selecting a track, press the
same PRESET button again to go back to Play
mode.
•LIST button: The LISTbutton will display the top
level menu of the iPod�. Turn the TUNEcontrol knob
to list the top-menu item to be selected and press the
TUNE control knob. This will display the next sub-
menu list item on the iPod� then follow the same steps
to go to the desired track in that list. Not all iPod�
sub-menu levels are available on this system.
•MUSIC TYPE button: TheMUSIC TYPE button is
another shortcut button to the genre listing on your
iPod�.
4
UNDERSTANDING YOUR INSTRUMENT PANEL 251
Page 256 of 465
INFO Button
Pressing the INFO button will cycle the display informa-
tion between Artist, Song Title, and Composer (if avail-
able). Also, pressing and holding the INFO button for an
additional three seconds will make the radio display the
Song Title all of the time (press and hold again to return
to normal display).
RW/FF
Pressing the RW (Rewind) or FF (Fast Forward) buttons
causes the tuner to search for the next channel in the
direction of the arrows.
TUNE Control (Rotary)
Turn the rotary TUNE/SCROLL control knob clockwise
to increase or counterclockwise to decrease the channel.
MUSIC TYPE Button
Pressing this button once will turn on the Music Type
mode for five seconds. Pressing the MUSIC TYPE button
or turning the TUNE/SCROLL control knob within five
seconds will allow the program format type to be se-
lected.
Toggle the MUSIC TYPE button again to select the music
type.
By pressing the SEEK button when the Music Type
function is active, the radio will be tuned to the next
channel with the same selected Music Type name.
If a preset button is activated while in the Music Type
(Program Type) mode, the Music Type mode will be
exited and the radio will tune to the preset channel.
4
UNDERSTANDING YOUR INSTRUMENT PANEL 255
Page 261 of 465
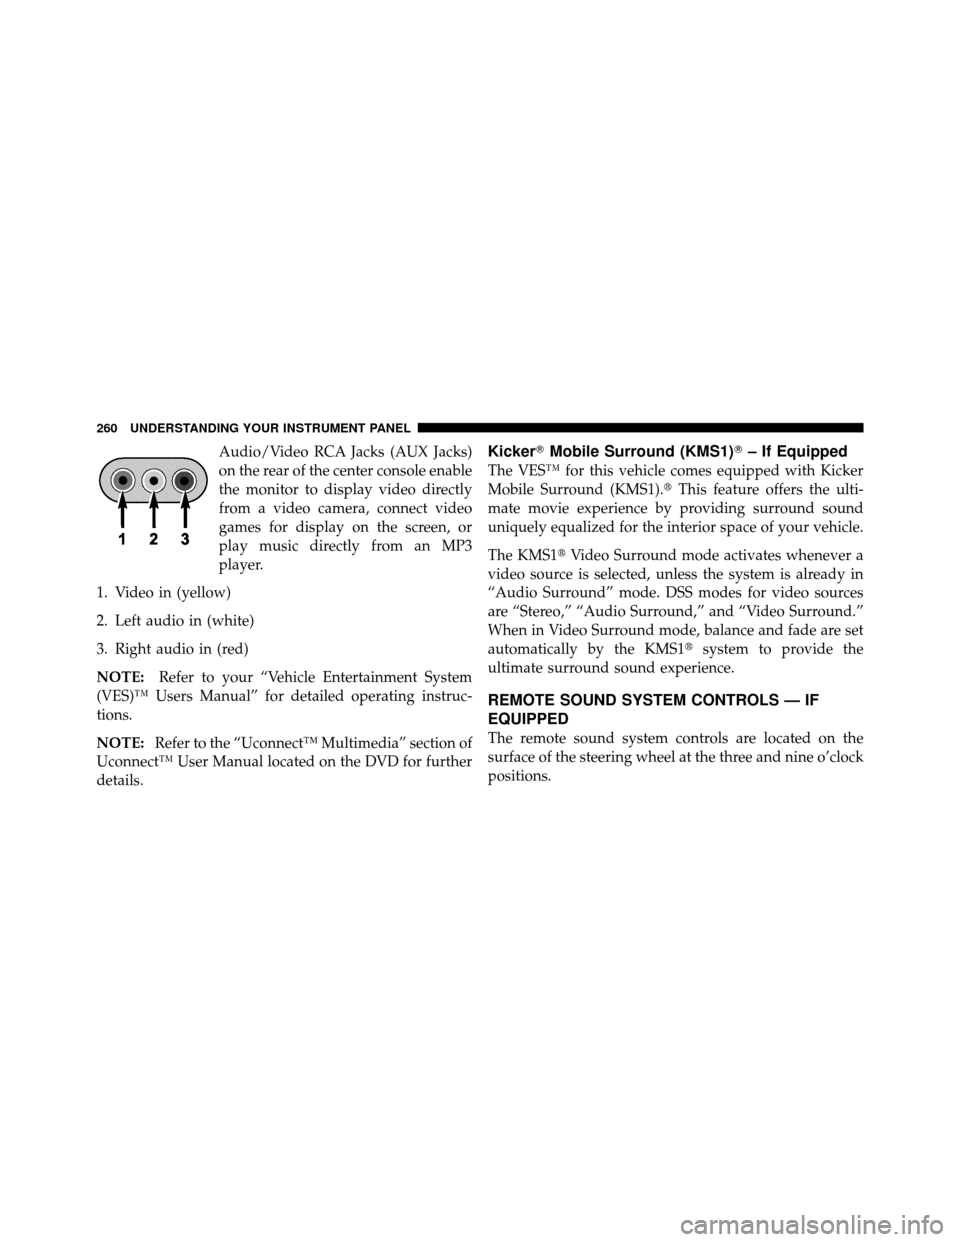
Audio/Video RCA Jacks (AUX Jacks)
on the rear of the center console enable
the monitor to display video directly
from a video camera, connect video
games for display on the screen, or
play music directly from an MP3
player.
1. Video in (yellow)
2. Left audio in (white)
3. Right audio in (red)
NOTE: Refer to your “Vehicle Entertainment System
(VES)™ Users Manual” for detailed operating instruc-
tions.
NOTE: Refer to the “Uconnect™ Multimedia” section of
Uconnect™ User Manual located on the DVD for further
details.Kicker� Mobile Surround (KMS1)� – If Equipped
The VES™ for this vehicle comes equipped with Kicker
Mobile Surround (KMS1).� This feature offers the ulti-
mate movie experience by providing surround sound
uniquely equalized for the interior space of your vehicle.
The KMS1� Video Surround mode activates whenever a
video source is selected, unless the system is already in
“Audio Surround” mode. DSS modes for video sources
are “Stereo,” “Audio Surround,” and “Video Surround.”
When in Video Surround mode, balance and fade are set
automatically by the KMS1� system to provide the
ultimate surround sound experience.
REMOTE SOUND SYSTEM CONTROLS — IF
EQUIPPED
The remote sound system controls are located on the
surface of the steering wheel at the three and nine o’clock
positions.
260 UNDERSTANDING YOUR INSTRUMENT PANEL
Page 277 of 465
Do notpress the accelerator. Use the Fob with Integrated
Key to briefly turn the ignition switch to the START
position and release it as soon as the starter engages. The
starter motor will continue to run, and it will disengage
automatically when the engine is running. If the engine
fails to start, the starter will disengage automatically in
10 seconds. If this occurs, turn the ignition switch to the
LOCK position, wait 10 to 15 seconds, then repeat the
“Normal Starting” procedure.
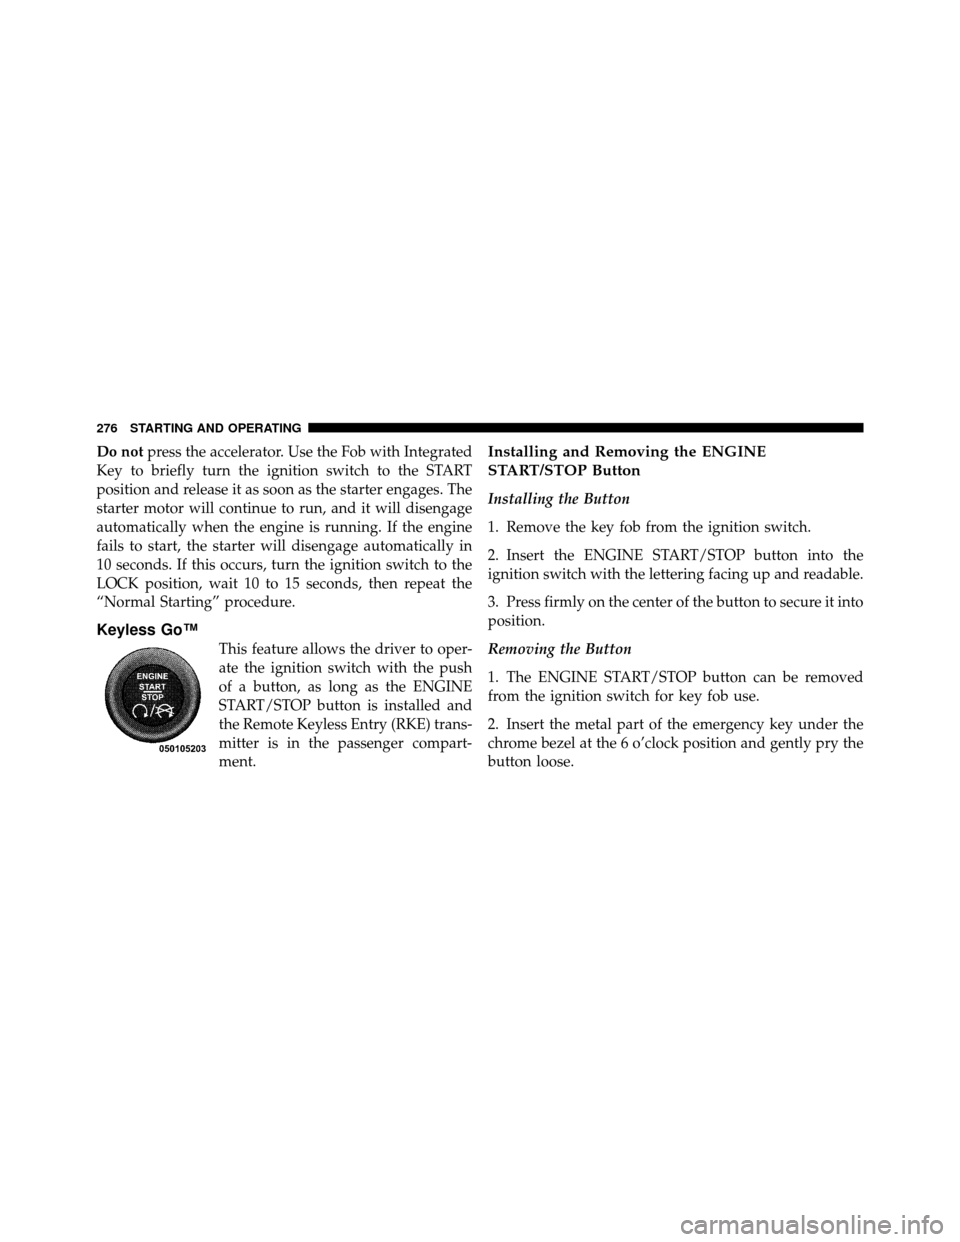
Keyless Go™
This feature allows the driver to oper-
ate the ignition switch with the push
of a button, as long as the ENGINE
START/STOP button is installed and
the Remote Keyless Entry (RKE) trans-
mitter is in the passenger compart-
ment.
Installing and Removing the ENGINE
START/STOP Button
Installing the Button
1. Remove the key fob from the ignition switch.
2. Insert the ENGINE START/STOP button into the
ignition switch with the lettering facing up and readable.
3. Press firmly on the center of the button to secure it into
position.
Removing the Button
1. The ENGINE START/STOP button can be removed
from the ignition switch for key fob use.
2. Insert the metal part of the emergency key under the
chrome bezel at the 6 o’clock position and gently pry the
button loose.
276 STARTING AND OPERATING
Page 409 of 465
6. Disconnect the electrical connector.
7. Pull the tail lamp assembly clear from the vehicle to
access the bulbs. Turn bulb sockets counterclockwise to
remove.8. Turn the appropriate bulb and socket assembly coun-
terclockwise to remove it from the tail lamp assembly.
1 — Tail/Stop Lamp Bulb
408 MAINTAINING YOUR VEHICLE
Page 411 of 465
9. Disconnect the bulb from the socket assembly and
install the replacement bulb.
10. Reinstall the bulb and socket assembly into the tail
lamp assembly, and then turn it clockwise.
11. Reinstall the tail lamp assembly, fasteners, electrical
connector, and trunk liner.
12. Close the trunk.
License Lamp
1. Remove the screws securing the lamp to the rear
fascia.
4 — Backup Lamp Bulb
410 MAINTAINING YOUR VEHICLE
Page 447 of 465

Brightness, Interior Lights.................. 147
Bulb Replacement ..................... 406,407
Bulbs, Light .......................... 83,406
Calibration, Compass ..................... 213
Capacities, Fluid ........................ 412
Caps, Filler Fuel ............................... 337
Oil (Engine) .......................... 371
Power Steering ........................ 294
Radiator (Coolant Pressure) ............... 385
Car Washes ............................ 393
Carbon Monoxide Warning ...............80,337
Cargo (Vehicle Loading) ................... 340
Cellular Phone ........................ 93,263
Certification Label ....................... 340
Chart, Tire Sizing ........................ 309
Check Engine Light
(Malfunction Indicator Light) ............... 367Checking Your Vehicle For Safety
............. 79
Checks, Safety ........................... 79
Child Restraint .................. 69,70,71,74,76
Child Restraint Tether Anchors .............73,74
Child Safety Locks ........................ 34
Clean Air Gasoline ....................... 333
Cleaning Wheels ............................. 394
Windshield Wiper Blades ................ 378
Climate Control ......................... 263
Clock ..................... 221,222,224,227,236
Coin Holder ........................... 178
Cold Weather Operation ................... 278
Compact Disc (CD) Maintenance ............. 262
Compass .............................. 213
Compass Calibration ..................... 213
Compass Variance ....................... 214
Computer, Trip/Travel .................... 206
446 INDEX