Page 416 of 538

2. Turn off the heater, radio, and all unnecessary electri-
cal accessories.
3. If using another vehicle to jump-start the battery, park
the vehicle within the jumper cables reach, set the
parking brake and make sure the ignition is OFF.
WARNING!
Do not allow vehicles to touch each other as this
could establish a ground connection and personal
injury could result.
Jump-Starting Procedure
WARNING!
Failure to follow this procedure could result in per-
sonal injury or property damage due to battery ex-
plosion.
CAUTION!
Failure to follow these procedures could result in
damage to the charging system of the booster vehicle
or the discharged vehicle.
1. Connect the positive (+)end of the jumper cable to the
remote positive (+)post of the discharged vehicle.
2. Connect the opposite end of the positive (+)jumper
cable to the positive (+)post of the booster battery.
3. Connect the negative end (-)of the jumper cable to the
negative (-)post of the booster battery.
4. Connect the opposite end of the negative (-)jumper
cable to the remote negative (-)post of the vehicle with
the discharged battery.
6
WHAT TO DO IN EMERGENCIES 415
Page 417 of 538
 of the
discharged battery. The resulting electrical spark
could cause the battery to explode and could result in
personal injury.
5. Start th")
WARNING!
Do not connect the cable to the negative post (-) of the
discharged battery. The resulting electrical spark
could cause the battery to explode and could result in
personal injury.
5. Start the engine in the vehicle that has the booster
battery, let the engine idle a few minutes, and then start
the engine in the vehicle with the discharged battery.
Once the engine is started, remove the jumper cables in
the reverse sequence:
6. Disconnect the negative (-)jumper cable from the
remote negative (-)post of the vehicle with the dis-
charged battery.
7. Disconnect the negative end (-)of the jumper cable
from the negative (-)post of the booster battery. 8. Disconnect the opposite end of the positive
(+)jumper
cable from the positive (+)post of the booster battery.
9. Disconnect the positive (+)end of the jumper cable
from the remote positive (+)post of the discharged
vehicle.
If frequent jump-starting is required to start your vehicle
you should have the battery and charging system in-
spected at your authorized dealer.
CAUTION!
Accessories that can be plugged into the vehicle
power outlets draw power from the vehicle’s battery,
even when not in use (i.e., cellular phones, etc.).
Eventually, if plugged in long enough, the vehicle’s
battery will discharge sufficiently to degrade battery
life and/or prevent the engine from starting.
416 WHAT TO DO IN EMERGENCIES
Page 422 of 538
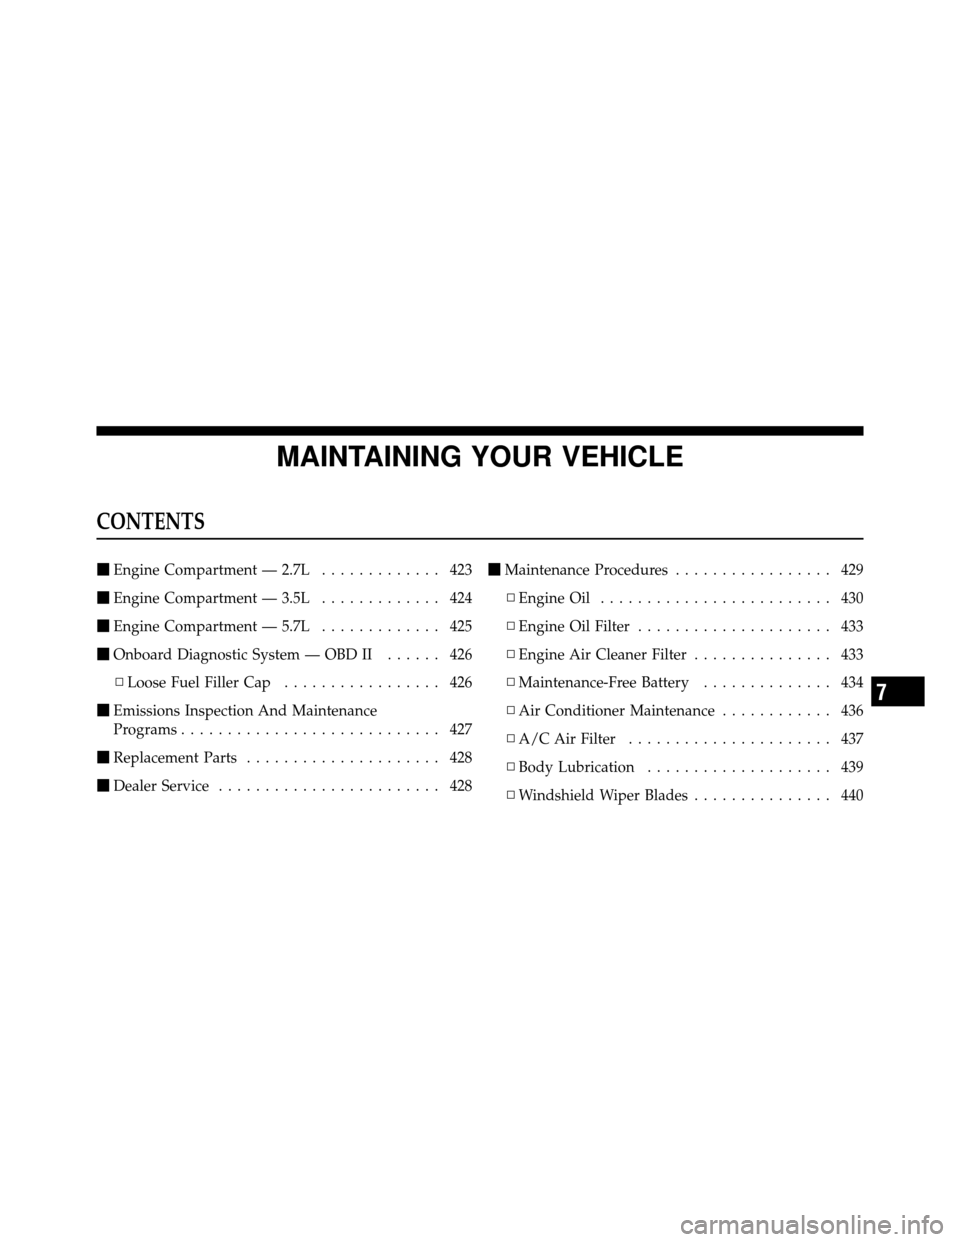
MAINTAINING YOUR VEHICLE
CONTENTS
�Engine Compartment — 2.7L ............. 423
� Engine Compartment — 3.5L ............. 424
� Engine Compartment — 5.7L ............. 425
� Onboard Diagnostic System — OBD II ...... 426
▫ Loose Fuel Filler Cap ................. 426
� Emissions Inspection And Maintenance
Programs ............................ 427
� Replacement Parts ..................... 428
� Dealer Service ........................ 428 �
Maintenance Procedures ................. 429
▫ Engine Oil ......................... 430
▫ Engine Oil Filter ..................... 433
▫ Engine Air Cleaner Filter ............... 433
▫ Maintenance-Free Battery .............. 434
▫ Air Conditioner Maintenance ............ 436
▫ A/C Air Filter ...................... 437
▫ Body Lubrication .................... 439
▫ Windshield Wiper Blades ............... 440
7
Page 424 of 538
ENGINE COMPARTMENT — 2.7L
1 — Integrated Power Module6 — Air Cleaner Filter
2 — Engine Oil Dipstick 7 — Engine Oil Fill
3 — Brake Fluid Reservoir Access Cover 8 — Remote Jump Start (Positive Battery Post)
4 — Engine Coolant Reservoir 9 — Washer Fluid Reservoir
5 — Power Steering Fluid Reservoir
7
MAINTAINING YOUR VEHICLE 423
Page 425 of 538
ENGINE COMPARTMENT — 3.5L
1 — Integrated Power Module6 — Engine Oil Fill
2 — Air Cleaner Filter 7 — Engine Oil Dipstick
3 — Brake Fluid Reservoir Access Cover 8 — Remote Jump Start (Positive Battery Post)
4 — Engine Coolant Reservoir 9 — Washer Fluid Reservoir
5 — Power Steering Fluid Reservoir
424 MAINTAINING YOUR VEHICLE
Page 426 of 538
ENGINE COMPARTMENT — 5.7L
1 — Integrated Power Module6 — Air Cleaner Filter
2 — Coolant Pressure Cap 7 — Engine Oil Fill
3 — Brake Fluid Reservoir Access Cover 8 — Engine Oil Dipstick
4 — Engine Coolant Reservoir 9 — Remote Jump Start (Positive Battery Post)
5 — Power Steering Fluid Reservoir 10 — Washer Fluid Reservoir
7
MAINTAINING YOUR VEHICLE 425
Page 428 of 538

TRIP ODOMETER button to turn off the message. If the
problem continues, the message will appear the next time
the vehicle is started.
A loose, improperly installed, or damaged fuel filler cap
may also turn on the MIL.
EMISSIONS INSPECTION AND MAINTENANCE
PROGRAMS
In some localities, it may be a legal requirement to pass
an inspection of your vehicle’s emissions control system.
Failure to pass could prevent vehicle registration.For states that require an Inspection and Mainte-
nance (I/M), this check verifies the “Malfunction
Indicator Light (MIL)” is functioning and is not
on when the engine is running, and that the OBD II
system is ready for testing.
Normally, the OBD II system will be ready. The OBD II
system may notbe ready if your vehicle was recently serviced, recently had a dead battery or a battery replace-
ment. If the OBD II system should be determined not
ready for the I/M test, your vehicle may fail the test.
Your vehicle has a simple ignition key-actuated test,
which you can use prior to going to the test station. To
check if your vehicle’s OBD II system is ready, you must
do the following:
1. Turn the ignition switch to the ON position, but do not
crank or start the engine.
2. If you crank or start the engine, you will have to start
this test over.
3. As soon as you turn the ignition switch to the ON
position, you will see the MIL symbol come on as part of
a normal bulb check.
4. Approximately 15 seconds later, one of two things will
happen:
7
MAINTAINING YOUR VEHICLE 427
Page 429 of 538

a. The MIL will flash for about 10 seconds and then
return to being fully illuminated until you turn OFF
the ignition or start the engine. This means that your
vehicle’s OBD II system isnot readyand you should
not proceed to the I/M station.
b. The MIL will not flash at all and will remain fully
illuminated until you turn OFF the ignition or start the
engine. This means that your vehicle’s OBD II system
is ready and you can proceed to the I/M station.
If your OBD II system is not ready,you should see your
authorized dealer or repair facility. If your vehicle was
recently serviced or had a battery failure or replacement,
you may need to do nothing more than drive your
vehicle as you normally would in order for your OBD II
system to update. A recheck with the above test routine
may then indicate that the system is now ready.
Regardless of whether your vehicle’s OBD II system is
ready or not, if the MIL is illuminated during normal vehicle operation you should have your vehicle serviced
before going to the I/M station. The I/M station can fail
your vehicle because the MIL is on with the engine
running.
REPLACEMENT PARTS
Use of genuine MOPAR�
parts for normal/scheduled
maintenance and repairs is highly recommended to en-
sure the designed performance. Damage or failures
caused by the use of non-MOPAR� parts for maintenance
and repairs will not be covered by the manufacturer’s
warranty.
DEALER SERVICE
Your authorized dealer has the qualified service person-
nel, special tools, and equipment to perform all service
operations in an expert manner. Service Manuals are
available which include detailed service information for
your vehicle. Refer to these Service Manuals before
attempting any procedure yourself.
428 MAINTAINING YOUR VEHICLE