2010 CHEVROLET CORVETTE check engine light
[x] Cancel search: check engine lightPage 116 of 472
Testing the Alarm
To test the system: 1. Make sure the trunk lid/hatch is latched.
2. Lower the window on the driver door.
3. Manually arm the system.
4. Close the doors and wait 30 seconds.
5. Reach through the open window and manually pull the release lever on the floor.
6. Press the unlock button on the transmitter to turn off the alarm.
If the alarm does not sound, check to see if the horn
works. The horn fuse may be blown. See Fuses and
Circuit Breakers
on page 6‑101. If the horn works, but
the alarm does not go off, see your dealer/retailer.
Disarming the System
Press the unlock button on the keyless access
transmitter or squeeze the door handle sensor while
the transmitter is near the vehicle to unlock a door.
Unlocking a door any other way sets off the alarm.
If the alarm sounds, press the unlock button on the
keyless access transmitter to disarm it.
Do not leave the key or device that disarms or
deactivates the theft deterrent system in the vehicle.
Immobilizer
See Radio Frequency Statementon page 8‑20for information regarding Part 15 of the Federal
Communications Commission (FCC) Rules and
RSS-210/211 of Industry Canada.
Immobilizer Operation
The vehicle has a passive theft-deterrent system.
The system is automatically armed when the ignition is
turned off.
The immobilization system is disarmed when the
ignition is turned to OFF/ACCESSORY or START and
a valid transmitter is found in the vehicle.
You do not have to manually arm or disarm the system.
The security light comes on if there is a problem with
arming or disarming the theft-deterrent system.
The system has one or more keyless access
transmitters that are matched to an immobilizer control
unit in the vehicle. Only a correctly matched keyless
access transmitter starts the vehicle. The vehicle may
not start if the keyless access transmitter is damaged.
If the engine does not start and the security light comes
on, there may be a problem with the immobilizer
system. Press the START button again.
3-20
Page 184 of 472

Battery Run-Down Protection
This vehicle has a feature to help prevent the battery
from being drained in case any of the following lamps
are left on; the underhood lamp, if your vehicle has
this feature, vanity mirror lamps, cargo lamps, reading
lamps, console or glove box lamps. If any of these
lamps are left on, they will automatically time-out after
about 10 minutes. To reset it, all of the above lamps
must be turned off or the ignition key on.
Head-Up Display (HUD)
{WARNING:
If the HUD image is too bright, or too high in your
field of view, it may take you more time to see
things you need to see when it is dark outside.
Be sure to keep the HUD image dim and placed
low in your field of view.
For vehicles with the Head-Up Display (HUD), you can
see some of the driver information that appears on the
instrument panel cluster. The information may be displayed in English or metric
units and appears as an image focused out toward the
front of the vehicle. The HUD consists of the following
information:
.Speedometer
.Turn Signal Indicators
.High-Beam Indicator Symbol
.Tachometer
.Manual Paddle Shift Gear Indicator (If Equipped)
These displays on the HUD are for use when
using the manual paddle shift controls to shift
the transmission. See
“Manual Paddle Shift”in
Automatic Transmission Operation on page 3‑26.
.Shift Light
This light is used for performance driving to
indicate that the vehicle's best performance level
has been reached to shift the transmission into the
next higher gear. An arrow pointing up will light up
on the display just prior to reaching the engine fuel
cut-off mode. This cut-off is about 6,500 RPM for
the LS3 engine, 6,600 RPM for the LS9 & ZR1
engines and 7,000 RPM for the LS7 engine.
.Check Gauges Warning
.Engine Coolant Temperature Gauge
4-16
Page 186 of 472
Within each mode, the display, can be further
customized by pressing the PAGE button. Pressing this
button in each mode will turn off and on the following:
.Street Mode —No tachometer, circular
tachometer, and linear tachometer.
.Track Modes 1 and 2 —No minor gauge, coolant
temperature, transmission oil temperature, engine
oil temperature, engine oil pressure, and boost
gauge.
While in Track Mode 1 or 2, the maximum G value
achieved during the current ignition cycle can be
displayed by pressing and holding the PAGE
button. The maximum G display will be shown
until the PAGE button is released. The maximum
G value display will be identical to the normal
G value display, except the maximum G gauge
digits (X.XX G) and corresponding G gauge bar
will overwrite the current G value.
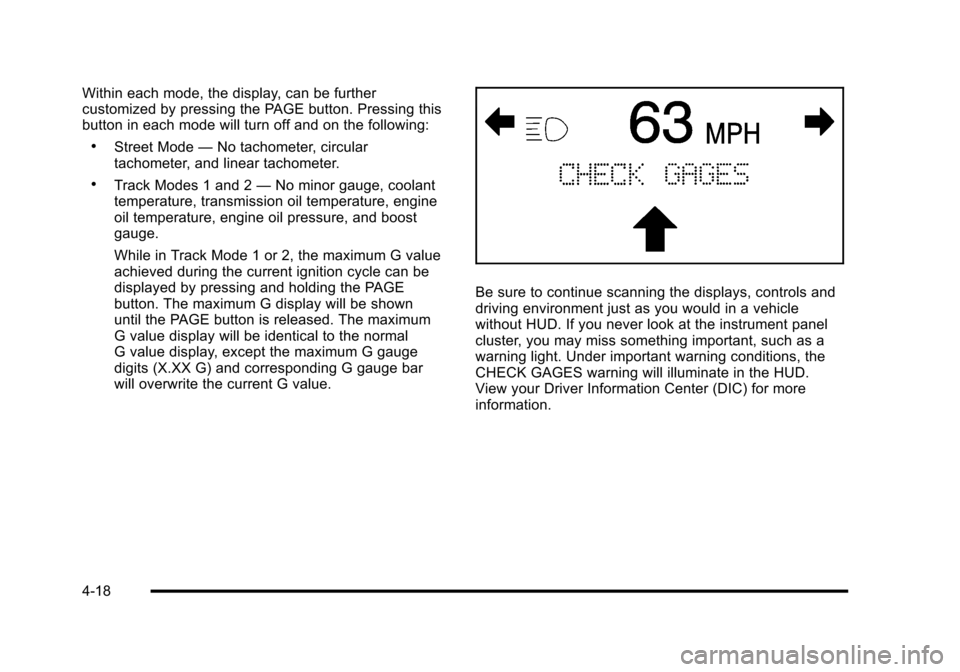
Be sure to continue scanning the displays, controls and
driving environment just as you would in a vehicle
without HUD. If you never look at the instrument panel
cluster, you may miss something important, such as a
warning light. Under important warning conditions, the
CHECK GAGES warning will illuminate in the HUD.
View your Driver Information Center (DIC) for more
information.
4-18
Page 197 of 472
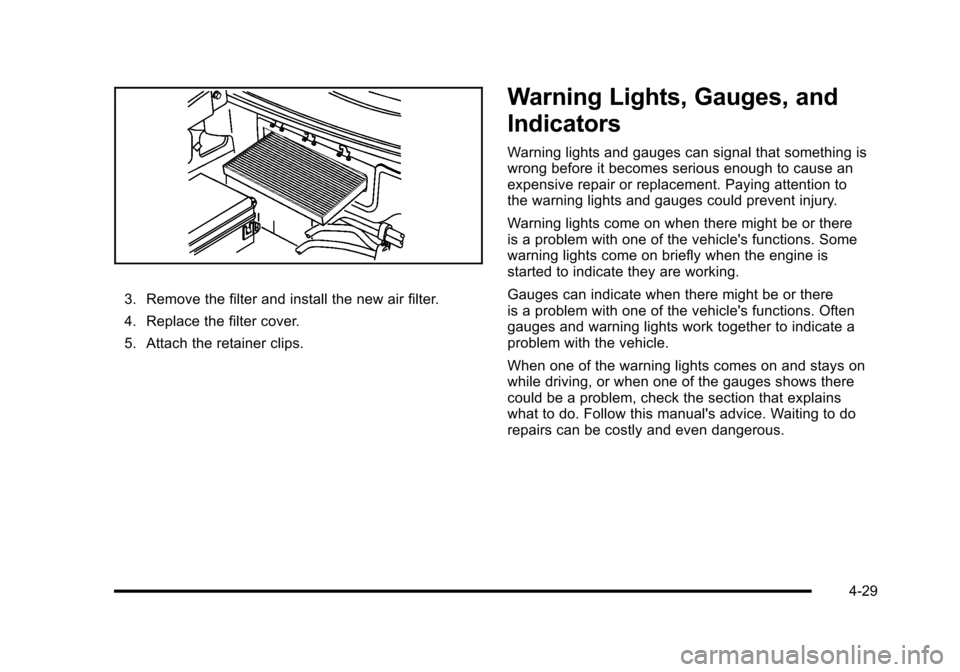
3. Remove the filter and install the new air filter.
4. Replace the filter cover.
5. Attach the retainer clips.
Warning Lights, Gauges, and
Indicators
Warning lights and gauges can signal that something is
wrong before it becomes serious enough to cause an
expensive repair or replacement. Paying attention to
the warning lights and gauges could prevent injury.
Warning lights come on when there might be or there
is a problem with one of the vehicle's functions. Some
warning lights come on briefly when the engine is
started to indicate they are working.
Gauges can indicate when there might be or there
is a problem with one of the vehicle's functions. Often
gauges and warning lights work together to indicate a
problem with the vehicle.
When one of the warning lights comes on and stays on
while driving, or when one of the gauges shows there
could be a problem, check the section that explains
what to do. Follow this manual's advice. Waiting to do
repairs can be costly and even dangerous.
4-29
Page 201 of 472
Airbag Readiness Light
The system checks the airbag's electrical system for
possible malfunctions. If the light stays on it indicates
there is an electrical problem. The system check
includes the airbag sensor, the pretensioners, the
airbag modules, the wiring and the crash sensing and
diagnostic module. For more information on the airbag
system, see Airbag System on page 2‑44.
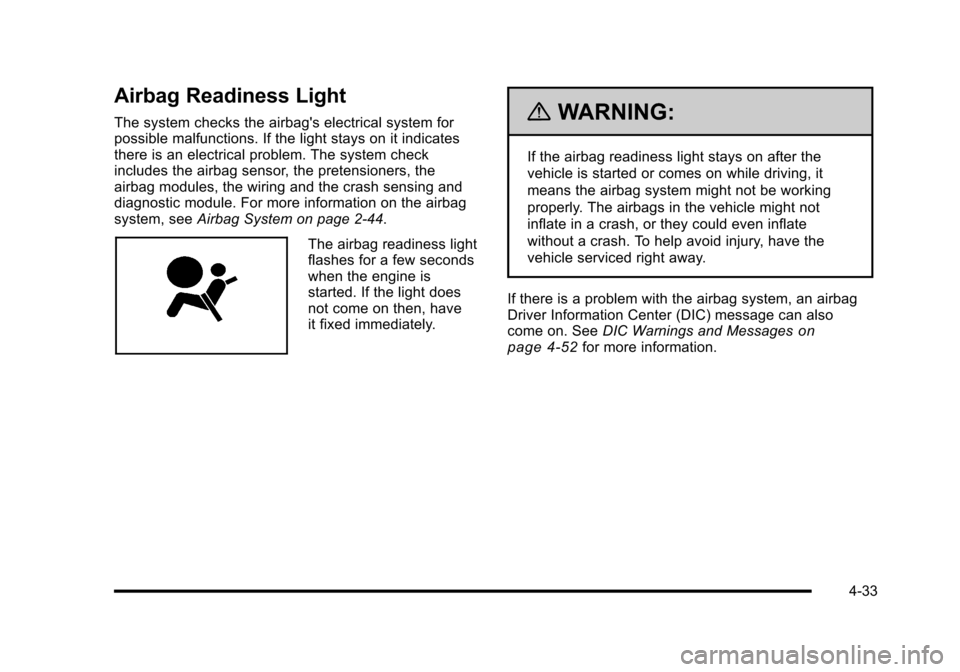
The airbag readiness light
flashes for a few seconds
when the engine is
started. If the light does
not come on then, have
it fixed immediately.
{WARNING:
If the airbag readiness light stays on after the
vehicle is started or comes on while driving, it
means the airbag system might not be working
properly. The airbags in the vehicle might not
inflate in a crash, or they could even inflate
without a crash. To help avoid injury, have the
vehicle serviced right away.
If there is a problem with the airbag system, an airbag
Driver Information Center (DIC) message can also
come on. See DIC Warnings and Messages
on
page 4‑52for more information.
4-33
Page 203 of 472
If, after several seconds, both status indicator lights
remain on, or if there are no lights at all, there may be
a problem with the lights or the passenger sensing
system. See your dealer/retailer for service.
{WARNING:
If the airbag readiness light ever comes on and
stays on, it means that something may be wrong
with the airbag system. To help avoid injury to
yourself or others, have the vehicle serviced right
away. See Airbag Readiness Light
on page 4‑33
for more information, including important safety
information.
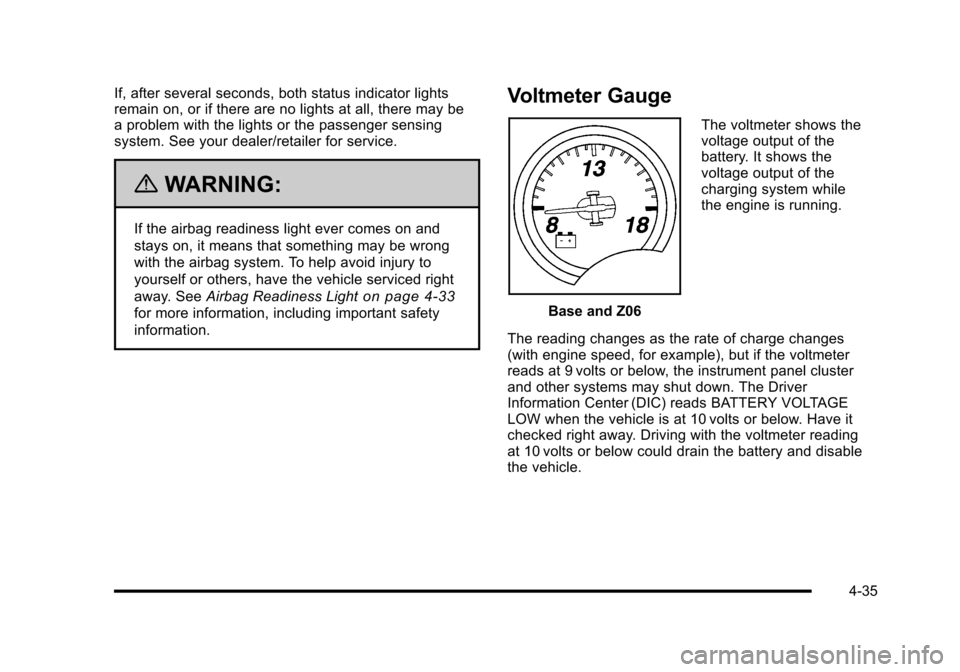
Voltmeter Gauge
Base and Z06 The voltmeter shows the
voltage output of the
battery. It shows the
voltage output of the
charging system while
the engine is running.
The reading changes as the rate of charge changes
(with engine speed, for example), but if the voltmeter
reads at 9 volts or below, the instrument panel cluster
and other systems may shut down. The Driver
Information Center (DIC) reads BATTERY VOLTAGE
LOW when the vehicle is at 10 volts or below. Have it
checked right away. Driving with the voltmeter reading
at 10 volts or below could drain the battery and disable
the vehicle.
4-35
Page 205 of 472
This light comes on briefly while starting the engine. If it
does not come on, have it fixed so it is ready to warn if
there is a problem.
{WARNING:
The brake system might not be working properly if
the brake system warning light is on. Driving with
the brake system warning light on can lead to a
crash. If the light is still on after the vehicle has
been pulled off the road and carefully stopped,
have the vehicle towed for service.
If this warning light stays on after the engine is started,
the parking brake may still be set or there could be a
brake problem. Refer to Parking Brake
on page 3‑34to
see if it is set. If the parking brake is not set, have the
brake system inspected right away.
If the light comes on while driving and a CHECK
BRAKE FLUID message shows on the DIC, pull off the
road and stop carefully. The pedal may be harder to
push or the pedal may go closer to the floor. It may take
longer to stop. If the light is still on, have the vehicle
towed for service. See Towing Your Vehicle
on
page 5‑33and DIC Warnings and Messageson
page 4‑52for more information.
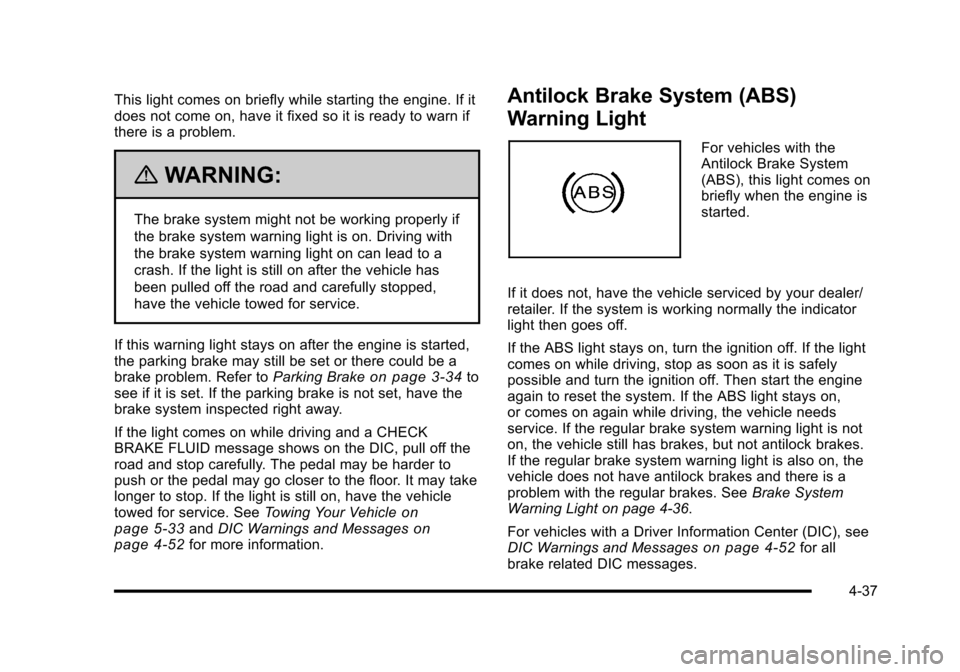
Antilock Brake System (ABS)
Warning Light
For vehicles with the
Antilock Brake System
(ABS), this light comes on
briefly when the engine is
started.
If it does not, have the vehicle serviced by your dealer/
retailer. If the system is working normally the indicator
light then goes off.
If the ABS light stays on, turn the ignition off. If the light
comes on while driving, stop as soon as it is safely
possible and turn the ignition off. Then start the engine
again to reset the system. If the ABS light stays on,
or comes on again while driving, the vehicle needs
service. If the regular brake system warning light is not
on, the vehicle still has brakes, but not antilock brakes.
If the regular brake system warning light is also on, the
vehicle does not have antilock brakes and there is a
problem with the regular brakes. See Brake System
Warning Light on page 4‑36.
For vehicles with a Driver Information Center (DIC), see
DIC Warnings and Messages
on page 4‑52for all
brake related DIC messages.
4-37
Page 208 of 472
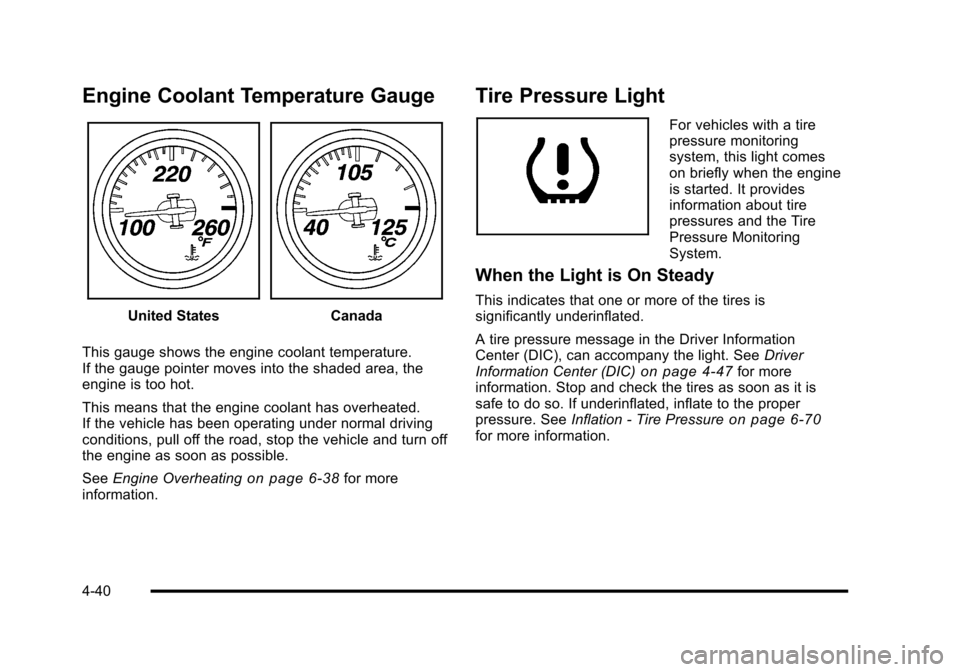
Engine Coolant Temperature Gauge
United StatesCanada
This gauge shows the engine coolant temperature.
If the gauge pointer moves into the shaded area, the
engine is too hot.
This means that the engine coolant has overheated.
If the vehicle has been operating under normal driving
conditions, pull off the road, stop the vehicle and turn off
the engine as soon as possible.
See Engine Overheating
on page 6‑38for more
information.
Tire Pressure Light
For vehicles with a tire
pressure monitoring
system, this light comes
on briefly when the engine
is started. It provides
information about tire
pressures and the Tire
Pressure Monitoring
System.
When the Light is On Steady
This indicates that one or more of the tires is
significantly underinflated.
A tire pressure message in the Driver Information
Center (DIC), can accompany the light. See Driver
Information Center (DIC)
on page 4‑47for more
information. Stop and check the tires as soon as it is
safe to do so. If underinflated, inflate to the proper
pressure. See Inflation - Tire Pressure
on page 6‑70for more information.
4-40