2010 CHEVROLET CAMARO light
[x] Cancel search: lightPage 292 of 378

Black plate (60,1)Chevrolet Camaro Owner Manual - 2010
9-60 Vehicle Care
Tire Pressure Monitor
Operation
This vehicle may have a Tire
Pressure Monitor System (TPMS).
The TPMS is designed to warn
the driver when a low tire pressure
condition exists. TPMS sensors are
mounted onto each tire and wheel
assembly, excluding the spare tire
and wheel assembly, if the vehicle
has one. The TPMS sensors
monitor the air pressure in the
vehicle's tires and transmits the
tire pressure readings to a receiver
located in the vehicle.
Using the Driver Information Center
(DIC), the driver can also check
tire pressure levels using the DIC.
For additional information and
details about the DIC operation and
displays seeTire Messages
on
page 4‑36.
When a low tire pressure condition
is detected, the TPMS illuminates
the low tire pressure warning light
located on the instrument panel
cluster. If the warning light comes
on, stop as soon as possible and
inflate the tires to the recommended
pressure shown on the tire loading
information label. See Vehicle Load
Limits on page 8‑12.
A DIC warning message to check
the pressure in a specific tire is also
shown on the DIC display screen.
The low tire pressure warning light
and the DIC warning message come
at each ignition cycle until the tires
are inflated to the correct inflation
pressure. The low tire pressure warning light
may come on in cool weather when
the vehicle is first started, and then
turn off as you start to drive. This
could be an early indicator that the
air pressure in the tire(s) are getting
low and need to be inflated to the
proper pressure.
The Tire and Loading Information
label, attached to your vehicle,
shows the size of your vehicle's
original equipment tires and the
correct inflation pressure for the
tires when they are cold. See
Vehicle Load Limits
on page 8‑12,
for an example of the Tire and
Loading Information label and its
location on your vehicle. Also see
Tire Pressure on page 9‑56.
Your vehicle's TPMS can warn you
about a low tire pressure condition
but it does not replace normal tire
maintenance. See Tire Inspection
on page 9‑63,Tire Rotationon
page 9‑63and Tires on page 9‑49.
Page 293 of 378

Black plate (61,1)Chevrolet Camaro Owner Manual - 2010
Vehicle Care 9-61
Notice:Using non‐approved tire
sealants could damage the Tire
Pressure Monitor System (TPMS)
sensors. TPMS sensor damage
caused by using an incorrect tire
sealant is not covered by the
vehicle warranty. Always use
the GM approved tire sealant
available through your dealer.
Factory-installed Tire Inflator Kits
use a GM approved liquid tire
sealant. Using non-approved tire
sealants could damage the TPMS
sensors. See Tire Sealant and
Compressor Kit
on page 9‑73for
information regarding the inflator kit
materials and instructions.
TPMS Malfunction Light and
Message
The TPMS will not function properly
if one or more of the TPMS sensors
are missing or inoperable. When the
system detects a malfunction, the
low tire warning light flashes for
about one minute and then stays
on for the remainder of the ignition
cycle. A DIC warning message is
also displayed. The low tire warning
light and DIC warning message
come on at each ignition cycle until
the problem is corrected. Some of
the conditions that can cause the
malfunction light and DIC message
to come on are:
.One of the road tires has been
replaced with the spare tire,
if the vehicle has one. The spare
tire does not have a TPMS
sensor. The DIC message
should go off once you re‐install
the road tire containing the
TPMS sensor.
.The TPMS sensor matching
process was not done or not
completed successfully after
rotating the vehicle's tires.
The DIC message should go
off after successfully completing
the sensor matching process.
See “TPMS Sensor Matching
Process” later in this section.
.One or more TPMS sensors are
missing or damaged. The DIC
message and the TPMS
malfunction light should go
off when the TPMS sensors
are installed and the sensor
matching process is performed
successfully. See your dealer
for service.
.Replacement tires or wheels do
not match your vehicle's original
equipment tires or wheels. Tires
and wheels other than those
recommended for your vehicle
could prevent the TPMS from
functioning properly. See Buying
New Tires on page 9‑65.
Page 294 of 378

Black plate (62,1)Chevrolet Camaro Owner Manual - 2010
9-62 Vehicle Care
.Operating electronic devices or
being near facilities using radio
wave frequencies similar to the
TPMS could cause the TPMS
sensors to malfunction.
If the TPMS is not functioning it
cannot detect or signal a low tire
condition. See your dealer for
service if the TPMS malfunction
light and DIC message comes on
and stays on.
TPMS Sensor Matching
Process
Each TPMS sensor has a unique
identification code. Any time you
replace one or more of the TPMS
sensors or rotate your vehicle's
tires, the identification codes need
to be matched to the new tire/wheel
position. The sensors are matched
to the tire/wheel positions in the
following order: driver side front tire,
passenger side front tire, passenger
side rear tire, and driver side rear
tire using a TPMS diagnostic tool.
See your dealer for service. The TPMS sensors can also be
matched to each tire/wheel position
by increasing or decreasing the
tire's air pressure. If increasing the
tire's air pressure, do not exceed
the maximum inflation pressure
indicated on the tire's sidewall.
To decrease the tire's air-pressure
use the pointed end of the valve
cap, a pencil-style air pressure
gauge, or a key.
You have two minutes to match
the first tire/wheel position, and
five minutes overall, to match all
four tire/wheel positions. If it takes
longer than two minutes, to match
the first tire and wheel, or more than
five minutes to match all four tire
and wheel positions, the matching
process stops and you need to
start over.
The TPMS matching process is
outlined below:
1. Set the parking brake.
2. Turn the ignition switch to
ON/RUN with the engine off. 3. Go to the TPM vehicle
information screen on the DIC.
See Driver Information Center
(DIC)
on page 4‑28. Press set
to relearn the sensors. The horn
sounds twice to signal the
receiver is in relearn mode and
Tire Learning Active message
displays on the DIC screen.
4. Start with the driver side front tire.
5. Remove the valve cap from the valve stem. Activate the
TPMS sensor by increasing or
decreasing the tire's air pressure
for 10 seconds, or until a horn
chirp sounds. The horn chirp,
which can take up to 30 seconds
to sound, confirms that the
TPMS sensor identification code
has been matched to this tire
position.
6. Proceed to the passenger side front tire, and repeat the
procedure in Step 5.
Page 300 of 378
Black plate (68,1)Chevrolet Camaro Owner Manual - 2010
9-68 Vehicle Care
The Uniform Tire Quality
Grading (UTQG) system
does not apply to deep
tread, winter-type snow tires,
space-saver, or temporary use
spare tires, tires with nominal
rim diameters of 10 to 12 inches
(25 to 30 cm), or to some
limited-production tires.
While the tires available on
General Motors passenger
cars and light trucks may vary
with respect to these grades,
they must also conform to
federal safety requirements and
additional General Motors Tire
Performance Criteria (TPC)
standards.
All Passenger Car Tires Must
Conform to Federal Safety
Requirements In Addition To
These Grades.Treadwear
The treadwear grade is a
comparative rating based
on the wear rate of the tire
when tested under controlled
conditions on a specified
government test course.
For example, a tire graded
150 would wear one and a
half (1½) times as well on the
government course as a tire
graded 100. The relative
performance of tires depends
upon the actual conditions of
their use, however, and may
depart significantly from the
norm due to variations in
driving habits, service practices
and differences in road
characteristics and climate.
Traction
–AA, A, B, C
The traction grades, from
highest to lowest, are AA, A, B,
and C. Those grades represent
the tire's ability to stop on wet
pavement as measured under
controlled conditions on
specified government test
surfaces of asphalt and
concrete. A tire marked C may
have poor traction performance.
Warning: The traction grade
assigned to this tire is based on
straight-ahead braking traction
tests, and does not include
acceleration, cornering,
hydroplaning, or peak
traction characteristics.
Page 307 of 378
Black plate (75,1)Chevrolet Camaro Owner Manual - 2010
Vehicle Care 9-75
Always do a safety check first.
SeeIf a Tire Goes Flaton
page 9‑71. Do not remove any
objects that have penetrated
the tire.
1. Remove the tire sealant and compressor kit from its storage
location. See Storing the Tire
Sealant and Compressor Kit
on
page 9‑79.
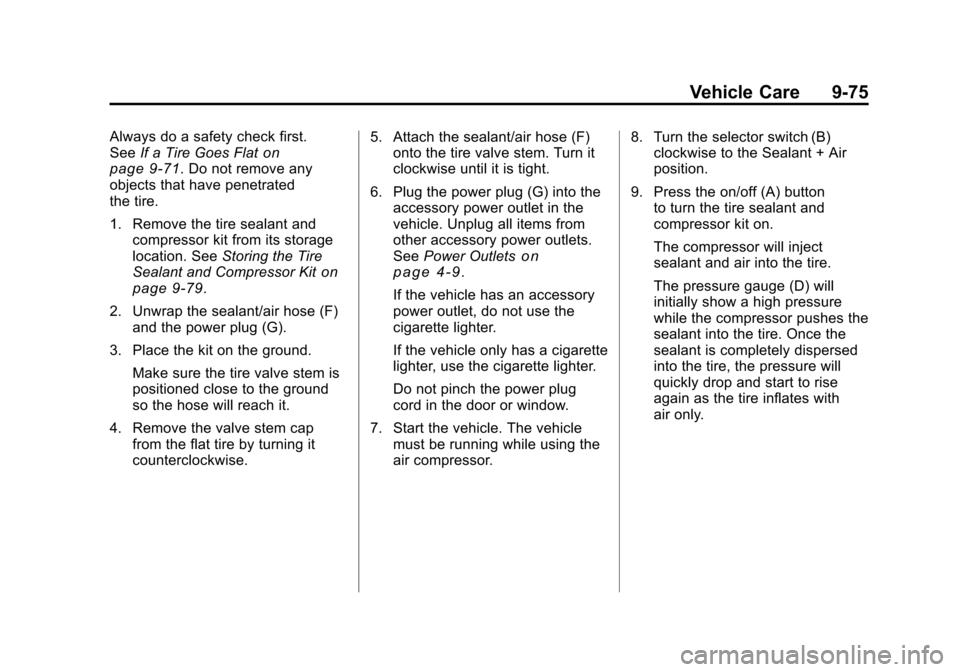
2. Unwrap the sealant/air hose (F) and the power plug (G).
3. Place the kit on the ground.
Make sure the tire valve stem is
positioned close to the ground
so the hose will reach it.
4. Remove the valve stem cap from the flat tire by turning it
counterclockwise. 5. Attach the sealant/air hose (F)
onto the tire valve stem. Turn it
clockwise until it is tight.
6. Plug the power plug (G) into the accessory power outlet in the
vehicle. Unplug all items from
other accessory power outlets.
See Power Outlets
on
page 4‑9.
If the vehicle has an accessory
power outlet, do not use the
cigarette lighter.
If the vehicle only has a cigarette
lighter, use the cigarette lighter.
Do not pinch the power plug
cord in the door or window.
7. Start the vehicle. The vehicle must be running while using the
air compressor. 8. Turn the selector switch (B)
clockwise to the Sealant + Air
position.
9. Press the on/off (A) button to turn the tire sealant and
compressor kit on.
The compressor will inject
sealant and air into the tire.
The pressure gauge (D) will
initially show a high pressure
while the compressor pushes the
sealant into the tire. Once the
sealant is completely dispersed
into the tire, the pressure will
quickly drop and start to rise
again as the tire inflates with
air only.
Page 310 of 378
Black plate (78,1)Chevrolet Camaro Owner Manual - 2010
9-78 Vehicle Care
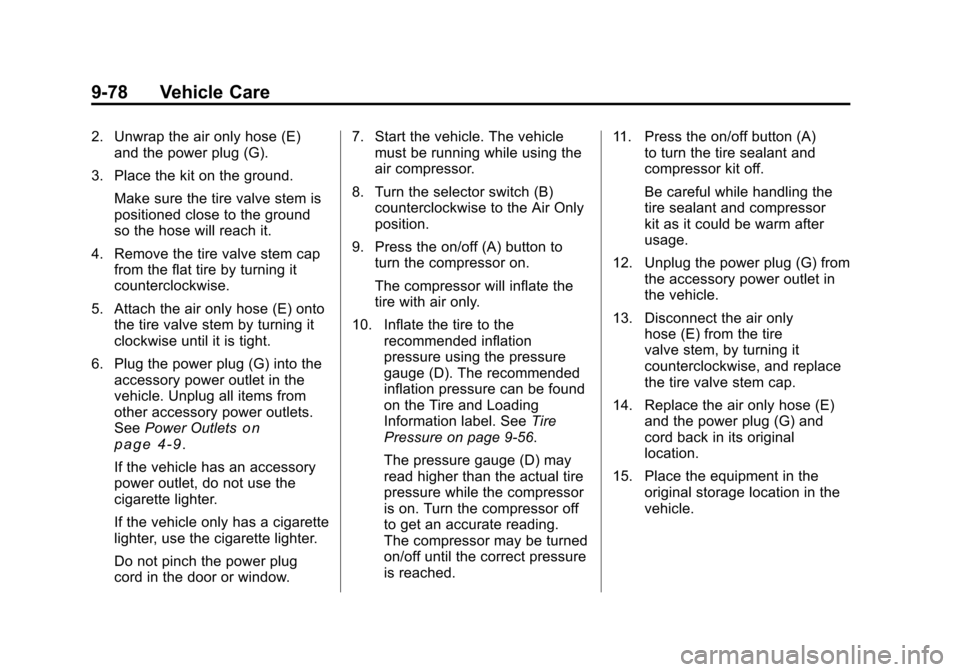
2. Unwrap the air only hose (E)and the power plug (G).
3. Place the kit on the ground. Make sure the tire valve stem is
positioned close to the ground
so the hose will reach it.
4. Remove the tire valve stem cap from the flat tire by turning it
counterclockwise.
5. Attach the air only hose (E) onto the tire valve stem by turning it
clockwise until it is tight.
6. Plug the power plug (G) into the accessory power outlet in the
vehicle. Unplug all items from
other accessory power outlets.
See Power Outlets
on
page 4‑9.
If the vehicle has an accessory
power outlet, do not use the
cigarette lighter.
If the vehicle only has a cigarette
lighter, use the cigarette lighter.
Do not pinch the power plug
cord in the door or window. 7. Start the vehicle. The vehicle
must be running while using the
air compressor.
8. Turn the selector switch (B) counterclockwise to the Air Only
position.
9. Press the on/off (A) button to turn the compressor on.
The compressor will inflate the
tire with air only.
10. Inflate the tire to the recommended inflation
pressure using the pressure
gauge (D). The recommended
inflation pressure can be found
on the Tire and Loading
Information label. See Tire
Pressure on page 9‑56.
The pressure gauge (D) may
read higher than the actual tire
pressure while the compressor
is on. Turn the compressor off
to get an accurate reading.
The compressor may be turned
on/off until the correct pressure
is reached. 11. Press the on/off button (A)
to turn the tire sealant and
compressor kit off.
Be careful while handling the
tire sealant and compressor
kit as it could be warm after
usage.
12. Unplug the power plug (G) from the accessory power outlet in
the vehicle.
13. Disconnect the air only hose (E) from the tire
valve stem, by turning it
counterclockwise, and replace
the tire valve stem cap.
14. Replace the air only hose (E) and the power plug (G) and
cord back in its original
location.
15. Place the equipment in the original storage location in the
vehicle.
Page 319 of 378

Black plate (87,1)Chevrolet Camaro Owner Manual - 2010
Vehicle Care 9-87
The jump start positive (A) and
negative (B) posts are located in the
engine compartment on the driver
side of the vehicle.
These posts are used instead of a
direct connection to the battery.The positive jump start connection
is covered by a red cap. Remove to
expose the terminal.
1. Check the other vehicle. It must
have a 12-volt battery with a
negative ground system. Notice:
If the other vehicle's
system is not a 12-volt system
with a negative ground, both
vehicles can be damaged. Only
use vehicles with 12-volt systems
with negative grounds to jump
start your vehicle.
2. Position the two vehicles so that they are not touching.
3. Set the parking brake firmly and put the shift lever in P (Park).
See Shifting Into Park
on
page 8‑22.
Notice: If you leave the radio or
other accessories on during the
jump starting procedure, they
could be damaged. The repairs
would not be covered by the
warranty. Always turn off the
radio and other accessories
when jump starting the vehicle.
4. Turn the ignition to LOCK/OFF and switch off all lights and
accessories in both vehicles,
except the hazard warning
flashers if needed.
Page 320 of 378
Black plate (88,1)Chevrolet Camaro Owner Manual - 2010
9-88 Vehicle Care
{WARNING
An electric fan can start up even
when the engine is not running
and can injure you. Keep hands,
clothing and tools away from any
underhood electric fan.
{WARNING
Using a match near a battery can
cause battery gas to explode.
People have been hurt doing this,
and some have been blinded.
Use a flashlight if you need more
light.
Be sure the battery has enough
water. You do not need to add
water to the battery installed in
your new vehicle. But if a battery
has filler caps, be sure the right(Continued)
WARNING (Continued)
amount of fluid is there. If it is low,
add water to take care of that
first. If you don't, explosive gas
could be present.
Battery fluid contains acid that
can burn you. Do not get it on
you. If you accidentally get it in
your eyes or on your skin, flush
the place with water and get
medical help immediately.
{WARNING
Fans or other moving engine
parts can injure you badly. Keep
your hands away from moving
parts once the engine is running.
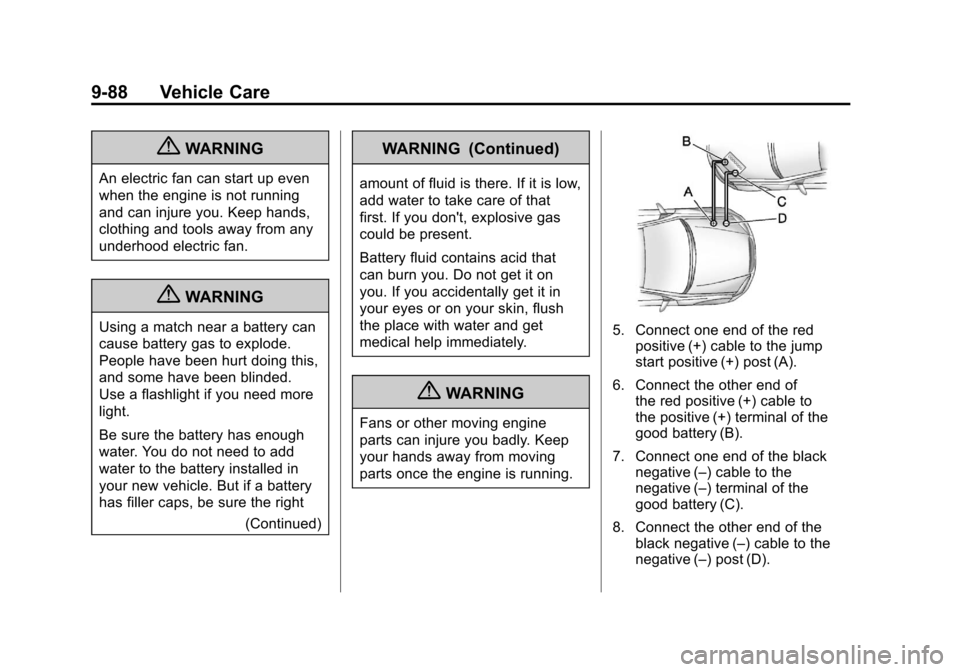
5. Connect one end of the redpositive (+) cable to the jump
start positive (+) post (A).
6. Connect the other end of the red positive (+) cable to
the positive (+) terminal of the
good battery (B).
7. Connect one end of the black negative (–) cable to the
negative (–) terminal of the
good battery (C).
8. Connect the other end of the black negative (–) cable to the
negative (–) post (D).