2010 BMW Z4 SDRIVE30I navigation
[x] Cancel search: navigationPage 85 of 254

Controls
83Reference
At a glance
Driving tips
Communications
Navigation
Entertainment
Mobility
Green
The tire inflation pressure corresponds to the
established target value.
"TPM active" appears on the Control Display.
One wheel yellow
There is a flat tire or substantial loss of tire pres-
sure in the indicated tire. A message appears on
the Control Display.
All wheels yellow
There is a flat tire or substantial loss of tire pres-
sure in several tires. A message appears on the
Control Display.
Gray
The system cannot detect a puncture.
Possible reasons for this:
>TPM is being reset
>Temporary malfunction caused by systems
or devices using the same radio frequency
>Malfunction
Resetting the system
Each time a tire inflation pressure has
been corrected or a wheel or tire has been
changed, reset the system.<
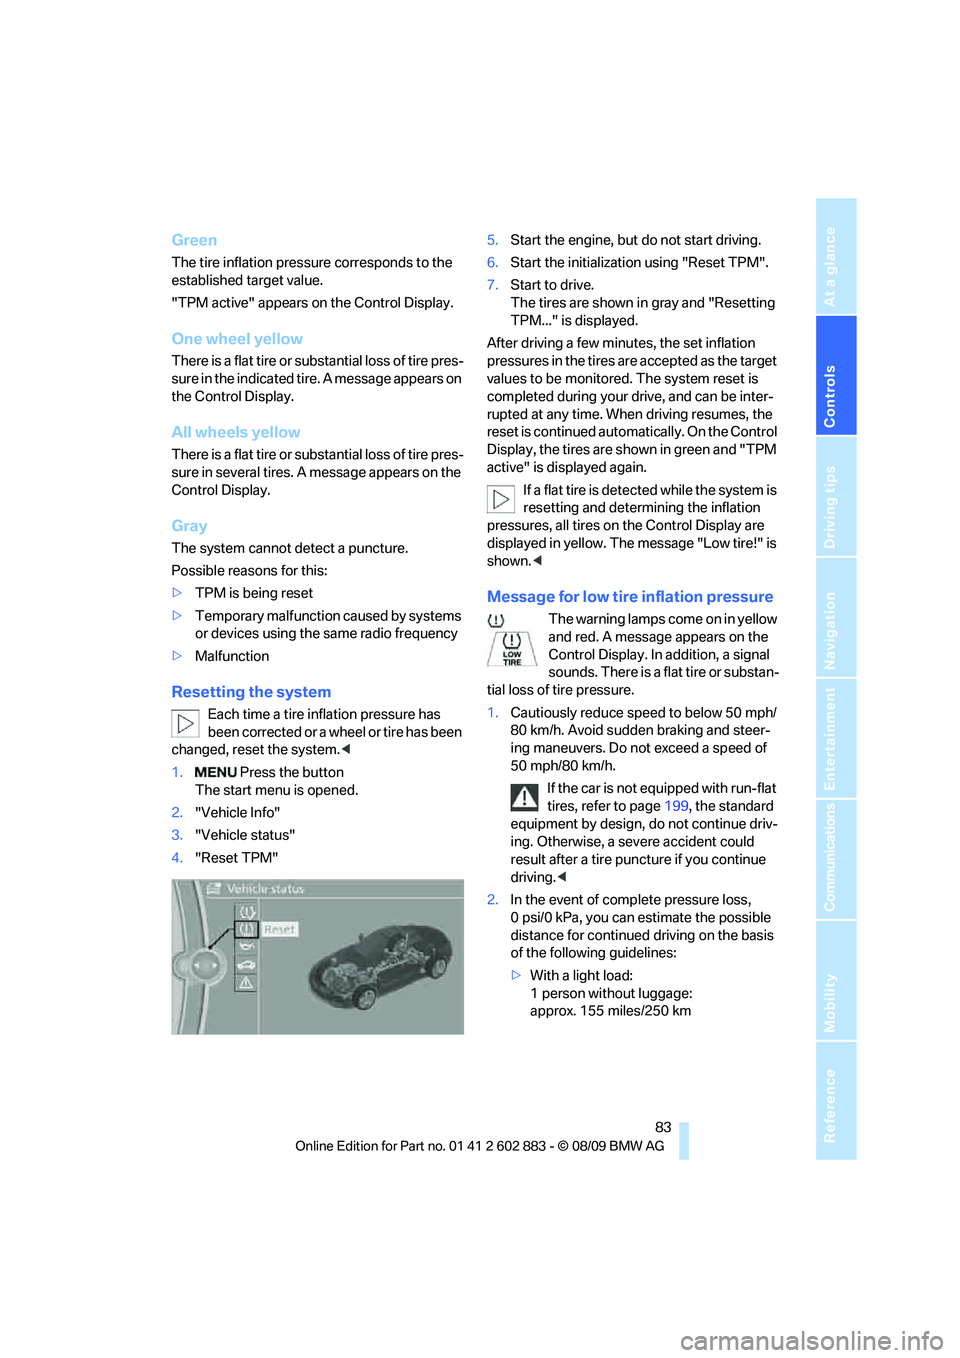
1. Press the button
The start menu is opened.
2."Vehicle Info"
3."Vehicle status"
4."Reset TPM"5.Start the engine, but do not start driving.
6.Start the initialization using "Reset TPM".
7.Start to drive.
The tires are shown in gray and "Resetting
TPM..." is displayed.
After driving a few minutes, the set inflation
pressures in the tires are accepted as the target
values to be monitored. The system reset is
completed during your drive, and can be inter-
rupted at any time. When driving resumes, the
reset is continued automatically. On the Control
Display, the tires are shown in green and "TPM
active" is displayed again.
If a flat tire is detected while the system is
resetting and determining the inflation
pressures, all tires on the Control Display are
displayed in yellow. The message "Low tire!" is
shown.<
Message for low tire inflation pressure
The warning lamps come on in yellow
and red. A message appears on the
Control Display. In addition, a signal
sounds. There is a flat tire or substan-
tial loss of tire pressure.
1.Cautiously reduce speed to below 50 mph/
80 km/h. Avoid sudden braking and steer-
ing maneuvers. Do not exceed a speed of
50 mph/80 km/h.
If the car is not equipped with run-flat
tires, refer to page199, the standard
equipment by design, do not continue driv-
ing. Otherwise, a severe accident could
result after a tire puncture if you continue
driving.<
2.In the event of complete pressure loss,
0 psi/0 kPa, you can estimate the possible
distance for continued driving on the basis
of the following guidelines:
>With a light load:
1 person without luggage:
approx. 155 miles/250 km
Page 87 of 254

Controls
85Reference
At a glance
Driving tips
Communications
Navigation
Entertainment
Mobility
able to detect or signal low tire pressure as
intended. TPMS malfunctions may occur for a
variety of reasons, including the installation of
replacement or alternate tires or wheels on the
vehicle that prevent the TPMS from functioning
properly. Always check the TPMS malfunction
telltale after replacing one or more tires or
wheels on your vehicle to ensure that the
replacement or alternate tires and wheels allow
the TPMS to continue to function properly.
Servotronic*
The concept
The Servotronic varies the steering force
required to turn the wheels depending on the
speed at which you are driving. When you are
driving at low speeds, power steering provides
more support, i. e. little effort is needed to turn
the wheels. Power steering support lessens as
your speed increases.
The system works automatically.
Malfunction
Malfunctions are displayed via Check Control.
Dynamic brake lamps*
On the left: normal braking.
On the right: sharp braking.
During sharp braking, the brake lamps and the
dynamic brake lamps of your BMW light up.
The dynamic brake lamps are automatically
activated if the turn signal is not flashing.
Airbags
The following airbags are located under the
marked covers:
1Front airbags
2Side airbags in the seat backrests
3Knee airbag
Protective action
Observe the adjustment instructions on
page41 to ensure the best possible per-
sonal protection.<
The front airbags help protect the driver and
passenger by responding to frontal impacts in
which safety belts alone cannot provide ade-
quate restraint. When needed, the side airbags
help provide protection in the event of a side
impact. The relevant side airbag supports the
head and the side upper body area.
The airbags have been designed to not be trig-
gered in every collision situation, e.g., not in
minor accidents or rear-end collisions.
Do not apply adhesive materials to the
cover panels of the airbags, cover them or
modify them in any other way.
Keep the dashboard and window on the pas-
senger side clear, i.e., do not cover with adhe-
sive labels or coverings, and do not attach hold-
ers such as for navigation instruments and
mobile phones.
Do not attach seat covers, cushions or other
objects to the front seats that are not specifi-
cally approved for seats with integral side air-
bags. Do not hang items of clothing such as
coats or jackets over the backrests.
Do not attempt to remove the airbag retention
system from the vehicle. Do not modify the indi-
Page 89 of 254

Controls
87Reference
At a glance
Driving tips
Communications
Navigation
Entertainment
Mobility
Most child seats are detected by the sys-
tem, especially child seats required by the
NHTSA at the time of vehicle production.
After mounting a child seat, ensure that the
indicator lamp for the passenger airbag is lit.
It indicates that the child seat has been
detected and that the passenger airbags
are deactivated.
>The indicator lamp does not come on when,
for example, a person of sufficient size and
in a correct sitting position is detected on
the seat.
The front, knee and passenger airbags for
the passenger are activated.
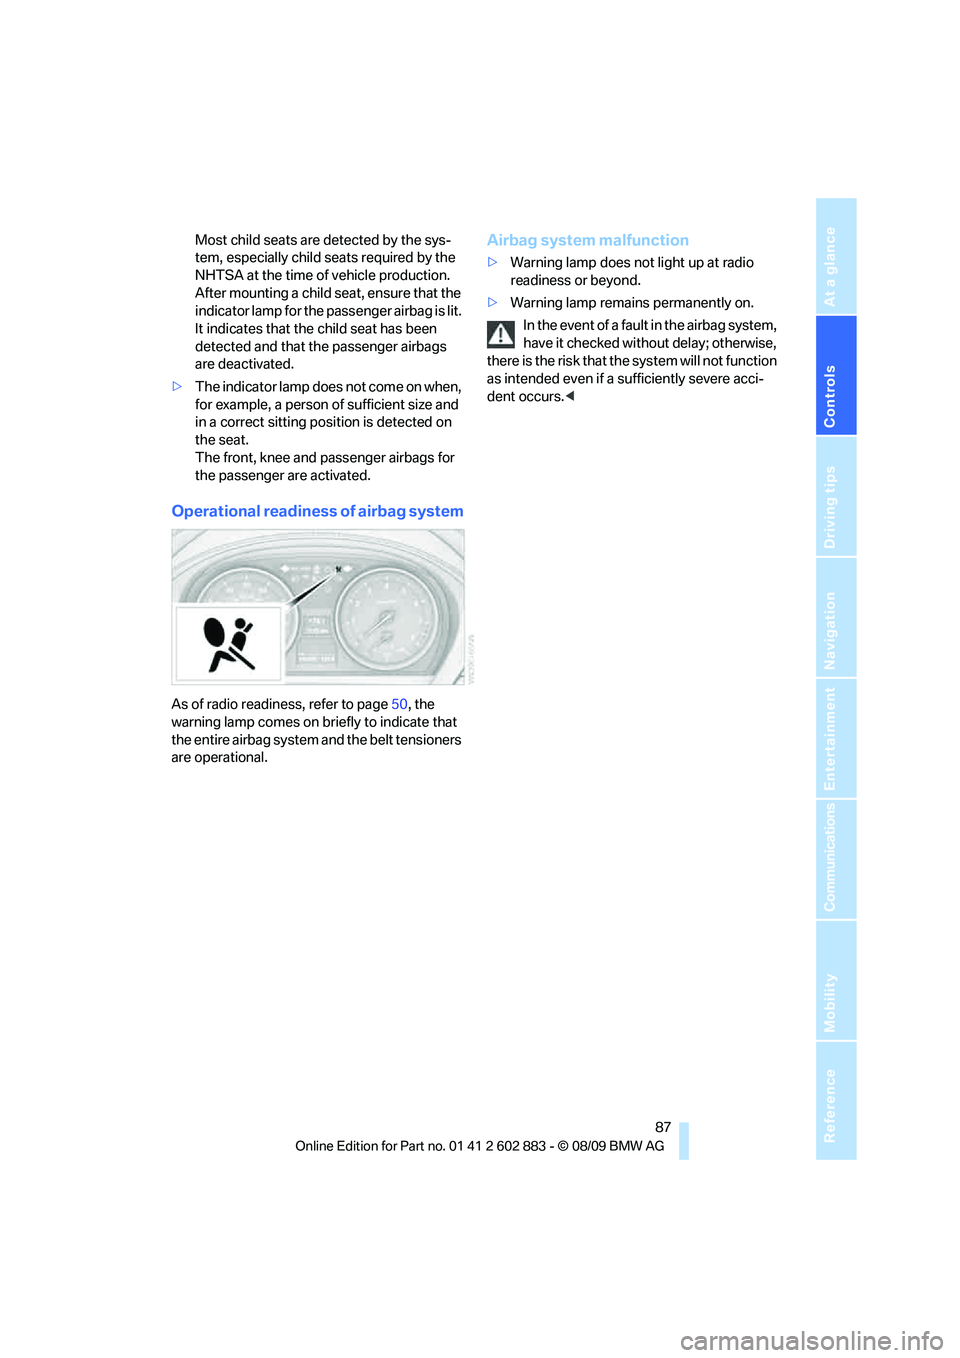
Operational readiness of airbag system
As of radio readiness, refer to page50, the
warning lamp comes on briefly to indicate that
the entire airbag system and the belt tensioners
are operational.
Airbag system malfunction
>Warning lamp does not light up at radio
readiness or beyond.
>Warning lamp remains permanently on.
In the event of a fault in the airbag system,
have it checked without delay; otherwise,
there is the risk that the system will not function
as intended even if a sufficiently severe acci-
dent occurs.<
Page 91 of 254

Controls
89Reference
At a glance
Driving tips
Communications
Navigation
Entertainment
Mobility
Activating/deactivating welcome
lamps
1."Settings"
2."Lighting"
3."Welcome light"
Welcome lamps are activated and are
stored for the remote control currently in use.
Pathway lighting
If you activate the headlamp flasher after
parking the car, with the lights switched off,
the low beams come on and remain on for a
certain time.
You can adjust the operating period or deacti-
vate the function.
1."Settings"
2."Lighting"
3."Pathway light.:"
4.Set or deactivate the duration.
The setting is stored for the remote control cur-
rently in use.
Daytime running lights
The daytime running lights light up in switch
position0, 1 and 3. They are less powerful than
the low beams.
Activating/deactivating the daytime
running lights
1."Settings"
2."Lighting"
3."Daytime running lamps"
Daytime running lights are activated and
are stored for the remote control currently
in use.
Adaptive light control*
The concept
Adaptive light control is a variable headlamp
control system that enables better illumination
of the road surface. Depending on the steering
angle and other parameters, the light from the
headlamp follows the course of the road.
Activating adaptive light control
With the ignition switched on, turn the light
switch to position 3, refer to page88.
Standstill function
*: To avoid blinding oncom-
ing traffic, adaptive light control directs light
towards the passenger side when the vehicle is
at a standstill.
Malfunction
A message appears on the Control Display.
Adaptive light control is malfunctioning or has
failed. Have the system checked as soon as
possible.
Page 93 of 254

Controls
91Reference
At a glance
Driving tips
Communications
Navigation
Entertainment
Mobility
System limitations
The high-beam assistant cannot serve as
a substitute for the driver's personal judg-
m e n t o f w h e n t o u s e t h e high beams. Therefore,
manually switch off the high beams in situations
where this is required to avoid a safety risk.<
The system is not fully functional in situations
such as the following, and driver intervention
may be necessary:
>In very unfavorable weather conditions,
such as fog or heavy precipitation
>In detecting poorly-lit road users, such as
pedestrians, cyclists, horseback riders and
wagons; when driving close to train or ship
traffic; and at animal crossings
>In tight curves, on hilltops or in depressions,
in cross traffic or half-obscured oncoming
traffic on highways
>In poorly lit towns and cities and in the pres-
ence of highly reflective signs
>At low speeds
>When the windshield in front of the interior
rearview mirror is fogged over, dirty or cov-
ered with stickers, etc.
>If the sensor is dirty. Clean the sensor on
the front of the interior rearview mirror using
a cloth moistened with a small amount of
glass cleaner.
Switching off via iDrive
1."Settings"
2."Lighting"
3."High beam assistant"
The high-beam assistant is activated and
is stored for the remote control currently in use.
Instrument lighting
You can adjust the brightness of the instrument
lighting only when the parking lamps or the low
beams are switched on.
1.Push button 1 up or down repeatedly until
the appropriate symbol appears in the dis-
play, accompanied by the brightness set-
ting and scale the word "SET".
2.Press button 2.
3.Push button 1 up or down to select the
desired brightness level.
4.Press button 2.
The display again shows the outside tem-
perature and the time.
Page 95 of 254

Controls
93Reference
At a glance
Driving tips
Communications
Navigation
Entertainment
Mobility
Climate
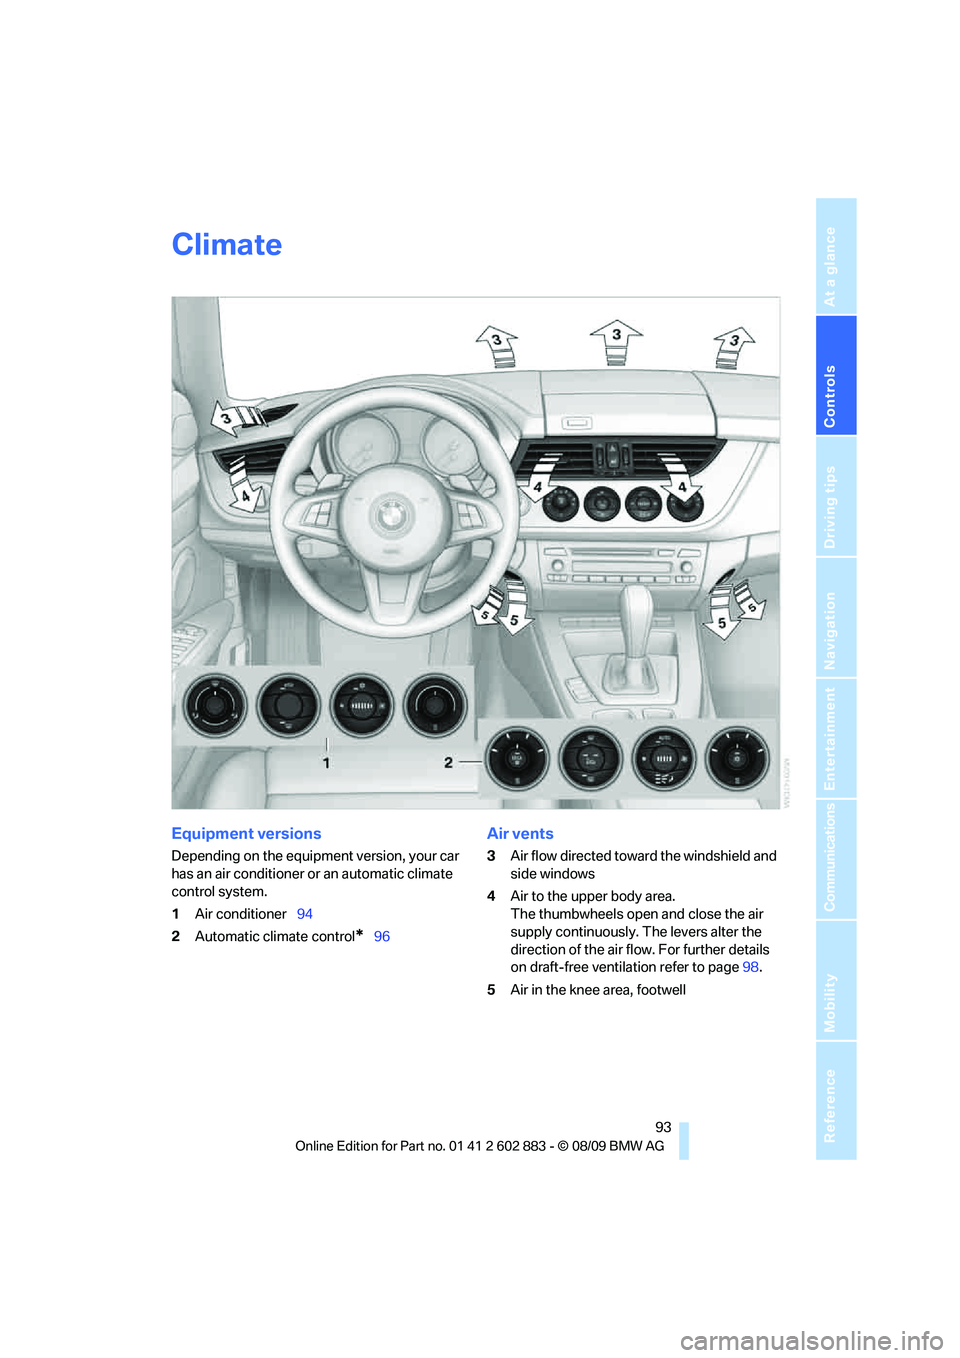
Equipment versions
Depending on the equipment version, your car
has an air conditioner or an automatic climate
control system.
1Air conditioner94
2Automatic climate control
*96
Air vents
3Air flow directed toward the windshield and
side windows
4Air to the upper body area.
The thumbwheels open and close the air
supply continuously. The levers alter the
direction of the air flow. For further details
on draft-free ventilation refer to page98.
5Air in the knee area, footwell
Page 97 of 254

Controls
95Reference
At a glance
Driving tips
Communications
Navigation
Entertainment
Mobility
Rear window defroster
The defroster switches off auto-
matically after a certain time or
when the hardtop is opened.
Temperature
To increase the temperature, turn
the rotary switch clockwise
towards red.
For a lower temperature, turn the
rotary switch counterclockwise towards blue.
Defrosting windows and removing
condensation
1.Air distribution1 in position .
2.Deactivate recirculated-air mode 2.
3.Switch on cooling function 3.
4.Temperature4 to the right, red.
5.Set the air flow rate5 to the maximum level.
6.Switch on rear window defroster 6 to
defrost the rear window .
Ventilation
1Use the lever to change the direction of the
air flow
2Use the thumbwheels to smoothly open
and close the air vents
Ventilation for cooling
Adjust the vent outlets to direct the flow of cool
air in your direction, for instance if it has become
too hot in the car.
Draft-free ventilation
Set the vent outlets so that the air flows past
you and not straight at you.
Microfilter
The microfilter removes dust and pollen from
the incoming air. The microfilter is changed by
your BMW center during routine mainte-
nance work.
Page 99 of 254

Controls
97Reference
At a glance
Driving tips
Communications
Navigation
Entertainment
Mobility
Switching the cooling function on
and off
The cooling function cools and
dehumidifies the incoming air
before reheating it as required,
according to the temperature set-
ting. This function is only available while the
engine is running.
The cooling function helps prevent condensa-
tion on the windows or removes it quickly.
Depending on the weather, the windshield may
fog over briefly when the engine is started.
The cooling function is automatically switched
on along with the AUTO program.
Maximum cooling
Maximum cooling is achieved most
quickly at outside temperatures
above 327/06 and when the
engine is running.
The automatic climate control goes into recir-
culated-air mode at the lowest temperature. Air
flows at maximum rate from the vents for the
upper body area. You should therefore open the
vents for maximum cooling.
AUTO program
The AUTO program automatically adjusts the
air distribution to the windshield and side win-
dows, towards the upper body area, and into the
footwell and knee area.
The air flow rate and air distribution, in addition
to your temperature specifications, will be
adapted to outside influences as a result of sea-
sonal changes, e.g., sunlight or window con-
densation.
The cooling is switched on automatically with
the AUTO program.
Switching on/off
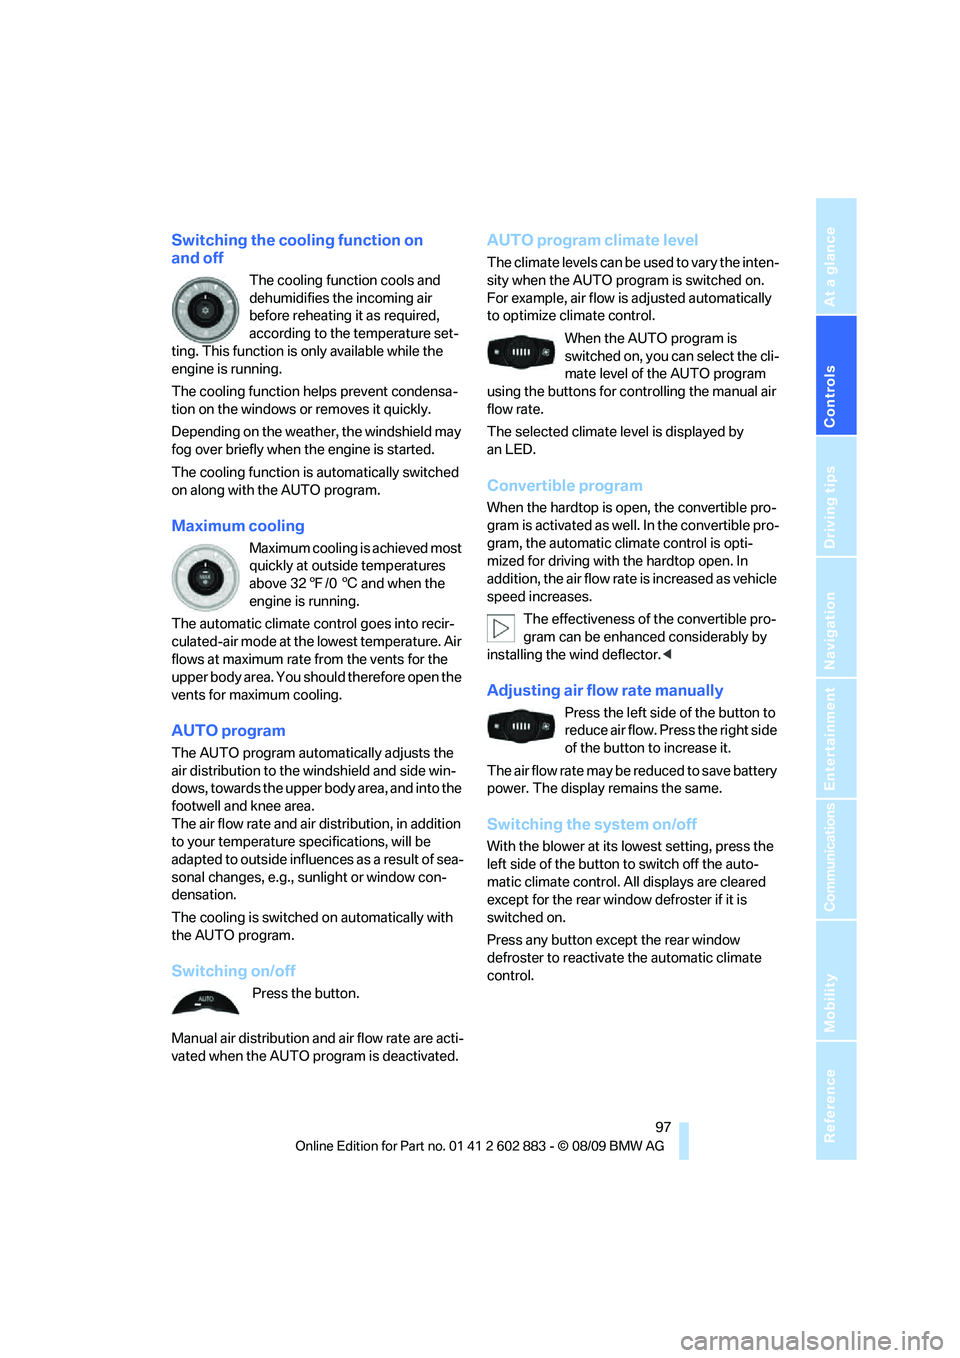
Press the button.
Manual air distribution and air flow rate are acti-
vated when the AUTO program is deactivated.
AUTO program climate level
The climate levels can be used to vary the inten-
sity when the AUTO program is switched on.
For example, air flow is adjusted automatically
to optimize climate control.
When the AUTO program is
switched on, you can select the cli-
mate level of the AUTO program
using the buttons for controlling the manual air
flow rate.
The selected climate level is displayed by
an LED.
Convertible program
When the hardtop is open, the convertible pro-
gram is activated as well. In the convertible pro-
gram, the automatic climate control is opti-
mized for driving with the hardtop open. In
addition, the air flow rate is increased as vehicle
speed increases.
The effectiveness of the convertible pro-
gram can be enhanced considerably by
installing the wind deflector.<
Adjusting air flow rate manually
Press the left side of the button to
reduce air flow. Press the right side
of the button to increase it.
The air flow rate may be reduced to save battery
power. The display remains the same.
Switching the system on/off
With the blower at its lowest setting, press the
left side of the button to switch off the auto-
matic climate control. All displays are cleared
except for the rear window defroster if it is
switched on.
Press any button except the rear window
defroster to reactivate the automatic climate
control.