Page 40 of 136
these circumstances, headlightbeam throw has to be adjustedto suit the weight carried by themotorcycle.
Consult a specialist work-shop, preferably an au-thorised BMW Motorrad deal-er, if you are unsure whetherthe headlight basic setting iscorrect.
Headlight beam-throw
adjustment
1Headlight beam-throw ad-justment
Spring preload adjustment mightnot suffice if the motorcycle isvery heavily loaded. Headlightbeam throw can be adjusted soas not to dazzle oncoming traffic.This adjustment should be car-ried out by a specialist workshop,preferably an authorised BMWMotorrad dealer.
aLengthens beam throw
bShortens beam throw
Seat
Remove the seat
Make sure the ground is leveland firm and place the motor-cycle on its stand.
Use the ignition key to turnstowage-compartment lock1clockwise.
Remove cover2.
4
38
zOperation
Page 41 of 136
Pull release lever3up whilepushing down on the seat atthe rear.
Raise the seat at the rear andrelease the release lever.
Remove the seat and place it,upholstered side down, on aclean surface.
Installing seat
Engage mounts4of the seatin holders5on left and right.
Lower the seat into positionand push it forward as far as itwill go.
Firmly press down on the seatat the rear.
The seat engages with an aud-ible click.
Install cover2.
Lock stowage-compartmentlock1with the ignition key.
4
39
zOperation
Page 44 of 136

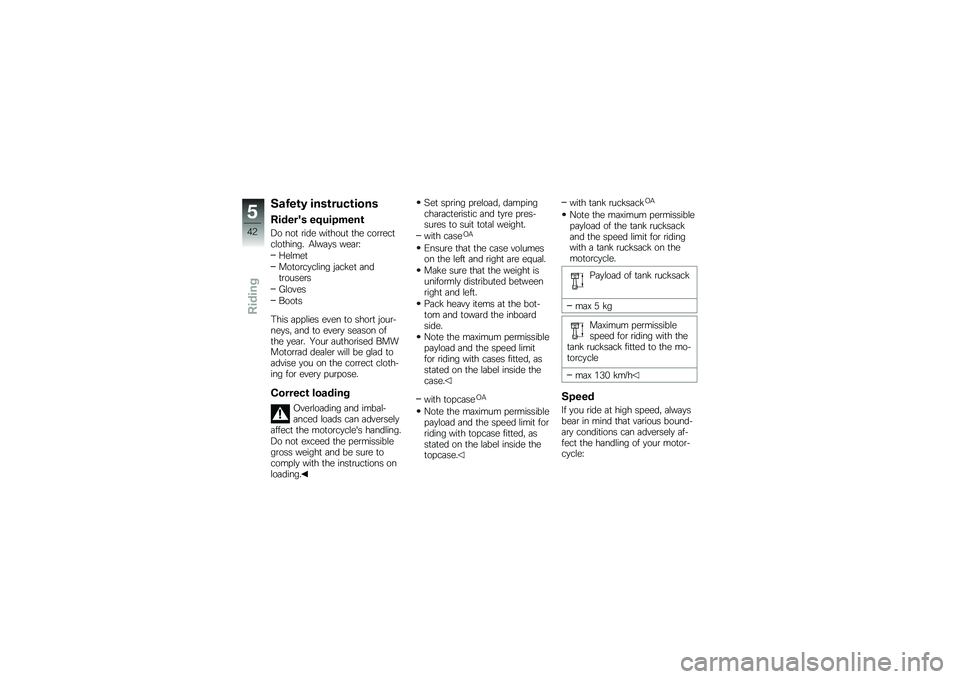
Safety instructions
Rider's equipment
Do not ride without the correctclothing. Always wear:
Helmet
Motorcycling jacket andtrousers
Gloves
Boots
This applies even to short jour-neys, and to every season ofthe year. Your authorised BMWMotorrad dealer will be glad toadvise you on the correct cloth-ing for every purpose.
Correct loading
Overloading and imbal-anced loads can adverselyaffect the motorcycle's handling.
Do not exceed the permissiblegross weight and be sure tocomply with the instructions onloading.
Set spring preload, dampingcharacteristic and tyre pres-sures to suit total weight.
with caseOA
Ensure that the case volumeson the left and right are equal.
Make sure that the weight isuniformly distributed betweenright and left.
Pack heavy items at the bot-tom and toward the inboardside.
Note the maximum permissiblepayload and the speed limitfor riding with cases fitted, asstated on the label inside thecase.
with topcaseOA
Note the maximum permissiblepayload and the speed limit forriding with topcase fitted, asstated on the label inside thetopcase.
with tank rucksackOA
Note the maximum permissiblepayload of the tank rucksackand the speed limit for ridingwith a tank rucksack on themotorcycle.
Payload of tank rucksack
max 5 kg
Maximum permissiblespeed for riding with thetank rucksack fitted to the mo-torcycle
max 130 km/h
Speed
If you ride at high speed, alwaysbear in mind that various bound-ary conditions can adversely af-fect the handling of your motor-cycle:
5
42
zRiding
Page 63 of 136
Installing cases
Fully open latching flap5, if ne-cessary pulling up red releaselever4.
Hook the case into case carri-er6.
Turn the case toward the mo-torcycle, pushing the mounton the case all the way ontomushroom head7.
Push latching flap5down asfar as it will go and hold it inthis position.
Push red release lever4down.
The latching flap engages.
Close the carry handle.
Turn the key parallel with thedirection of travel and remove.
topcase
with topcaseOA
Opening topcase
If applicable, unlock topcaselock1.
Pull up locking lever2andopen the topcase lid.
7
61
zAccessories
Page 71 of 136
Visually inspect the brake padsto ascertain their thickness.Viewing direction: Between thespokes toward brake caliper1.
Brake disc thickness,front
min 1.0 mm (Friction padonly, without backingplate. The wear indicators(grooves) must be clearlyvisible.)
If the wear indicating marks areno longer clearly visible:
Brake pads worn past theminimum permissible thick-ness can cause a reduction inbraking efficiency and undercertain circumstances they can
cause damage to the brake sys-tem.
In order to ensure the dependab-ility of the brake system, do notpermit the brake pads to wearpast the minimum permissiblethickness.
Have the brake pads replacedby a specialist workshop,preferably an authorised BMWMotorrad dealer.
Checking rear brake pad
thickness
Make sure the ground is leveland firm and place the motor-cycle on its stand.
8
69
zMaintenance
Page 72 of 136

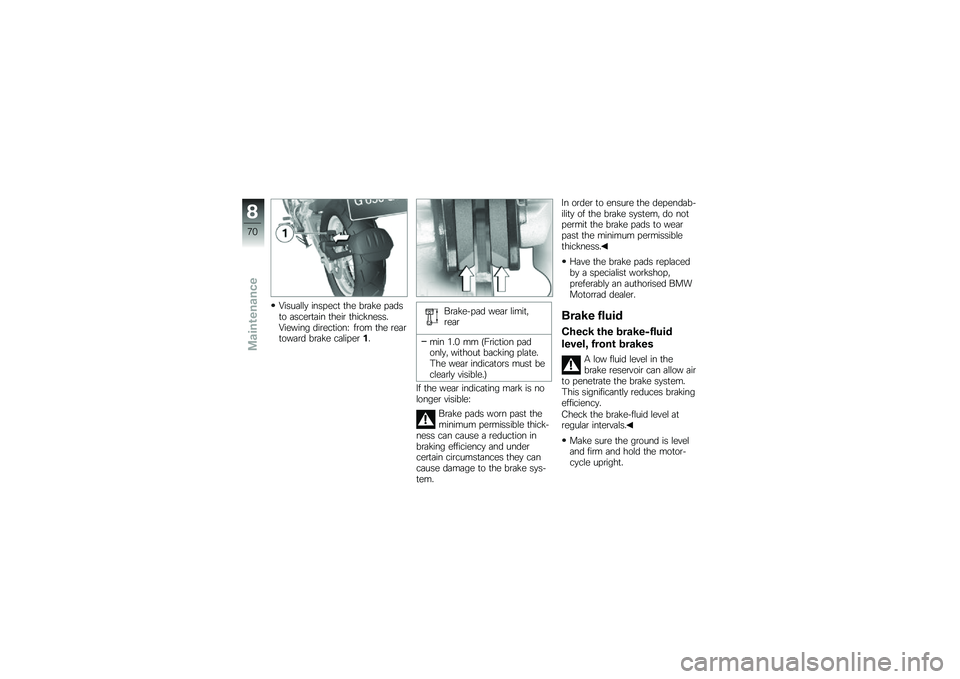
Visually inspect the brake padsto ascertain their thickness.Viewing direction: from the reartoward brake caliper1.
Brake-pad wear limit,rear
min 1.0 mm (Friction padonly, without backing plate.The wear indicators must beclearly visible.)
If the wear indicating mark is nolonger visible:
Brake pads worn past theminimum permissible thick-ness can cause a reduction inbraking efficiency and undercertain circumstances they cancause damage to the brake sys-tem.
In order to ensure the dependab-ility of the brake system, do notpermit the brake pads to wearpast the minimum permissiblethickness.
Have the brake pads replacedby a specialist workshop,preferably an authorised BMWMotorrad dealer.
Brake fluid
Check the brake-fluid
level, front brakes
A low fluid level in thebrake reservoir can allow airto penetrate the brake system.This significantly reduces brakingefficiency.
Check the brake-fluid level atregular intervals.
Make sure the ground is leveland firm and hold the motor-cycle upright.
8
70
zMaintenance
Page 131 of 136

AAbbreviations and symbols, 6
ABSControl, 18
Engineering details, 54
Self-diagnosis, 45
Switching off and on, 33
Warnings, 23
AccessoriesNotes, 58
Air filterPosition on the motorcycle, 13
Replacing, 91
BBatteryCharging battery whenconnected, 94
Charging battery whendisconnected, 94
Installation, 95
Maintenance instructions, 93
Removal, 94
Stowage, 11
BMW Motorrad service, 120
Brake fluidChecking fluid levels, 70
Reservoir, front, 13
Reservoir, rear, 13
Brake padsChecking brake-padthickness, 68
Running in, 46
BrakesChecking operation, 68
Notes, 47
Technical data, 113
BulbsNotes on replacement, 85
Replacing brake-light bulb, 90
Replacing high-beam headlightbulb, 85
Replacing low-beam headlightbulb, 85
Replacing rear light bulb, 90
Replacing side-light bulb, 87
Replacing turn indicatorbulb, 88
Technical data, 115
CCare, 101
CaseOperation, 59
ChainAdjusting sag, 76
Checking sag, 75
Checking wear, 76
Lubricating, 75
Checklist, 44
Clock, 15Adjusting, 29
ClutchAdjusting clutch lever, 34
Adjusting handlebar-leverplay, 74
Checking play, 73
Technical data, 111
Confirmation of maintenancework, 122
CoolantChecking fluid level, 72
Fore-and-aft tilt indicator, 11
Topping up, 73
12
129
zIndex
Page 133 of 136

IgnitionSwitching off, 28
Switching on, 28
Ignition switch, 28
Instrument clusterOverview, 15
JJump starting, 92
KKeys, 28
LLaying up, 104
LightsHeadlight flasher, 31
Switch on the high-beamheadlight, 31
Switch on the parking lights, 29
Switching on low-beamheadlight, 31
Switching on the parkinglights, 30
Low-beam headlightSwitching on, 31
LuggageInstructions for loading, 42
MMaintenanceNotes, 66
Maintenance intervals, 121
MirrorsAdjusting, 34
Mobility services, 120
MotorcycleCare, 101
Laying up, 104
Overview, 11, 13
Parking, 49
Restoring to use, 104
OOdometer and tripmeters, 15Operation, 30
Off-roading, 47
PParking, 49
Power socket, 11Notes on use, 58
RRear-wheel driveTechnical data, 112
Refuelling, 49
Restoring to use, 104
Rev. counter, 15
Rider's ManualStowage, 14
Running gearTechnical data, 112
Running in, 46
SSafety instructions, 42
SeatInstallation, 38
Lock, 11
Removal, 38
Service, 120Side lightSwitching on, 30
Spark plugsTechnical data, 114
Speedometer, 15
12
131
zIndex