2010 BMW 535I SEDAN turn signal
[x] Cancel search: turn signalPage 12 of 271

Cockpit
10
Cockpit
Around the steering wheel: controls and displays
1Rear window safety switch39
2Sedan: sun blind
* for rear window111
3Opening and closing windows38
4Adjusting exterior mirrors50
Automatic curb monitor
*51
5Folding exterior mirrors in and out
*51
6
Turn signals63
High beams,
headlamp flasher102
High-beam Assistant102
Roadside parking lamps102
Check Control79
Computer75
Page 14 of 271

Cockpit
12
Instrument cluster
1Indicator lamps for turn signals
2Speedometer
3Indicator and warning lamps13
4Displays for
>Active cruise control
*70
>Lane Departure Warning
*99
5Tachometer74
6Energy Control75
7Display for
>Clock/date74
>Outside temperature74
>Indicator and warning lamps80
>Speed of cruise control
*66
>Desired speed for active cruise
control
*708Display for
>Odometer and trip odometer74
>Computer75
>Date and remaining travel distance
for service requirements77
>Automatic transmission with
Steptronic
*59
>Sport automatic transmission
*62
>Hill Descent Control HDC
*86
>High-beam Assistant
*102
> Check Control message present79
9Fuel gauge75
10Resetting trip odometer74
Page 29 of 271

Controls
27Reference
At a glance
Driving tips
Communications
Navigation
Entertainment
Mobility
sonal Profile ensures that most of these set-
tings are stored for the remote control currently
in use without you having to do anything. When
the vehicle is unlocked, the corresponding
remote control is detected and the settings
stored for it are called up and carried out.
This means that you will always find your BMW
set to your own personal settings even if
another person with his/her own remote control
and settings has used the vehicle since the last
time you drove it. The individual settings are
stored for a maximum of four remote controls,
for two with Comfort Access
*.
Personal Profile settings
Details on the settings are provided on the
specified pages.
>Behavior of the central locking system
when unlocking vehicle, refer to page28
>Automatic locking of the vehicle, refer to
page30
>Displays on Control Display:
>Brightness of the Control Display, refer
to page83
>Measuring units for consumption, route/
distances, temperature, and pressure,
refer to page76
>12h/24h clock format, refer to page79
>Date format, refer to page79
>Language on Control Display, refer to
page82
>Lighting settings:
>Triple turn signal activation, refer to
page63
>Welcome lamps, refer to page100
>Pathway lighting, refer to page101
>Daytime running lamps
*, refer to
page101
>High-beam Assistant
*, refer to
page102
>PDC Park Distance Control
*: optical warn-
ing, refer to page84
>Head-up Display
*: selection and brightness
of display, refer to page96>BMW Night Vision
*: display settings, refer
to page98
>Automatic climate control: AUTO program
and intensity, cooling function, and auto-
matic recirculated air control/recirculated-
air mode, temperature, air distribution, tem-
perature in the upper body region, refer to
text starting on page106
>Navigation system
*: voice instructions for
destination guidance, refer to page143
In addition, the following, most recently
selected settings are recalled during unlocking:
>Programmable memory buttons: selecting
stored functions, refer to page20
>Positions of driver's seat, outside mirrors,
and steering wheel
*, refer to page45
>Audio sources: volume and tone settings,
refer to page152
>Radio:
>Display of stored stations, refer to
page157
>Switching RDS Radio Data System on/
off
*, refer to page156
>Phone: volume setting, refer to page181
Central locking system
The concept
The central locking system functions when the
driver's door is closed.
The system simultaneously engages and
releases the locks on the following:
>Doors
>Luggage compartment lid or tailgate and
rear window
>Fuel filler flap
Operating from outside
>Via the remote control
>Using door lock
>With Comfort Access
* via the door handles
Page 65 of 271

Controls
63Reference
At a glance
Driving tips
Communications
Navigation
Entertainment
Mobility
>In the automatic mode, the 6th gear is not
engaged.
Activating system
Press the SPORT button.
The LED in the button lights up and SPORT is
displayed in the instrument cluster.
Deactivating system
>Press the SPORT button again
>Engage reverse gear
>Switch off engine
The LED in the button and SPORT in the instru-
ment cluster go out.
Turn signals/
headlamp flasher
1High beams
2Headlamp flasher
3Turn signals
Using turn signals
Press the lever beyond the resistance point.
To turn off manually, press the lever to the
resistance point.Atypically rapid flashing of the indicator
lamp indicates that a turn signal bulb
needs to be replaced.<
Signaling briefly
Press lever to resistance point and hold for as
long as you wish to signal.
Triple turn signal activation
Press the lever to the resistance point; the turn
signal flashes three times.
You can activate or deactivate this function.
iDrive, for operating principle refer to page16.
1."Settings"
2."Lighting"
3."Triple turn signal"
Triple turn signal activation is activated and
is stored for the remote control currently in use.
Wiper system
1Switching on wipers
2Switching off wipers or brief wipe
3Activating/deactivating rain sensor
Page 76 of 271

Controls Overview
74
Controls Overview
Odometer, outside
temperature display, clock,
date
1Time, outside temperature and date
2Odometer and trip odometer
3Press button:
>with ignition switched on, trip odometer
is reset
>with ignition switched off, time, outside
temperature, and odometer are briefly
displayed.
From radio readiness the outside temperature
and the time are displayed.
Date retrieval:
Press CHECK button on turn signal lever, refer
to page81.
Time and date setting, refer to page78.
You can set the unit of measure 7 or 6 on the
Control Display, refer to Units of measure on
page76.
Outside temperature warning
If the display drops to +377/+36, a signal
sounds and a warning lamp lights up. A mes-
sage appears on the Control Display. There is
an increased danger of ice.
Even at temperatures above +377/
+36 ice can form. Therefore, drive care-
fully, e.g., on bridges and sections of road in the
shade, otherwise there is an increased accident
risk.<
Tachometer
Avoid engine speeds in the white-striped
advance warning field, arrow1, if possible.
Never force the engine speed up into the red
warning field, see arrow2. Never operate the
engine with the needle in the red overspeed
z o n e o f t h e g a u g e . A t h i g h r e v s i n t h i s r a n g e , t h e
flow of fuel is interrupted to protect the engine.
Coolant temperature
Should the coolant, and with it the engine
become too hot, a warning lamp lights up. In
addition, a message appears on the Control
Display.
Checking coolant level, refer to page214.
Page 77 of 271

Controls
75Reference
At a glance
Driving tips
Communications
Navigation
Entertainment
Mobility
Energy Control
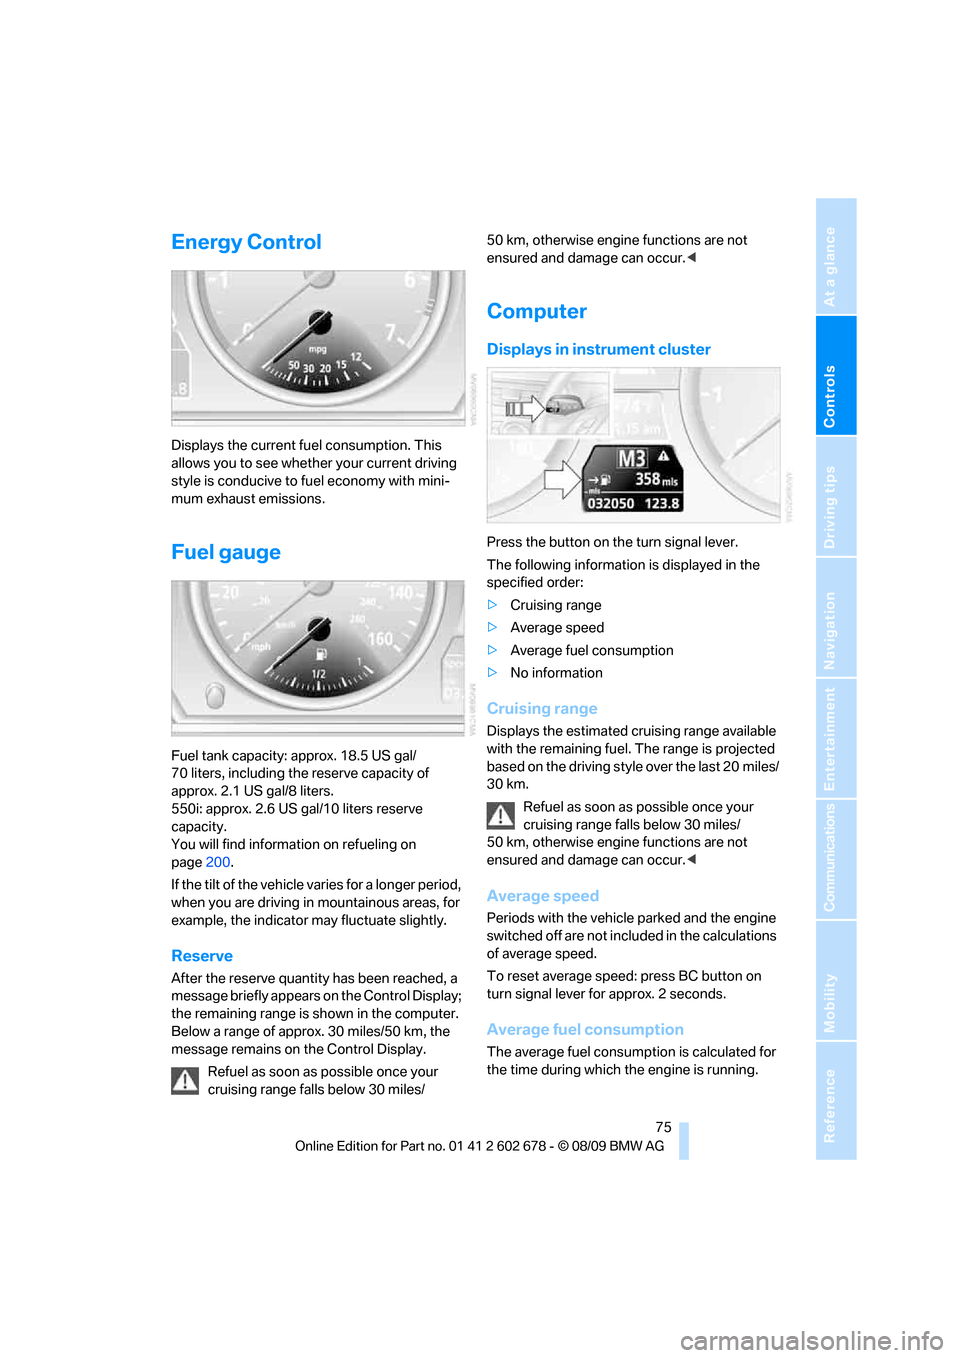
Displays the current fuel consumption. This
allows you to see whether your current driving
style is conducive to fuel economy with mini-
mum exhaust emissions.
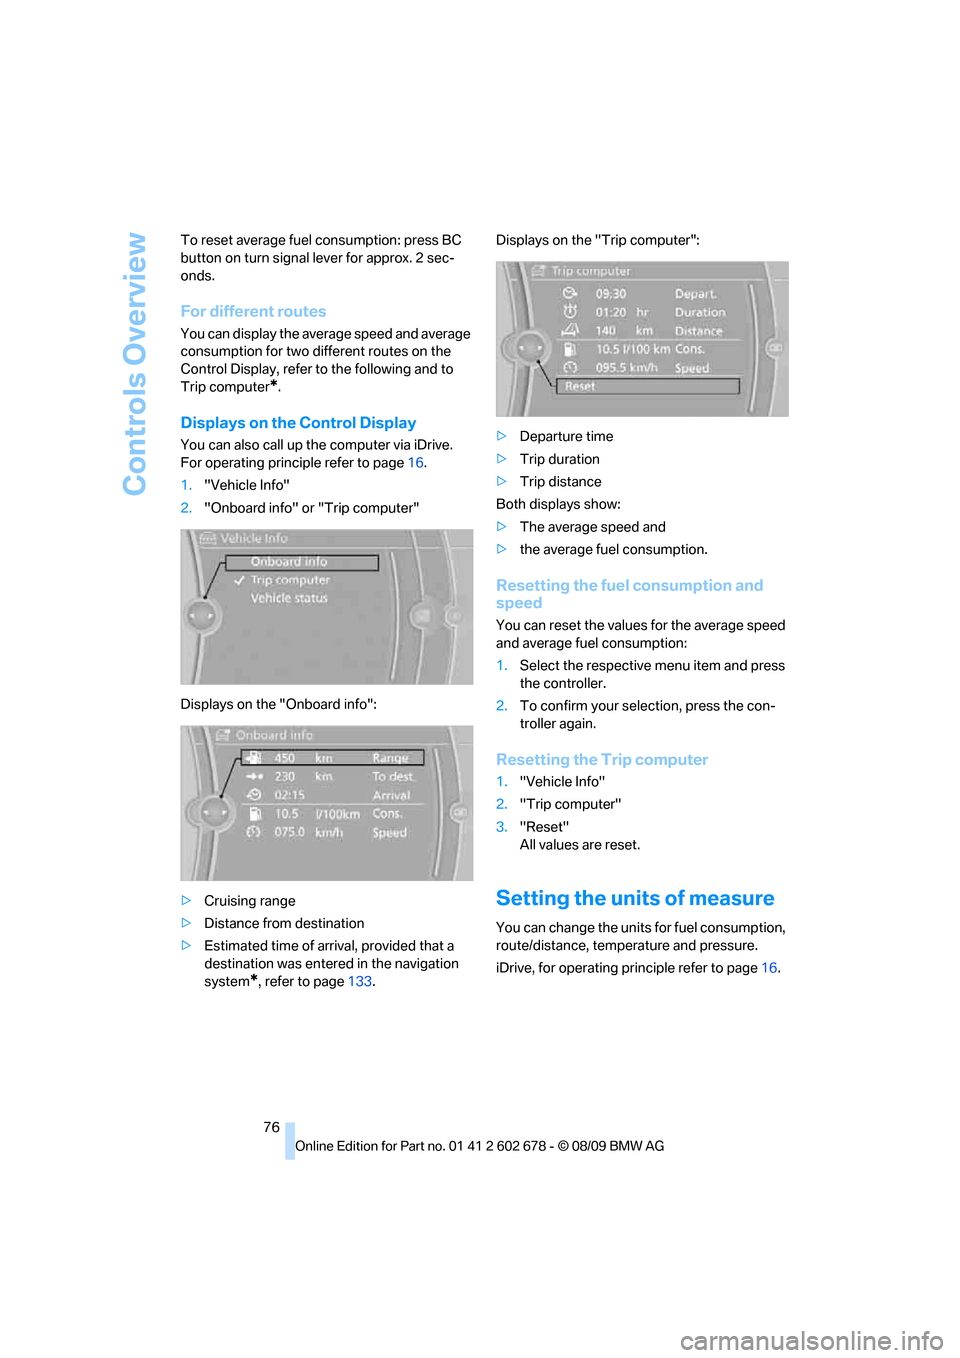
Fuel gauge
Fuel tank capacity: approx. 18.5 US gal/
70 liters, including the reserve capacity of
approx. 2.1 US gal/8 liters.
550i: approx. 2.6 US gal/10 liters reserve
capacity.
You will find information on refueling on
page200.
If the tilt of the vehicle varies for a longer period,
when you are driving in mountainous areas, for
example, the indicator may fluctuate slightly.
Reserve
After the reserve quantity has been reached, a
message briefly appears on the Control Display;
the remaining range is shown in the computer.
Below a range of approx. 30 miles/50 km, the
message remains on the Control Display.
Refuel as soon as possible once your
cruising range falls below 30 miles/50 km, otherwise engine functions are not
ensured and damage can occur.<
Computer
Displays in instrument cluster
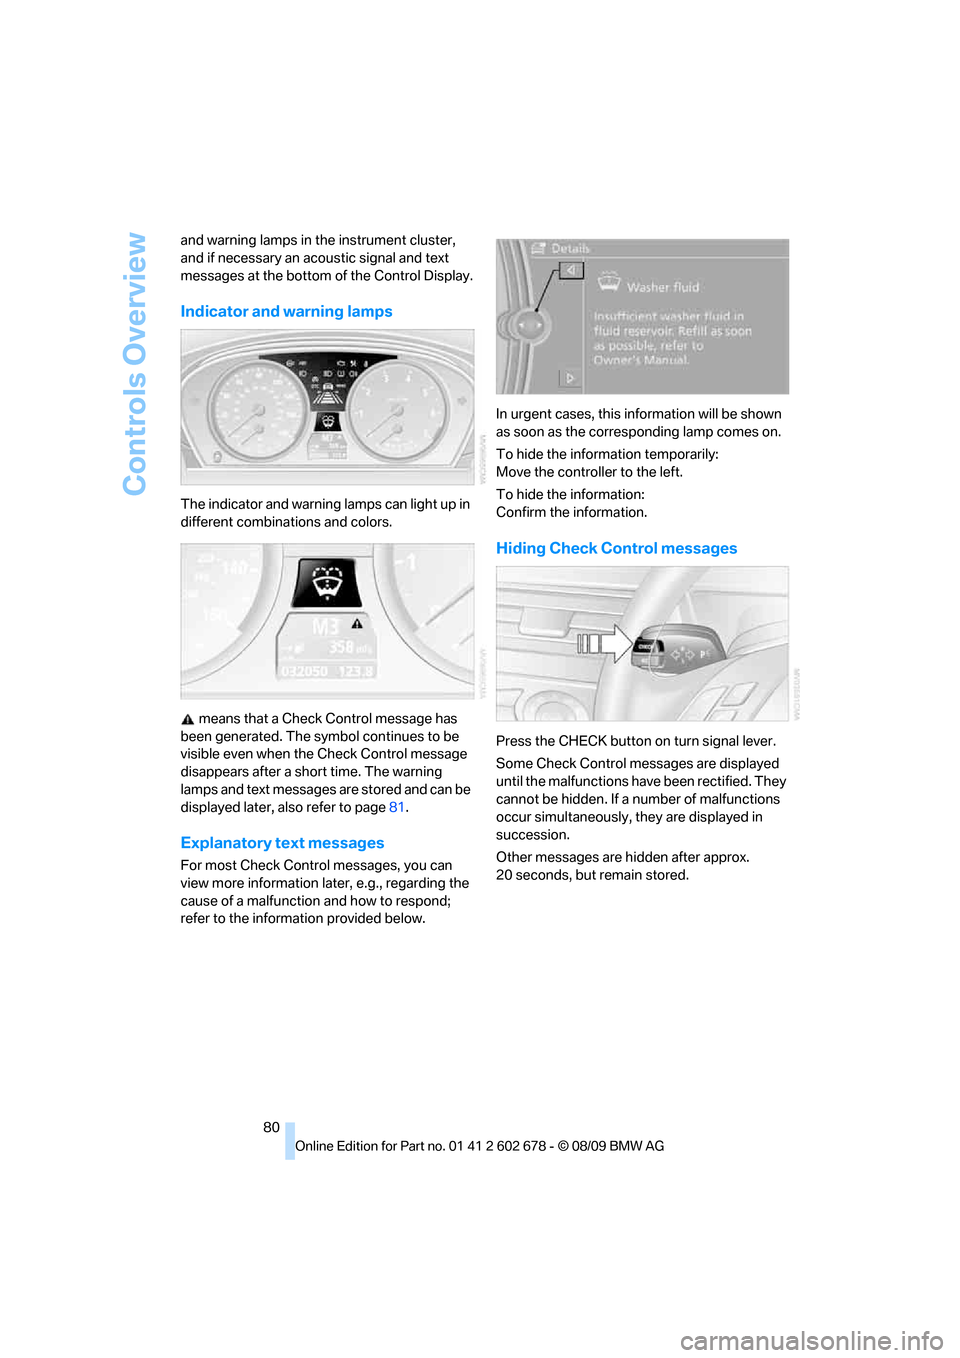
Press the button on the turn signal lever.
The following information is displayed in the
specified order:
>Cruising range
>Average speed
>Average fuel consumption
>No information
Cruising range
Displays the estimated cruising range available
with the remaining fuel. The range is projected
based on the driving style over the last 20 miles/
30 km.
Refuel as soon as possible once your
cruising range falls below 30 miles/
50 km, otherwise engine functions are not
ensured and damage can occur.<
Average speed
Periods with the vehicle parked and the engine
switched off are not included in the calculations
of average speed.
To reset average speed: press BC button on
turn signal lever for approx. 2 seconds.
Average fuel consumption
The average fuel consumption is calculated for
the time during which the engine is running.
Page 78 of 271

Controls Overview
76 To reset average fuel consumption: press BC
button on turn signal lever for approx. 2 sec-
onds.
For different routes
You can display the average speed and average
consumption for two different routes on the
Control Display, refer to the following and to
Trip computer
*.
Displays on the Control Display
You can also call up the computer via iDrive.
For operating principle refer to page16.
1."Vehicle Info"
2."Onboard info" or "Trip computer"
Displays on the "Onboard info":
>Cruising range
>Distance from destination
>Estimated time of arrival, provided that a
destination was entered in the navigation
system
*, refer to page133.Displays on the "Trip computer":
>Departure time
>Trip duration
>Trip distance
Both displays show:
>The average speed and
>the average fuel consumption.
Resetting the fuel consumption and
speed
You can reset the values for the average speed
and average fuel consumption:
1.Select the respective menu item and press
the controller.
2.To confirm your selection, press the con-
troller again.
Resetting the Trip computer
1."Vehicle Info"
2."Trip computer"
3."Reset"
All values are reset.
Setting the units of measure
You can change the units for fuel consumption,
route/distance, temperature and pressure.
iDrive, for operating principle refer to page16.
Page 82 of 271

Controls Overview
80 and warning lamps in the instrument cluster,
and if necessary an acoustic signal and text
messages at the bottom of the Control Display.
Indicator and warning lamps
The indicator and warning lamps can light up in
different combinations and colors.
means that a Check Control message has
been generated. The symbol continues to be
visible even when the Check Control message
disappears after a short time. The warning
lamps and text messages are stored and can be
displayed later, also refer to page81.
Explanatory text messages
For most Check Control messages, you can
view more information later, e.g., regarding the
cause of a malfunction and how to respond;
refer to the information provided below.In urgent cases, this information will be shown
as soon as the corresponding lamp comes on.
To hide the information temporarily:
Move the controller to the left.
To hide the information:
Confirm the information.
Hiding Check Control messages
Press the CHECK button on turn signal lever.
Some Check Control messages are displayed
until the malfunctions have been rectified. They
cannot be hidden. If a number of malfunctions
occur simultaneously, they are displayed in
succession.
Other messages are hidden after approx.
20 seconds, but remain stored.