2010 BMW 528I XDRIVE SEDAN light
[x] Cancel search: lightPage 52 of 271

Adjusting
50
Rear
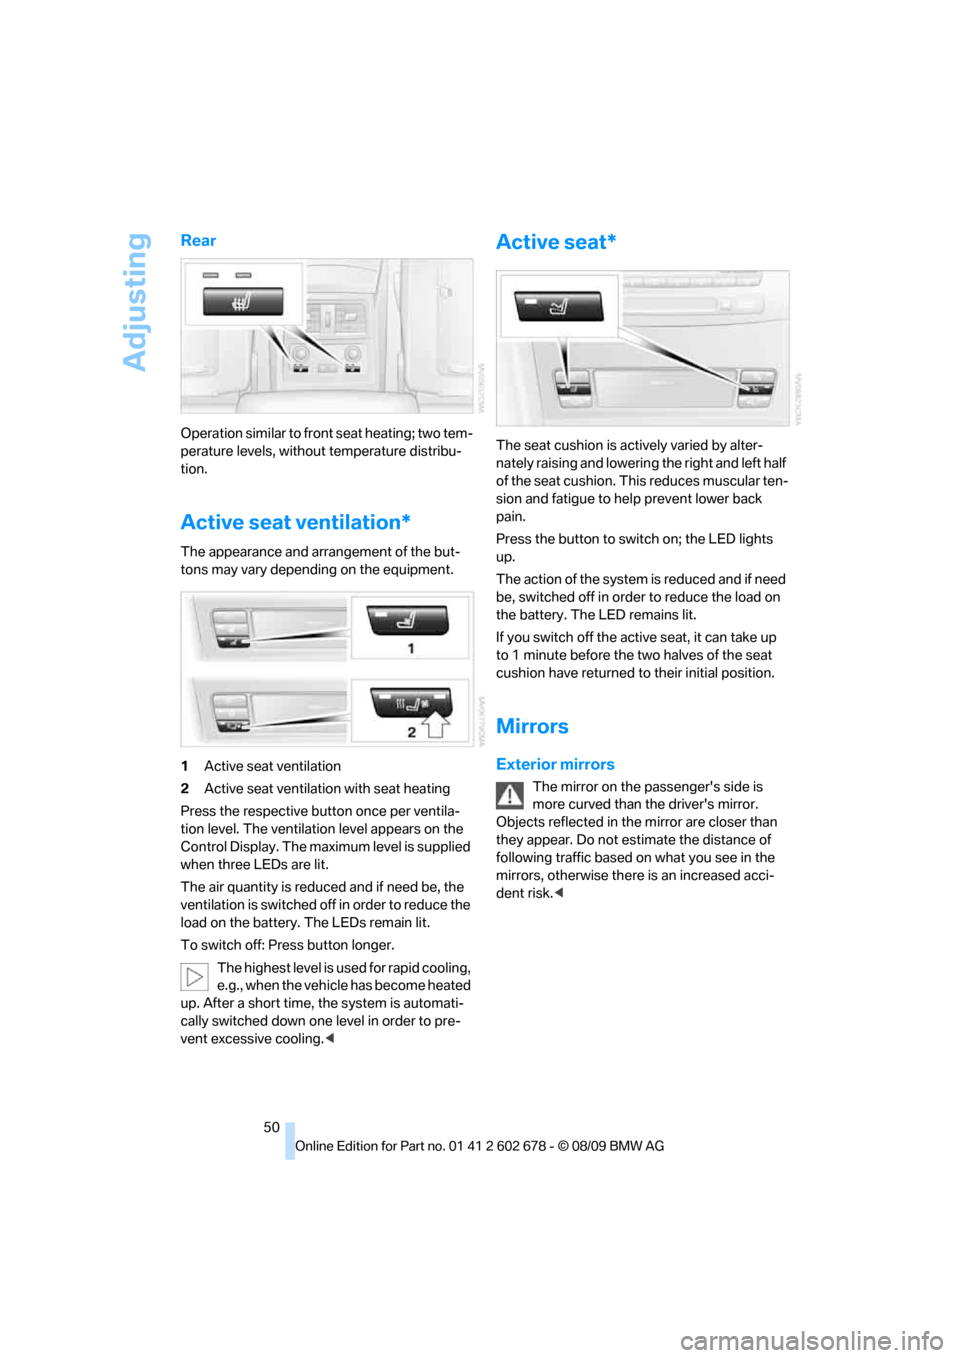
Operation similar to front seat heating; two tem-
perature levels, without temperature distribu-
tion.
Active seat ventilation*
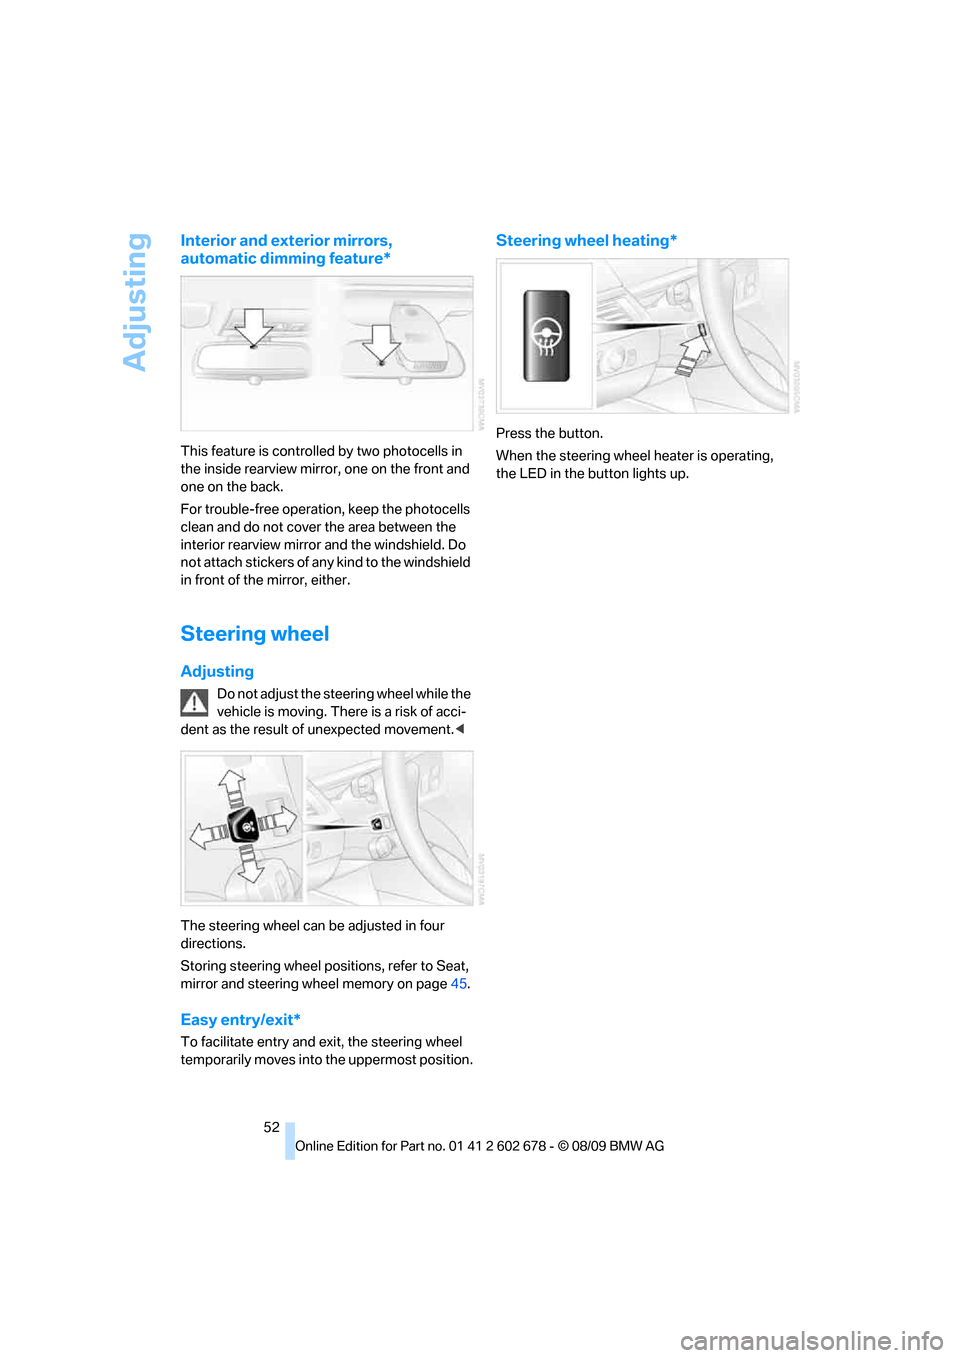
The appearance and arrangement of the but-
tons may vary depending on the equipment.
1Active seat ventilation
2Active seat ventilation with seat heating
Press the respective button once per ventila-
tion level. The ventilation level appears on the
Control Display. The maximum level is supplied
when three LEDs are lit.
The air quantity is reduced and if need be, the
ventilation is switched off in order to reduce the
load on the battery. The LEDs remain lit.
To switch off: Press button longer.
The highest level is used for rapid cooling,
e.g., when the vehicle has become heated
up. After a short time, the system is automati-
cally switched down one level in order to pre-
vent excessive cooling.<
Active seat*
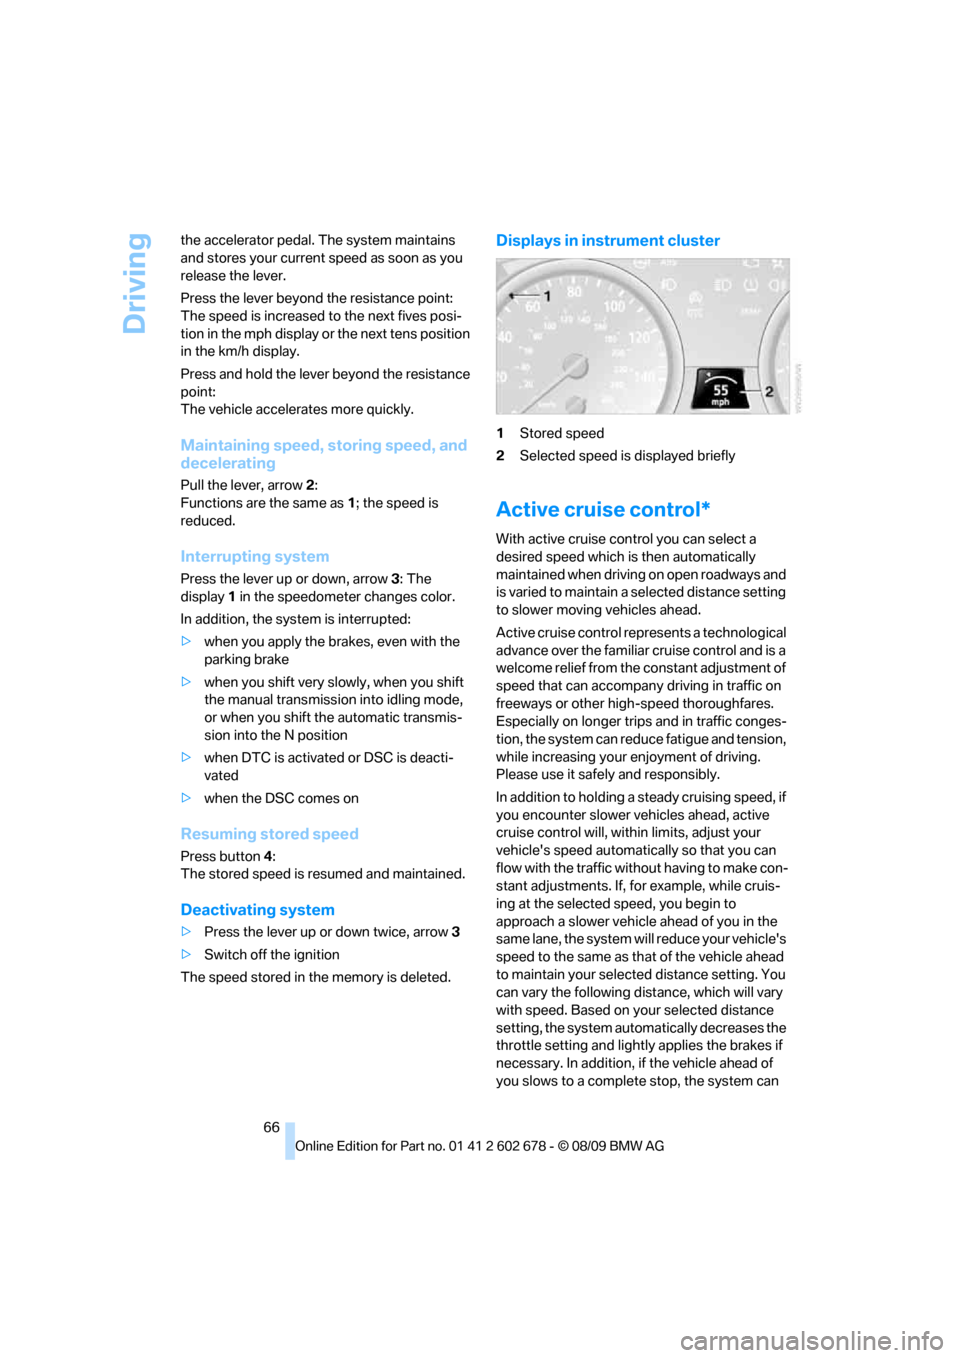
The seat cushion is actively varied by alter-
nately raising and lowering the right and left half
of the seat cushion. This reduces muscular ten-
sion and fatigue to help prevent lower back
pain.
Press the button to switch on; the LED lights
up.
The action of the system is reduced and if need
be, switched off in order to reduce the load on
the battery. The LED remains lit.
If you switch off the active seat, it can take up
to 1 minute before the two halves of the seat
cushion have returned to their initial position.
Mirrors
Exterior mirrors
The mirror on the passenger's side is
more curved than the driver's mirror.
Objects reflected in the mirror are closer than
they appear. Do not estimate the distance of
following traffic based on what you see in the
mirrors, otherwise there is an increased acci-
dent risk.<
Page 54 of 271

Adjusting
52
Interior and exterior mirrors,
automatic dimming feature*
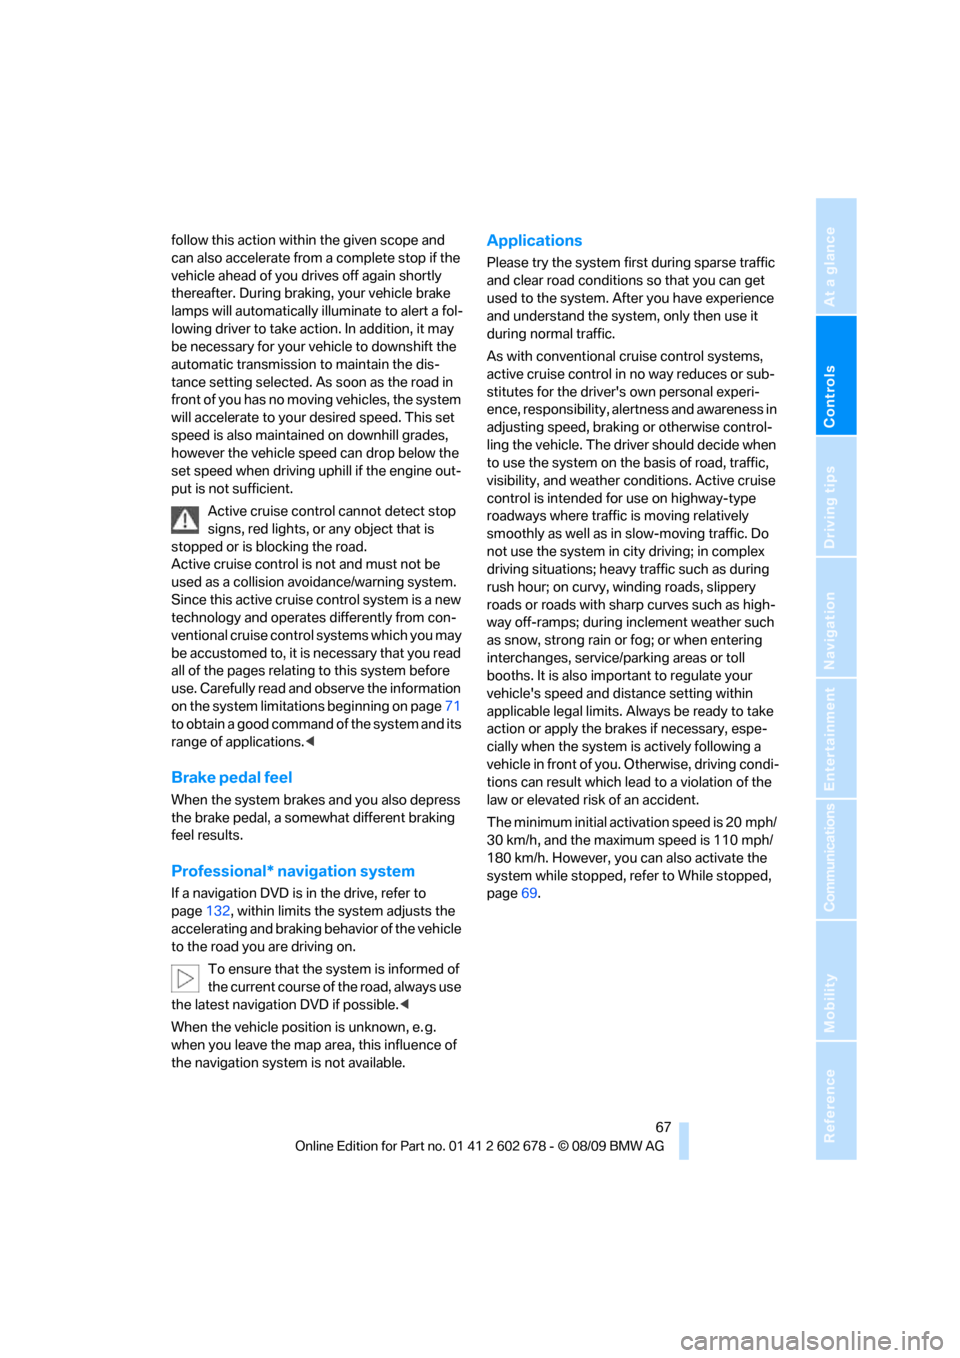
This feature is controlled by two photocells in
the inside rearview mirror, one on the front and
one on the back.
For trouble-free operation, keep the photocells
clean and do not cover the area between the
interior rearview mirror and the windshield. Do
not attach stickers of any kind to the windshield
in front of the mirror, either.
Steering wheel
Adjusting
Do not adjust the steering wheel while the
vehicle is moving. There is a risk of acci-
dent as the result of unexpected movement.<
The steering wheel can be adjusted in four
directions.
Storing steering wheel positions, refer to Seat,
mirror and steering wheel memory on page45.
Easy entry/exit*
To facilitate entry and exit, the steering wheel
temporarily moves into the uppermost position.
Steering wheel heating*
Press the button.
When the steering wheel heater is operating,
the LED in the button lights up.
Page 61 of 271

Controls
59Reference
At a glance
Driving tips
Communications
Navigation
Entertainment
Mobility
4.Switch off the engine.
Transmission position P will be engaged:
>after approx. 30 seconds
>if you remove the remote control from the
ignition lock
Parking brake
The parking brake is primarily intended to pre-
vent the vehicle from rolling while parked; it
brakes the rear wheels.
Indicator lamp
The indicator lamp lights up, and a sig-
nal also sounds when starting off. The
parking brake is applied.
Indicator lamp for Canadian models.
Applying
The lever locks in position automatically.
Releasing
Pull slightly upwards, press the button and
lower the lever.
If exceptional circumstances should
make it necessary to apply the parking
brake while the vehicle is in motion, do not pull it
too firmly. In doing so, continuously press the
button of the parking brake lever. Otherwise,
too firm an application of the parking brake can
lock up the rear wheels and cause the rear of the
car to swerve.<
To prevent corrosion and one-sided brak-
ing action, occasionally apply the parking
brake lightly when the vehicle is slowly coming to a stop if the traffic conditions are suitable.
The brake lamps do not light up when the park-
ing brake is applied.<
Manual transmission
While shifting in the 5th/6th gear lane,
press the gearshift lever toward the right,
otherwise accidental shifting into the 3rd or 4th
gear could result in engine damage.<
Reverse gear
Select only when the vehicle is stationary.
When pressing the gearshift lever to the left,
overcome some resistance.
Automatic transmission with
Steptronic*
In addition to fully automatic operation, you can
also manually shift with the Steptronic, refer to
page61.
Transmission positions
P R N D M/S + –
Page 65 of 271

Controls
63Reference
At a glance
Driving tips
Communications
Navigation
Entertainment
Mobility
>In the automatic mode, the 6th gear is not
engaged.
Activating system
Press the SPORT button.
The LED in the button lights up and SPORT is
displayed in the instrument cluster.
Deactivating system
>Press the SPORT button again
>Engage reverse gear
>Switch off engine
The LED in the button and SPORT in the instru-
ment cluster go out.
Turn signals/
headlamp flasher
1High beams
2Headlamp flasher
3Turn signals
Using turn signals
Press the lever beyond the resistance point.
To turn off manually, press the lever to the
resistance point.Atypically rapid flashing of the indicator
lamp indicates that a turn signal bulb
needs to be replaced.<
Signaling briefly
Press lever to resistance point and hold for as
long as you wish to signal.
Triple turn signal activation
Press the lever to the resistance point; the turn
signal flashes three times.
You can activate or deactivate this function.
iDrive, for operating principle refer to page16.
1."Settings"
2."Lighting"
3."Triple turn signal"
Triple turn signal activation is activated and
is stored for the remote control currently in use.
Wiper system
1Switching on wipers
2Switching off wipers or brief wipe
3Activating/deactivating rain sensor
Page 66 of 271

Driving
64 4Cleaning windshield, headlamps and
BMW Night Vision camera
*
5Adjusting rain sensor sensitivity level
Switching on wipers
Pull the lever upward, arrow1.
The lever automatically returns to its initial posi-
tion when released.
Normal wiper speed
Press once.
The system reverts to operation in the intermit-
tent mode when the vehicle is stationary.
Fast wiper speed
Press twice or press beyond the resistance
point.
The system reverts to normal speed when the
vehicle is stationary.
Rain sensor
The wiper operation is controlled automatically
as a function of the rain intensity. The rain sen-
sor is located on the windshield, directly in front
of the interior rearview mirror.
Activating rain sensor
Press the button, arrow3. The LED in the but-
ton lights up.
Adjusting rain sensor sensitivity level
Turn the thumbwheel5.
Deactivating rain sensor
Press the button again, arrow3. The LED goes
out.Deactivate the rain sensor when passing
through an automatic car wash. Failure to
do so could result in damage caused by undes-
ired wiper operation.<
Cleaning windshield, headlamps* and
BMW Night Vision camera*
Pull the lever, arrow4.
The system sprays washer fluid against the
windshield and activates the wipers for a brief
period.
With the vehicle lighting switched on, the head-
lamps and the BMW Night Vision camera are
also cleaned simultaneously at suitable inter-
vals.
Do not use the washing mechanisms if
there is any danger that the fluid will
freeze on the windshield. If you do so, your
vision could be obscured. To avoid freezing,
use a washer fluid antifreeze, refer to Washer
fluid. Do not use washing mechanisms when
the washer fluid reservoir is empty, otherwise
you will damage the washer pump.<
Windshield washer nozzles
The windshield washer nozzles are heated
when the engine is running or the ignition is
switched on.
Sports Wagon:
Rear window wiper
1Intermittent mode. When reverse gear is
engaged, continuous operation is switched
on automatically
2Cleaning the rear window
Page 68 of 271

Driving
66 the accelerator pedal. The system maintains
and stores your current speed as soon as you
release the lever.
Press the lever beyond the resistance point:
The speed is increased to the next fives posi-
tion in the mph display or the next tens position
in the km/h display.
Press and hold the lever beyond the resistance
point:
The vehicle accelerates more quickly.
Maintaining speed, storing speed, and
decelerating
Pull the lever, arrow2:
Functions are the same as1; the speed is
reduced.
Interrupting system
Press the lever up or down, arrow3: The
display1 in the speedometer changes color.
In addition, the system is interrupted:
>when you apply the brakes, even with the
parking brake
>when you shift very slowly, when you shift
the manual transmission into idling mode,
or when you shift the automatic transmis-
sion into the N position
>when DTC is activated or DSC is deacti-
vated
>when the DSC comes on
Resuming stored speed
Press button4:
The stored speed is resumed and maintained.
Deactivating system
>Press the lever up or down twice, arrow3
>Switch off the ignition
The speed stored in the memory is deleted.
Displays in instrument cluster
1Stored speed
2Selected speed is displayed briefly
Active cruise control*
With active cruise control you can select a
desired speed which is then automatically
maintained when driving on open roadways and
is varied to maintain a selected distance setting
to slower moving vehicles ahead.
Active cruise control represents a technological
advance over the familiar cruise control and is a
welcome relief from the constant adjustment of
speed that can accompany driving in traffic on
freeways or other high-speed thoroughfares.
Especially on longer trips and in traffic conges-
tion, the system can reduce fatigue and tension,
while increasing your enjoyment of driving.
Please use it safely and responsibly.
In addition to holding a steady cruising speed, if
you encounter slower vehicles ahead, active
cruise control will, within limits, adjust your
vehicle's speed automatically so that you can
flow with the traffic without having to make con-
stant adjustments. If, for example, while cruis-
ing at the selected speed, you begin to
approach a slower vehicle ahead of you in the
same lane, the system will reduce your vehicle's
speed to the same as that of the vehicle ahead
to maintain your selected distance setting. You
can vary the following distance, which will vary
with speed. Based on your selected distance
setting, the system automatically decreases the
throttle setting and lightly applies the brakes if
necessary. In addition, if the vehicle ahead of
you slows to a complete stop, the system can
Page 69 of 271

Controls
67Reference
At a glance
Driving tips
Communications
Navigation
Entertainment
Mobility
follow this action within the given scope and
can also accelerate from a complete stop if the
vehicle ahead of you drives off again shortly
thereafter. During braking, your vehicle brake
lamps will automatically illuminate to alert a fol-
lowing driver to take action. In addition, it may
be necessary for your vehicle to downshift the
automatic transmission to maintain the dis-
tance setting selected. As soon as the road in
front of you has no moving vehicles, the system
will accelerate to your desired speed. This set
speed is also maintained on downhill grades,
however the vehicle speed can drop below the
set speed when driving uphill if the engine out-
put is not sufficient.
Active cruise control cannot detect stop
signs, red lights, or any object that is
stopped or is blocking the road.
Active cruise control is not and must not be
used as a collision avoidance/warning system.
Since this active cruise control system is a new
technology and operates differently from con-
ventional cruise control systems which you may
be accustomed to, it is necessary that you read
all of the pages relating to this system before
use. Carefully read and observe the information
on the system limitations beginning on page71
to obtain a good command of the system and its
range of applications.<
Brake pedal feel
When the system brakes and you also depress
the brake pedal, a somewhat different braking
feel results.
Professional* navigation system
If a navigation DVD is in the drive, refer to
page132, within limits the system adjusts the
accelerating and braking behavior of the vehicle
to the road you are driving on.
To ensure that the system is informed of
the current course of the road, always use
the latest navigation DVD if possible.<
When the vehicle position is unknown, e. g.
when you leave the map area, this influence of
the navigation system is not available.
Applications
Please try the system first during sparse traffic
and clear road conditions so that you can get
used to the system. After you have experience
and understand the system, only then use it
during normal traffic.
As with conventional cruise control systems,
active cruise control in no way reduces or sub-
stitutes for the driver's own personal experi-
ence, responsibility, alertness and awareness in
adjusting speed, braking or otherwise control-
ling the vehicle. The driver should decide when
to use the system on the basis of road, traffic,
visibility, and weather conditions. Active cruise
control is intended for use on highway-type
roadways where traffic is moving relatively
smoothly as well as in slow-moving traffic. Do
not use the system in city driving; in complex
driving situations; heavy traffic such as during
rush hour; on curvy, winding roads, slippery
roads or roads with sharp curves such as high-
way off-ramps; during inclement weather such
as snow, strong rain or fog; or when entering
interchanges, service/parking areas or toll
booths. It is also important to regulate your
vehicle's speed and distance setting within
applicable legal limits. Always be ready to take
action or apply the brakes if necessary, espe-
cially when the system is actively following a
vehicle in front of you. Otherwise, driving condi-
tions can result which lead to a violation of the
law or elevated risk of an accident.
The minimum initial activation speed is 20 mph/
30 km/h, and the maximum speed is 110 mph/
180 km/h. However, you can also activate the
system while stopped, refer to While stopped,
page69.
Page 72 of 271

Driving
70
Displays in instrument cluster
1Stored desired speed
>Green: the system is active.
>Orange: the system is interrupted.
2Lights up yellow: vehicle detected ahead
Display also used for warnings, please read
all information on warnings
3Selected distance to vehicle ahead
The indicator lights up as soon as the sys-
tem is activated
The bars roll: the vehicle in front of you has
driven off
4Brief display of stored desired speed
If the display --- mph/--- km/h appears
briefly, the conditions necessary for oper-
ation may currently not be met.<
Warning lamps
The indicator2 continuously
flashes yellow.
The prerequisites for operating the
system are no longer met as a
result of ABS or DSC interven-
tions. The system brakes until you actively take
over.
The indicator2 flashes red; a sig-
nal sounds.
The system indicates that you
must brake and/or maneuver the
vehicle yourself. The system can-
not automatically restore the distance to the
vehicle driving ahead.
However, this display cannot relieve the driver of the responsibility for adjusting the desired
speed and driving style to the traffic conditions.
Radar sensors
1Long-range sensor
2Location of the short-range sensors behind
the bumper
3Location of the short-range sensors behind
the bumper with the M Sport Package
*
Heavy rain and also dirt, snow or ice can limit
the detection of vehicles ahead. If needed,
clean the radar sensor under the front bumper
as well as the bumper area covering the short
range sensors. When doing so, be particularly
careful in removing layers of snow and ice.
Do not apply adhesive labels, etc., in the area of
the short-range sensors.
If the sensor is not aligned properly, e. g. due to
damage, the active cruise control cannot be
activated.
Malfunction
The system cannot be activated if the sensor is
incorrectly aligned.
A message is displayed if the system fails.
For US owners only
The transmitter and receiver units comply with
part 15 of the FCC/Federal Communication
Commission regulations. Operation is gov-
erned by the following:
FCC ID:
>’’NF3 ACC2SCU 003YK04001 0000
>BV8SRS24
Compliance statement:
This device complies with part 15 of the FCC