2010 BMW 528I SEDAN navigation
[x] Cancel search: navigationPage 83 of 271
Controls
81Reference
At a glance
Driving tips
Communications
Navigation
Entertainment
Mobility
Displaying stored Check Control
messages
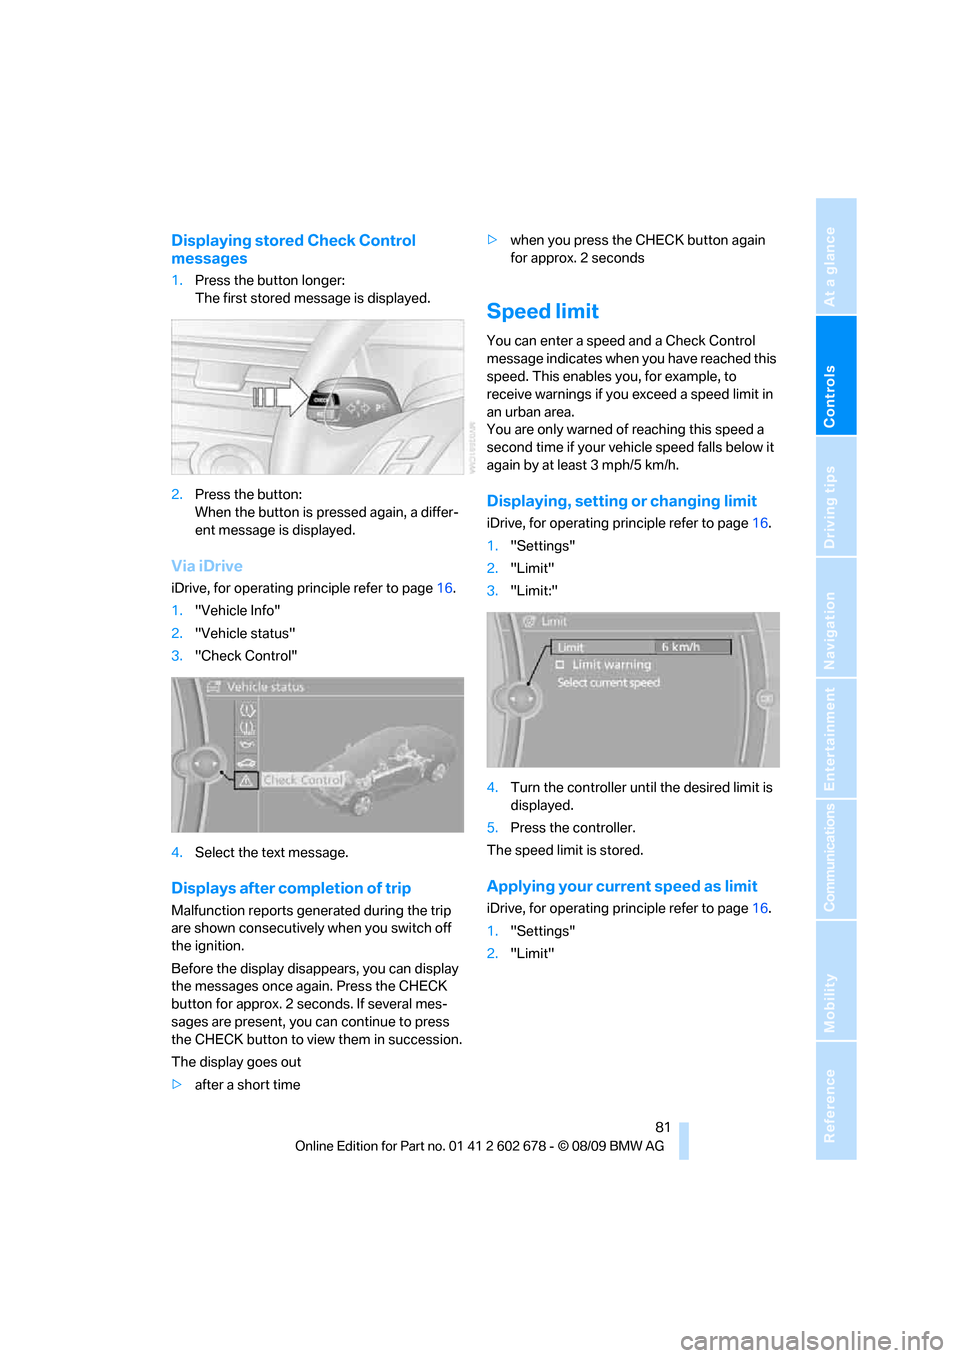
1.Press the button longer:
The first stored message is displayed.
2.Press the button:
When the button is pressed again, a differ-
ent message is displayed.
Via iDrive
iDrive, for operating principle refer to page16.
1."Vehicle Info"
2."Vehicle status"
3."Check Control"
4.Select the text message.
Displays after completion of trip
Malfunction reports generated during the trip
are shown consecutively when you switch off
the ignition.
Before the display disappears, you can display
the messages once again. Press the CHECK
button for approx. 2 seconds. If several mes-
sages are present, you can continue to press
the CHECK button to view them in succession.
The display goes out
>after a short time>when you press the CHECK button again
for approx. 2 seconds
Speed limit
You can enter a speed and a Check Control
message indicates when you have reached this
speed. This enables you, for example, to
receive warnings if you exceed a speed limit in
an urban area.
You are only warned of reaching this speed a
second time if your vehicle speed falls below it
again by at least 3 mph/5 km/h.
Displaying, setting or changing limit
iDrive, for operating principle refer to page16.
1."Settings"
2."Limit"
3."Limit:"
4.Turn the controller until the desired limit is
displayed.
5.Press the controller.
The speed limit is stored.
Applying your current speed as limit
iDrive, for operating principle refer to page16.
1."Settings"
2."Limit"
Page 85 of 271
Controls
83Reference
At a glance
Driving tips
Communications
Navigation
Entertainment
Mobility
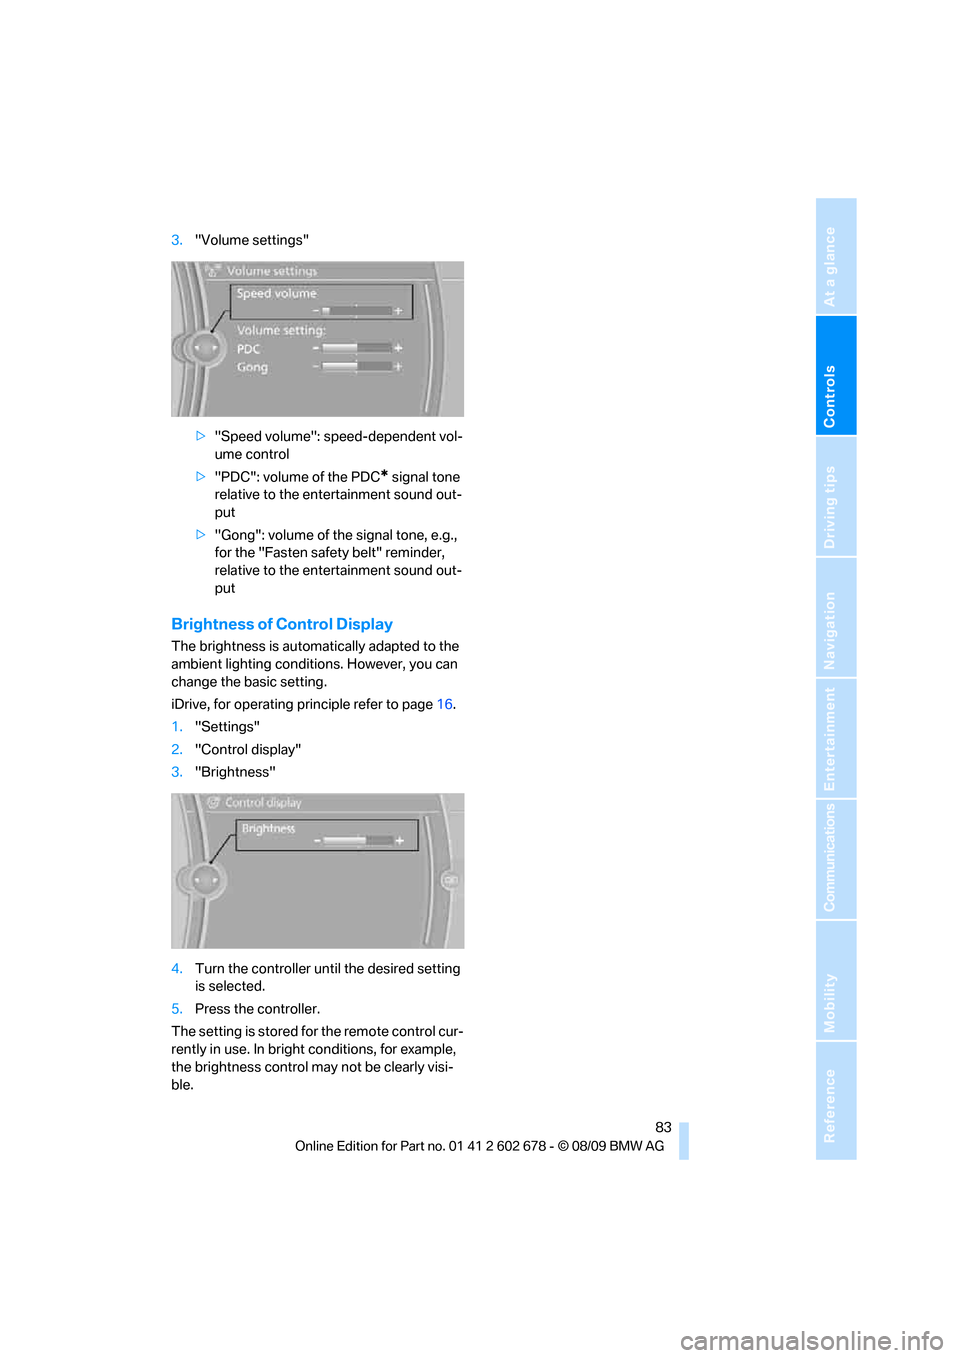
3."Volume settings"
>"Speed volume": speed-dependent vol-
ume control
>"PDC": volume of the PDC
* signal tone
relative to the entertainment sound out-
put
>"Gong": volume of the signal tone, e.g.,
for the "Fasten safety belt" reminder,
relative to the entertainment sound out-
put
Brightness of Control Display
The brightness is automatically adapted to the
ambient lighting conditions. However, you can
change the basic setting.
iDrive, for operating principle refer to page16.
1."Settings"
2."Control display"
3."Brightness"
4.Turn the controller until the desired setting
is selected.
5.Press the controller.
The setting is stored for the remote control cur-
rently in use. In bright conditions, for example,
the brightness control may not be clearly visi-
ble.
Page 87 of 271

Controls
85Reference
At a glance
Driving tips
Communications
Navigation
Entertainment
Mobility
System limits
Even with PDC, final responsibility for
estimating the distance between the
vehicle and any obstructions always remains
with the driver. Even when sensors are pro-
vided, there is a blind spot in which objects can
no longer be detected. The system is also sub-
ject to the physical limits that apply to all forms
of ultrasonic measurement, such as those
encountered with tow bars and trailer cou-
plings, or thin and wedge-shaped objects, etc.
Low objects already displayed, e. g. curbs, can
also disappear from the detection area of the
sensors again before or after a continuous tone
already sounds. Higher, protruding objects,
e.g., ledges, cannot be detected. For this rea-
son, drive with care; otherwise, there is a danger
of personal injury or property damage.
Loud sources of sound, inside and outside the
vehicle, could drown out the PDC signal tone.<
Driving stability control
systems
Your BMW is equipped with an extended array
of systems designed to enhance and maintain
vehicle stability under extreme conditions.
Antilock Brake System ABS
ABS prevents locking of the wheels during
braking. Safe steering response is maintained
even during full braking. Active safety is thus
increased.
The ABS is operational every time you start the
engine. Braking safely refer to page126.
CBC Cornering Brake Control
When braking during curves or when braking
during a lane change, driving stability and steer-
ing response are improved further.
Electronic brake-force distribution
The system controls the brake pressure in the
rear wheels to ensure stable braking behavior.
Brake assistant
When you apply the brakes rapidly, this system
produces maximum braking force boosting and
thus helps to achieve the shortest possible
braking distance during full braking maneuvers.
This system exploits all of the benefits provided
by ABS.
Do not reduce the pressure on the brake for the
duration of the full brake application.
Adaptive brake assistant*
In conjunction with the active cruise control
with the stop-and-go function, the adaptive
brake assistant ensures that the brake
responds even more quickly during braking
with the brake assistant.
DSC Dynamic Stability Control
DSC prevents traction loss in the driving wheels
when starting off and accelerating. The system
also identifies unstable driving conditions, such
as a loss of traction at the rear of the vehicle or
sliding of the vehicle in its front wheels. In these
cases, DSC helps the vehicle maintain a safe
course within physical limits by reducing engine
output and through braking actions in the indi-
vidual wheels.
The laws of physics cannot be repealed,
even with DSC. An appropriate driving
style always remains the responsibility of the
driver. Therefore, do not restrict the additional
safety margin with a risky driving style, as other-
wise there is a risk of an accident.<
Deactivating DSC
Press the button until the DSC indicator lamp in
the instrument cluster lights up, but not longer
Page 89 of 271
Controls
87Reference
At a glance
Driving tips
Communications
Navigation
Entertainment
Mobility
down steep hills with a speed below approx.
22 mph/35 km/h, the vehicle reduces speed
automatically down to approximately twice nor-
mal walking speed, approx. 7 mph/12 km/h, and
then keeps this speed constant.
You can use the accelerator or brakes to vary
this automatically controlled speed within a
range extending from approx. 3 mph/5 km/h to
15 mph/25 km/h.
You can specify a target speed within the same
range by using the lever of the cruise control
*.
Activating HDC
Use the button on the steering wheel.
Deactivating HDC
Use the button on the steering wheel; the HDC
display goes out.
HDC is automatically deactivated at speeds
greater than approximately 37 mph/60 km/h.
Using HDC
Manual transmission:
Use HDC in low gears and reverse gear.
Automatic transmission:
You can use HDC in every drive position.
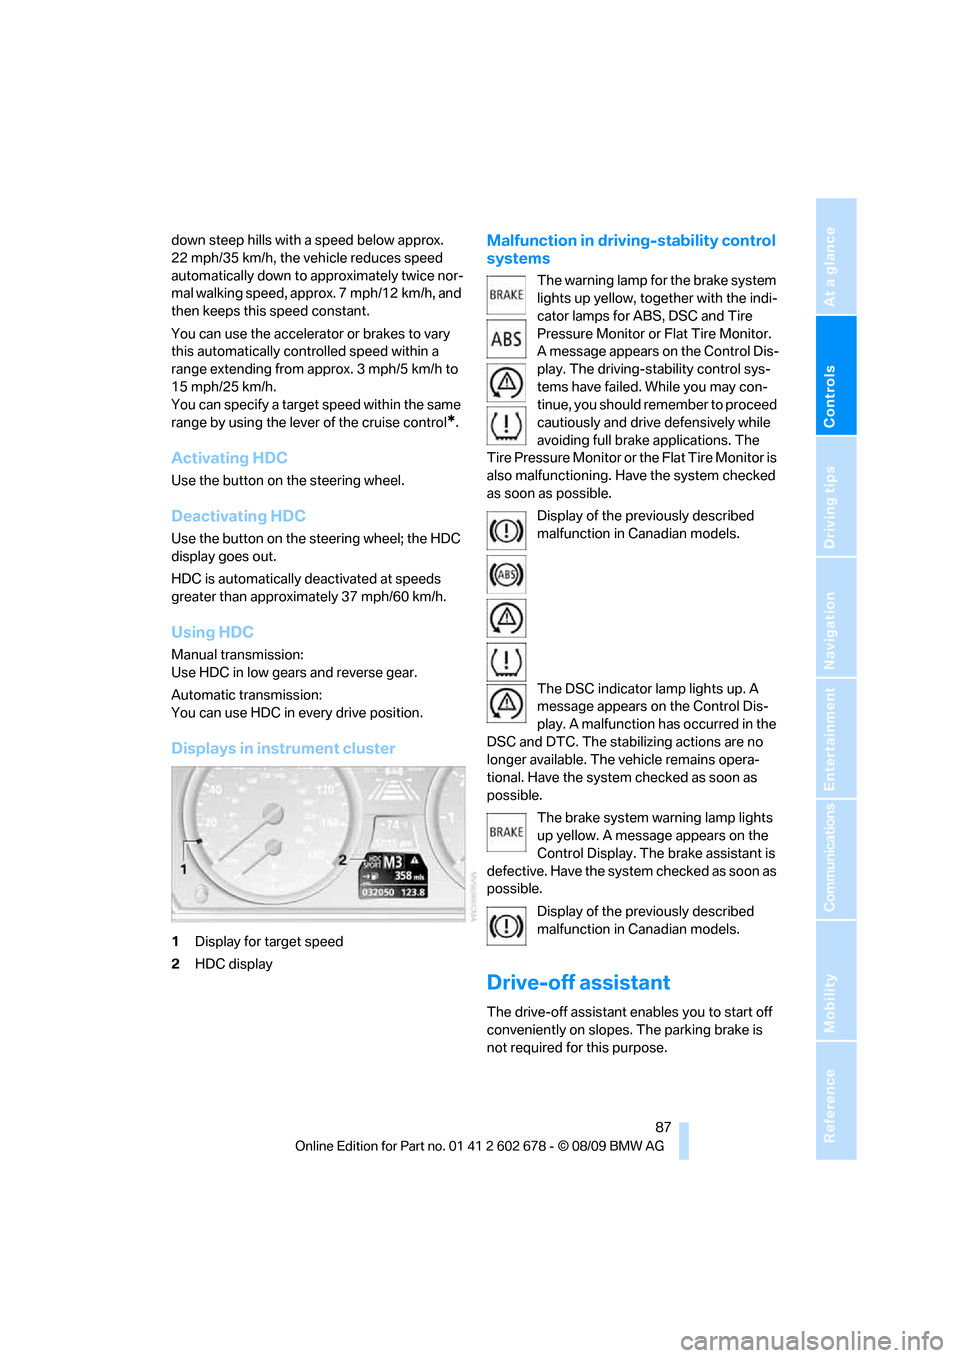
Displays in instrument cluster
1Display for target speed
2HDC display
Malfunction in driving-stability control
systems
The warning lamp for the brake system
lights up yellow, together with the indi-
cator lamps for ABS, DSC and Tire
Pressure Monitor or Flat Tire Monitor.
A message appears on the Control Dis-
play. The driving-stability control sys-
tems have failed. While you may con-
tinue, you should remember to proceed
cautiously and drive defensively while
avoiding full brake applications. The
Tire Pressure Monitor or the Flat Tire Monitor is
also malfunctioning. Have the system checked
as soon as possible.
Display of the previously described
malfunction in Canadian models.
The DSC indicator lamp lights up. A
message appears on the Control Dis-
play. A malfunction has occurred in the
DSC and DTC. The stabilizing actions are no
longer available. The vehicle remains opera-
tional. Have the system checked as soon as
possible.
The brake system warning lamp lights
up yellow. A message appears on the
Control Display. The brake assistant is
defective. Have the system checked as soon as
possible.
Display of the previously described
malfunction in Canadian models.
Drive-off assistant
The drive-off assistant enables you to start off
conveniently on slopes. The parking brake is
not required for this purpose.
Page 91 of 271

Controls
89Reference
At a glance
Driving tips
Communications
Navigation
Entertainment
Mobility
Initializing system
The initialization finishes during driving,
which can be interrupted at any time.
When driving resumes, the initialization is con-
tinued automatically. The system is initialized
after this activation phase.
The initialization process adopts the set infla-
tion tire pressures as reference values for the
detection of a flat tire. Initialization is started by
confirming the inflation pressures.<
iDrive, for operating principle refer to page16:
1."Vehicle Info"
2."Vehicle status"
3."Reset"
4.Start the engine - do not drive away.
5.Start the initialization using "Reset".
"Activating…" is displayed on the Control
Display.
6.Start to drive.
The initialization finishes during driving, which
can be interrupted at any time. "Flat Tire Moni-
tor active" is displayed on the Control Display.
Indication of a flat tire
The warning lamp lights up red. A mes-
sage appears on the Control Display.
In addition, an acoustic signal sounds.
There is a flat tire or extensive inflation pressure
loss.
1.Reduce speed and stop the vehicle care-
fully. Avoid sudden braking and steering
maneuvers.
2.Identify damaged tire.
If identification is not possible, con-
tact a BMW center.<3.Replace the damaged wheel, refer to
Changing wheels on page226.
Run-flat tires*
1.Cautiously reduce speed to below 50 mph/
80 km/h. Avoid severe braking and steering
maneuvers and do not exceed a speed of
50 mph/80 km/h.
If the vehicle is not equipped with run-
flat tires, refer to page208, do not
continue driving. Continuing to drive with a
flat tire could cause severe accidents.<
2.At the next opportunity, check the air pres-
sure in all four tires.
If the tire inflation pressure in all four
tires is correct, the Flat Tire Monitor
may not have been initialized. The system
must then be initialized.<
3.In the event of complete tire pressure loss,
0 psi/0 kPa, you can estimate the possible
distance for continued driving on the basis
of the following guide values:
>With a light load:
1 to 2 persons without luggage:
approx. 155 miles/250 km
>With a medium load:
2 persons, cargo bay full, or
4 persons without luggage:
approx. 94 miles/150 km
>With a full load:
4 or more persons, cargo bay full:
approx. 30 miles/50 km
Drive cautiously and do not exceed
50 mph/80 km/h or else you run the risk of
causing an accident. In the event of pressure
loss, vehicle handling changes. This includes
reduced tracking stability in braking, extended
braking distance and altered natural steering
characteristics.
If unusual vibrations or loud noises occur while
the vehicle is being driven, this can indicate final
failure of the damaged tire. Reduce speed and
stop at a suitable location as soon as possible,
otherwise pieces of the tire could become
detached and cause an accident. Do not con-
Page 93 of 271

Controls
91Reference
At a glance
Driving tips
Communications
Navigation
Entertainment
Mobility
Resetting finishes during driving, which can be
interrupted at any time. When driving resumes,
resetting is continued automatically. Do not
reset the system when driving with a compact
wheel
*.
iDrive, for operating principle refer to page16.
1.Press the button.
This opens the main menu.
2."Vehicle Info"
3."Vehicle status"
4."Reset TPM"
5.Start the engine, but do not start driving.
6."Reset"
7."Yes"
Start to drive.
The tires are shown in gray and "Resetting
TPM..." is displayed.
8.After a few minutes of driving, the set tire
inflation pressures in the tires are applied as
the set values to be monitored. The system
reset is completed during your drive, and
can be interrupted at any time. When driving
resumes, resetting is continued automati-
cally. On the Control Display, the tires are
shown in green and "Status: TPM active" is
displayed again.
If a flat tire is detected during resetting
and applying the tire inflation pressures,
all tires are shown in yellow on the Control Dis-
play. The message "Tire low!" is shown.<
Notification of low tire inflation
pressure
The warning lamp lights up yellow. A
message appears on the Control Dis-
play. In addition, an acoustic signal sounds. There is a flat tire or extensive inflation
pressure loss.
1.Reduce speed and stop the vehicle care-
fully. Avoid sudden braking and steering
maneuvers.
2.Check whether your vehicle is equipped
with standard tires or run-flat tires.
You will recognize run-flat tires by a
circular symbol containing the letters
RSC on the side of the tire, refer to
page208.<
Standard tires
1.If all four wheels are shown in yellow, iden-
tify the damaged tire on the vehicle.
2.Replace the damaged wheel or wheels,
refer to Changing wheels on page226.
In contrast to a compact wheel, a spare wheel is
equipped with the necessary TPM electronics
and also monitored after mounting and after
resetting the system.
Have the tire replaced by a BMW center or a
workshop informed on handling TPM which
works according to BMW repair procedures
with correspondingly trained personnel.
Run-flat tires*
1.Cautiously reduce speed to below 50 mph/
80 km/h. Avoid severe braking and steering
maneuvers and do not exceed a speed of
50 mph/80 km/h.
If the vehicle is not equipped with run-
flat tires, refer to page208, do not
continue driving. Continuing to drive with a
flat tire could cause severe accidents.<
2.In the event of complete tire pressure loss,
0 psi/0 kPa, you can estimate the possible
distance for continued driving on the basis
of the following guide values:
>With a light load:
1 to 2 persons without luggage:
approx. 155 miles/250 km
>With a medium load:
2 persons, cargo bay full, or
Page 95 of 271
Controls
93Reference
At a glance
Driving tips
Communications
Navigation
Entertainment
Mobility
When you are driving in the low speed range,
e. g. in a town or when parking, the steering
angle increases, i.e., the steering becomes very
direct. In the higher speed range, on the other
hand, the steering angle is reduced more and
more. This improves the handling capability of
your BMW over the entire speed range.
In critical situations, the system can make tar-
geted corrections to the steering angle pro-
vided by the driver and thus stabilize the vehicle
before the driver intervenes. This stabilizing
intervention is simultaneously deactivated
when DSC is switched off, refer to page85.
Malfunction
The warning lamp lights up yellow and
a message is shown on the Control Dis-
play. Active steering is malfunctioning
or is temporarily deactivated. At low speeds,
greater steering wheel movements are
required, whereas at higher speeds, the vehicle
reacts more sensitively to steering wheel move-
ments. The stability-promoting intervention
can also be deactivated. Proceed cautiously
and drive defensively.
Deactivation
Active steering is deactivated to perform an ini-
tialization. A message indicates that the feature
is deactivated. Initialization may take several
minutes.
If the message does not go out during the cur-
rent trip, have the system checked.
Defect
A text message appears if there is a defect.
Have the system checked.
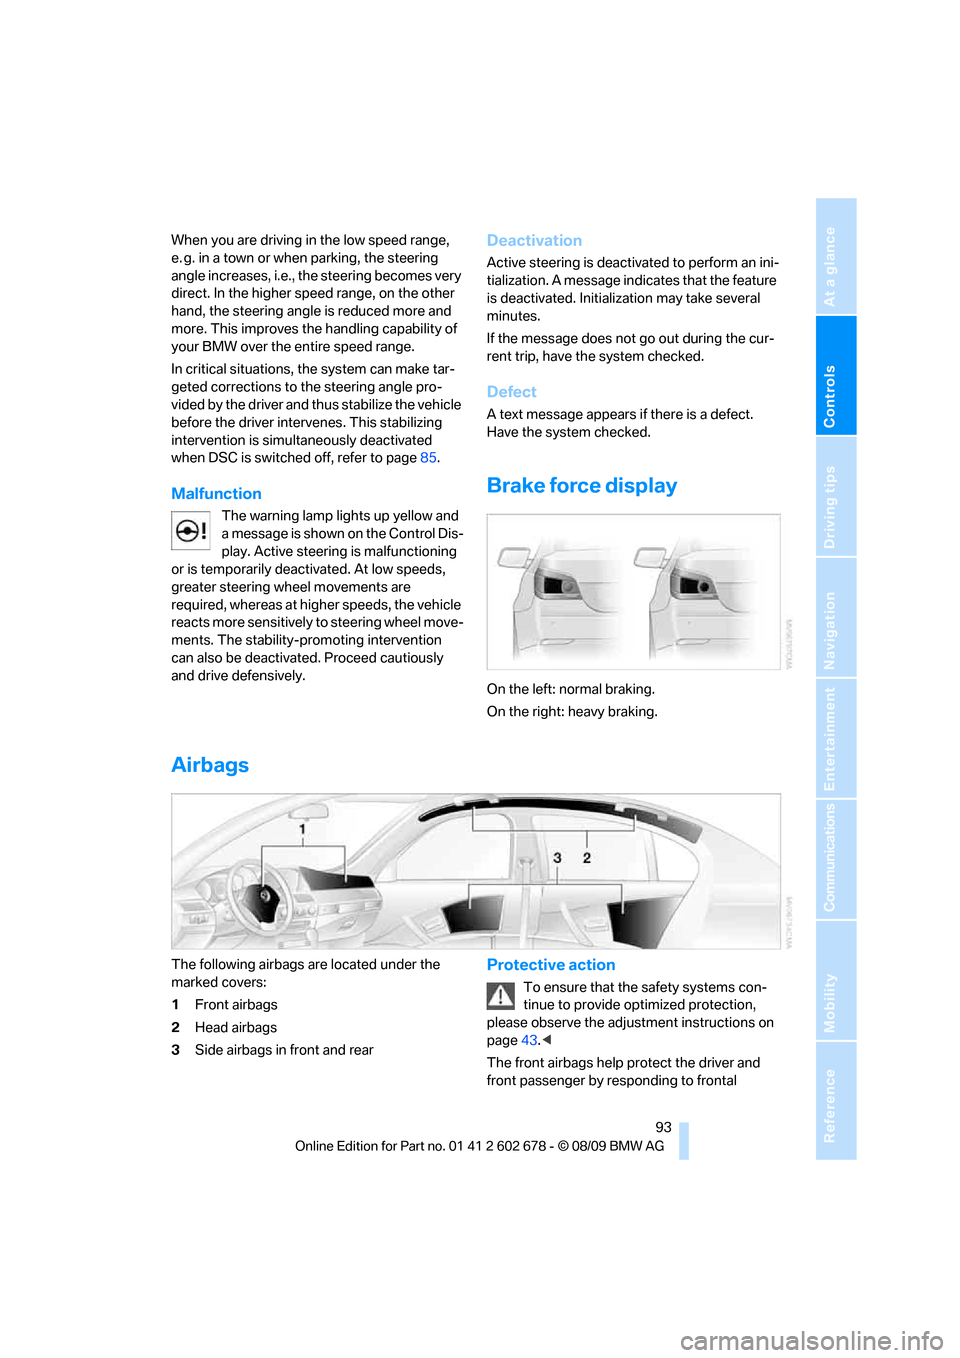
Brake force display
On the left: normal braking.
On the right: heavy braking.
Airbags
The following airbags are located under the
marked covers:
1Front airbags
2Head airbags
3Side airbags in front and rearProtective action
To ensure that the safety systems con-
tinue to provide optimized protection,
please observe the adjustment instructions on
page43.<
The front airbags help protect the driver and
front passenger by responding to frontal
Page 97 of 271
Controls
95Reference
At a glance
Driving tips
Communications
Navigation
Entertainment
Mobility
purpose is properly detected on the seat.
The front and side airbags on the front pas-
senger side are not activated.
Most child seats are detected by the sys-
tem, especially the child seats required by
the NHTSA at the time the vehicle is manufac-
tured. After installing a child seat, make sure
that the indicator lamp for the front passenger
airbags lights up. This indicates that the child
seat has been detected and the front passenger
airbags are not activated.<
>The indicator lamp does not light up if, for
example, the system detects a person of
sufficient size seated correctly on the seat.
The front and side airbags on the front pas-
senger side are activated.
>The indicator lamp does not light up when
the seat is empty.
However, the front and side airbags on the
front passenger side are not activated.
Operational readiness of airbag system
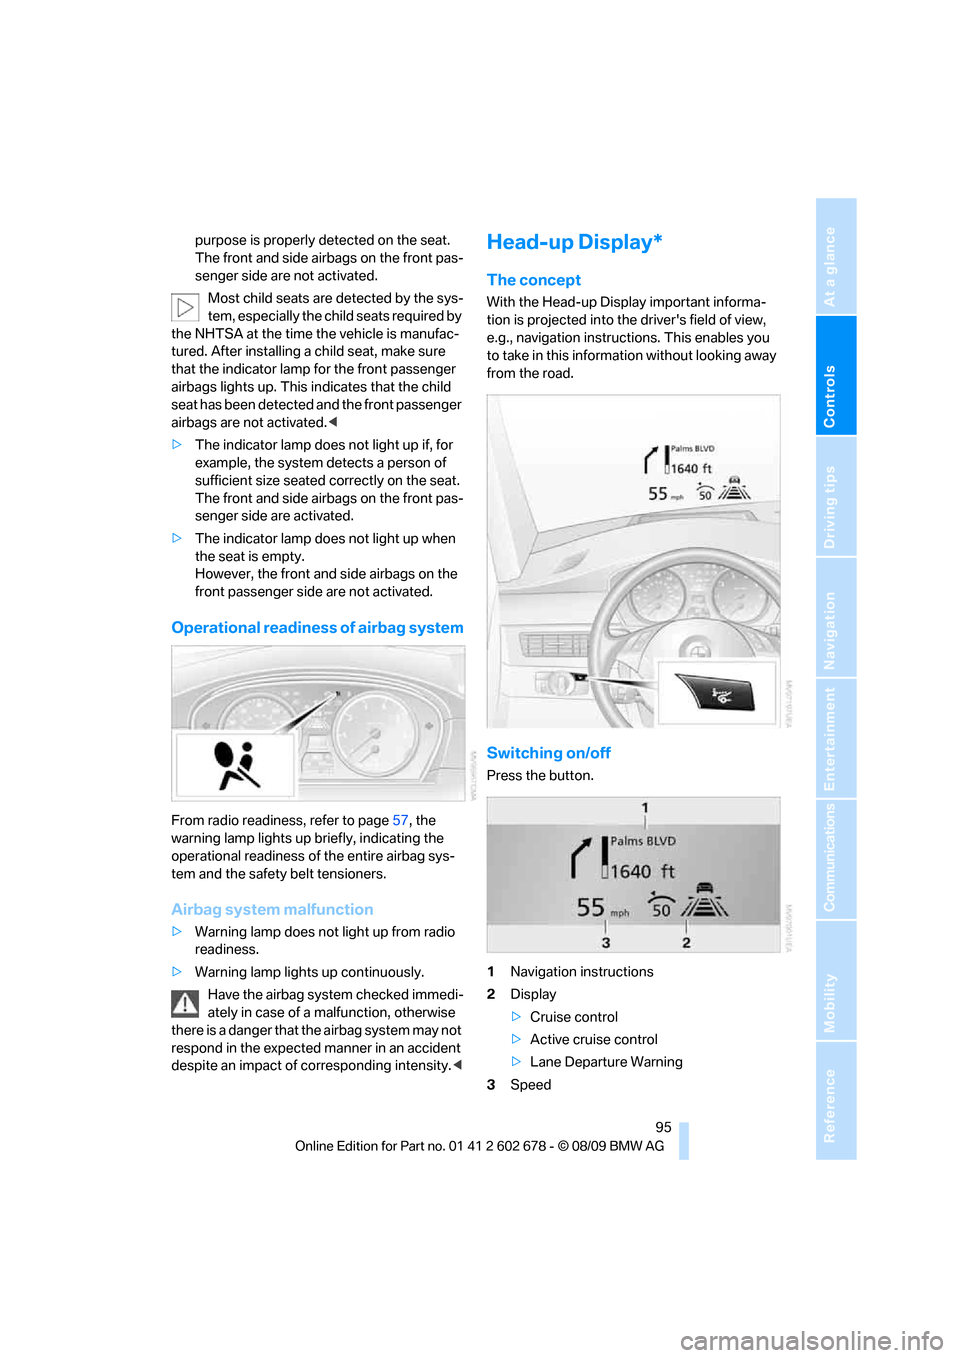
From radio readiness, refer to page57, the
warning lamp lights up briefly, indicating the
operational readiness of the entire airbag sys-
tem and the safety belt tensioners.
Airbag system malfunction
>Warning lamp does not light up from radio
readiness.
>Warning lamp lights up continuously.
Have the airbag system checked immedi-
ately in case of a malfunction, otherwise
there is a danger that the airbag system may not
respond in the expected manner in an accident
despite an impact of corresponding intensity.<
Head-up Display*
The concept
With the Head-up Display important informa-
tion is projected into the driver's field of view,
e.g., navigation instructions. This enables you
to take in this information without looking away
from the road.
Switching on/off
Press the button.
1Navigation instructions
2Display
>Cruise control
>Active cruise control
>Lane Departure Warning
3Speed