2010 BMW 335I adding
[x] Cancel search: addingPage 93 of 274
Controls
91Reference
At a glance
Driving tips
Communications
Navigation
Entertainment
Mobility
activated, refer to Status of front passenger air-
bags below.<
Before transporting a child on the front
passenger seat, read the safety precau-
tions and handling instructions under Trans-
porting children safely, refer to page50.
The front and side airbags can also be deacti-
vated by adolescents and adults sitting in cer-
tain positions; the indicator lamp for the front
passenger airbags comes on. In such cases, the
passenger should change his or her sitting
position so that the front passenger airbags are
activated and the indicator lamp goes out. If the
desired airbag status cannot be achieved by
changing the sitting position, transport the rele-
vant passenger on a rear seat. Do not attach
seat covers, seat cushion padding, ball mats or
other items to the front passenger seat unless
they are specifically recommended by BMW.
Do not place any items under the seat which
could press against the seat from below. Other-
wise, a correct analysis of the seat cushion is
not ensured.<
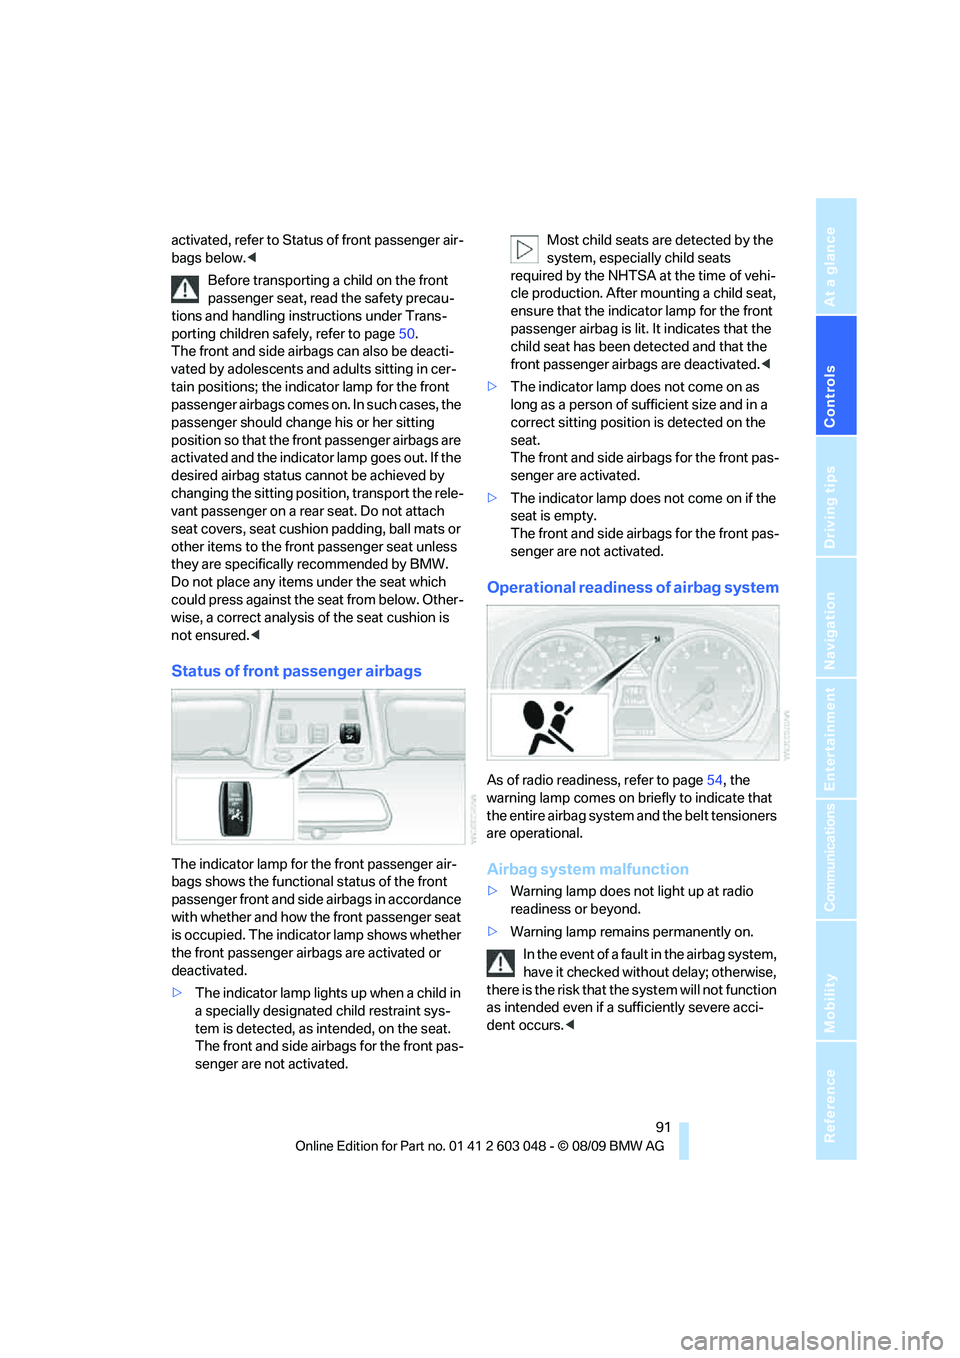
Status of front passenger airbags
The indicator lamp for the front passenger air-
bags shows the functional status of the front
passenger front and side airbags in accordance
with whether and how the front passenger seat
is occupied. The indicator lamp shows whether
the front passenger airbags are activated or
deactivated.
>The indicator lamp lights up when a child in
a specially designated child restraint sys-
tem is detected, as intended, on the seat.
The front and side airbags for the front pas-
senger are not activated.Most child seats are detected by the
system, especially child seats
required by the NHTSA at the time of vehi-
cle production. After mounting a child seat,
ensure that the indicator lamp for the front
passenger airbag is lit. It indicates that the
child seat has been detected and that the
front passenger airbags are deactivated.<
>The indicator lamp does not come on as
long as a person of sufficient size and in a
correct sitting position is detected on the
seat.
The front and side airbags for the front pas-
senger are activated.
>The indicator lamp does not come on if the
seat is empty.
The front and side airbags for the front pas-
senger are not activated.
Operational readiness of airbag system
As of radio readiness, refer to page54, the
warning lamp comes on briefly to indicate that
the entire airbag system and the belt tensioners
are operational.
Airbag system malfunction
>Warning lamp does not light up at radio
readiness or beyond.
>Warning lamp remains permanently on.
In the event of a fault in the airbag system,
have it checked without delay; otherwise,
there is the risk that the system will not function
as intended even if a sufficiently severe acci-
dent occurs.<
Page 134 of 274
Destination entry
132 If necessary, select this entry with {Yes}. Then
select the desired town/city from that list.<
The town/city can also be selected from the list
via iDrive: turn the controller until the town/city
is selected and press the controller.
Entering a street or intersection
The street or intersection is entered in the same
manner as the town/city.
Entering a house number
You can enter house numbers up to 999:
Starting destination guidance
Destination guidance starts immediately.
Adding further intermediate
destinations
Further intermediate destinations can be
added.
Storing destinations
The destination is automatically added to the
list of last destinations.
Planning a trip
New trip
Various intermediate destinations can be
entered for a trip.
1."Navigation"
2."Map"
3.Move the controller to the left, if necessary.
4.Select the symbol.
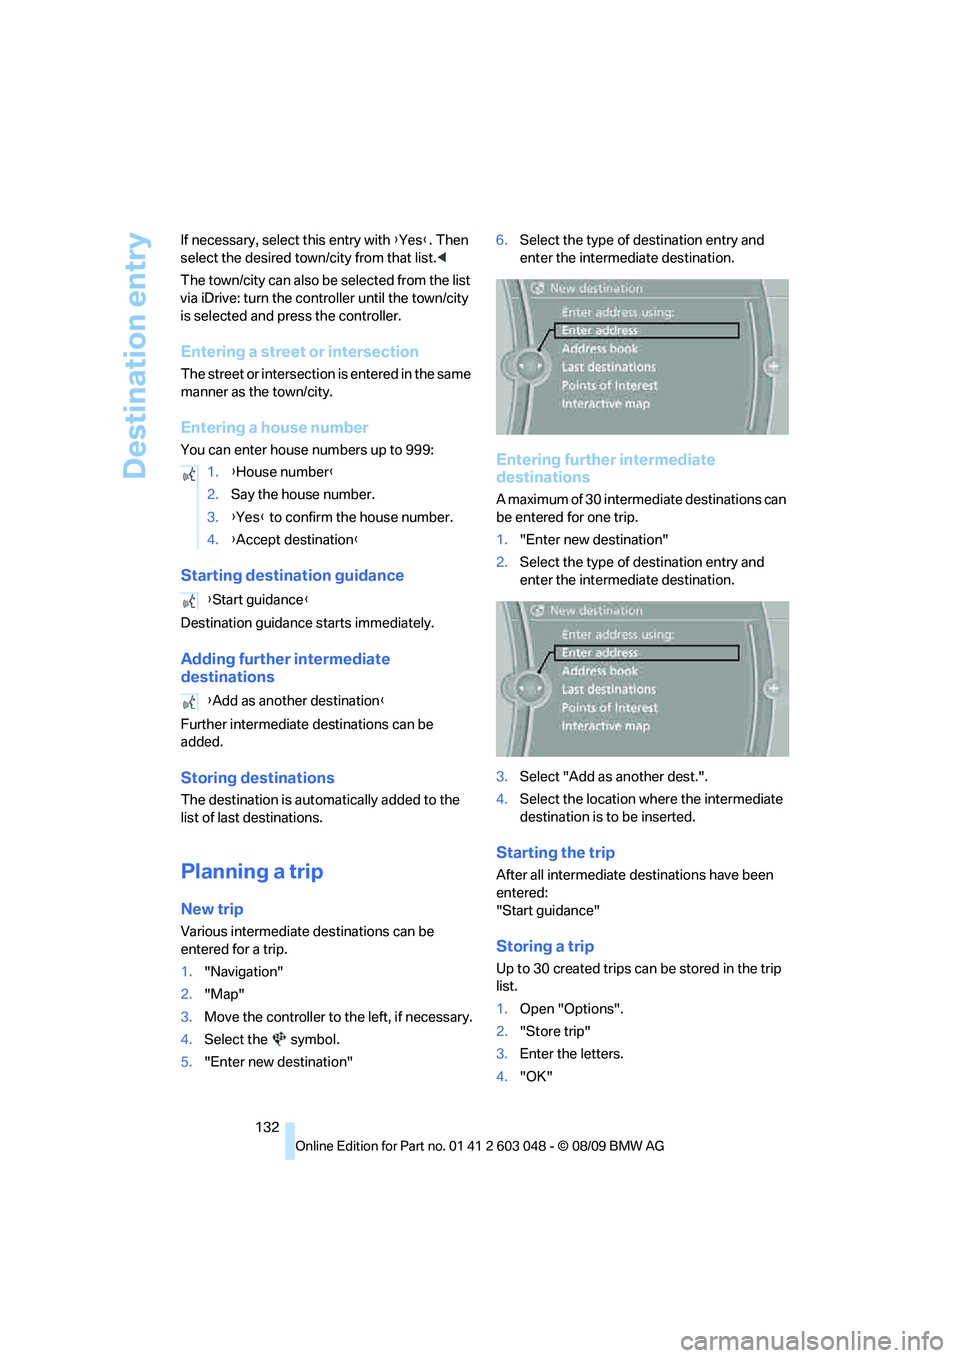
5."Enter new destination"6.Select the type of destination entry and
enter the intermediate destination.
Entering further intermediate
destinations
A maximum of 30 intermediate destinations can
be entered for one trip.
1."Enter new destination"
2.Select the type of destination entry and
enter the intermediate destination.
3.Select "Add as another dest.".
4.Select the location where the intermediate
destination is to be inserted.
Starting the trip
After all intermediate destinations have been
entered:
"Start guidance"
Storing a trip
Up to 30 created trips can be stored in the trip
list.
1.Open "Options".
2."Store trip"
3.Enter the letters.
4."OK" 1.{House number}
2.Say the house number.
3.{Yes} to confirm the house number.
4.{Accept destination}
{Start guidance}
{Add as another destination}
Page 221 of 274
Mobility
219Reference
At a glance
Controls
Driving tips
Communications
Navigation
Entertainment
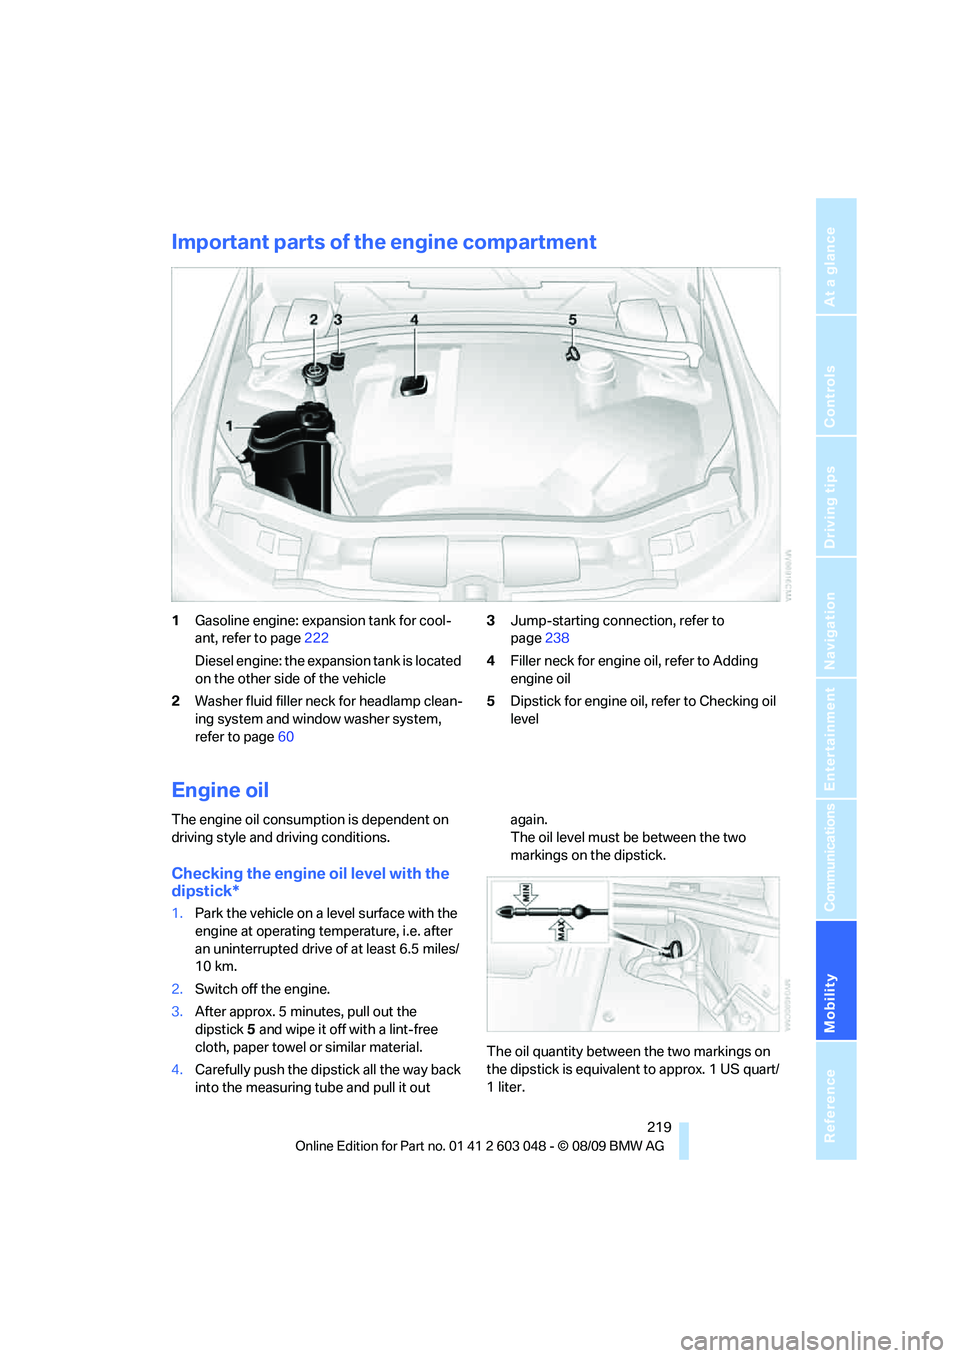
Important parts of the engine compartment
1Gasoline engine: expansion tank for cool-
ant, refer to page222
Diesel engine: the expansion tank is located
on the other side of the vehicle
2Washer fluid filler neck for headlamp clean-
ing system and window washer system,
refer to page603Jump-starting connection, refer to
page238
4Filler neck for engine oil, refer to Adding
engine oil
5Dipstick for engine oil, refer to Checking oil
level
Engine oil
The engine oil consumption is dependent on
driving style and driving conditions.
Checking the engine oil level with the
dipstick*
1.Park the vehicle on a level surface with the
engine at operating temperature, i.e. after
an uninterrupted drive of at least 6.5 miles/
10 km.
2.Switch off the engine.
3.After approx. 5 minutes, pull out the
dipstick5 and wipe it off with a lint-free
cloth, paper towel or similar material.
4.Carefully push the dipstick all the way back
into the measuring tube and pull it out again.
The oil level must be between the two
markings on the dipstick.
The oil quantity between the two markings on
the dipstick is equivalent to approx. 1 US quart/
1liter.
Page 222 of 274

Under the hood
220 The oil level must not be above the upper
marking of the dipstick. Too much oil will
harm the engine.<
Checking the engine oil level
electronically*
Your car is equipped with an electronic oil-level
monitor.
For a precise measurement and display of the
oil level, it is necessary that the engine be at
operating temperature, i.e. after uninterrupted
driving for at least approx. 6.5 miles/10 km. You
can have the oil level displayed while you are
driving, or while the vehicle is at a standstill on a
level surface and the engine is running.
Display in the instrument cluster
1.Push button 1 in the turn indicator lever up
or down repeatedly until the appropriate
symbol is shown in the display, accompa-
nied by the word "OIL".
2.Press button 2 in the turn indicator lever.
The oil level is checked and the reading dis-
played.
Possible displays
1Oil level OK
2Oil level is being checked.
This can take about 3 minutes if the car is at
a standstill on a level surface, or about
5 minutes while the car is on the move.
3Oil level down to minimum:
Add engine oil as soon as possible, but no
more than 1 US quart/1 liter, refer also to
Adding engine oil on page221.
4Oil level is too high.
Too much oil will harm the engine.
Have the vehicle checked without
delay.<
5The oil level sensor is defective.
Do not add engine oil. You can continue
your journey. Note the newly calculated dis-
tance remaining to the next oil service, refer
to page73. Have the system checked as
soon as possible.
Page 223 of 274
Mobility
221Reference
At a glance
Controls
Driving tips
Communications
Navigation
Entertainment
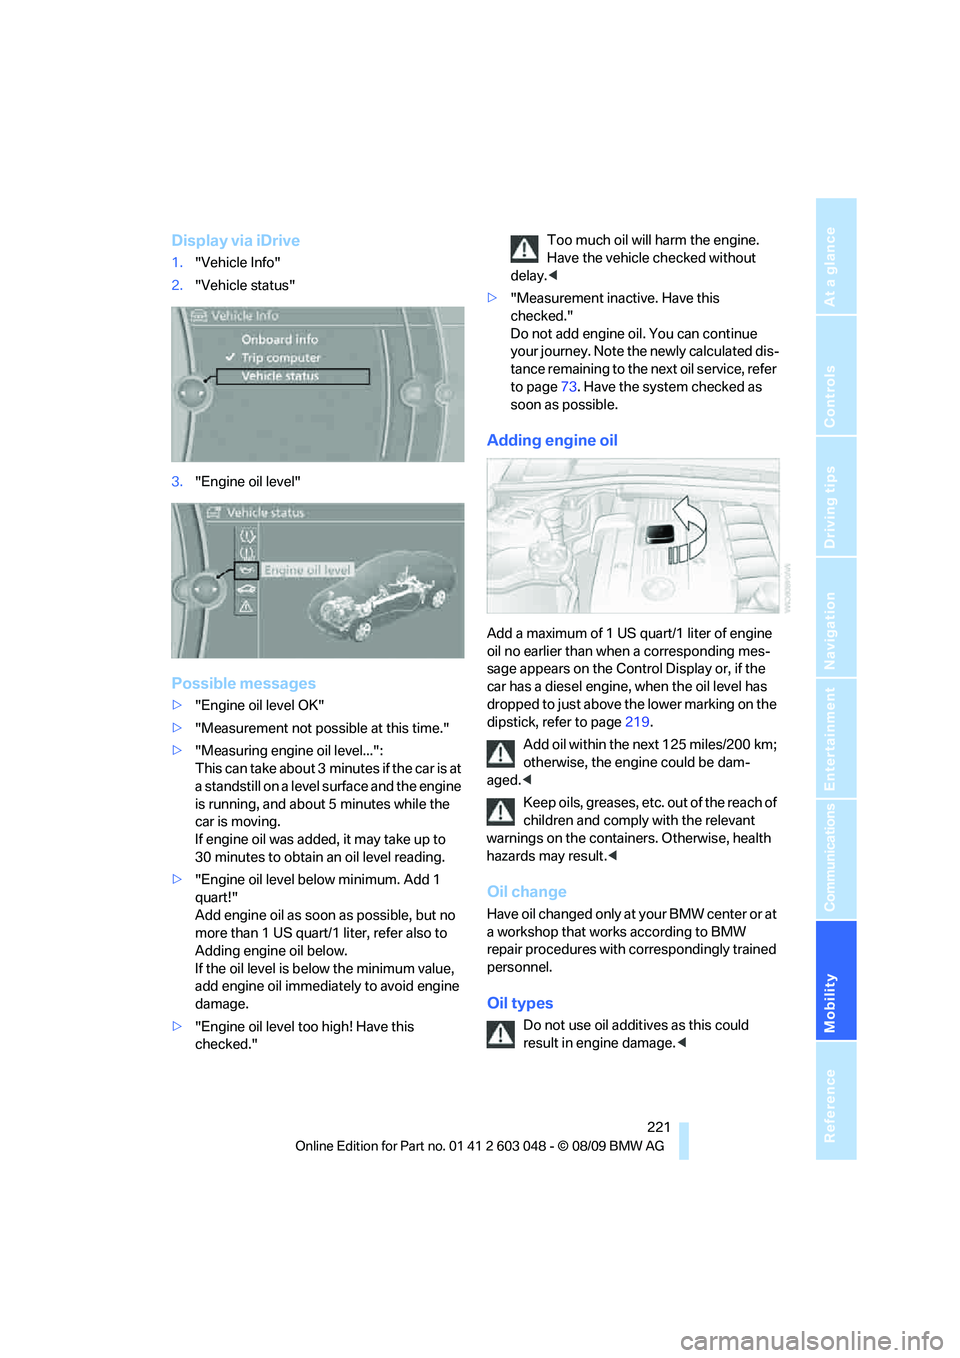
Display via iDrive
1."Vehicle Info"
2."Vehicle status"
3."Engine oil level"
Possible messages
>"Engine oil level OK"
>"Measurement not possible at this time."
>"Measuring engine oil level...":
This can take about 3 minutes if the car is at
a standstill on a level surface and the engine
is running, and about 5 minutes while the
car is moving.
If engine oil was added, it may take up to
30 minutes to obtain an oil level reading.
>"Engine oil level below minimum. Add 1
quart!"
Add engine oil as soon as possible, but no
more than 1 US quart/1 liter, refer also to
Adding engine oil below.
If the oil level is below the minimum value,
add engine oil immediately to avoid engine
damage.
>"Engine oil level too high! Have this
checked."Too much oil will harm the engine.
Have the vehicle checked without
delay.<
>"Measurement inactive. Have this
checked."
Do not add engine oil. You can continue
your journey. Note the newly calculated dis-
tance remaining to the next oil service, refer
to page73. Have the system checked as
soon as possible.
Adding engine oil
Add a maximum of 1 US quart/1 liter of engine
oil no earlier than when a corresponding mes-
sage appears on the Control Display or, if the
car has a diesel engine, when the oil level has
dropped to just above the lower marking on the
dipstick, refer to page219.
Add oil within the next 125 miles/200 km;
otherwise, the engine could be dam-
aged.<
Keep oils, greases, etc. out of the reach of
children and comply with the relevant
warnings on the containers. Otherwise, health
hazards may result.<
Oil change
Have oil changed only at your BMW center or at
a workshop that works according to BMW
repair procedures with correspondingly trained
personnel.
Oil types
Do not use oil additives as this could
result in engine damage.<
Page 260 of 274
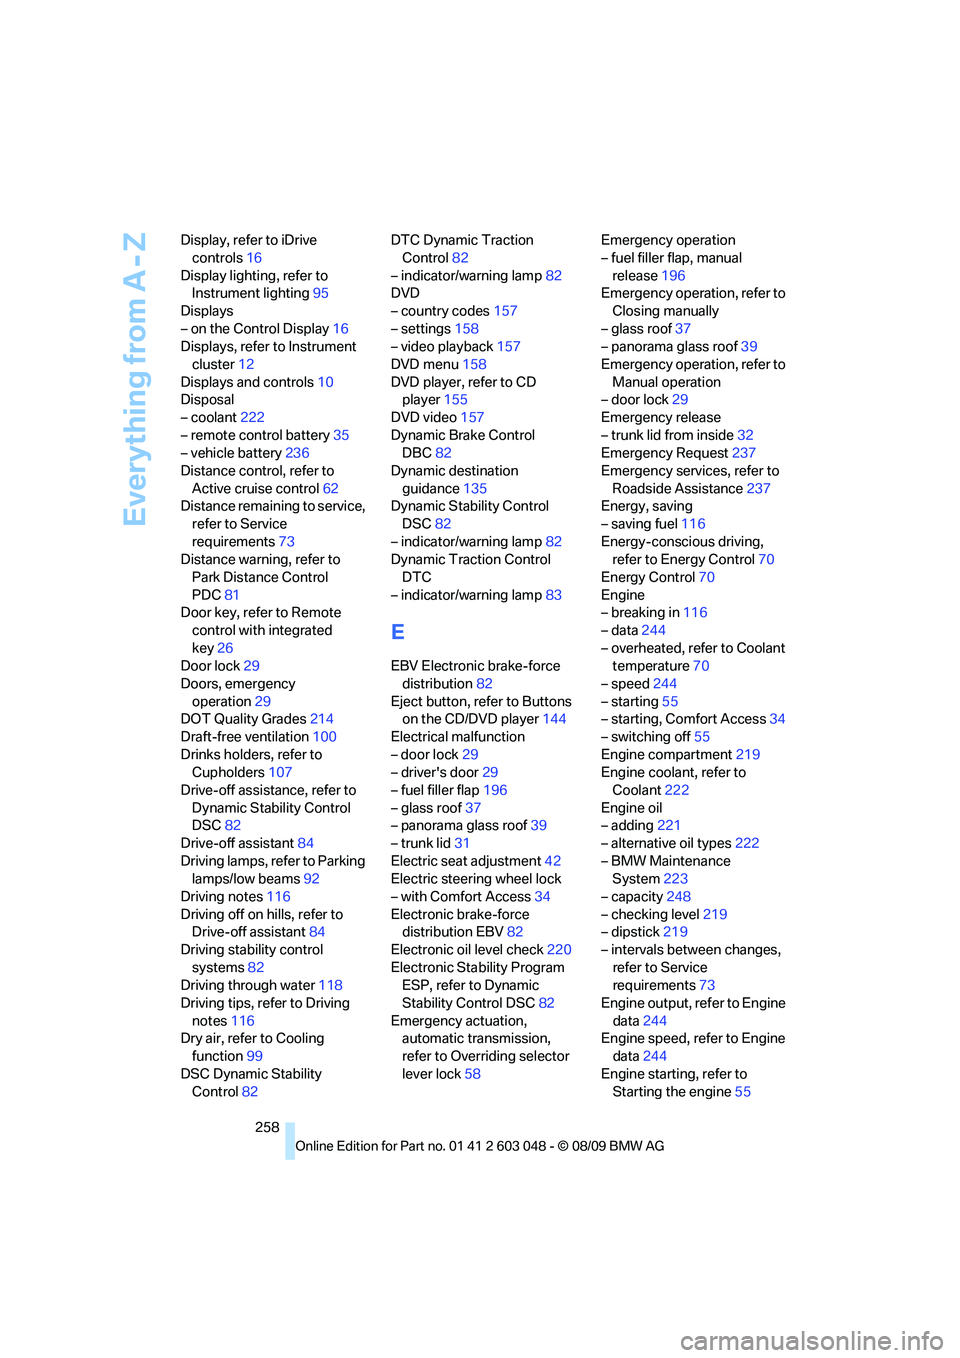
Everything from A - Z
258 Display, refer to iDrive
controls16
Display lighting, refer to
Instrument lighting95
Displays
– on the Control Display16
Displays, refer to Instrument
cluster12
Displays and controls10
Disposal
– coolant222
– remote control battery35
– vehicle battery236
Distance control, refer to
Active cruise control62
Distance remaining to service,
refer to Service
requirements73
Distance warning, refer to
Park Distance Control
PDC81
Door key, refer to Remote
control with integrated
key26
Door lock29
Doors, emergency
operation29
DOT Quality Grades214
Draft-free ventilation100
Drinks holders, refer to
Cupholders107
Drive-off assistance, refer to
Dynamic Stability Control
DSC82
Drive-off assistant84
Driving lamps, refer to Parking
lamps/low beams92
Driving notes116
Driving off on hills, refer to
Drive-off assistant84
Driving stability control
systems82
Driving through water118
Driving tips, refer to Driving
notes116
Dry air, refer to Cooling
function99
DSC Dynamic Stability
Control82DTC Dynamic Traction
Control82
– indicator/warning lamp82
DVD
– country codes157
– settings158
– video playback157
DVD menu158
DVD player, refer to CD
player155
DVD video157
Dynamic Brake Control
DBC82
Dynamic destination
guidance135
Dynamic Stability Control
DSC82
– indicator/warning lamp82
Dynamic Traction Control
DTC
– indicator/warning lamp83
E
EBV Electronic brake-force
distribution82
Eject button, refer to Buttons
on the CD/DVD player144
Electrical malfunction
– door lock29
– driver's door29
– fuel filler flap196
– glass roof37
– panorama glass roof39
– trunk lid31
Electric seat adjustment42
Electric steering wheel lock
– with Comfort Access34
Electronic brake-force
distribution EBV82
Electronic oil level check220
Electronic Stability Program
ESP, refer to Dynamic
Stability Control DSC82
Emergency actuation,
automatic transmission,
refer to Overriding selector
lever lock58Emergency operation
– fuel filler flap, manual
release196
Emergency operation, refer to
Closing manually
– glass roof37
– panorama glass roof39
Emergency operation, refer to
Manual operation
– door lock29
Emergency release
– trunk lid from inside32
Emergency Request237
Emergency services, refer to
Roadside Assistance237
Energy, saving
– saving fuel116
Energy-conscious driving,
refer to Energy Control70
Energy Control70
Engine
– breaking in116
– data244
– overheated, refer to Coolant
temperature70
– speed244
– starting55
– starting, Comfort Access34
– switching off55
Engine compartment219
Engine coolant, refer to
Coolant222
Engine oil
– adding221
– alternative oil types222
– BMW Maintenance
System223
– capacity248
– checking level219
– dipstick219
– intervals between changes,
refer to Service
requirements73
Engine output, refer to Engine
data244
Engine speed, refer to Engine
data244
Engine starting, refer to
Starting the engine55