2010 BMW 335I CONVERTIBLE fog light
[x] Cancel search: fog lightPage 12 of 266

Cockpit
10
Cockpit
Around the steering wheel: controls and displays
4Folding exterior mirrors in and out*50
5Adjusting exterior mirrors, automatic curb
monitor
*50
1Convertible: opening and closing
windows jointly35
2Convertible: opening and closing
rear windows35
3Opening and closing front
windows35 6
Parking lamps93
Low beams93
Automatic headlamp control
*93
Adaptive light control
*94
High-beam assistant
*95
7
Fog lamps96
Page 15 of 266

At a glance
13Reference
Controls
Driving tips
Communications
Navigation
Entertainment
Mobility
Indicator and warning lamps
The concept
Indicator and warning lamps can light up in a
variety of combinations and colors.
Several of the lamps are checked for proper
functioning and light up temporarily when the
engine is started or the ignition is switched on.
Text messages
Text messages at the top edge of the Control
Display describe the meanings of the indicator
and warning lamps.
Supplementary text messages
You can call up more information on the Control
Display, e.g. on the cause of a malfunction and
on how to respond, via Check Control, refer to
page77.In urgent cases, this information will be shown
as soon as the corresponding lamp comes on.
Indicator lamps without text messages
The following indicator lamps notify you that
certain functions are active:
High beams/headlamp flasher95
Fog lamps96
Lamp flashes:
DSC or DTC is regulating the propul-
sive forces in order to maintain driving
stability83
Parking brake applied56
Canada: parking brake applied56
Engine malfunction with adverse
effect on emissions218
Canada: engine malfunction with
adverse effect on emissions218
Page 95 of 266

Controls
93Reference
At a glance
Driving tips
Communications
Navigation
Entertainment
Mobility
Lamps
Parking lamps/low beams
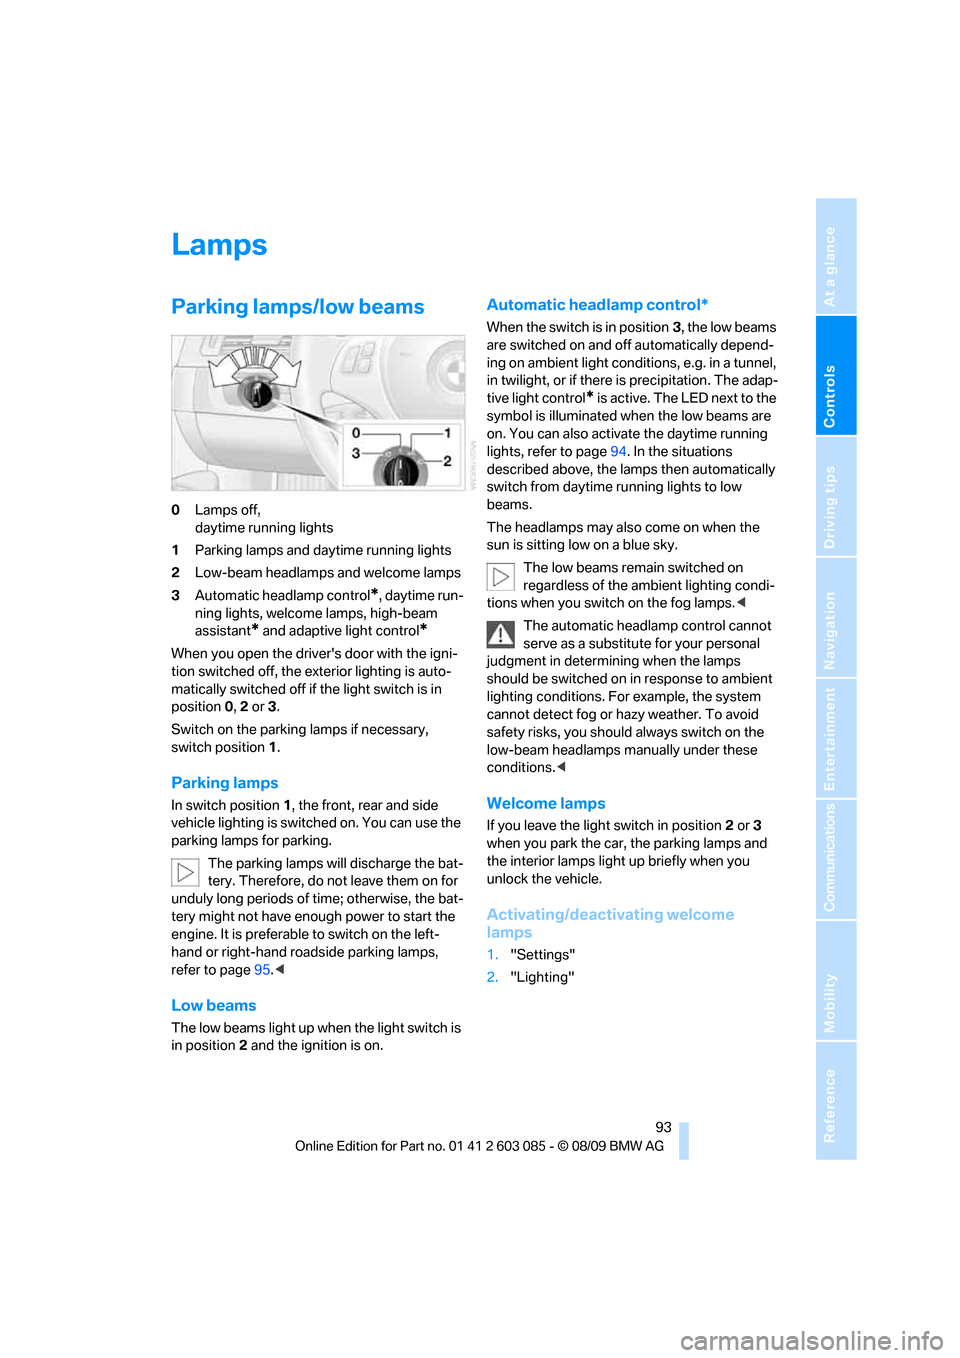
0Lamps off,
daytime running lights
1Parking lamps and daytime running lights
2Low-beam headlamps and welcome lamps
3Automatic headlamp control
*, daytime run-
ning lights, welcome lamps, high-beam
assistant
* and adaptive light control*
When you open the driver's door with the igni-
tion switched off, the exterior lighting is auto-
matically switched off if the light switch is in
position 0, 2 or 3.
Switch on the parking lamps if necessary,
switch position 1.
Parking lamps
In switch position1, the front, rear and side
vehicle lighting is switched on. You can use the
parking lamps for parking.
The parking lamps will discharge the bat-
tery. Therefore, do not leave them on for
unduly long periods of time; otherwise, the bat-
tery might not have enough power to start the
engine. It is preferable to switch on the left-
hand or right-hand roadside parking lamps,
refer to page95.<
Low beams
The low beams light up when the light switch is
in position 2 and the ignition is on.
Automatic headlamp control*
When the switch is in position3, the low beams
are switched on and off automatically depend-
ing on ambient light conditions, e.g. in a tunnel,
in twilight, or if there is precipitation. The adap-
tive light control
* is active. The LED next to the
symbol is illuminated when the low beams are
on. You can also activate the daytime running
lights, refer to page94. In the situations
described above, the lamps then automatically
switch from daytime running lights to low
beams.
The headlamps may also come on when the
sun is sitting low on a blue sky.
The low beams remain switched on
regardless of the ambient lighting condi-
tions when you switch on the fog lamps.<
The automatic headlamp control cannot
serve as a substitute for your personal
judgment in determining when the lamps
should be switched on in response to ambient
lighting conditions. For example, the system
cannot detect fog or hazy weather. To avoid
safety risks, you should always switch on the
low-beam headlamps manually under these
conditions.<
Welcome lamps
If you leave the light switch in position 2 or 3
when you park the car, the parking lamps and
the interior lamps light up briefly when you
unlock the vehicle.
Activating/deactivating welcome
lamps
1."Settings"
2."Lighting"
Page 98 of 266

Lamps
96 turn indicator lever toward the high beams
again.
>Use the headlamp flasher as usual with the
low beams switched on.
System limitations
The high-beam assistant cannot serve as
a substitute for the driver's personal judg-
ment of when to use the high beams. Therefore,
manually switch off the high beams in situations
where this is required to avoid a safety risk.<
The system is not fully functional in situations
such as the following, and driver intervention
may be necessary:
>In very unfavorable weather conditions,
such as fog or heavy precipitation
>In detecting poorly-lit road users, such as
pedestrians, cyclists, horseback riders and
wagons; when driving close to train or ship
traffic; and at animal crossings
>In tight curves, on hilltops or in depressions,
in cross traffic or half-obscured oncoming
traffic on highways
>In poorly lit towns and cities and in the pres-
ence of highly reflective signs
>At low speeds
>When the windshield in front of the interior
rearview mirror is fogged over, dirty or cov-
ered with stickers, etc.
>If the sensor is dirty. Clean the sensor on
the front of the interior rearview mirror using
a cloth moistened with a small amount of
glass cleaner.
Switching off via iDrive
1."Settings"
2."Lighting"3."High beam assistant"
The high-beam assistant is activated and is
stored for the remote control currently in use.
Fog lamps
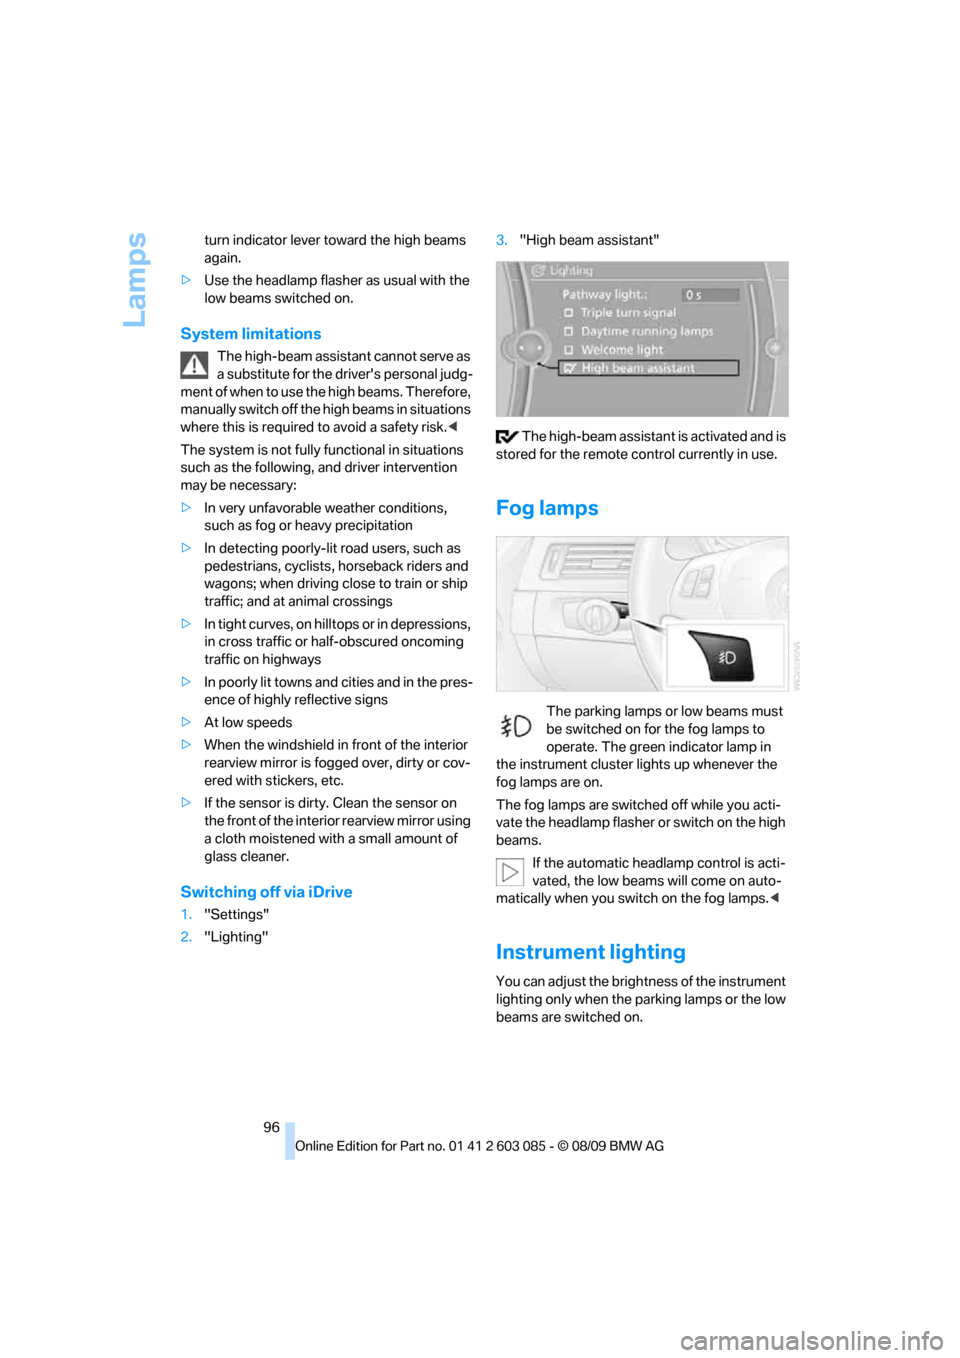
The parking lamps or low beams must
be switched on for the fog lamps to
operate. The green indicator lamp in
the instrument cluster lights up whenever the
fog lamps are on.
The fog lamps are switched off while you acti-
vate the headlamp flasher or switch on the high
beams.
If the automatic headlamp control is acti-
vated, the low beams will come on auto-
matically when you switch on the fog lamps.<
Instrument lighting
You can adjust the brightness of the instrument
lighting only when the parking lamps or the low
beams are switched on.
Page 226 of 266

Replacing components
224 Do not remove the covers or expose the
eyes directly to the unfiltered light source
for several hours; otherwise, this could cause
irritation of the retina.<
Xenon lamps
These bulbs have a very long service life and are
highly unlikely to fail. If a xenon lamp fails never-
theless, switch on the fog lamps and continue
the journey with great care, provided that local
legislation does not prohibit this.
Have any work on the xenon lamp system,
including bulb replacements, performed
o n ly b y a BM W c e n t e r o r a w o r k s h o p t h a t w o r k s
according to BMW repair procedures with cor-
respondingly trained personnel. Otherwise, if
such work is carried out improperly, the high
voltage in the system presents the danger of
fatal injuries.<
Access to the lamps
1.Switch off the lamps and take the remote
control out of the ignition lock.
2.Remove the upper cover from the head-
lamp. To do so, use a screwdriver to press
the catches towards the rear, see arrows,
and pull the cover forward and out.
Follow the same steps in reverse order to reat-
tach the cover.
Be careful when installing the cover; oth-
erwise, leaks could occur and cause dam-
age to the headlamp system.<
Access through the wheel well
For turn signals only:1.Turn the wheel inwards.
2.Partially release the cover in the wheel well.
To do so, remove the corresponding
screws, see arrows.
3.Pull the cover back.
Parking lamps and roadside parking
lamps, daytime running lights
H8 bulb, 35 watts
1.Remove the cover, refer to Access to the
lamps.
2.Turn the bulb approx. 90°, see arrow, and
take it out.
3.Disconnect the plug, change the bulb and
reconnect the plug.
4.Insert the bulb and turn it until it stops.
5.Reattach the cover.
Corner-illuminating lamp*
H3 bulb, 55 watts
1.Switch off the lamps and take the remote
control out of the ignition lock.
2.Remove the cover, refer to Access to the
lamps.