Page 5 of 266

Reference
At a glance
Controls
Driving tips
Communications
Navigation
Entertainment
Mobility
Contents
The fastest way to find information on a partic-
ular topic or item is by using the index, refer to
page248.
Using this Owner's Manual
4Notes
6Reporting safety defects
At a glance
10Cockpit
16iDrive
21Letters and numbers
22Voice activation system
Controls
26Opening and closing
42Adjustments
52Transporting children safely
55Driving
69Controls overview
81Technology for driving comfort and
safety
93Lamps
98Climate
103Practical interior accessories
Driving tips
118Things to remember when driving
Navigation
126Navigation system
127Destination entry
136Destination guidance
142What to do if …
Entertainment
146On/off and tone
149Radio
152Satellite radio
157CD/DVD player and CD changer
164Music collection
169External devices
Communications
176Telephone
188Contacts
190BMW Assist
Mobility
198Refueling
200Wheels and tires
212Under the hood
217Maintenance
219Care
223Replacing components
230Giving and receiving assistance
Reference
238Technical data
242Short commands for the voice activation
system
248Everything from A - Z
Page 18 of 266
iDrive
16
iDrive
iDrive integrates the functions of a large num-
ber of switches. This allows these functions to
be operated from a single central position. The
following section provides an introduction to basic menu navigation. The control of the indi-
vidual functions is described in connection with
the relevant equipment.
Controls
1Control Display
2Controller with buttons
You can use the buttons to open the menus
directly. The controller can be used to
select the menu items and create settings.
>Move in four directions, arrow3
>Turn, arrow 4
>Push, arrow 5
Operate the controller only when traffic
and road conditions allow this, to avoid
endangering the car's occupants and other
road users by being distracted.<
Page 19 of 266
At a glance
17Reference
Controls
Driving tips
Communications
Navigation
Entertainment
Mobility
Buttons on the controller
Operating principle
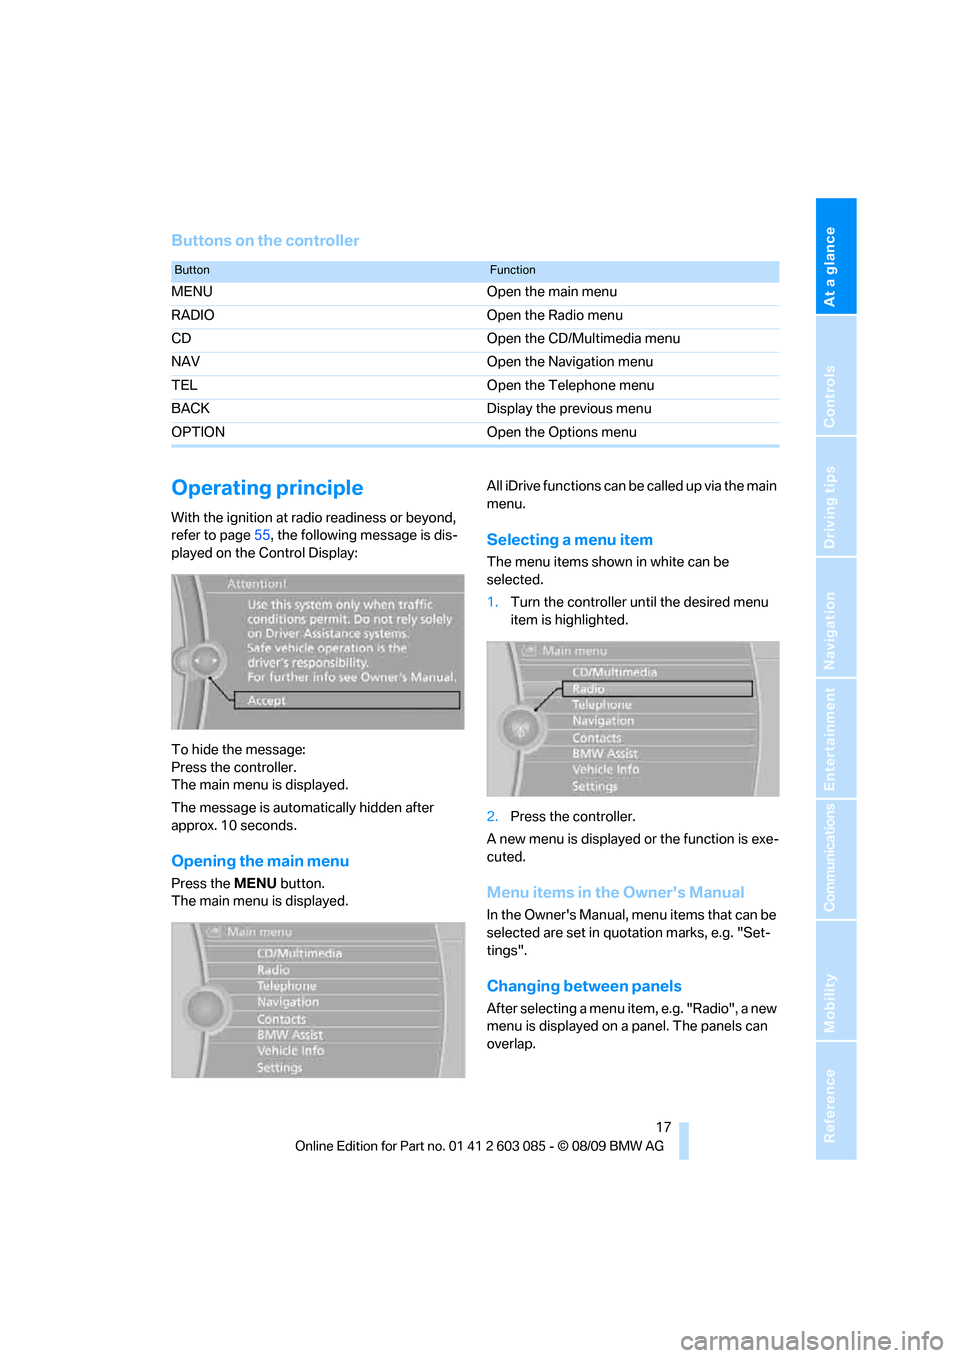
With the ignition at radio readiness or beyond,
refer to page55, the following message is dis-
played on the Control Display:
To hide the message:
Press the controller.
The main menu is displayed.
The message is automatically hidden after
approx. 10 seconds.
Opening the main menu
Press the MENU button.
The main menu is displayed.All iDrive functions can be called up via the main
menu.
Selecting a menu item
The menu items shown in white can be
selected.
1.Turn the controller until the desired menu
item is highlighted.
2.Press the controller.
A new menu is displayed or the function is exe-
cuted.
Menu items in the Owner's Manual
In the Owner's Manual, menu items that can be
selected are set in quotation marks, e.g. "Set-
tings".
Changing between panels
After selecting a menu item, e.g. "Radio", a new
menu is displayed on a panel. The panels can
overlap.
ButtonFunction
MENU Open the main menu
RADIO Open the Radio menu
CD Open the CD/Multimedia menu
NAV Open the Navigation menu
TEL Open the Telephone menu
BACK Display the previous menu
OPTION Open the Options menu
Page 20 of 266
iDrive
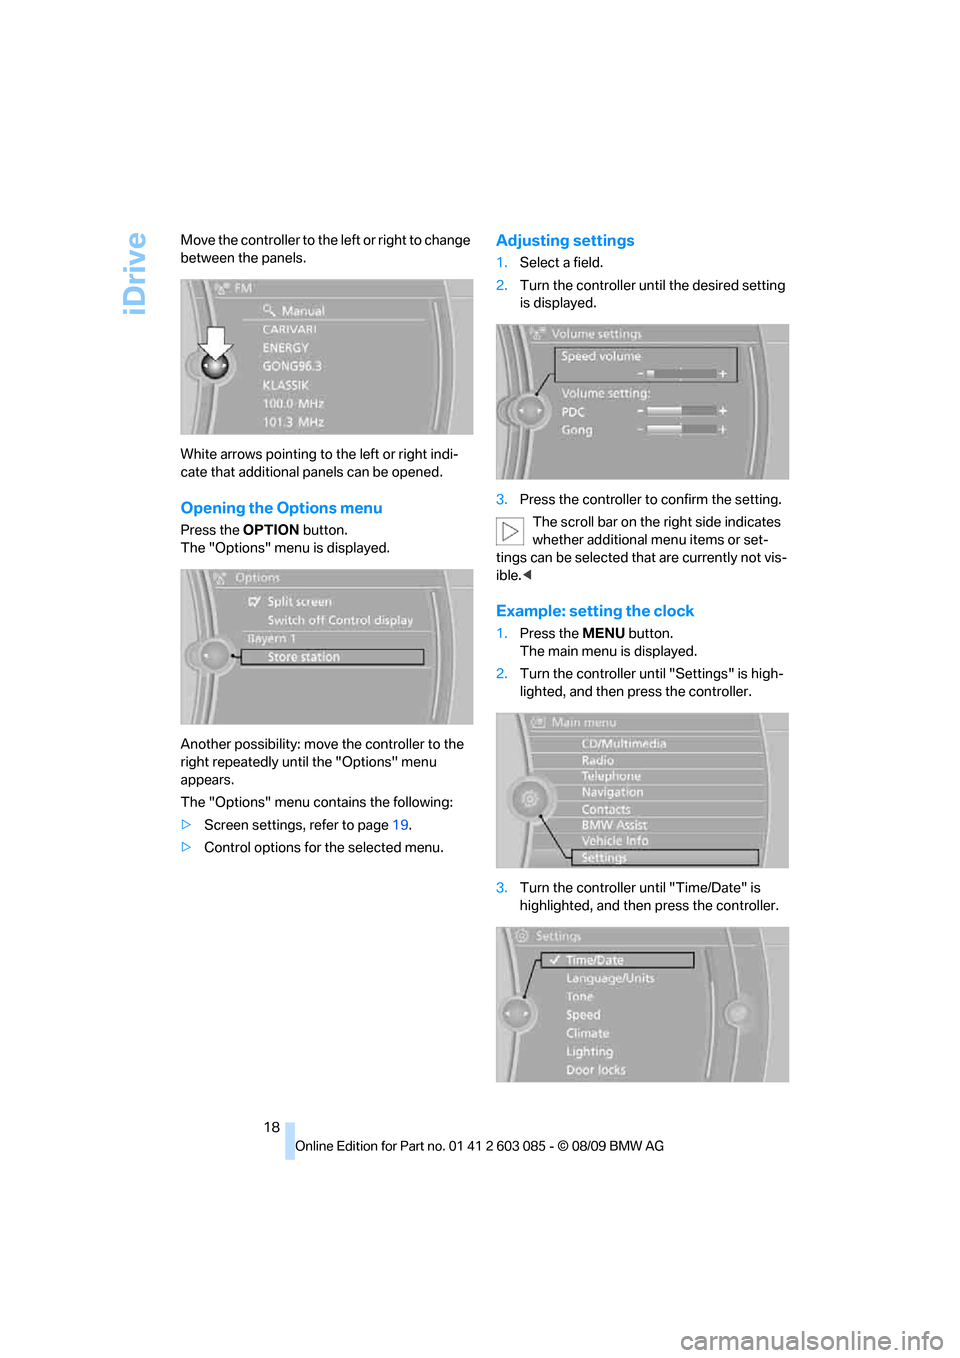
18 Move the controller to the left or right to change
between the panels.
White arrows pointing to the left or right indi-
cate that additional panels can be opened.
Opening the Options menu
Press the OPTION button.
The "Options" menu is displayed.
Another possibility: move the controller to the
right repeatedly until the "Options" menu
appears.
The "Options" menu contains the following:
>Screen settings, refer to page19.
>Control options for the selected menu.
Adjusting settings
1.Select a field.
2.Turn the controller until the desired setting
is displayed.
3.Press the controller to confirm the setting.
The scroll bar on the right side indicates
whether additional menu items or set-
tings can be selected that are currently not vis-
ible.<
Example: setting the clock
1.Press the MENU button.
The main menu is displayed.
2.Turn the controller until "Settings" is high-
lighted, and then press the controller.
3.Turn the controller until "Time/Date" is
highlighted, and then press the controller.
Page 22 of 266
iDrive
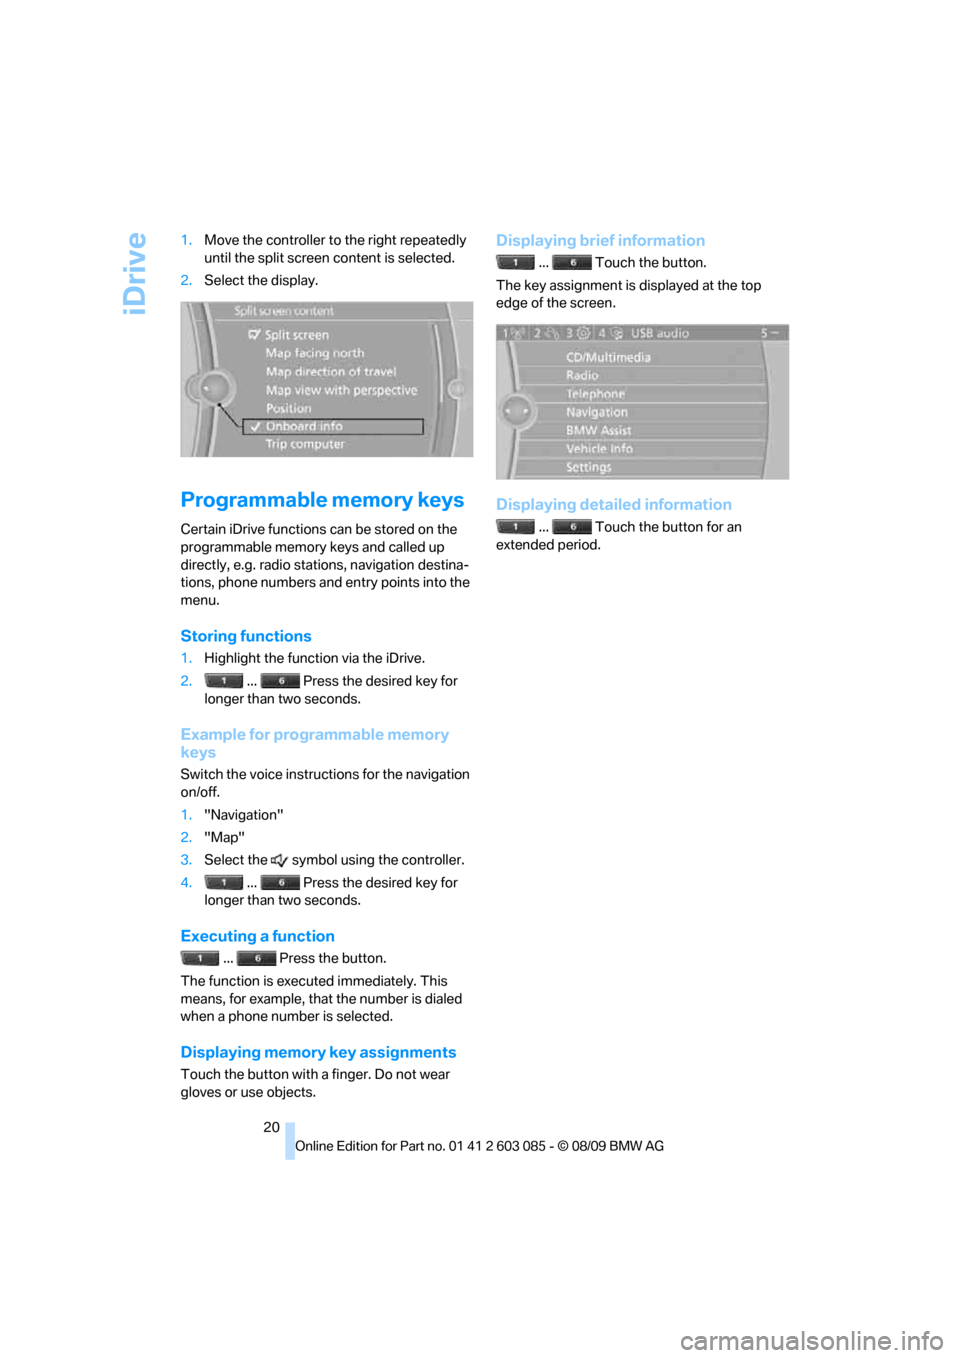
20 1.Move the controller to the right repeatedly
until the split screen content is selected.
2.Select the display.
Programmable memory keys
Certain iDrive functions can be stored on the
programmable memory keys and called up
directly, e.g. radio stations, navigation destina-
tions, phone numbers and entry points into the
menu.
Storing functions
1.Highlight the function via the iDrive.
2. ... Press the desired key for
longer than two seconds.
Example for programmable memory
keys
Switch the voice instructions for the navigation
on/off.
1."Navigation"
2."Map"
3.Select the symbol using the controller.
4. ... Press the desired key for
longer than two seconds.
Executing a function
... Press the button.
The function is executed immediately. This
means, for example, that the number is dialed
when a phone number is selected.
Displaying memory key assignments
Touch the button with a finger. Do not wear
gloves or use objects.
Displaying brief information
... Touch the button.
The key assignment is displayed at the top
edge of the screen.
Displaying detailed information
... Touch the button for an
extended period.
Page 24 of 266
Voice activation system
22
Voice activation system
The concept
The voice activation system allows you to con-
trol operation of various vehicle systems with-
out removing your hands from the steering
wheel.
Individual menu items on the Control Display
can be spoken as commands. It is not neces-
sary to use the controller.
The voice activation system transforms your
oral commands into control signals for the
selected systems and provides support in the
form of instructions or questions.
Coupe: the voice activation system uses a spe-
cial microphone located in the area of the inte-
rior rearview mirror, refer to page14.
Convertible: the voice activation system uses a
special microphone located in the area of the
steering column.
Precondition
Via iDrive, select the language in which the
voice activation system is operating, so that the
spoken commands can be identified. Selecting
the language for iDrive, refer to page79.
Symbols in the Owner's Manual
Saying commands
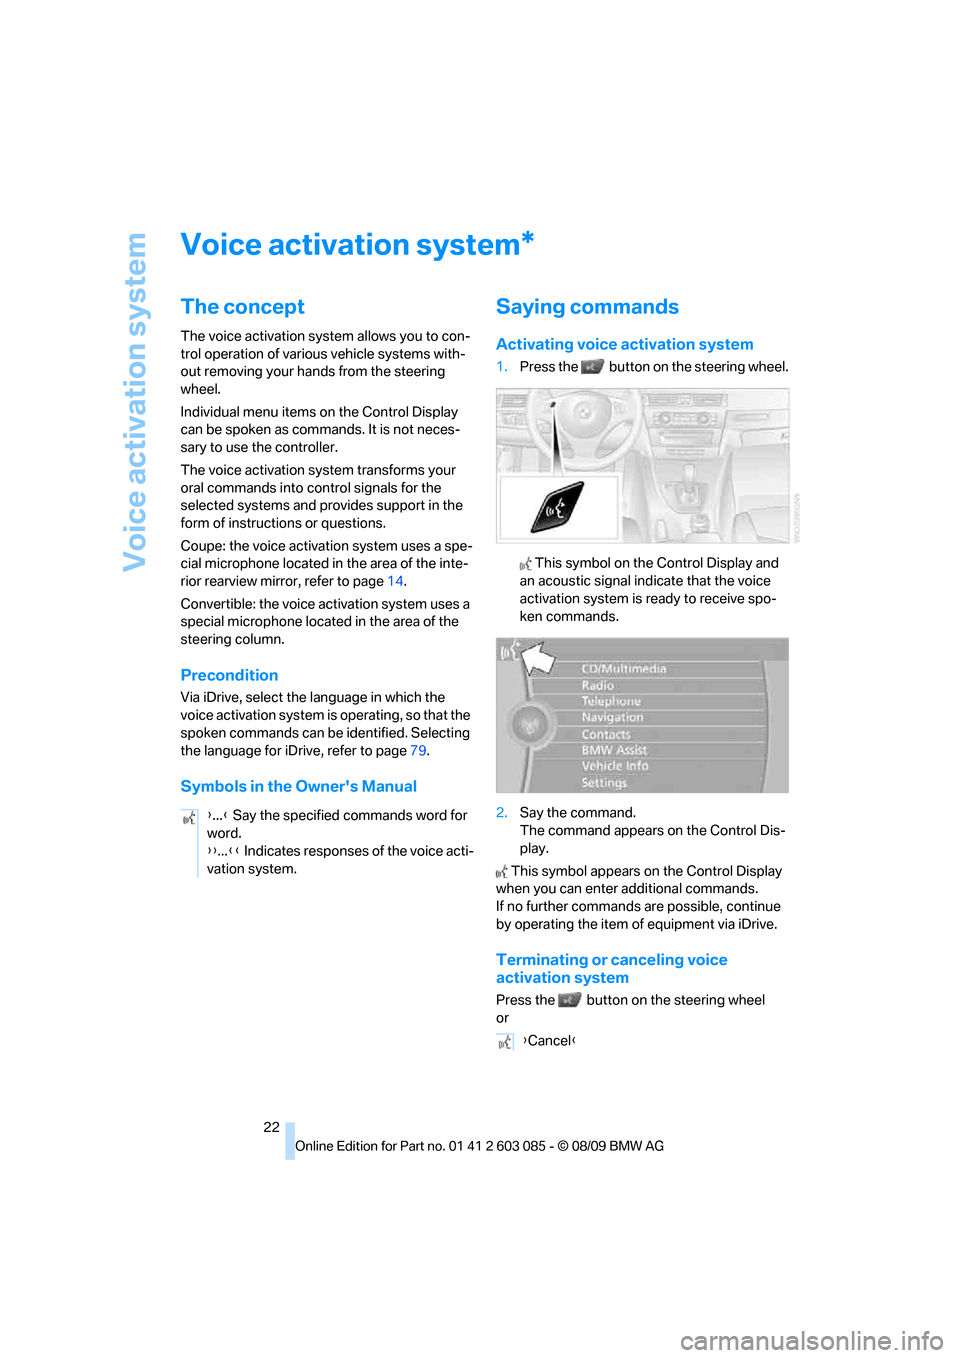
Activating voice activation system
1.Press the button on the steering wheel.
This symbol on the Control Display and
an acoustic signal indicate that the voice
activation system is ready to receive spo-
ken commands.
2.Say the command.
The command appears on the Control Dis-
play.
This symbol appears on the Control Display
when you can enter additional commands.
If no further commands are possible, continue
by operating the item of equipment via iDrive.
Terminating or canceling voice
activation system
Press the button on the steering wheel
or
*
{...} Say the specified commands word for
word.
{{...}} Indicates responses of the voice acti-
vation system.
{Cancel}
Page 73 of 266
Controls
71Reference
At a glance
Driving tips
Communications
Navigation
Entertainment
Mobility
Refuel as soon as possible once your
cruising range falls below 30 miles/
50 km; otherwise, engine functions are not
ensured and damage can occur.<
Average speed
Periods with the vehicle parked and the engine
switched off are not included in the calculations
of average speed.
With the trip computer, refer to page72, you
can have the average speed for another trip dis-
played.
To reset average speed: press the button in the
turn indicator lever for approx. 2 seconds.
Average fuel consumption
The average fuel consumption is calculated for
the time during which the engine is running.
You can have the average consumption for
another trip displayed, refer to Displays on the
Control Display below.
To reset average fuel consumption: press the
button in the turn indicator lever for approx.
2seconds.
Current fuel consumption
Displays the current fuel consumption. This
allows you to see whether your current driving
style is conducive to fuel economy with mini-
mum exhaust emissions.
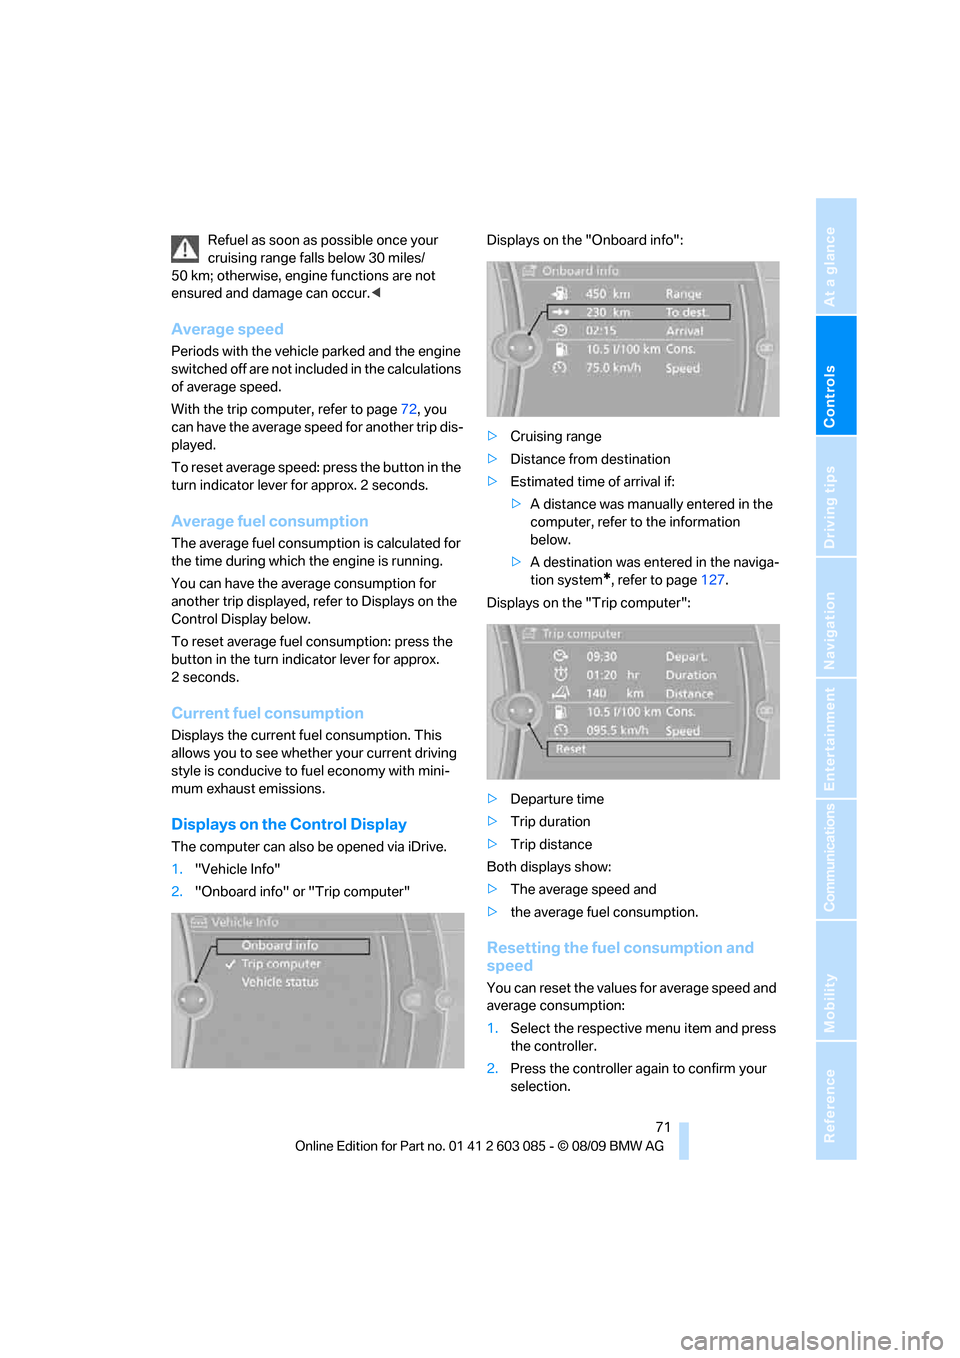
Displays on the Control Display
The computer can also be opened via iDrive.
1."Vehicle Info"
2."Onboard info" or "Trip computer"Displays on the "Onboard info":
>Cruising range
>Distance from destination
>Estimated time of arrival if:
>A distance was manually entered in the
computer, refer to the information
below.
>A destination was entered in the naviga-
tion system
*, refer to page127.
Displays on the "Trip computer":
>Departure time
>Trip duration
>Trip distance
Both displays show:
>The average speed and
>the average fuel consumption.
Resetting the fuel consumption and
speed
You can reset the values for average speed and
average consumption:
1.Select the respective menu item and press
the controller.
2.Press the controller again to confirm your
selection.
Page 78 of 266
Controls overview
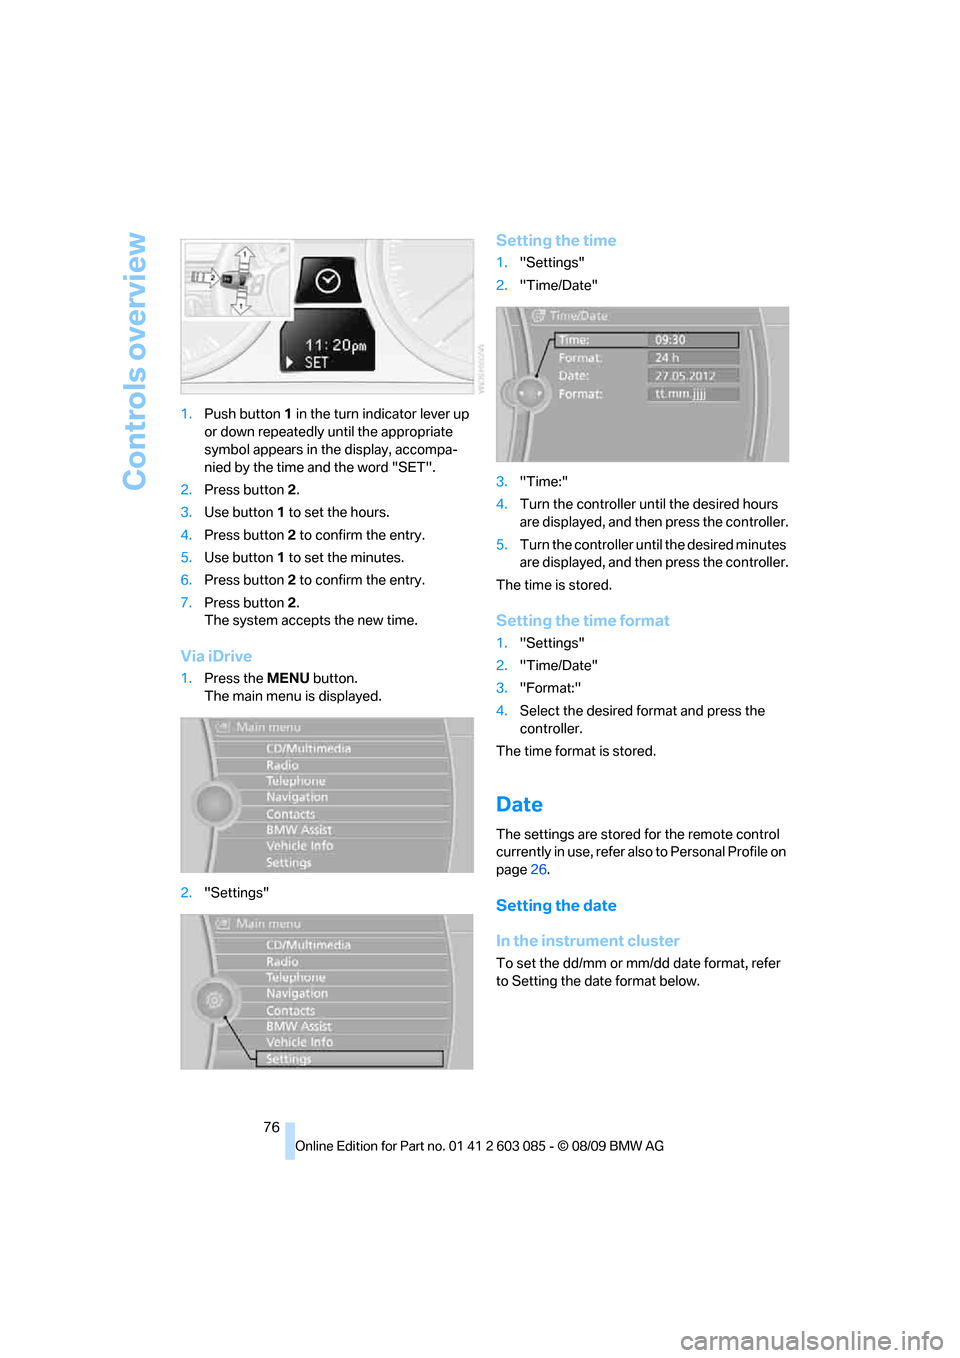
76 1.Push button 1 in the turn indicator lever up
or down repeatedly until the appropriate
symbol appears in the display, accompa-
nied by the time and the word "SET".
2.Press button 2.
3.Use button 1 to set the hours.
4.Press button 2 to confirm the entry.
5.Use button 1 to set the minutes.
6.Press button 2 to confirm the entry.
7.Press button 2.
The system accepts the new time.
Via iDrive
1.Press the MENU button.
The main menu is displayed.
2."Settings"
Setting the time
1."Settings"
2."Time/Date"
3."Time:"
4.Turn the controller until the desired hours
are displayed, and then press the controller.
5.Turn the controller until the desired minutes
are displayed, and then press the controller.
The time is stored.
Setting the time format
1."Settings"
2."Time/Date"
3."Format:"
4.Select the desired format and press the
controller.
The time format is stored.
Date
The settings are stored for the remote control
currently in use, refer also to Personal Profile on
page26.
Setting the date
In the instrument cluster
To set the dd/mm or mm/dd date format, refer
to Setting the date format below.