Page 144 of 551

�µThe automatic lighting f eature is
controlledbyasensorlocatedontop
of the dashboard. Do not cover this
sensor or spill liquids on it.
Even with the automatic lighting
f eature turned on, we recommend
thatyouturnonthelightsmanually
when driving at night or in a dense
f og, or when you enter dark areas
such as long tunnels or parking
f acilities.
To turn on automatic lighting, turn
the light switch to AUTO. The lights
will come on automatically when the
outside light level becomes low (at
dusk, f or example). The lights on
indicator comes on as a reminder.
The lights and indicator will turn of f
automatically when the system
senses high ambient light. To change the ‘‘AUTO LIGHT
SENSITIVITY’’ setting, see page
.
The automatic lighting
f eature turns on the headlights, all
other exterior lights, and the
instrument panel lights when it
senses low ambient light.
The lights will remain on when you
turn of f the ignition switch. They will
turn of f automatically when you open
and close the driver’s door. To turn
them on again, either turn the
ignition switch to the ON (II)
position or turn the light switch to
the position. Do not leave the light switch in
AUTO if you will not be driving the
vehicle f or an extended period (a
weekormore).Youshouldalsoturn
of f the lights if you plan to leave the
engine idling or of f f or a long time.
120
AUTO
Turn Signals and Headlights
Inst rument s and Cont rols
141
LIGHT SENSOR
�����—�����—�����y�
�����������
�y���
�(�����������y���
�����y
2010 RL
Page 145 of 551

When the multi-information display
shows a ‘‘DRL OFF’’ message, the
daytime running lights are of f .
Follow the procedure in the lef t
column to turn them on.
With the headlight switch off, the
high beam headlights come on with
reduced brightness when you turn
the ignition switch to the ON (II)
position and release the parking
brake. They remain on until you turn
the ignition switch of f , even if you
set the parking brake.
The headlights revert to normal
operation when you turn them on
with the switch.
If you see a ‘‘CHECK DRL
SYSTEM’’ message on the multi-
inf ormation display, there is a
problem with the daytime running
light system. Take your vehicle to a
dealer to have it checked.
Turn the f og lights on and of f by
turning the switch next to the
headlight switch.
You can use the f og lights only when
the headlights are on low beam.
With the light switch in the AUTO
position, you can also use the f og
lights when the headlights turn on
automatically. They will go of f when
the headlights turn of f . Fog L ights
Daytime Running L ights
Turn Signals and Headlights
142
�����—�����—�����y�
�������������y���
�(�����������y���
�����y
2010 RL
Page 146 of 551

This f eature turns of f the headlights,
all other exterior lights, and the
instrument panel lights within 15
seconds after you turn the ignition
switch to the LOCK (0) position and
close the driver’s door.
To change the ‘‘HEADLIGHT AUTO
OFF TIMER’’ setting, see page .
The automatic lighting of f f eature
activates if you leave the headlight
switch in the ‘‘ ’’ or ‘‘ ’’
position or if the lights are turned on
by setting the switch in the ‘‘AUTO’’
position, turn the ignition switch to
the LOCK (0) position, then open
and close the driver’s door.If you turn the ignition switch to the
LOCK (0) position with the
headlight switch on, but do not open
the door, the lights turn of f af ter 10
minutes (3 minutes, if the switch is
in the ‘‘AUTO’’ position).
The lights turn on again when you
unlock or open the driver’s door.
If you unlock the door, but do not
open it within 15 seconds, the lights
go of f . With the driver’s door open,
you will hear a lights-on reminder
chime.
118
Automatic Lighting Of f Feature
Turn Signals and Headlights
Inst rument s and Cont rols
143
�����—�����—�����y�
����
��������y���
�(�����������y���
�����y
2010 RL
Page 149 of 551
�´
�µ�´ �µ
Push the button between the center
vents to turn on the hazard warning
lights (f our-way f lashers). This
causes all f our outside turn signals
and both indicators in the instrument
panel to f lash. Use the hazard
warning lights if you need to park in
a dangerous area near heavy traffic,
or if your vehicle is disabled. Adjust the brightness of the
instrument panel by pressing the
or button. Press the button to
increase the brightness and the
button to decrease it. The brightness
can be set differently for when the
headlights are on, and when they are
off.
The level of brightness is shown on
the multi-information display while
you adjust it. It goes out 5 seconds
af ter you f inish adjusting.
Instrument Panel Brightness
Hazard Warning Button
Hazard Warning Button, Instrument Panel Brightness
146
ADJUSTMENT BUTTON
CANADA
U.S.
�����—�����—�����y�
�������������y���
�(�����������y���
���
�y
2010 RL
Page 223 of 551

If the system does not find a station,
‘‘NOTHING’’ will be blinking f or
about 5 seconds, then the system
goes back to the last selected station.
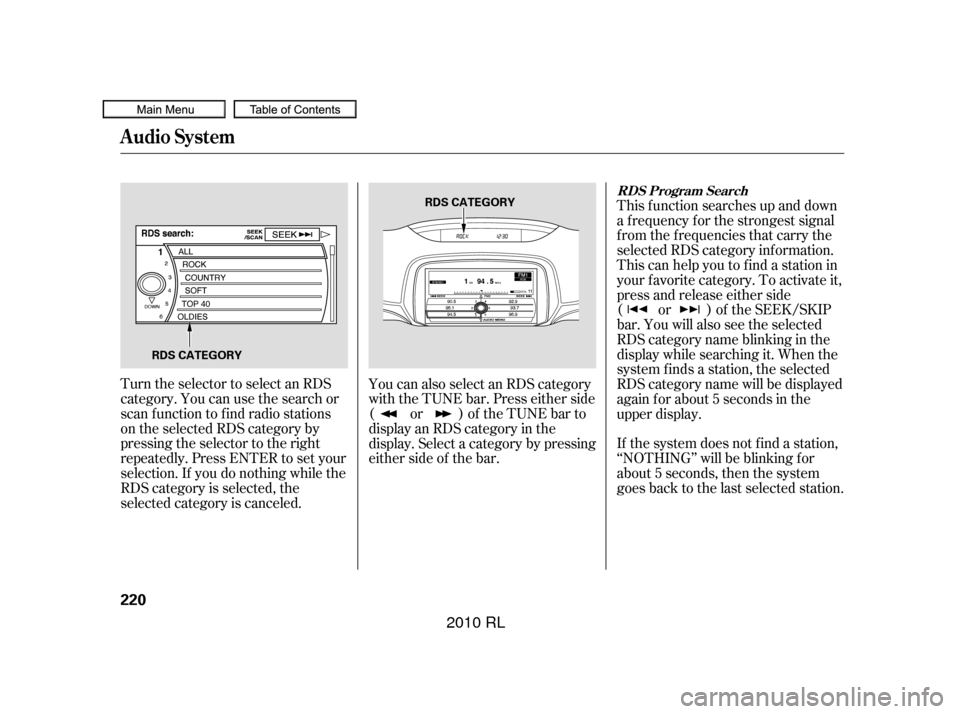
Turn the selector to select an RDS
category. You can use the search or
scan function to find radio stations
on the selected RDS category by
pressing the selector to the right
repeatedly. Press ENTER to set your
selection. If you do nothing while the
RDS category is selected, the
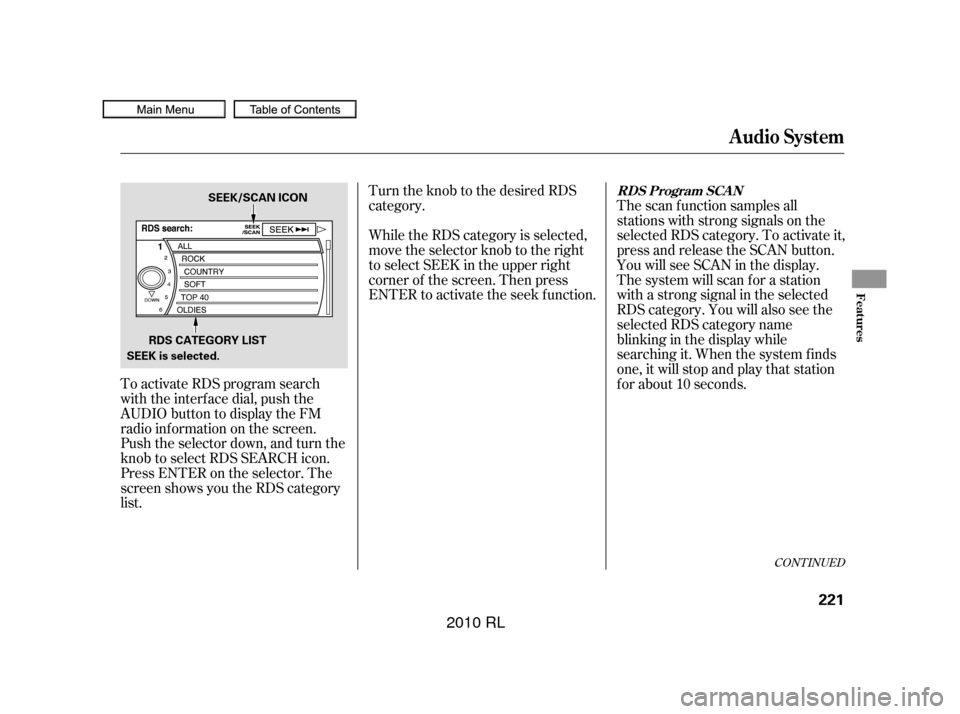
selected category is canceled. You can also select an RDS category
with the TUNE bar. Press either side
( or ) of the TUNE bar to
display an RDS category in the
display. Select a category by pressing
either side of the bar.This f unction searches up and down
a f requency f or the strongest signal
f rom the f requencies that carry the
selected RDS category inf ormation.
This can help you to find a station in
your favorite category. To activate it,
press and release either side
( or ) of the SEEK/SKIP
bar. You will also see the selected
RDScategorynameblinkinginthe
display while searching it. When the
system f inds a station, the selected
RDS category name will be displayed
again for about 5 seconds in the
upper display.
RDS Program Search
Audio System
220
RDS CATEGORY
RDS CATEGORY
�����—�����—�����y�
�������������y���
�(�����������y���������y
2010 RL
Page 224 of 551

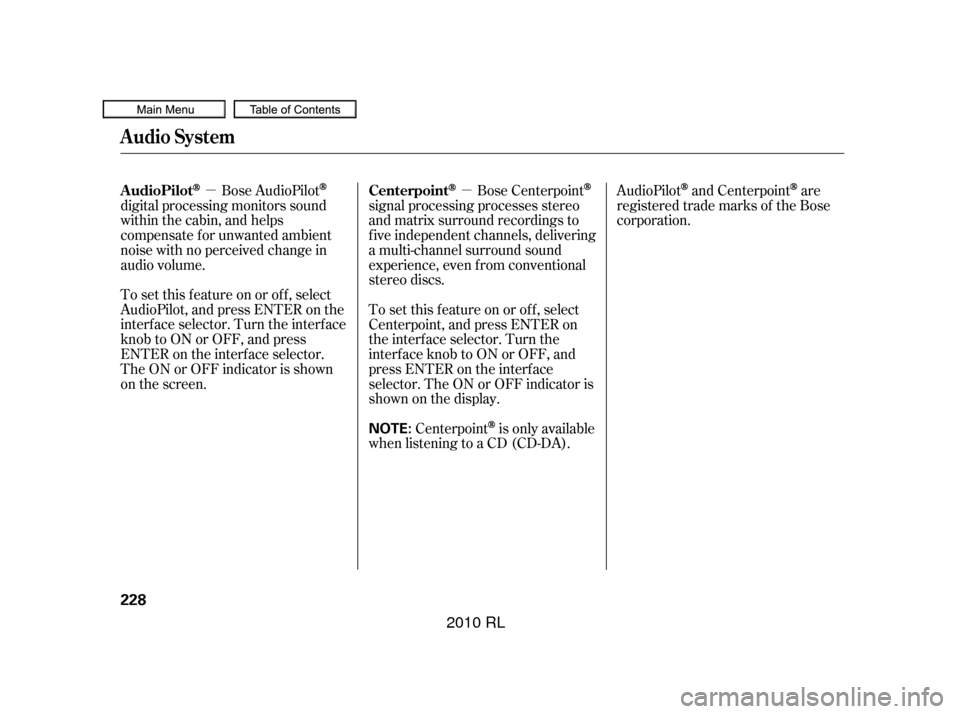
To activate RDS program search
with the interf ace dial, push the
AUDIO button to display the FM
radio inf ormation on the screen.
Push the selector down, and turn the
knob to select RDS SEARCH icon.
Press ENTER on the selector. The
screen shows you the RDS category
list.Turn the knob to the desired RDS
category.
While the RDS category is selected,
move the selector knob to the right
to select SEEK in the upper right
corner of the screen. Then press
ENTER to activate the seek f unction.
The scan f unction samples all
stations with strong signals on the
selected RDS category. To activate it,
press and release the SCAN button.
You will see SCAN in the display.
The system will scan f or a station
with a strong signal in the selected
RDS category. You will also see the
selected RDS category name
blinking in the display while
searching it. When the system finds
one, it will stop and play that station
f or about 10 seconds.
CONT INUED
RDS Program SCAN
Audio System
Features
221
RDS CATEGORY LIST
SEEK is selected. SEEK/SCAN ICON
�����—�����—�����y�
���������
���y���
�(�����������y���������y
2010 RL
Page 231 of 551

�µ�µ
To set this f eature on or of f , select
AudioPilot,andpressENTERonthe
interf ace selector. Turn the interf ace
knob to ON or OFF, and press
ENTER on the interf ace selector.
TheONorOFFindicatorisshown
on the screen. Bose AudioPilot
digital processing monitors sound
within the cabin, and helps
compensate f or unwanted ambient
noise with no perceived change in
audio volume.
Bose Centerpointsignal processing processes stereo
and matrix surround recordings to
f ive independent channels, delivering
a multi-channel surround sound
experience, even f rom conventional
stereo discs.
To set this f eature on or of f , select
Centerpoint, and press ENTER on
the interf ace selector. Turn the
interface knob to ON or OFF, and
press ENTER on the interf ace
selector. The ON or OFF indicator is
shownonthedisplay.
Centerpoint
is only available
when listening to a CD (CD-DA). AudioPilot
and Centerpointare
registered trade marks of the Bose
corporation.
A udioPilotCenterpoint
Audio System
228
NOTE:
�����—�����—�����y�
�������������y���
�(�����������y���������y
2010 RL
Page 233 of 551

Your vehicle is capable of receiving
XM
Radio anywhere in the United
States, and Canada, except Hawaii
and Alaska. XM is a registered
trademark of Sirius XM Radio
,Inc.
and, XM CANADA
is a registered
business name of Canadian Satellite
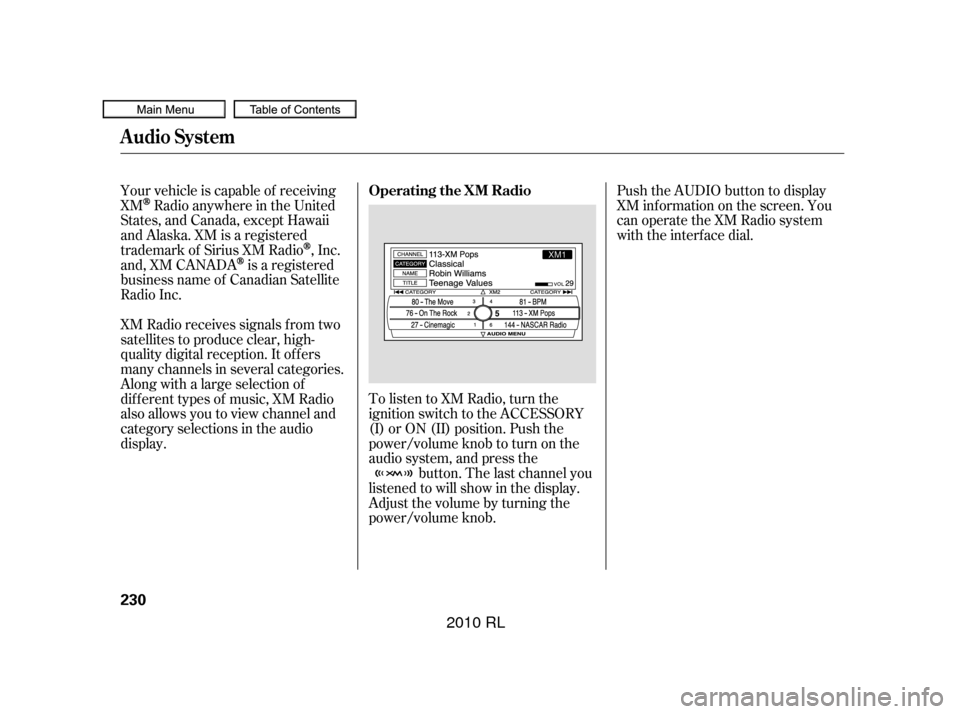
Radio Inc. Push the AUDIO button to display
XM inf ormation on the screen. You
can operate the XM Radio system
with the interface dial.
To listen to XM Radio, turn the
ignition switch to the ACCESSORY
(I) or ON (II) position. Push the
power/volume knob to turn on the
audio system, and press the button. The last channel you
listened to will show in the display.
Adjust the volume by turning the
power/volume knob.
XM Radio receives signals f rom two
satellites to produce clear, high-
quality digital reception. It of f ers
many channels in several categories.
Along with a large selection of
dif f erent types of music, XM Radio
also allows you to view channel and
category selections in the audio
display.
Audio System
Operating the XM Radio
230
�����—�����—�����y�
����
��������y���
�(�����������y���������y
2010 RL