Page 38 of 106
Features and functions
31
EJU31301Shift lever
The shift lever is located on the starboard
(right) side of the watercraft and is used to
control the reverse gate, which allows the wa-
tercraft to move in reverse or forward.
When the shift lever is in the reverse position,
the watercraft can be launched from a trailer,
or backed up out of tight spots where you can-
not turn around easily.
EJU31312Quick Shift Trim System (QSTS)
selector
The QSTS selector is located at the left han-
dlebar grip and is used to adjust the trim angle
of the watercraft.
Operating the QSTS selector changes the an-
gle of the jet thrust nozzle vertically. This
changes the trim angle of the watercraft.
1Shift lever
2Forward position
3Reverse position
1
2 3
1Quick Shift Trim System (QSTS) selector
2QSTS selector lock lever
UF2H70E0.book Page 31 Thursday, January 15, 2009 10:49 AM
Page 50 of 106

Features and functions
43
TIP:
Kilometers are selected as the display units at
the Yamaha factory.
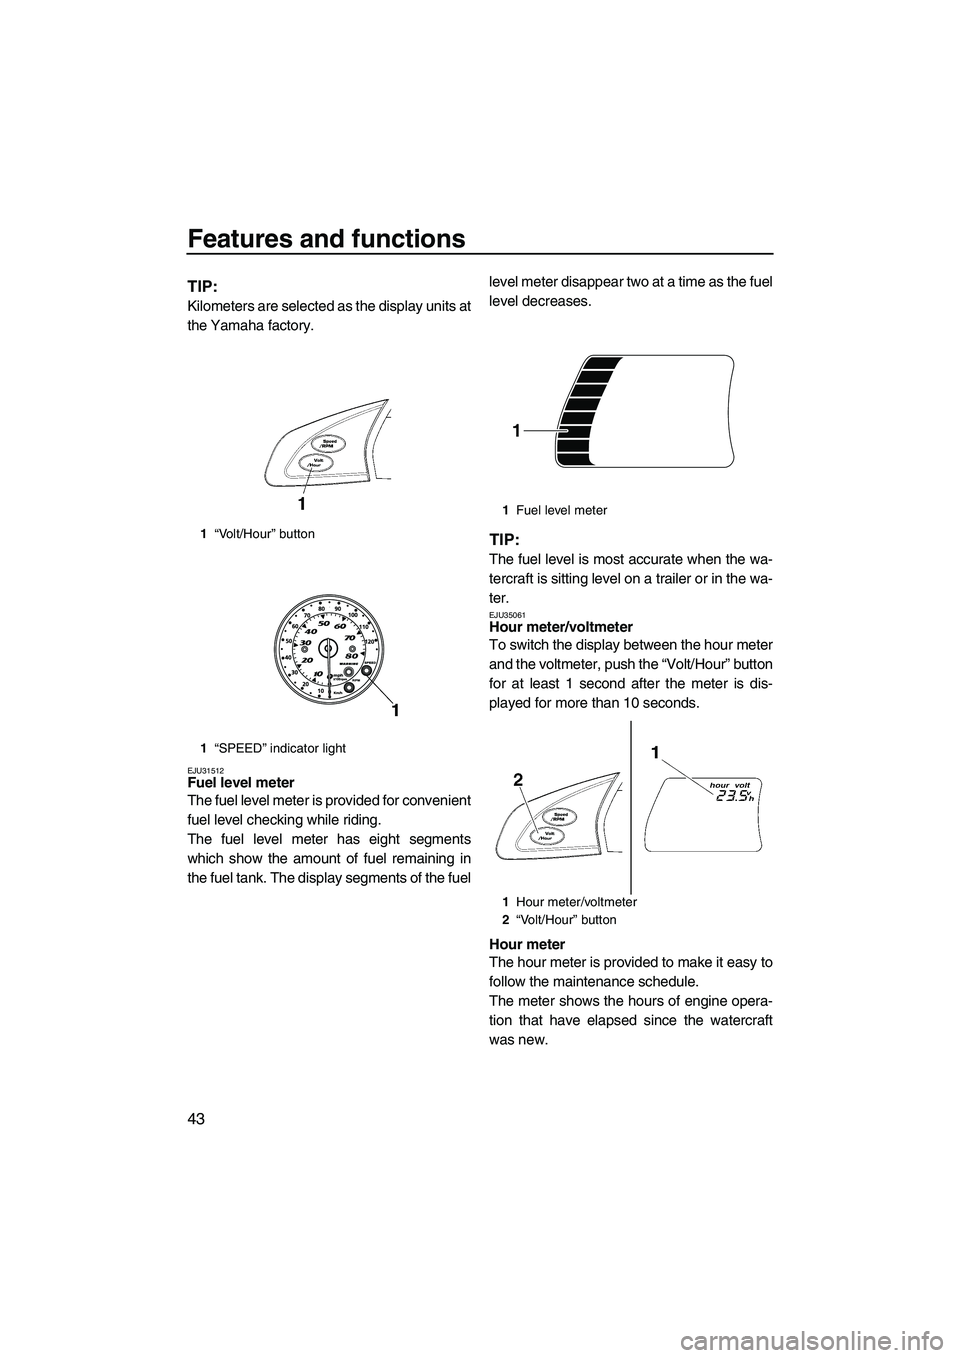
EJU31512Fuel level meter
The fuel level meter is provided for convenient
fuel level checking while riding.
The fuel level meter has eight segments
which show the amount of fuel remaining in
the fuel tank. The display segments of the fuellevel meter disappear two at a time as the fuel
level decreases.
TIP:
The fuel level is most accurate when the wa-
tercraft is sitting level on a trailer or in the wa-
ter.
EJU35061Hour meter/voltmeter
To switch the display between the hour meter
and the voltmeter, push the “Volt/Hour” button
for at least 1 second after the meter is dis-
played for more than 10 seconds.
Hour meter
The hour meter is provided to make it easy to
follow the maintenance schedule.
The meter shows the hours of engine opera-
tion that have elapsed since the watercraft
was new.
1“Volt/Hour” button
1“SPEED” indicator light
1Fuel level meter
1Hour meter/voltmeter
2“Volt/Hour” button
1
UF2H70E0.book Page 43 Thursday, January 15, 2009 10:49 AM
Page 67 of 106

Operation
60
EJU32742
Operation
WARNING
EWJ00510
Before operating your watercraft, become
familiar with all of the controls. Consult a
Yamaha dealer about any control or func-
tion that you do not fully understand. Fail-
ure to understand how the controls work
could cause an accident or prevent you
from avoiding an accident.
NOTICE
ECJ00460
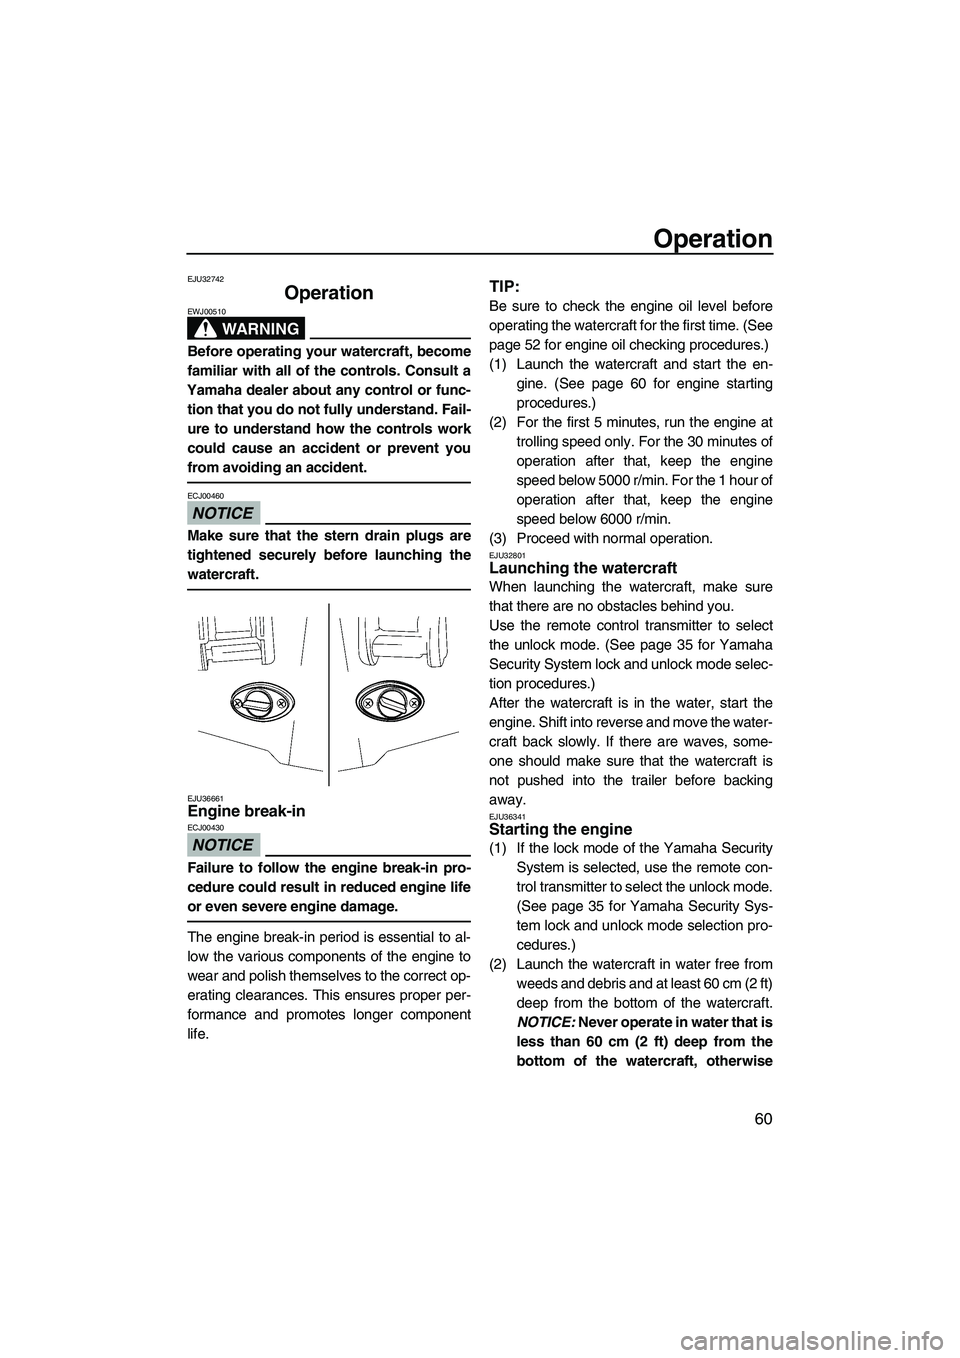
Make sure that the stern drain plugs are
tightened securely before launching the
watercraft.
EJU36661Engine break-in
NOTICE
ECJ00430
Failure to follow the engine break-in pro-
cedure could result in reduced engine life
or even severe engine damage.
The engine break-in period is essential to al-
low the various components of the engine to
wear and polish themselves to the correct op-
erating clearances. This ensures proper per-
formance and promotes longer component
life.
TIP:
Be sure to check the engine oil level before
operating the watercraft for the first time. (See
page 52 for engine oil checking procedures.)
(1) Launch the watercraft and start the en-
gine. (See page 60 for engine starting
procedures.)
(2) For the first 5 minutes, run the engine at
trolling speed only. For the 30 minutes of
operation after that, keep the engine
speed below 5000 r/min. For the 1 hour of
operation after that, keep the engine
speed below 6000 r/min.
(3) Proceed with normal operation.
EJU32801Launching the watercraft
When launching the watercraft, make sure
that there are no obstacles behind you.
Use the remote control transmitter to select
the unlock mode. (See page 35 for Yamaha
Security System lock and unlock mode selec-
tion procedures.)
After the watercraft is in the water, start the
engine. Shift into reverse and move the water-
craft back slowly. If there are waves, some-
one should make sure that the watercraft is
not pushed into the trailer before backing
away.
EJU36341Starting the engine
(1) If the lock mode of the Yamaha Security
System is selected, use the remote con-
trol transmitter to select the unlock mode.
(See page 35 for Yamaha Security Sys-
tem lock and unlock mode selection pro-
cedures.)
(2) Launch the watercraft in water free from
weeds and debris and at least 60 cm (2 ft)
deep from the bottom of the watercraft.
NOTICE: Never operate in water that is
less than 60 cm (2 ft) deep from the
bottom of the watercraft, otherwise
UF2H70E0.book Page 60 Thursday, January 15, 2009 10:49 AM
Page 80 of 106

Operation
73
(5) Flush the cooling system to prevent it
from clogging with salt, sand, or dirt. (See
page 74 for flushing procedures.)
(6) Rinse the engine and engine compart-
ment with a small amount of water.
NOTICE: Do not use high-pressure
water when rinsing the engine or en-
gine compartment as severe engine
damage could result.
[ECJ00571]
(7) Wipe the engine and engine compart-
ment dry with a clean cloth (repeat step 3,
if necessary).
(8) Wipe the hull, handlebars, and jet unit dry
with a clean cloth.
(9) Spray a rust inhibitor on metallic parts to
minimize corrosion.
(10) Allow the engine compartment to air dry
completely before installing the seats.
EJU33462
Transporting
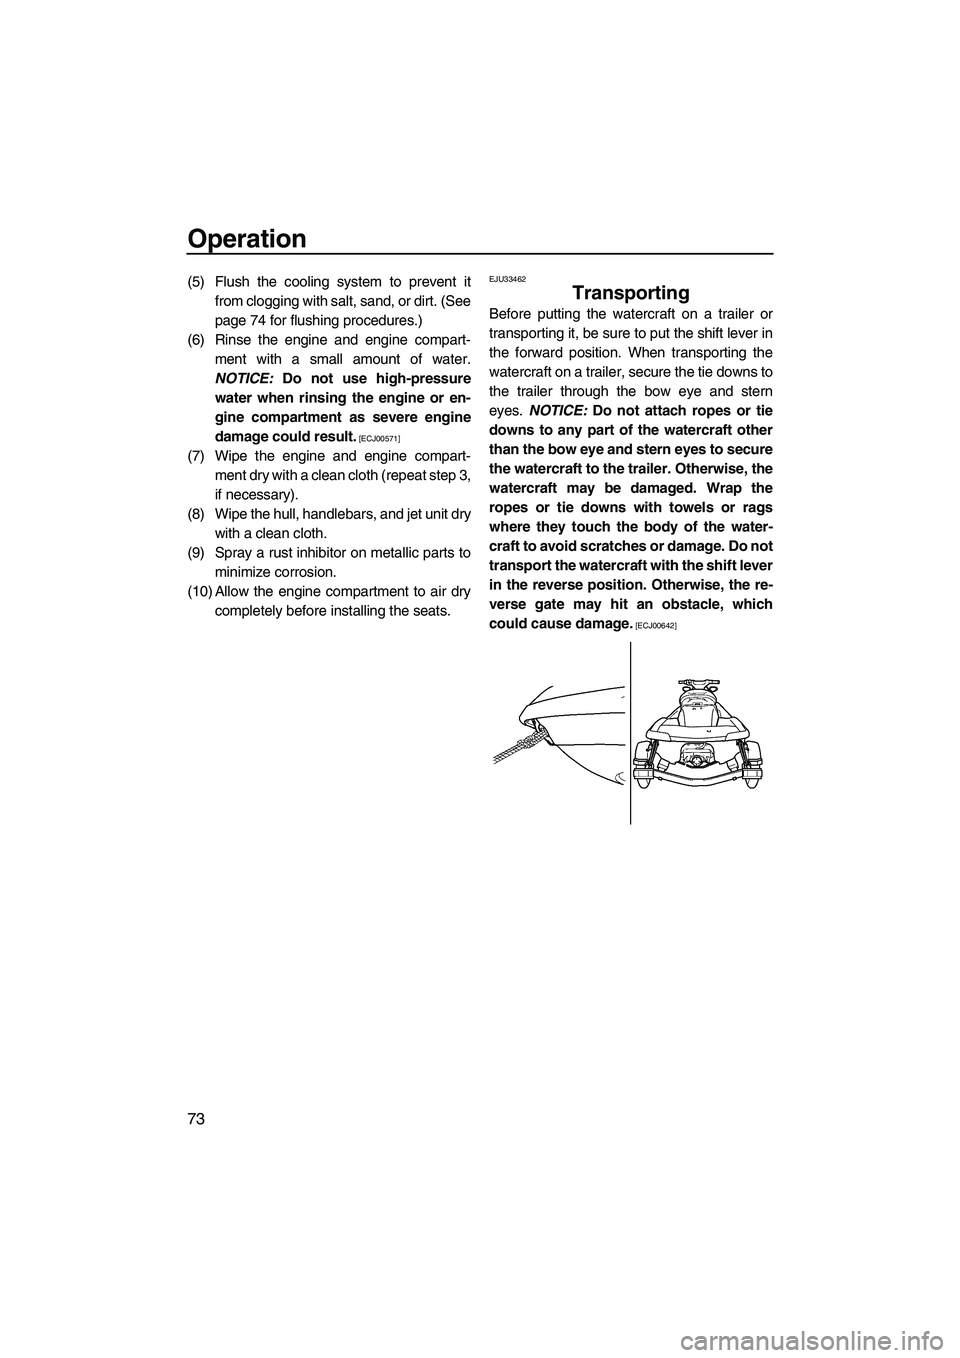
Before putting the watercraft on a trailer or
transporting it, be sure to put the shift lever in
the forward position. When transporting the
watercraft on a trailer, secure the tie downs to
the trailer through the bow eye and stern
eyes. NOTICE: Do not attach ropes or tie
downs to any part of the watercraft other
than the bow eye and stern eyes to secure
the watercraft to the trailer. Otherwise, the
watercraft may be damaged. Wrap the
ropes or tie downs with towels or rags
where they touch the body of the water-
craft to avoid scratches or damage. Do not
transport the watercraft with the shift lever
in the reverse position. Otherwise, the re-
verse gate may hit an obstacle, which
could cause damage.
[ECJ00642]
UF2H70E0.book Page 73 Thursday, January 15, 2009 10:49 AM