2009 VOLVO S40 buttons
[x] Cancel search: buttonsPage 62 of 286

02 Instruments and controls12-volt sockets
0262
12-volt socket (front seat)
G026349
12-volt socket, auxiliary equipmentThe 12-volt socket can be used to plug in cer-
tain accessories such as cellular telephones,
etc. The maximum current is 10 A. The key
must be in position I (or higher) for the auxiliary
socket to function.Ashtrays/cigarette lighterThe auxiliary socket can also be used for a cig-
arette lighter
1, and ashtrays, which can be pur-
chased from your Volvo retailer.
NOTE
The cover should be kept on when the aux-
iliary socket is not in use.Auxiliary equipmentThe buttons to the left of the 12-volt socket can
be used for Volvo-installed optional or auxiliary
equipment.12-volt socket (rear seat)
G029082
NOTE
The 12-volt socket in the rear seat cannot
function as a cigarette lighter.
1Accessory.
Page 70 of 286

02 Instruments and controlsCruise control (option)
0270
Engaging the cruise control function
G020141
The cruise control buttons are located on the
left side of the steering wheel hub.
NOTE
This does not set the vehicle's speed.1.
Press the CRUISE button.
CRUISE
will
appear in the function display in the center
of the instrument panel.
2.
Press+ or – to set the current speed.
CRUISE ON
will be displayed.
Increasing or decreasing speed
G031667
Use+ or – in the following ways to increase or
decrease the vehicle's speed:
1.
Press and hold down + or – until the vehicle
reaches the desired speed. This will
become the set speed when the button is
released.
2.
Press+ or – for approximately a half sec-
ond and release the button to increase or
decrease vehicle speed by approximately
1 mph (1.6 km/h).
NOTE
•
Cruise control will not function at
speeds below 20 mph (30 km/h).
•
Momentary acceleration, for less than
1 minute (e.g. when passing another
car), does not affect cruise control oper-
ation. The car will automatically return
to the previously set speed when the
accelerator pedal is released.
Temporarily disengaging the cruise
control•
Press0 to temporarily disengage cruise
control.
CRUISE
will appear in the function display.
The currently set speed is stored in the sys-
tem's memory.
Cruise control is also automatically
disengaged:•
If the speed drops below approximately
20 mph (30 km/h) when driving uphill.
•
When the brake or clutch pedal is
depressed.
•
If the gear selector is moved to posi-
tionN.
Page 76 of 286

02 Instruments and controlsPower windows
0276
Operation
G017439
Control panel in driver's door
Open/close front windowsOpen/close rear windows
The power windows are controlled by buttons
in the arm rests.
•
The ignition must be ON (ignition key in
positionI,II or the engine running) for the
power windows to function.
•
The power windows will also function after
the ignition has been switched off as long
as neither of the front doors has been
opened.
Opening a windowLightly press down the front edge of any of the
buttons (A or B) to the first detent ("stop") to
open a window to the position of your choice.
WARNING
•
Always remove the ignition key when
the vehicle is unattended.
•
Never leave children unattended in the
vehicle.
•
Make sure that the windows are com-
pletely unobstructed before they are
operated.
•
Press the front part of any of the buttons (A
or B) as far down as possible and release
to automatically open the window com-
pletely.
•
To stop the window at any time, pull the
button up.NOTE
To reduce buffeting wind noise if the rear
windows are opened, also open the front
windows slightly.Closing a window•
Lightly pull up the front edge of any of the
buttons (A or B) to the first detent ("stop")to close a window to the position of your
choice.
•
Pull the front part of any of the buttons (A
or B) up as far as possible and release to
automatically close the window com-
pletely. To stop the window at any time,
press the button down.
Lockout switch for rear windows
G017440
Lockout switchThe electrically operated rear door windows
can be disabled by a switch located on the
driver's door (see illustration).
If the light in the switch is OFF: The rear door
windows can be raised or lowered with the
Page 77 of 286

02 Instruments and controls
Power windows
0277
buttons on the rear door armrests or with the
buttons on the driver's door armrest.
If the light in the switch is ON: The rear door
windows can only be raised or lowered with the
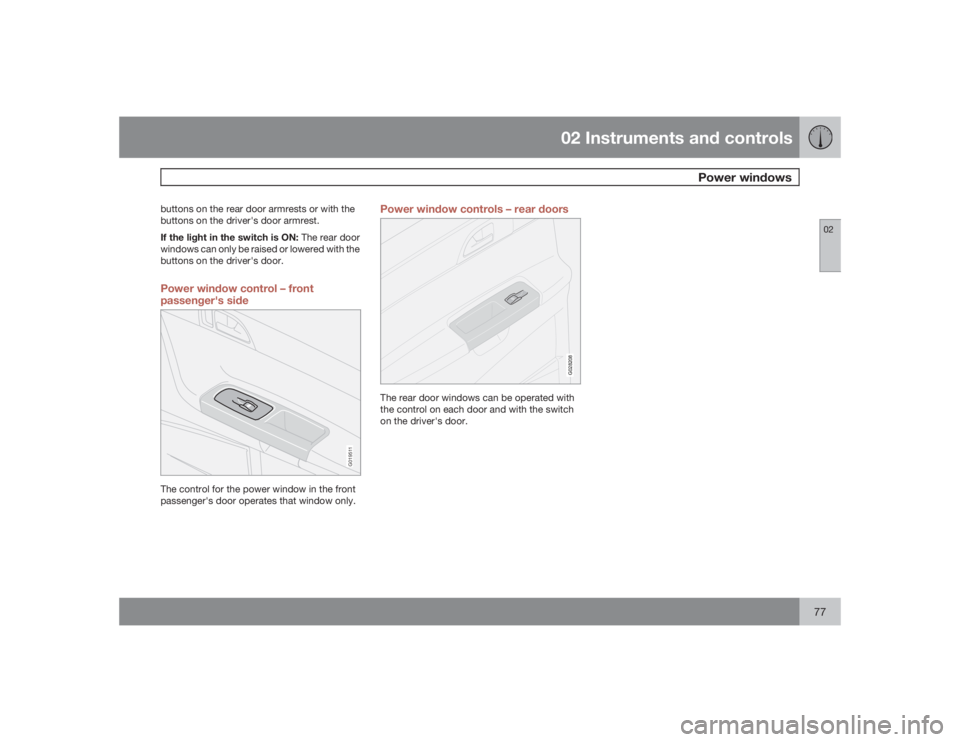
buttons on the driver's door.Power window control – front
passenger's side
G019511
The control for the power window in the front
passenger's door operates that window only.
Power window controls – rear doors
G028208
The rear door windows can be operated with
the control on each door and with the switch
on the driver's door.
Page 80 of 286

02 Instruments and controlsMirrors
0280
Folding the mirrors in1.
Press down the L and R mirror control but-
tons on the driver's door at the same time.
2. Release them after approximately one sec-
ond. The mirrors automatically fold in to the
fully retracted position.Folding the mirrors outFold out the mirrors by pressing down the L
andR buttons at the same time. The mirrors
automatically fold out to the fully extended
position.Automatic foldingWhen the vehicle is locked/unlocked with the
remote control or with the optional keyless
drive system (see page 123), the power door
mirrors with automatically fold in or out.
NOTE
The door mirrors will not fold out automati-
cally when the vehicle is unlocked if they
were folded in using the buttons on the driv-
er's door control panel.This function can be activated/deactivated in
Personal settings (see page 83). In the menu
system, go to Car settings
Fold mirr. when
locking.
Return to "neutral" positionIf a mirror has been inadvertently moved (bum-
ped in a parking lot, etc.) from its original (neu-
tral) position, it must be moved back to this
position before automatic folding will function
again.
To so so:
1.
Fold in the mirrors by pressing the L and
R mirror control buttons on the driver's
door at the same time.
2.
Fold them out again by pressing the L and
R mirror control buttons.
This returns the mirrors to their original (neutral)
positions.Blind Spot Information System (BLIS) -
optionThe Blind Spot Information System (BLIS) is an
information system that indicates the presence
of another vehicle in the side-view mirror's
"blind area." See page 164 for detailed infor-
mation.
Page 86 of 286

02 Instruments and controlsHomeLink® Wireless Control System (option)
0286
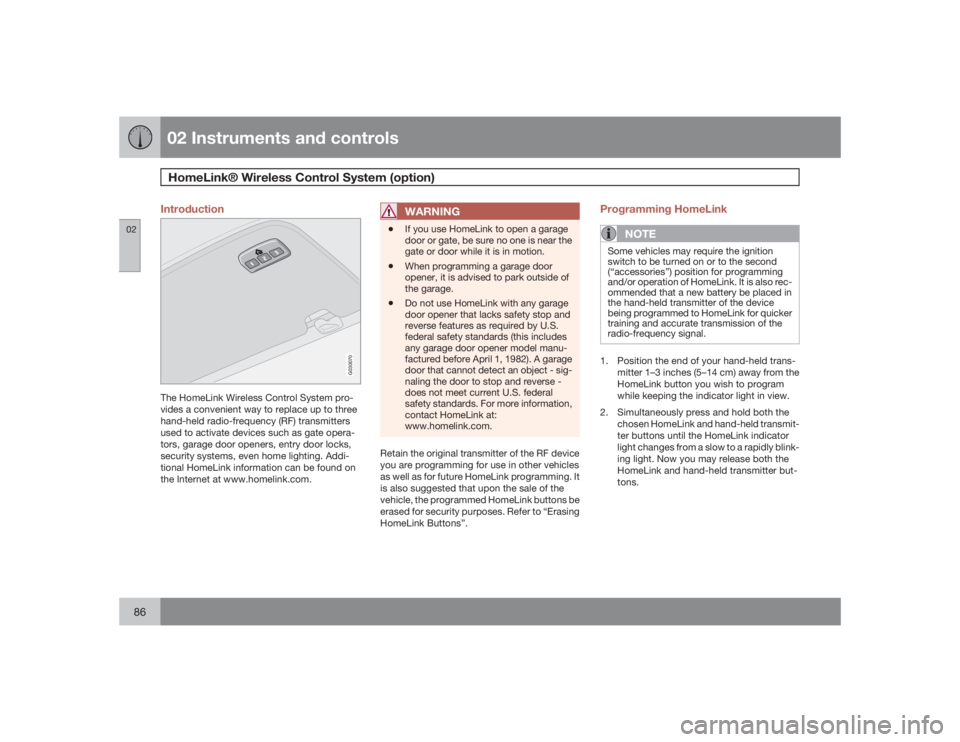
Introduction
G030070
The HomeLink Wireless Control System pro-
vides a convenient way to replace up to three
hand-held radio-frequency (RF) transmitters
used to activate devices such as gate opera-
tors, garage door openers, entry door locks,
security systems, even home lighting. Addi-
tional HomeLink information can be found on
the Internet at www.homelink.com.
WARNING
•
If you use HomeLink to open a garage
door or gate, be sure no one is near the
gate or door while it is in motion.
•
When programming a garage door
opener, it is advised to park outside of
the garage.
•
Do not use HomeLink with any garage
door opener that lacks safety stop and
reverse features as required by U.S.
federal safety standards (this includes
any garage door opener model manu-
factured before April 1, 1982). A garage
door that cannot detect an object - sig-
naling the door to stop and reverse -
does not meet current U.S. federal
safety standards. For more information,
contact HomeLink at:
www.homelink.com.
Retain the original transmitter of the RF device
you are programming for use in other vehicles
as well as for future HomeLink programming. It
is also suggested that upon the sale of the
vehicle, the programmed HomeLink buttons be
erased for security purposes. Refer to “Erasing
HomeLink Buttons”.
Programming HomeLink
NOTE
Some vehicles may require the ignition
switch to be turned on or to the second
(“accessories”) position for programming
and/or operation of HomeLink. It is also rec-
ommended that a new battery be placed in
the hand-held transmitter of the device
being programmed to HomeLink for quicker
training and accurate transmission of the
radio-frequency signal.1. Position the end of your hand-held trans-
mitter 1–3 inches (5–14 cm) away from the
HomeLink button you wish to program
while keeping the indicator light in view.
2. Simultaneously press and hold both the
chosen HomeLink and hand-held transmit-
ter buttons until the HomeLink indicator
light changes from a slow to a rapidly blink-
ing light. Now you may release both the
HomeLink and hand-held transmitter but-
tons.
Page 87 of 286

02 Instruments and controls
HomeLink® Wireless Control System (option)
02�`�`87
NOTE
Some devices may require you to replace
this Programming Step 2 with procedures
noted in the “Gate Operator / Canadian Pro-
gramming” section. If the HomeLink indica-
tor light does not change to a rapidly
blinking light after performing these steps,
contact HomeLink at www.homelink.com.3.
Firmlypress, hold for five seconds and
release the programmed HomeLink but-
ton up to two separate times to activate the
door. If the door does not activate, press
and hold the just-trained HomeLink button
and observe the indicator light.
•If the indicator light stays on con-
stantly, programming is complete
and your device should activate when
the HomeLink button is pressed and
released.•If the indicator light blinks rapidly for
two seconds and then turns to a con-
stant light continue with “Program-
ming” steps 4-6 to complete the pro-
gramming of a rolling code equipped
device (most commonly a garage door
opener).
4. At the garage door opener receiver (motor-
head unit) in the garage, locate the “learn”
or “smart” button. This can usually befound where the hanging antenna wire is
attached to the motor-head unit.
5. Firmly press and release the “learn” or
“smart” button. (The name and color of the
button may vary by manufacturer.) There
are 30 seconds to initiate step 6.
6. Return to the vehicle and firmly press, hold
for two seconds and release the pro-
grammed HomeLink button. Repeat the
“press/hold/release” sequence a second
time, and, depending on the brand of the
garage door opener (or other rolling code
equipped device), repeat this sequence a
third time to complete the programming
process.
HomeLink should now activate your rolling
code equipped device.
Gate Operator/Canadian ProgrammingCanadian radio-frequency laws require trans-
mitter signals to “time-out” (or quit) after sev-
eral seconds of transmission – which may not
be long enough for HomeLink to pick up the
signal during programming. Similar to this
Canadian law, some U.S. gate operators are
designed to “time-out” in the same manner.
If you live in Canada or you are having difficul-
ties programming a gate operator or garage
door opener by using the “Programming” pro-cedures,replace “Programming HomeLink”
step 2 with the following:
•
Continue to press and hold the HomeLink
button while you press and release -
every two seconds (“cycle”) your hand-
held transmitter until the HomeLink indica-
tor light changes from a slow to a rapidly
blinking light. Now you may release both
the HomeLink and hand-held transmitter
buttons.
Proceed with “Programming” step 3 to com-
plete.
Using HomeLinkTo operate, simply press and release the pro-
grammed HomeLink button. Activation will
now occur for the trained device (i.e., garage
door opener, gate operator, security system,
entry door lock, home/office lighting, etc.). For
convenience, the hand-held transmitter of the
device may also be used at any time. In the
event that there are still programming difficul-
ties or questions, contact HomeLink at:
www.homelink.com.
Page 88 of 286

02 Instruments and controlsHomeLink® Wireless Control System (option)
0288
Erasing HomeLink ButtonsTo erase programming from the three Home-
Link buttons (individual buttons cannot be
erased but can be “reprogrammed” as outlined
below), follow the step noted:•
Press and hold the two outer HomeLink
buttons until the indicator light begins to
flash-after 10 seconds. Release both but-
tons. Do not hold for longer that 20 sec-
onds. HomeLink is now in the train (or
learning) mode and can be programmed at
any time beginning with “Programming” -
step 1.
Reprogramming a Single HomeLink
ButtonTo program a device to HomeLink using a
HomeLink button previously trained, follow
these steps:
1. Press and hold the desired HomeLink but-
ton.DO NOT release the button.
2. The indicator light will begin to flash after
20 seconds. Without releasing the Home-
Link button, proceed with “Programming”
- step 1.
For questions or comments, contact HomeLink
at: www.homelink.com or 1–800–355–3515.This device complies with FCC rules part 15
and Industry Canada (IC) RSS-210. Operation
is subject to the following two conditions: (1)
This device may not cause harmful interfer-
ence, and (2) This device must accept any
interference that may be received including
interference that may cause undesired opera-
tion.
NOTE
The transmitter has been tested and com-
plies with FCC and IC rules. Changes or
modifications not expressly approved by
the party responsible for compliance could
void the user’s authority to operate the
device.
1
HomeLink and the HomeLink house are regis-
tered trademarks of Johnson Controls, Inc.
1The term “IC:” before the certification/registration number only signifies that Industry Canada technical specifications were met.