2009 VOLKSWAGEN PASSAT Break
[x] Cancel search: BreakPage 12 of 392

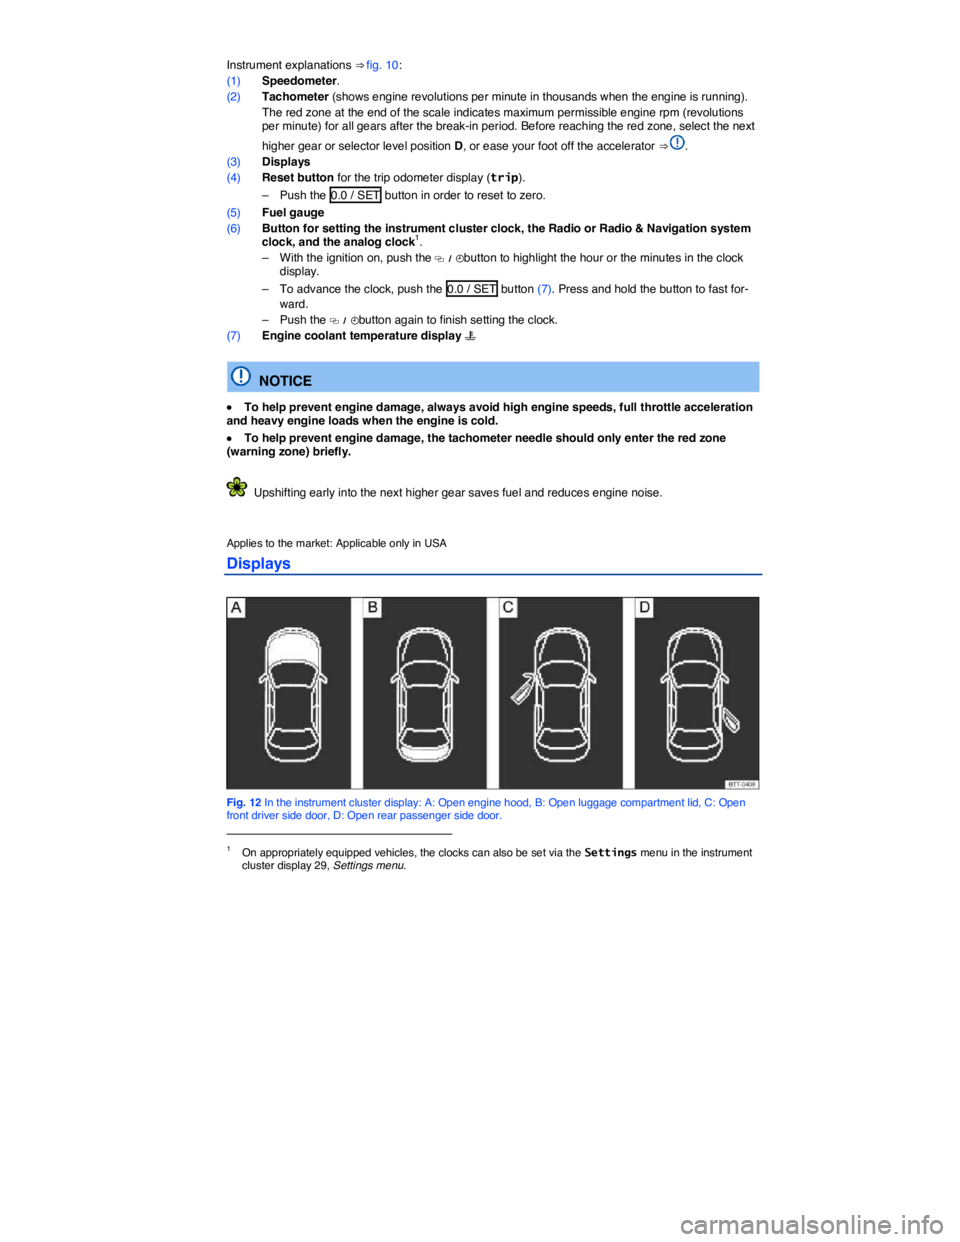
Instrument explanations ⇒ fig. 10:
(1) Speedometer.
(2) Tachometer (shows engine revolutions per minute in thousands when the engine is running).
The red zone at the end of the scale indicates maximum permissible engine rpm (revolutions per minute) for all gears after the break-in period. Before reaching the red zone, select the next
higher gear or selector level position D, or ease your foot off the accelerator ⇒ .
(3) Displays
(4) Reset button for the trip odometer display (trip).
– Push the 0.0 / SET button in order to reset to zero.
(5) Fuel gauge
(6) Button for setting the instrument cluster clock, the Radio or Radio & Navigation system clock, and the analog clock1.
– With the ignition on, push the �
Page 14 of 392

Outside temperature display
At outside temperatures below about +39 °F (+4 °C), a “snowflake symbol” (icy road warning) appears in the display. The symbol flashes at first, then stays on until the outside temperature rises above
+43 °F (+6 °C) ⇒ .
When the vehicle is not moving or when you are driving at very low speeds, the temperature displayed may be slightly higher than the actual outside temperature.
The measurement range is from -40 °F (-40 °C) to +122 °F (+50 °C).
Compass display (if applicable)
On vehicles equipped with compass display, the current compass direction is indicated in the instru-ment cluster display when the ignition and navigation system are switched on, Compass.
Selector lever positions
The selector lever position is shown both on the side of the selector lever and in the instrument cluster display. The respective gear may also be shown in the instrument cluster display in Drive D and Sport Drive S, as well as in Tiptronic® mode.
WARNING
Failure to heed warning lights and instrument cluster text messages can cause the vehicle to break down in traffic and result in a collision and serious personal injury.
�x Never ignore warning lights or text WARNINGS.
�x Always stop the vehicle as soon as it is safe to do so.
�x Park the vehicle at a safe distance from moving traffic and where no part of the hot cata-lytic converter and exhaust system can come into contact with flammable materials under the vehicle, such as dry grass, brush, spilled fuel, etc.
�x A broken down vehicle presents a high accident risk for itself and others. Switch on emergency flashers and set up a warning triangle to warn oncoming traffic.
WARNING
Roads and bridges may be dangerously icy even if the outside air temperature is above freez-ing.
�x If you use the outside temperature display to tell you about frost conditions, remember that roads can even ice over at temperatures above +39 °F (+4 °C). Always remember: even if the “snowflake symbol” (icy road warning) is not displayed, there could still be black ice on the road.
�x Never rely exclusively on the outside temperature display.
NOTICE
Failure to heed warning lights or text WARNINGS can result in vehicle damage.
The instrument cluster displays and their arrangement may vary depending on the vehicle model and engine. For displays without warning and information messages, malfunctions are only signaled with indicator lights.
If there are multiple warning messages, the symbols are displayed for several seconds in order of importance. The symbols are displayed until the cause has been corrected.
Page 51 of 392

Preparation for the anti-theft alarm system
If the vehicle is pre-equipped for installation of the anti-theft alarm system, the alarm system can be retrofitted by an authorized Volkswagen dealer or an authorized Volkswagen Service Facility.
The anti-theft alarm system makes it more difficult for someone to break into or steal the vehicle.
The anti-theft alarm system is automatically activated when the vehicle is locked by pressing the lock button on the remote control vehicle key.
When is the alarm triggered?
The anti-theft alarm system sounds for about 30 seconds and the turn signals flash for up to 5 minutes if the following occurs with respect to the locked vehicle:
�x Opening a door that has been mechanically unlocked without switching on the ignition within about 15 seconds.
�x Forcibly opening a door.
�x Forcibly opening the engine hood.
�x Forcibly opening the luggage compartment lid.
�x Switching on the ignition with an invalid key.
�x Disconnecting the vehicle battery.
Deactivating the alarm
Unlock the vehicle with the unlock button on the remote control vehicle key and switch on the ignition with a valid vehicle key.
For vehicles with Keyless Access, the alarm can be deactivated by grasping one of the door handles when a valid remote control vehicle key is in range or by holding the remote control vehicle key to the right of the steering column trim and pressing the starter button, Unlocking and locking vehicles with Keyless Access.
After the alarm has stopped and the vehicle is opened again in the same or a different area that is protected by the alarm, the alarm is triggered again. For example, the alarm will sound again if the luggage compartment lid is opened after one of the doors has been opened.
The anti-theft alarm system is not activated when the vehicle is locked with the power lock switch �1 on the inside of the driver or front passenger doors.
If the driver door is mechanically unlocked using the vehicle key bit, only the driver door is unlocked, but not the entire vehicle. Switching on the ignition deactivates the anti-theft alarm system and activates the central locking button. To unlock the doors, use the central locking button or remote control vehicle key.
If the vehicle battery is dead or weak, the anti-theft alarm system will not work properly.
Page 88 of 392

�x If the outside temperature or the temperature inside the passenger compartment is 77 °F (25 °C) or more.
Function Action for seat heating ⇒ fig. 67
Switch on: Press the �A button. Seat heating is switched on to maximum.
Adjust the heating level: Press the button �Arepeatedly until the desired heating level is set.
Switch off: Press the button�Arepeatedly until all indicator lights in the button are off.
Special seat heating features
On the driver and the passenger side, the seat heating will resume at the setting that was set when the ignition was switched off. However, this feature only works if the key is not taken out of the ignition switch, or, for vehicles with Keyless Access, the driver door is not opened or the vehicle is not locked.
People suffering from a low level of perceived pain or a lowered awareness of pain as from medication, paralysis, or chronic illness (e.g. diabetes) should NEVER use the seat heating feature
⇒ !
The use of seat heating by persons with these conditions could result in burns to the back, buttocks, and legs that may take a long time to heal and may never heal completely. If you have any of these conditions, you should take regular breaks and get out of the vehicle, particularly on long trips. Consult your doctor for advice regarding your specific condition.
WARNING
Certain medical conditions, such as paralysis and diabetes, and certain medications can increase the risk of serious burns when the seat heating feature is switched on.
�x Vehicle occupants who have a low level of perceived pain or a lowered awareness of pain can receive serious burns to the back, buttocks, and legs that take a long time to heal or may never heal completely.
�x Never use the seat heating feature if you or your passengers are at risk of being burned because of a medical condition. Take regular breaks and get out of the vehicle, particularly on long trips. Consult your doctor for advice regarding your specific condition.
�x Never let exposed skin remain in contact with the seat upholstery when the seat heating is being used.
WARNING
A wet seat can cause the seat heating to malfunction and increase the risk of serious burns.
�x Always make sure the seats are dry before using the seat heating.
�x Never sit on the seat with wet clothes.
�x Never put damp or wet things including clothes on the seat.
�x Never spill liquids on the seats.
NOTICE
�x To help prevent damage to electrical and other parts in the seat, do not kneel on the front seats or apply concentrated pressure to a small area of the seat or backrest.
Page 92 of 392

WARNING
Not wearing a safety belt or wearing an improperly positioned safety belt increases the risk of severe personal injury or death. Safety belts offer optimum protection only when they are used properly.
�x Properly worn safety belts are the single most effective means of reducing the risk of serious injury and death in a collision or other accident. For this reason, always wear your safety belt properly and make sure all passengers wear their safety belts properly as well whenever the vehicle is moving.
�x The driver must always make sure that every person in the vehicle is properly seated on a seat of his or her own, properly fastens the safety belts belonging to that seat before the vehicle starts to move, and keeps the belts properly fastened while riding in the vehicle. This applies even when just driving around town. Therefore, always wear your safety belts and make sure that everybody in your vehicle is properly restrained.
�x Always secure children in the vehicle with a restraint system appropriate for their age, weight and height.
�x Always fasten safety belts correctly before driving off and make sure that all passengers are properly restrained.
�x Never attach the safety belt to the buckle of another seat. Attaching the safety belt to the wrong buckle will reduce safety belt effectiveness and can cause serious personal injury.
�x Never let any objects or liquids get into the safety belt latch and prevent it from working properly.
�x Never remove a safety belt while the vehicle is moving. Doing so will increase your risk of being injured or killed.
�x Never strap more than one person, including small children, into any single safety belt.
�x Never let children or babies ride sitting on your lap, and never place a safety belt over a child sitting on your lap.
�x Never wear belts over rigid or breakable objects in or on your clothing, such as eyeglasses, pens, keys, etc., as these may cause injury.
�x Several layers of heavy clothing (such as a coat worn over top of a sports jacket) may interfere with proper positioning of the safety belt and reduce the overall effectiveness of the system.
�x Never use comfort clips or devices that create slack in the shoulder belt. However, special clips may be required for the correct use of some child restraint systems.
�x Safety belts offer optimum protection only when the seat backrest is upright and belts are correctly positioned on the body.
Page 93 of 392

WARNING
Damage to safety belts reduces their overall effectiveness and increases the risk of serious personal injury and death whenever the vehicle is being used.
�x Never let safety belts become damaged by being caught in the door or seat hardware.
�x Torn or frayed safety belts can tear, and damaged safety belt hardware can break in an accident.
�x Inspect belts regularly for damage. If webbing, bindings, buckles, or retractors are damaged, have the belts replaced immediately with the correct replacement belts approved by Volkswagen for your vehicle, model, and model year.
�x Safety belts that were subject to stress in an accident and stretched must be replaced with a correct, new safety belt, preferably by an authorized Volkswagen dealer or authorized Volkswagen Service Facility.
�x Replacement after a crash may be necessary even if a safety belt shows no visible damage. Anchorages that have been loaded must also be inspected.
�x Damaged safety belts must be replaced; they cannot be repaired.
�x Never try to repair a damaged safety belt yourself. Never remove or modify the safety belts in any way.
�x Have safety belts, bindings, retractors and buckles replaced by an authorized Volkswagen dealer or authorized Volkswagen Service Facility.
�x Always keep the belts clean. Dirty belts may not work correctly and can impair the function of the inertia reel.
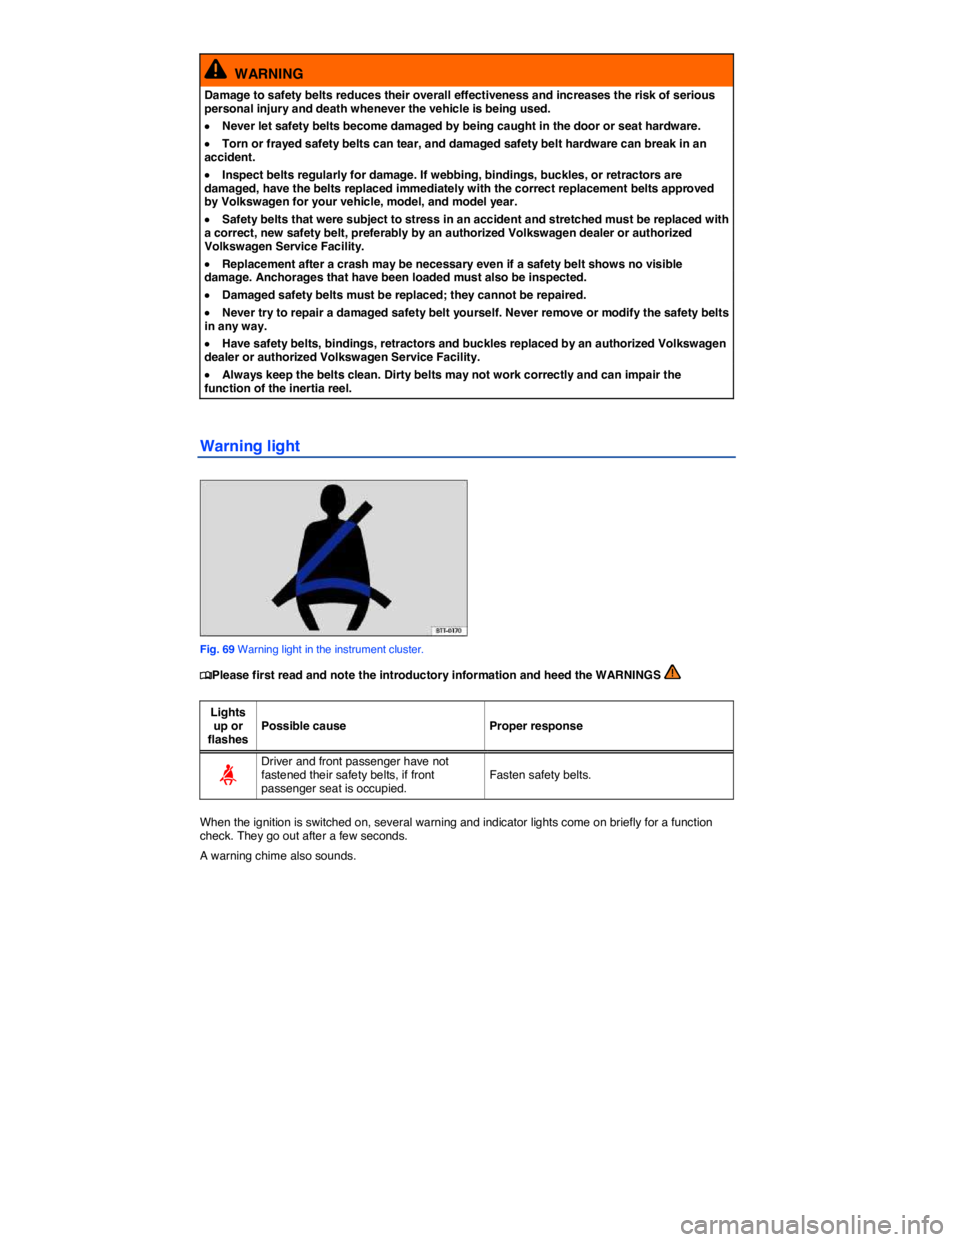
Warning light
Fig. 69 Warning light in the instrument cluster.
�
Page 101 of 392

WARNING
Improperly positioned safety belts can cause serious personal injury in an accident or a sudden braking maneuver.
�x Always make sure that all vehicle occupants are correctly restrained and stay in a correct seating position whenever the vehicle is being used.
�x Safety belts offer optimum protection only when the seat backrest is upright and belts are correctly positioned on the body.
�x A loose-fitting safety belt can cause serious injuries by shifting its position on your body from the strong bones to more vulnerable soft tissue and cause serious injury.
�x The shoulder belt portion of the safety belt must be positioned over the middle of the occupant's shoulder and never across the neck or throat.
�x The safety belt must lie flat and snug on the occupant's upper body.
�x Never wear the shoulder part of the safety belt under your arm or otherwise out of position.
�x The lap portion of the safety belt must be positioned as low as possible across the pelvis and never over the abdomen. Make sure the belt lies flat and snug against the pelvis. Pull on the safety belt to tighten if necessary.
�x Expectant mothers must always wear the lap portion of the safety belt as low as possible across the pelvis and below the rounding of the abdomen.
�x Do not twist the belt when attaching it. If you cannot untwist a twisted safety belt, wear it anyway, but make sure the twisted part is not in contact with your body. Have the problem corrected right away by an authorized Volkswagen dealer or authorized Volkswagen Service Facility.
�x Never hold the safety belt away from your body with your hand.
�x Never wear belts over rigid or breakable objects, such as eyeglasses, pens or keys.
�x Never modify the position of the belt using comfort clips, loops or similar devices.
�x If you have a physical impairment or condition that prevents you from sitting properly on the seat with the safety belt properly fastened, special modifications to your vehicle may be necessary.
�x Contact your authorized Volkswagen dealer or authorized Volkswagen Service Facility or call the Volkswagen Customer CARE Center at 1-800-822-8987 for information about possible modifications to your vehicle.
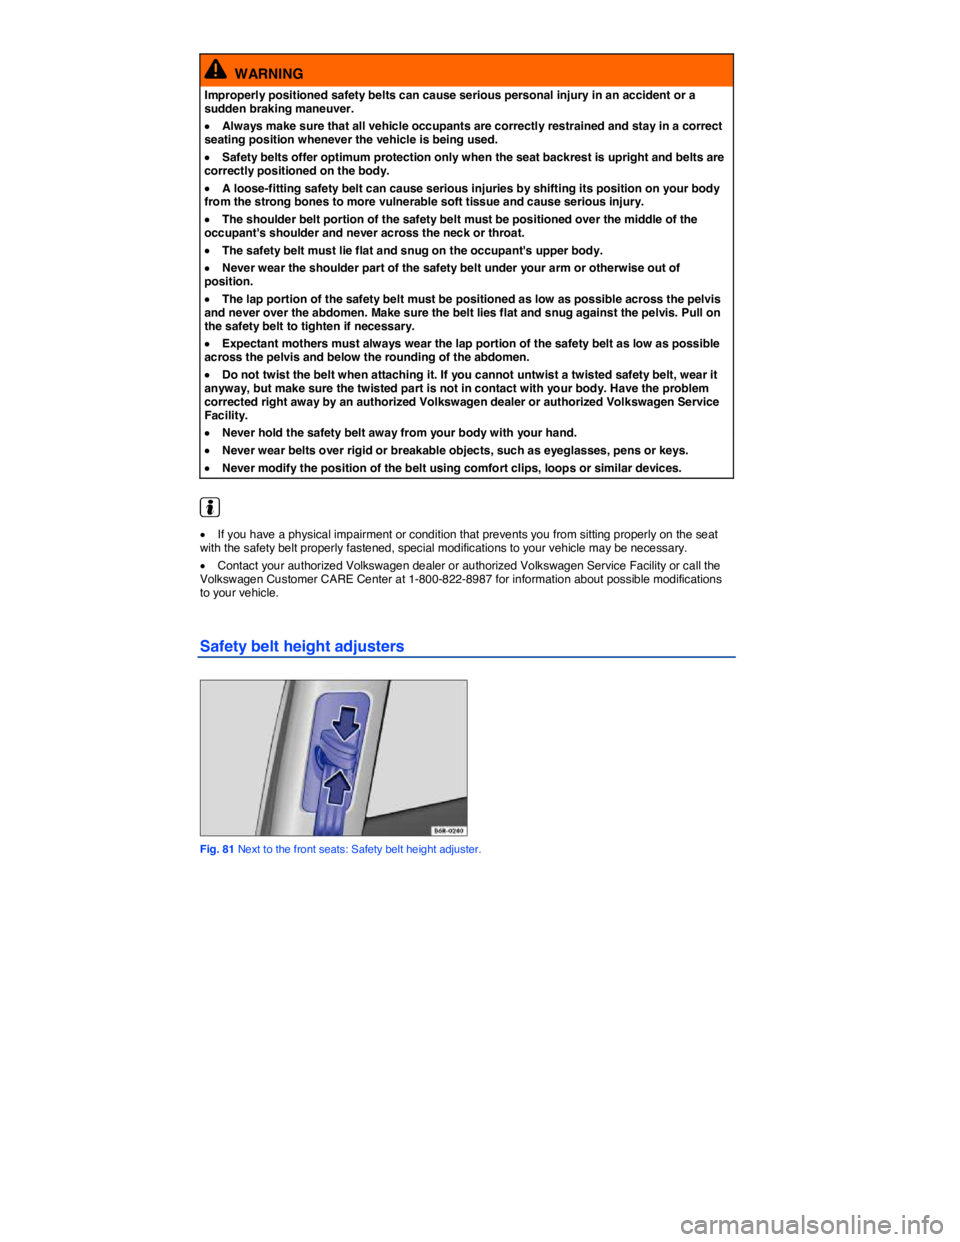
Safety belt height adjusters
Fig. 81 Next to the front seats: Safety belt height adjuster.
Page 144 of 392

WARNING
Improper use of the trailer hitch can cause accidents and injuries. An improperly installed, incorrect, or damaged trailer hitch can cause the trailer to separate from the towing vehicle and cause serious personal injuries.
�x Only use an undamaged, properly mounted trailer hitch.
�x Never repair or modify the trailer hitch.
�x To reduce the risk of injury in rear-end collisions, and the risk to pedestrians and cyclists when the vehicle is parked, always remove the ball mount when you are not towing a trailer.
�x Never install a “weight distributing” or “load equalizing” trailer hitch on your vehicle. The vehicle was not designed for these kinds of trailer hitches. The trailer hitch attachment can fail, causing the trailer to tear loose from the vehicle.
WARNING
Improper trailer towing can cause loss of vehicle control and serious personal injury.
�x Driving with a trailer and carrying heavy or large things can change the way the vehicle handles, increase the distance it needs to stop safely, and cause accidents.
�x Always secure the load properly with suitable and undamaged straps so that the load will not shift.
�x Always adapt your speed and driving to the heavier load and the weight distribution in the vehicle. Take road, weather, traffic, and visibility conditions into account as well.
�x Reduce your speed even more than you otherwise would when going downhill and under unfavorable load, weather, or wind conditions.
�x Trailers with a high center of gravity tip more easily than trailers with a low center of gravity.
�x Always avoid sudden maneuvers and hard braking.
�x Be especially careful when passing other vehicles.
�x Reduce speed immediately if the trailer shows the slightest sign of swaying.
�x Never try to stop the swaying by accelerating.
�x Always obey speed limits. In some areas, the speed limits for vehicles towing trailers are lower than for vehicles without trailers. Never drive faster than 50 mph (80 km/h; under exceptional circumstances 60 mph - 100 km/h) when towing a trailer. This applies even if the local speed limit is higher.
If you are driving a new vehicle or a vehicle with a new or rebuilt engine, do not tow a trailer during the break-in period, about 600 miles (1000 km), Parts, accessories, repairs and modifications.
If you tow a trailer, your vehicle may need maintenance more often because of the extra load it has to move.
When you are not towing, remove the trailer hitch ball. This helps keep the trailer hitch from causing damage to your vehicle and to others if your vehicle is hit from behind.
Some models need a trailer hitch to tow or tow-start other vehicles. You may want to always carry the ball mount in the vehicle after it has been removed. Be sure to stow it securely.