2009 VOLKSWAGEN JETTA door lock
[x] Cancel search: door lockPage 250 of 477
Booklet 3.1 Controls and Equipment @
WARNING
Cras hes a nd oth er acci dcn t s ca n hap pen w hen
yo u cann ot sec the road a head a nd when yo u
ca nn ot b e see n by other m otor is ts.
• Never use day time runn ing ligh ts to sec
w here yo u are goi ng. Th ey a rc no t b right
eno ugh an d w ill n ot let y ou sec fa r eno ugh
a h ea d for safety especia lly a l dusk or w hen it i s
dark. Always sw itch on the low bea m at du sk
or w hen it is dark .
•
t a il li ght s do not ligh t u p w hen da y
tim e runnin g lig ht s arc o n. A ve hicle w ithout
r ear ta il li gh ts turne d on ca nn ot b e see n by
ot hers in b ad wea the r at dusk o r w hen it s d ark .
Applies to ve hicles: with Highline instrument clus ter
WARN ING (continued)
• If aut oma tic head light cont rol is sw itch ed
o n, th e low bea m and w ill n ot be
switc hed on in fog or heavy You have to
sw itc h on t he low bea m using t he light sw itch .
• J\lways tu rn on th e he adli ght s befo re d usk
a n d in ra in or fo g so th at yo u ca n see a head
and so that oth ers can see your vehicl e from
t h e bac k.
Tip s
I f yo u re m ove the key from t he ig n ition lock w ith
t he ligh ls s till on, a b uzze r w iU sou nd when you
o pen
dri ver's door re mi nd yo u turn light s off .
• Always observe loca l o rdin an ces a nd traffi c
regu la tion s w hen using yo ur lights. •
Coming /leaving home function (orientation lighting)
T he comi ng hom e/ leav ing home functio n is ro lled by ligh t sensor.
Coming h om e function
If th e hea dlight s sw itc h
46, is in th e
"Au to ma tic headligh t co ntrol" (AUTO or po
sition whe n the ig n it ion is sw itc hed off an d th e
driver's door is opened and closed,
co ming
h o m e fun ction (sw itc h-off delay) switch es on
th e orientat ion ligh ti n g. The le ngth of
sw itch-o ff delay ca n be adju sted, o r sw itch ed off
co mple te ly, in Lights a nd vis io n 17.
L e a vi ng h om e fu ncl ion
th e ve hicl e is un locked, the leav ing hom e
func tion switch es on orie nt atio n li gh tin g. The lig
htin g is switched off as soo n as t he ign i
t ion is s witched on.
Tips
I f th e co min g home or le aving hom e fu nct ion is
sw itched on, the head ligh ts, s ide mar ke r ligh t,
t ai lli g h t a nd lice nse pla te ligh ts w ill come on.
• If yo u r em ove t he ignitio n key and open t he
dr iver door while the vehicle ligh ts are on , you
w ill not h ear an acoust ic warning if the comi ng
home funct io n is sw itched on.
• You can set th e com ing hom e fu ncti on
s wit ch off delay in th e Lights and vis io n
menu , provid ed yo ur ve hicl e has th is m en u in t he
di spla y.•
Lights and a clear view 47
Page 253 of 477
Booklet 3.1 Controls and Equipment
• If 1h e sig nal l eve r is le ft on, a buzzer
so und s when 1 he drive r doo r is op en ed, eve n if
1h e key is lef l in !h e ig ni tio n l ock, and !he r espec-
Interior lights
Inte rio r light in the front
.
Fig . 28 Section of roof: fr ont inter ior lig ht
U se lhe ro cke r sw itch !h e fo l
l ow ing pos itio ns:
Co urtesy light positi on
C oun esy w ill on w hen yo u u nlock ve hicl e and will go off ap prox ima te ly 30 sec
on ds af ter yo u close 1he doors w hen sw itch i s
in 1h e ce nter posi tion. T he in te ri or go off
w he neve r yo u loc k 1h e ve hicle o r w hen you
on 1h e ig n iti on.
50 Lights and a clear view
li ve head light and 1 aill igh1 w ill be illum in a1e d re du ced bri gh tn ess. These a re re mind ers 10 o ff !h e
Interior light switch ed on
Press 1 he sy mbol "li':' on 1h e roc ker sw itch 1 0 on a fro nl or rea r The w ill on .
Int erio r li ght sw itch ed off 0
Press 1he sy mbol O o n the ro cke r to off a or re ar lig h1.
Glo ve comportm ent li ght
T he co mes o n au 1o m a1ica lly w hen !h e is opened a nd off w hen
yo u cl ose 1he co mpanm en l.
Lu ggage comportmen t lighting
T he co mes on a utoma tica lly w hen yo ur
o pen !h e rea r lid and go es off w hen yo u cl ose
Tips
If yo u sh ould l eave o ne of 1h e ve hicle doors
o pen, 1h e i nteri or l ig h ts w ill swi tc h off ap
prox . 10 mi nut es, prov id ed yo u h ave taken your
key yo u and 1h a1 lig ht in co unesy pos it io n. T hi s preve nts th e balt ery
f ro m
Page 278 of 477
Booklet 3.1 Controls and Equipment
WARNING
Heavy load s will influ ence the way your ve
hicle handl es and heavy loads t hat are not
properly stowe d or sec ured can cause loss of
contro l a nd se rious injury.
• Always keep in
when transporting
h eav y ob ject s, that a chan ge in th e center of
gravity can also cause c hanges in vehicle han
dling:
-Always distribute the load as evenly as
po ssib le.
- Secur e heavy object s properly as far for
ward in the lug gage compar tment as pos
sible.
- Alwa ys s ecure heavy items securely
using the tie-downs provided wit h suitable
s trap s.
• Never excee d the Gross Axle Weight
or the Gross Ve hicle Wei ght Hating on the
s afe ty compliance sticker o n th e left d oor
jamb. Exceedi ng permi ssible weig ht can ca use
the vehicle to slide and handle difTerently.
• Always read and heed a ddition al imp or
in forma tion on driving 2.1
" Safety first."
WARNING
To help p rev en t poisonou s exhaust gas from
being drawn into the vehicle , a lways ke ep the
rear lid clo sed w hile driving.
• Never transport objects larger than those
fitting completely into the luggage area be
cause t he rear lid cannot be full y closed.
• If you abso lut ely must drive with the rear
li d open, observe the following notes to reduce
th e risk of poisoning:
WARNING (continued)
-Close all wind ows,
- Close the power roof,
- Open all air outlets in the in strumen t
panel,
- Switch off the air recirculation,
- Set the fresh air fan to the highest speed.
WARNING
Always make sur e that the doors and rear lid
are secure ly clo sed and locke d to redu ce the
risk of injury when the vehicle is not being
u sed.
• Afte r clo sing the rear lid , a lways mak e sur e
that it is p roper ly closed and locked.
• Never leave yo ur vehicle unattended espe
cially with th e rear lid left open. A child could
craw l into the vehicle through the luggage
compartment a nd pull the re ar lid or window
s hut becoming trapped and unab le to get ou t.
Being trapped in a ve hicle can lead to serious
p ersona l inju ry.
• Never le t ch ildr en play in or around the ve
hicle.
• Never let passe ngers ride in the luggag e
com par tmenl. Vehicl e occupants must always
be properl y re strained in one of the veh icle's
s eat ing po siti on s.
Note
o bj ec ts o n th e hat sh elf co uld d am age the
w ires of the re a r w ind ow d efogg er.
Tips
D o no t co ve r th e ve ntilatio n slo ts in front of th e
r e ar sid e w ind ows beca use this ca n pr event sta le
a ir fr om esca ping the vehi cle.
Seats and storage 75
Page 297 of 477
Booklet 3.1 Controls and Equipment
&. WARNING (continued)
dows can be opera te d l eading lo serio us per
so nal inju ry.
• Neve r leave ch ildren, disa bled perso ns or
anyone who cann ot help themselves in the ve
hicle. The door s can be lo cke d using the re
mote control key. This could resu lt in people
b ein g trapped in the vehicle in an emerge ncy.
example, depend ing o n the time of year,
peo ple trapped in the vehicle ca n be expose d
t o very high or low tem pera tures.
• Never remove the key from steering lock
w hil e th e vehi cle is mo ving or wh ile it is ro lling
t o a stop . The steer ing w hee l co lumn will loc k
Applies lo vehic les: with on aulomalic lransmission
Safety interlock for ignition key
WARN ING (continued)
up and you w ill not be abl e to steer or contro l
the vehicl e.
your vehicl e (key positio n
Tips
If you ope n the dr iver's door with the ke y still in
th e igniti on l ock, a buzze r w ill so und to r emind
yo u
ta ke the ke y and lock your ve hicle. -4
The ignition key can only be taken of the ignition lock if the selector lever is in
the P position.
-Switch the ign ition.
- Mo ve the selec tor le ver
102 to P
(Pa rk).
Electronic immobilizer
- Remove the key. Thi s locks the selecto r
lever.
-4
The immobilizer helps to prevent use of the vehicle.
The re is a chip in the key that automati call y de
ac tiva tes the imm obilizer w hen you p ut th e key
into the igni tion lock.
T he electronic immobili ze r is automaticall y
tivated w hen you tak e the key out of the ignition
lu ck.
94 Driving
Th e engine can only be s tart ed using a genuin e
and correc tly co ded Volkswagen key.
Tip s
You can on ly start the e ngin e with
co rrec tly ge nuin e Volk swagen k ey. You may have
prob lems starting t he ve hicle if ge nuin e and
c orre ctl y co ded Volkswagen key is no t u sed. -4
Page 308 of 477
Booklet 3.1 Controls and Equipment
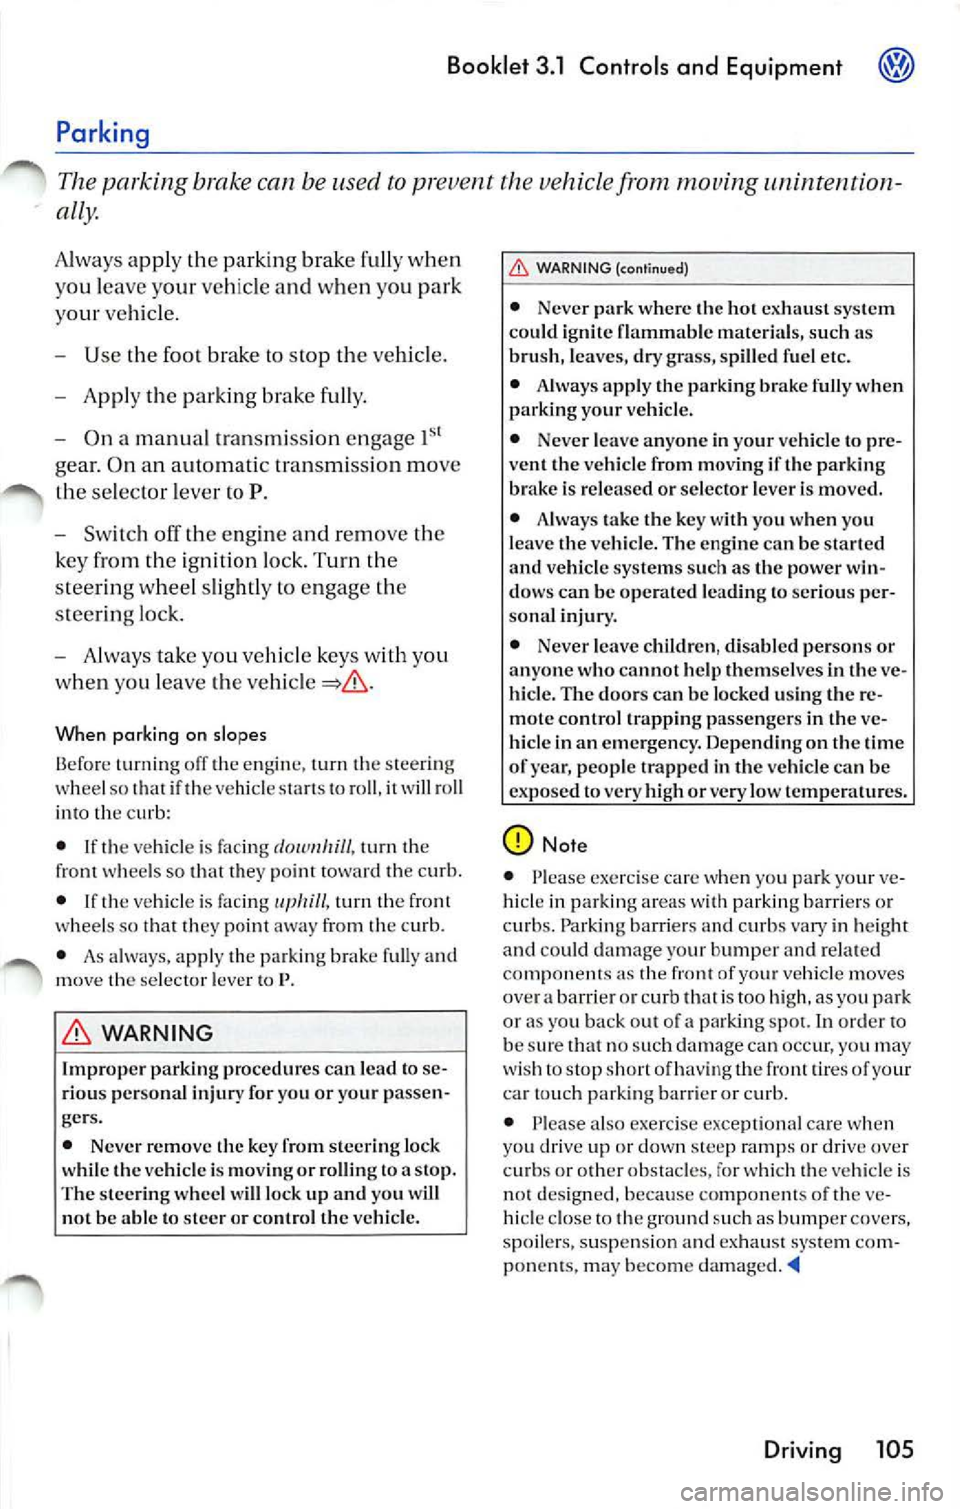
Parking
The parking brake can be us ed to pr eve nt the vehicle from moving uninten tion
ally.
A lways apply th e parking brake fully when
yo u leave y our vehicl e a nd when you p ark
yo ur vehicl e.
- Use the foo t brake to stop the veh icle.
- Appl y th e parking brake full y.
- On a ma nual tran smi ssion engage
gea r. On a n aut omatic tra nsmi ssion move
the selector lever to P.
- Switch off the engine and r emo ve the
key from the ignition lock. Turn th e
s tee rin g w he el s li ghtl y to en gage the
stee ring loc k.
- Always take you ve hicle keys w ith you
whe n yo u leave the
When parking on slopes
Before turnin g off the engin e, turn the steer ing
w hee l so if th e vehicle sta rt s to ro ll, it will roll
i nt o th e c urb:
• If th e ve hicle is faci ng
turn the whee ls so that they poilll toward the cur b.
• If th e vehicle is faci ng
turn the front
w heels so t hat they poi nt away from the curb .
• As a lways, appl y th e pa rking
full y and
m ove the se lector lever to P.
WARNING
Improp er parking procedures can lead to se
ri ous perso nal injury for you or your passen
gers.
• Never remove the key from steering lock
whil e th e ve hicle is movin g or rollin g to a stop .
The steer ing wheel
will lock up and you will not be able to stee r or control the vehicle.
WARNING
• Never park where the hot exha ust sys te m
co uld ignit e flammabl e material s, such as
bru sh, l eave s, dry grass, sp illed fuel etc.
• Alw ays apply the parking brak e fuJly wh en
parking your vehicle.
• Never leave anyone in your vehicl e to pre
ven t the ve hicle from moving if the parking
br ake is r elease d or selector lever is moved.
• Alwa ys tak e the key w ith you when you
l e ave the vehicle. The engine can be started
and vehicl e sy stems su ch as the power win
d ows can be operated leading to seriou s per
s onal injury .
• Never leave children , disabl ed p erson s or
anyone who cannot help th emselves in the ve
hicl e. The doors can b e lock ed u sing th e re
mot e co ntrol trappin g passenger s in the ve
hicle in an emergenc y. Depending on the time
of year, people tr app ed in
vehicle can be
expose d to v ery high or very low temperatures.
Note
• Please exercise care when yo u pa rk your ve
hicl e in parkin g are as w ith p arkin g barri ers or
cu rb s. Parking barriers and curb s vary in heig ht
an d co uld damage yo ur bump er and re la te d
compo nents as th e fron t of yo ur vehicl e moves
over
b arri er or curb that is too high . as you park
or as you back out of parking spot. In order to
be sur e th at no su ch d ama ge ca n occ ur, yo u m ay
wish to s top sh or t o f h av ing th e front tires o f yo ur
ca r touc h parking barri er o r curb.
• Please a lso exe rcise exce ptiona l ca re when
yo u drive up or d own steep ramp s or drive over
cu rbs or oth er obsta cles, fo r w hi ch lhe ve hicle is
not d esign ed , b ec au se compone nts of th e ve
hicl e close lo th e groun d su ch as bump er cove rs,
s poil ers , suspensio n and exhaust syste m com
ponent s, m ay beco me
Driving 105
Page 313 of 477
Booklet 3.1 Controls and Equipment
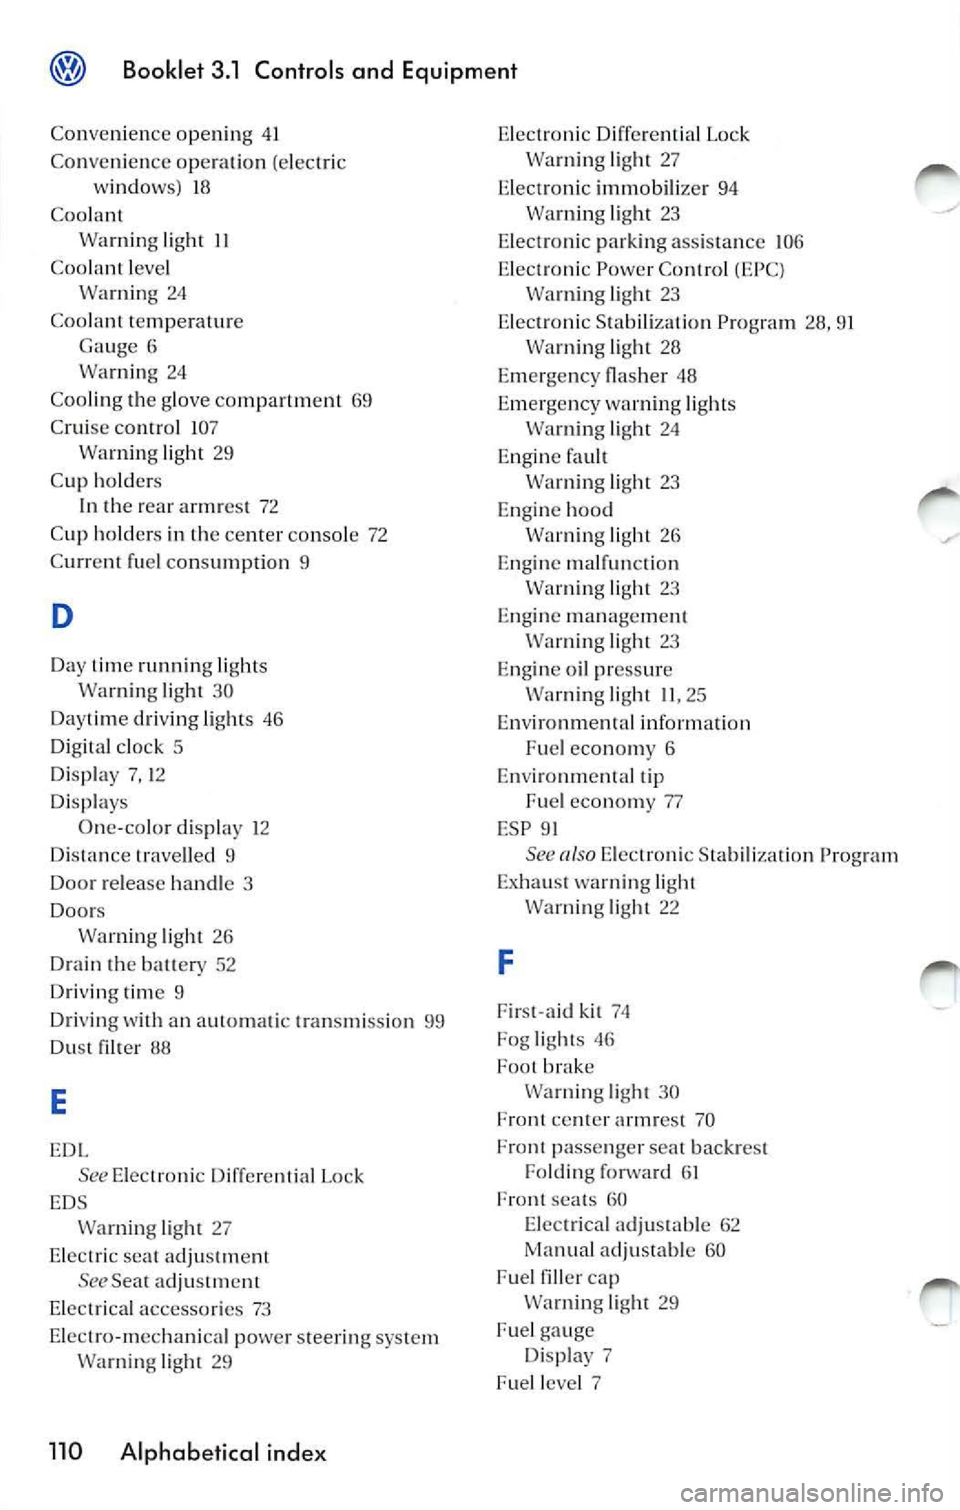
Conve nien ce open ing 41
Conven ie n ce operatio n (elec tric
w ind ows) 18
Coo lant
li ght 11
Coo lant leve l
Warn ing 24
Coo lant te mperature
Gauge 6
Warn ing 24
Coo ling the glo ve
69
C ru ise co111rol 107
Wa rnin g light 29
Cup ho ld ers
I n the rear armrest 72
C up holder s in the center co nso le 72
C urrent f uel cons umption 9
D
Day time runnin g lights
Warning lig ht 30
Daytime dri vin g ligh ts 46
Di gita l c loc k 5
Di sp lay 7, 12
D is plays
One-co lo r display 12
Distance trave lled 9
Door re lease hand le 3
Door s
Wa rnin g lig ht 26
Drain the bauery 52
Driving time 9
Driving
an automatic transmi ssion 99
Dust
88
E
See Electron ic D iffe rentia l Lock
EDS
Wa rnin g light 27
E lec tric seal a djustment
See Seat adj ustme nt
Ele ctrical accessories 73
Elec tro-mechanica l power steering syste m
Warning light 29
110 Alphabetical index
Electron ic Diffe re nti al Lock
Wa rnin g lig ht 27
Electronic immobilize r 94
Wa rnin g light 23
Electro nic parking assistance 106
E lectro nic Power Control (EPC)
light 23
E lec tron ic Stabi liza tion Program 28, 91
Wa rnin g lig ht 28
Emergency
48
E m erge ncy wa rning lights
light 24
Engi ne fault
Warning light 23
E ngin e hood
Warning light 26
E ngin e malfun ction
Warn in g light 23
E ngine mana gement
Warn ing lig ht 23
E ngine oil pr essure
Wa rnin g light 11 , 25
Environmental inform ation
Fuel economy 6
Environmental tip
Fue l economy 77
ESP 91
See E lectronic Stabil ization Program
Exhau st warning light
Warning lig ht 22
F
Firs t- aid kit 74
Fog lig ht s 46
Foo t brak e
Wa rning lig ht 30
cen te r a rmr est 70
Fron t passenger
backre st
Folding forward 6 1
F ront seats 60
E le ctri ca l adj ustab le 62
Manua l ad justab le 60
Fuel filler cap Wa rnin g light 29
Fue l g auge
Di splay 7
Fuel level 7
Page 351 of 477
Booklet 3 .2 Tips and Advice
Checking and Filling
Filling the tank
fuel filler flap opens from inside the vehicle. The fuel tank holds 14 .5 gallons
(55 Liters).
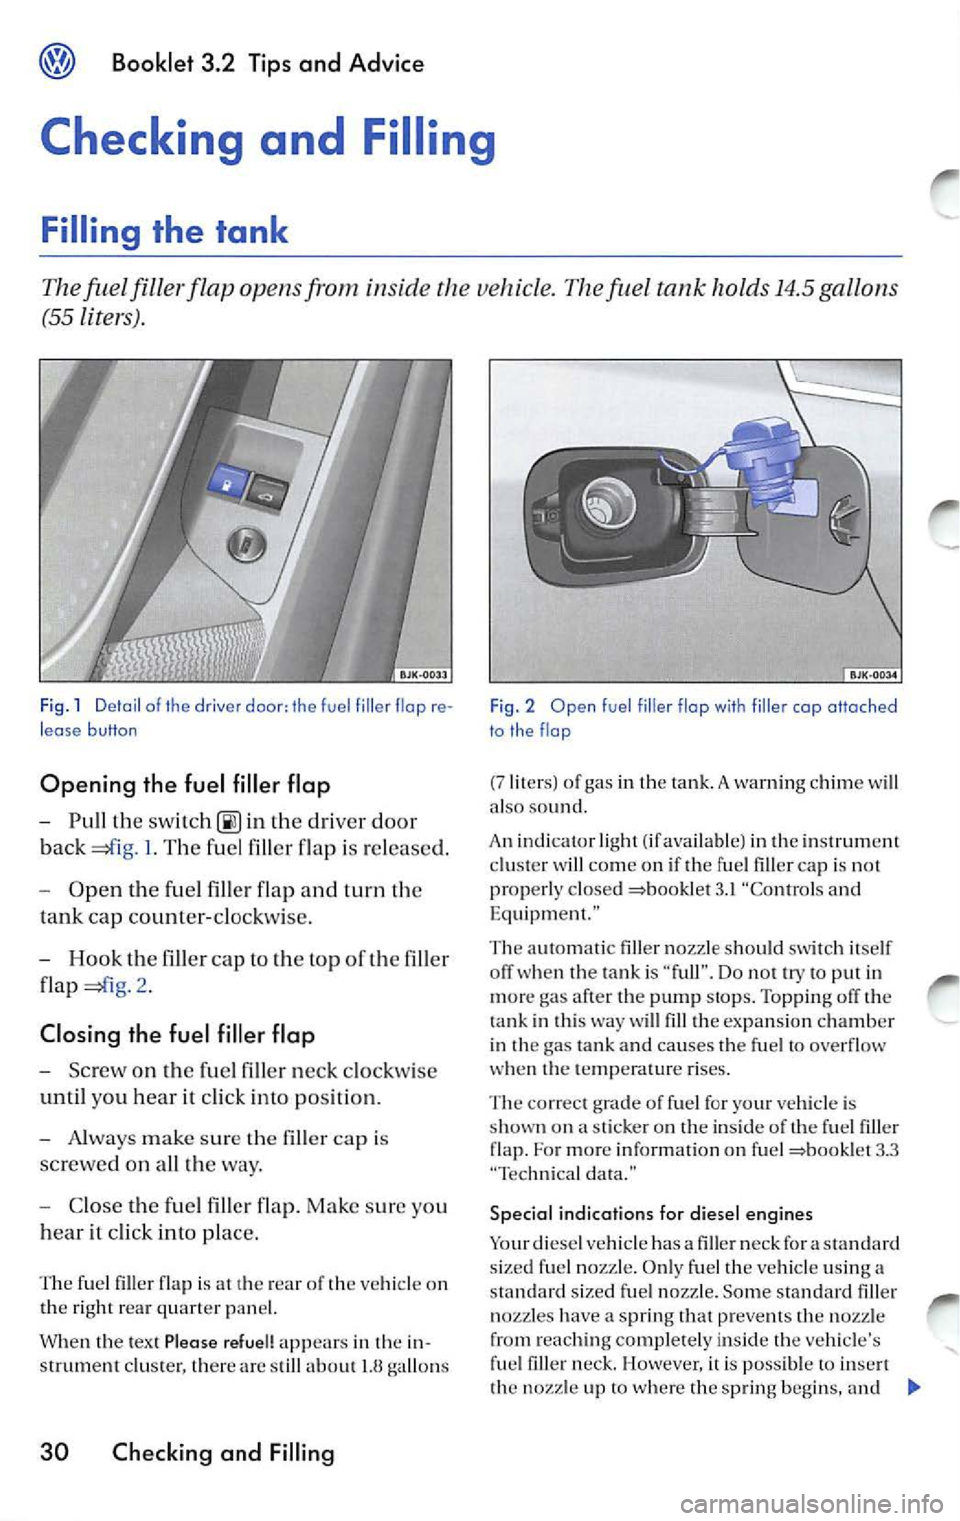
Fig . 1 Detail of the driver door: the fuel fil ler flop re
lease button
Opening the fuel filler flap
- Pull the switc h 00) in th e drive r doo r
back
I. T he fu el fill er flap i s re leased .
- Open the fuel filler flap and turn th e
tank cap counte r-cloc kw ise.
- Hook t he fill er cap to the top of the filler
flap
2 .
Clo sing the fuel filler flap
- Screw o n the fuel fi lle r ne ck clockwise
until you hea r it cl ick into position.
- Alway s m ake s ure the fi ller cap i s
screwe d on a ll way.
- Close the fuel fi ller flap. Make sure you
h ear it cli ck into place.
The fue l filler flap is at the re ar of the vehicle on
th e right re ar qua rter pan el.
Whe n the tex t Pleas e refuel! appears in the in
s trum ent clu ste r, th ere a re still abo ut
gallons
30 Checking and Filling
Fig. 2 Open fuel filler flap with f iller cap attached
to the flop
(7 liter s) of gas in the tank. A warning chi me w ill
a lso so und.
An indi cator lig ht (if availab le) in the in st rum ent
cluster w ill come on if the fu el fi ller cap is not
properly clos ed
3.1 "C ontrol s and
Eq uipment."
T he automat ic filler nozzle s hould switc h itself
when the tank is " full ". Do not try to put in
mor e gas after the pump stops. To ppin g off the
ta nk in this
will fill the expa nsion chamb er
i n th e gas tank and causes th e fuel to ove rflow
w hen the temperature ri ses.
The correct grade of fuel for your vehicle is
s h own o n
sti cker on the insid e of the fuel filler
flap. For mor e informatio n on fu el 3.3
" T ec hnical da ta ."
Specia l indications far diesel engines
Your diesel vehi cle ha s a filler neck for a sta ndard
s ized fuel noz zle. Onl y fuel the v ehicl e usin g a
s tan dard sized fuel nozz le. Some s tandard filler
no zzles have a sprin g that preve nts the nozzle
from reaching complete ly ins ide t he ve hicl e's
fille r neck. However, it is poss ible to t h e nozzl e up to wh ere the spring beg ins, an d
Page 378 of 477
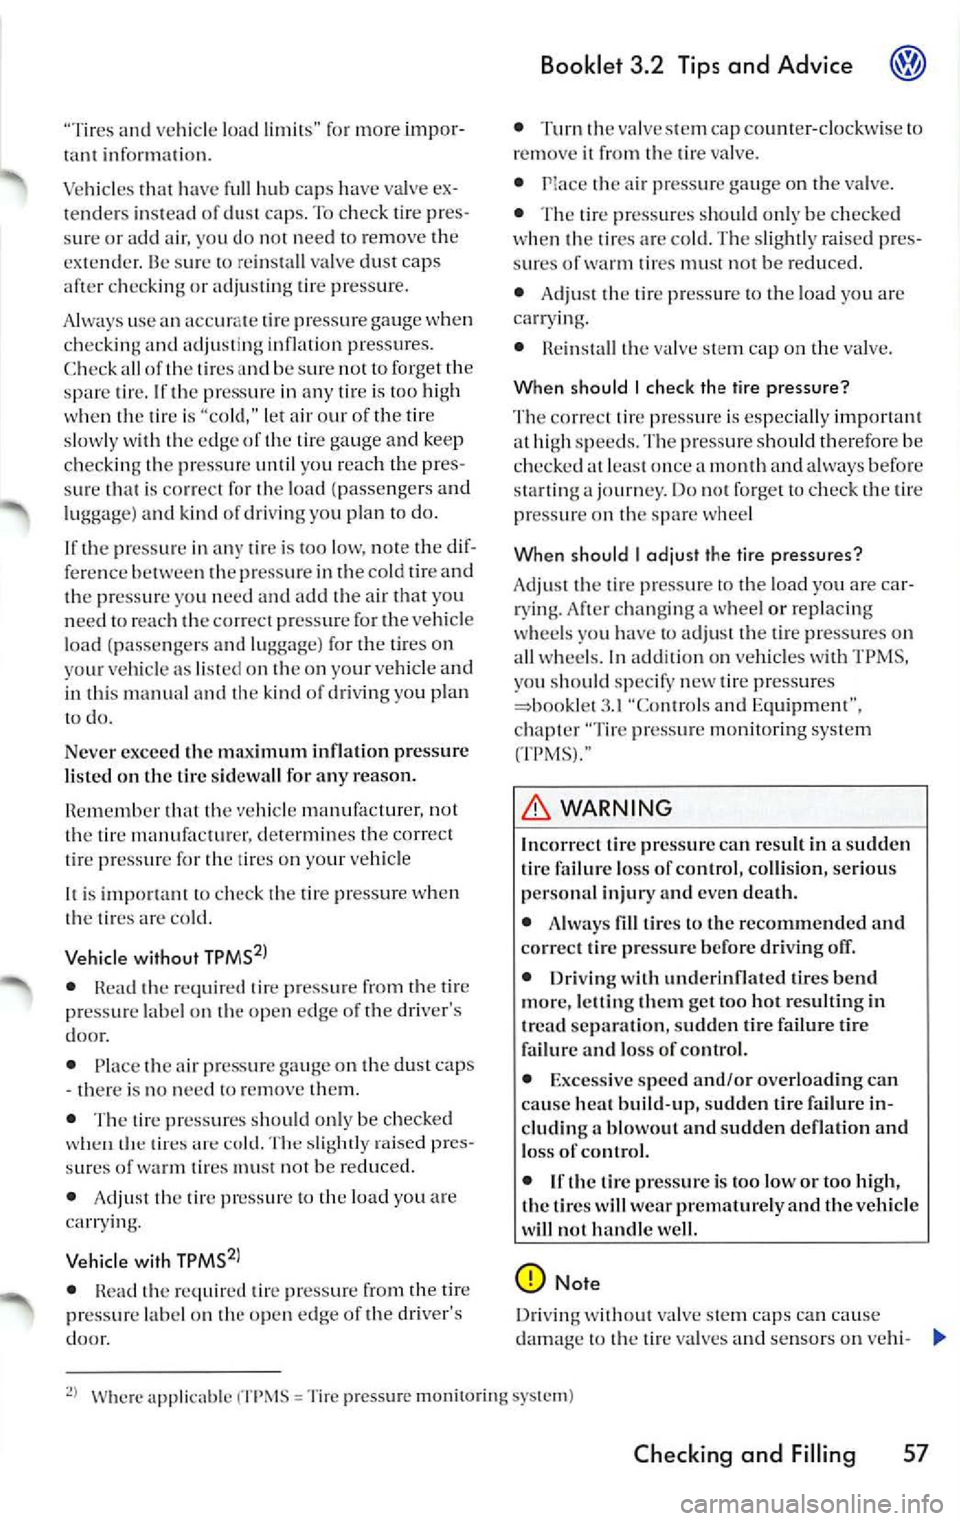
"Tires and ve hicl e lo ad limit s" for more imporinfor mati on.
Vehicles
ha ve full hub caps have valve ex
tenders ins tead of du st caps. To ch eck tire pr es
s ur e or acid air. you do not n eed to re move the
ex te nd er. 13e s ure to rein sta ll va lve dust caps
ch eck ing or adjust ing tir e pr ess ure.
A lways use an
tir e pr ess ure gaug e w hen
c h eck ing and adju stin g i nfl atio n pr essu res .
C hec k all of the
and b e sure not l o forg et th e
s par e tire. If p ress ure in an y is too high
w hen the tire is "co ld," let o ur of the tir e
s lowly with th e of the tir e ga uge and kee p
c h eck ing th e press ure until you re ac h th e pr es
s ure that is correc t for th e loa d (pa sse nge rs and
l u gg age)
ki nd of dri ving yo u plan t o do .
I f th e pr ess ure in any tire is too low , n ote the dif
f e re n ce between the press ure in the co ld
a nd
th e pr ess ure yo u need and add air yo u
n eed to reac h th e co rrect press ure for the vehicle
load (pa sse nge rs and lu ggage) for th e tire s on
yo ur vehicle as listed o n the on yo ur vehicle a nd
in thi s man ual
th e kind of driv ing y ou p lan
t o do .
Neve r excee d th e maxi mum infl ati on pre ssure
li sted on the tir e sid ewa ll for any reason.
R em emb er th at the ve hicle manufac turer, not
t h e tir e man ufa ctur er, de te rmin es th e co rrec t
t ir e pr ess ure for th e tir es o n yo ur vehicle
I t i s imp ortant
ch ec k th e tir e pr ess ure when
the tires are cold.
Vehicle witho ut
• the re quir ed tire pressure from the tir e
pressu re lab el on the ope n edge of th e dri ver's
door .
• Place the a ir press ure gauge on the dust cap s
- th ere is no need
re m ove them.
• The tir e press ures s ho uld onl y be checked
tire s cold. The sli ghtl y pres
s ur es ofwann tires no t b e reduced.
•
th e tire press ure to the load you are
ca rrying.
Vehicle with
• the req uir ed tir e pr ess ure from the tir e
pressure label o n th e ope n edge of the dr ive r's
do or.
Booklet 3.2 Tips and Advice
• Turn th e va lve s tem cap counter-clockw ise to
r emove it from the tire valve.
•
th e ai r press ure on the valv e.
• The tir e pressures sh o uld onl y be ch ecke d
w hen th e tir es are cold. T he slig htly rai sed pres
s ur es of
tires not be redu ced.
• Adju st th e tir e pr ess ure to the load you are
carry ing.
• Reins tall the valv e ste m cap on the valve.
When should I ch eck the tire pressure?
Th e co rrec t tir e pr ess ure is especia lly import ant
a t hi gh speeds . Th e pre ssur e s ho uld th erefo re be
c h ecked at leas t once a month and alwa ys befo re
s ta rt in g a jo urn ey. D o not forget to ch eck the tire
pr ess ure on th e spare whee l
When shou ld
I adjust the tire press ures?
Ad just th e tire press ure to the loa d you are car
ry ing. After changin g
wheel or repl acing
w hee ls yo u have tu adj ust th e tir e press ures on
a ll whee ls. In ad ditio n on ve hicles wit h TPMS,
yo u sh oul d s pecify new tire pressures
=boo klet
WARNING
In co rrec t tire press ure ca n result in sudd en
ti re failur e Jo ss of co ntrol, collision , seriou s
perso nal injur y an d eve n dea th .
•
tire s to the re co mm end ed and
co rrec t tir e pre ssure before drivin g off.
• Driving with und erinfl atcd tires bend
m or e, le ttin g th em get too hot res ulting in
tr ead separatio n, s udd en tir e fai lure ti re
fa ilur e and Jo ss of control.
• Excess ive sp ee d and /or ove rload ing ca n
ca use hea t build -u p, su dden tire failure in
cludin g a bl owo ut an d su dden deflati on and
Jo ss o f co ntrol.
• If th e tire pr essure is to o low or too high,
th e tir es will wear prema turely and the ve hicl e
wi ll not handl e we ll.
Not e
Dr iv in g w ith out valve s te m caps ca n cau se
applicab le Tire pressure monitoring system)
Checking and Filling 57