2009 VOLKSWAGEN JETTA child lock
[x] Cancel search: child lockPage 184 of 477
examp le. so 1ha 1 ii ca n'! lip 10 s ide when the
ve hicle goes aro und a comer.
A lways re m emb er: Eve n thoug h yo ur vehicle is
e quipp ed wit h an Advan ced Airbag system, all
c hildren, especia lly
12 years and young er,
s h oul d always ri de in the ba ck seat prop erl y re
fo r th eir ag e and size
WARNING
Improp erl y in stall ed child seats in crease risk of ser io us persona l injury and death in a
co llisio n.
• Always make sur e !hat the safety be lt re
t racto r is locked whe n installing a chil d sea t.
An unlocked safe ly belt retractor cannot hold
ch ild seal in place durin g nor mal driv ing
o r in a cr ash .
• Alw ays buckl e !h e c hild seal firml y in place
eve n if a child is not sitlin g in it. A loos e ch ild
sea l ca n fly aro und during a sudd en slop or in
collision
• Always make sure !ha! the rear seal back
10 w hich th e cen te r rear safely belt is at is securely la tc h ed whenever the rear
ce nter safety belt is being used to secu re a
c hild r estra in!
3.1, c hapt er "R ea r
sea l b en ch. "
• If
back res! i s not securely la tc h ed , child and th e child r estraint will be for
ward 1ogeth er w i1h !he backrest and will str ike
of the vehicl e inter ior. T he child can be
se rious ly in jured or killed.
• Never insta ll r ear-f acing c hild seals or in
f a n! carr iers on
passenger scat. A
ch ild will be serious ly injured and ca n be
killed when the pa ssenger air b ag
• The i nflatin g airbag will hit child seal
or infant carrier great forc e and will
s m ash !h e child seal and child against th e
backre st, ce nt er ar m
do or or roof.
• Always install r ear-faci ng child seals or in
carriers on !he rear seat.
• Forwa rd-faci ng c hild seal s or infant car
ri ers insta lled on !he front passe nger' s sea t
m ay interf ere
th e dep lo ym ent of !h e
a ir bag and cause ser ious inju ry to th e c hild.
• fl is safer lo install a forward-facing child
sea l on rea r seal .
• Alway s read a nd heed a ll WAR NINGS
w hene ver using a child r estrained i n a vehicle
Booklet 2.1 Safety fir st
,6 WARN ING (co ntinu ed)
is being use d 51. Specia l pr eca ution s
a pply when in sta llin g a c hild seat on !he front
passenger seat
29, "Child res traint s on sea l -s om e important t hings k n ow".
WARNING
Rearwa rd-facing ch ild restrain l s:
• A child in a rearw ard -faci ng c hild seal in
s ta ll ed on
pas senger seal w ill be ser i
ous ly inj ured and can be kill ed if !h e front
a ir bag in flates - even wi th an Adva nced Ai rbag
Sys tem.
• The inflatin g airbag will hit th e chil d seal
or infant carrier
grea t for ce and will
s m as h the chi ld sea l an d child against the
ba ckres t, ce nter arm r est, d oo r or roo f.
• Alwa ys be especia lly ca re ful if yo u mu st in
a reanvard faci ng child seal o n fronl
pa sse nge r seal in excep tiona l cir cumstan ces.
• A tight tether
on a rea rward-facing
c hild restrain! auached lo t he front p assenge r
seal can put t oo mu ch pres sur e on
wc ig hl
m al in the seal and regis ter a heavie r weigh ! in
th e Adva nced A irbag Sys te m . T he heav ier
we ight registe red ca n m ake
syste m work
as though an ad ult were on the sea t a nd de
plo y
Advanced A irbag when
the child.
• Make s ure !h a!
PASSENGER A IR BAG
O FF light comes on and stays o n all !h e lime
whenever
i gnit ion is s wit ch ed on.
• lflh e PASSENGER AIR BAG OFF
do es
n o ! co me on and stay on, immediatel y ins ta ll
rear-faci ng chi ld sea t in a rear seat ing po
s ition and have a.i rbag sys te m insp ec ted by
you r dea le r.
WARNING
sea l:
Child safety 61
Page 185 of 477
Booklet 2.1 Safety first
WARNING (continu ed)
• Forward-facin g child seats installed on the
fr ont passe nger's sea t may interfer e with the
d e plo ym ent of
airba g an d cause seriou s
per sonal injury to the ch ild.
• Always make sur e th e fo rwa rd-fa cing sca t
h as bee n de sig n ed and certifi ed by its manu
facturer for use on a front seat with a pas
se nge r front and sid e ai rbag.
• Always carefully foll ow the manufa ctur er's
in structi ons pro vided with th e c hild seal or
ca rri er.
• Never put the fon vard -facing child r e
stra int up against or very near the instrum ent
panel.
• Always move the passenge r sea t int o its re
armost pos ition in the sea t's fore and aft ad
ju stment range, as far away from the airba g as
p ossible before installing the for ward-faci ng
WARN ING (cont inued)
child restraint. The backrest must be adjusted
t o an upr ig ht position .
• Always make sure that nothin g preve nts
t h e front passenger's sea t from bei ng m oved
to th e rearmos t position in it s fore and aft ad
ju stm ent rang e.
• Never place additional items on th e seat
that can in crease the total weight reg is tere d by
the weig ht-se nsin g mat and can ca use inju ry
in a cras h.
• Make s ure that the
PASSENGER AIR BAG OFF light comes on an d sta ys on all th e tim e
w hen ever the ig nition i s switch ed on.
• If th e PASSENGER
BAG OFF light doc s
n o t come on and stay on , imm ediately insta ll
t he forward -faci ng ch ild sea t in a rear seating
po sition and have the air bag sys tem inspected
b y yo ur Volkswagen dealer.
Activating the switchable locking feature
Us e the switchable Locking feature to properly secure a child restraint
Always ca refully fo llow t he c hild sear man
u fac turer's instruct io n s w hen insta lling a
c hild res tra int in yo ur vehicle .
To activat e
th e sw itch able lock ing fe a ture:
- Pla ce the ch ild res train t on a sea t, pref
erab ly o n the rear
- Route the safe ty belt around or th rough
the child restra int usi ng the proper path
for the sa fety be lt as speci fied by the child
re stra int manu facturer
- In se rt the belt tongu e into the buckle
fo r that seat ing po siti on.
- Make su re th at the red re lease button is
faci ng away from th e child restra int so that
it ca n be unbuckled quickly .
- Push the c hild sca t do wn w it h your full
we ig ht t o get the sa fety belt rea lly tight
- S low ly pull the belt all the way out.
62 Child safety
-Guide th e safety be lt b ack int o the re
t ractor un til the be lt lies fla t and snu g on
the ch ild se at. You sho uld hea r a "c lick ing"
n o ise as t he be lt wi nds back into th e in
ert ia reel of t he safety belt re tr actor. Tes t
the switch able locking featu re by pulli ng
on th e bc l
l. You should n o longer be ab le to
pull the b elt o ut of t he re tra ctor. The swit
c habl e lock ing feature is now act ive.
-
s trap or teth er is being used to tie
th e ch ild sea t to th e front passe nger seat,
mak e sur e th at it is not so tight that it
cau ses the weig h t-s en sin g ma t to m eas ure
m ore we ig h t than is actua lly on th e sea t.
- Pull on the safety belt to make sure th at
it is prope rly fastened and tight.
- Chec k th e c hild seat for prope r install a
ti on by pu llin g on the c hild seat. The child
sea t sh ou ld no t mo ve forward or sid eways
b y m ore than one in ch (2.5 cm) .
Page 186 of 477
WARNING
Using th e wrong c hild res traint or an improp
e rl y in sta lled child res traint can cause ser io us
personal injury or death in an accide nt.
• Always make sur e 1ha1 th e safet y belt r e
tra ctor i s loc ke d when
a child seat . unlo cked safe ty belt r etractor canno t hold
the chil d sca t in pla ce during normal drivin g
or in a cras h.
•
buckle th e child seat firml y in pla ce
ev en if a child i s not sittin g in loo se c hild
sea t ca n around during a sud den stop or in co llisio n.
Booklet 2.1 Safety first @
WA RNING (continued)
• Always make s ure th e scat backre st to
w hich th e child r estraint i s in stalled i s in an
upri ght positi on and securely latc hed int o
pl ace an d cannot fold forward. Otherwi se, the
s cat back with
child scat atla ch ed 10 ii
could fly forward in th e even I of a collision or
oth er emergency situation .
•
• /\!ways read and heed all WARNI NGS
when ever usin g a c hild restra ined in a ve hicle
i s being u sed
51. Special precau tio ns
app ly w hen insta llin g a child seat on th e fro nt
pa ssenge r seat
29, restraint s on
th e front seal - so me impo rtant thin gs lo
kn ow"
Deactivating the switchable locking feature
The sw itchable lockingfeatllre for child restraints will be deactivated automati
cally wh en th e belt is w ound all the way back into the retrac tor
-Press the red button on the safety belt
buckle. The be lt tongue w ill pop ou t o f th e
- Guide th e safe ty belt b ack by hand so
tha t it ro lls e asily onto the retr ac tor and the
trim around t he retracto r w ill not be d am
aged.
A lways lei the safety be ll retra ct com plete ly into
i ts s towed position. The safety bell ca n now b e
used as an ord in ary safe ty be lt without the swit
c h able lo cking featur e for child restraint s.
I f the switchable
sh ould be ac1i
va 1e d inadvc r1en 1ly, the sa fety bell must b e un
fas tened and guide d co mp le tely back in to its
s low ed position to deactivate this feature. If the
sw itch abl e lock ing feat ure is 110 1 d eac tiva ted, the safe
ty belt
w ill gradually becom e tighter a nd un
com fortab le tu
WARNING
Improperl y in stall ed child scats increase risk of serious persona l injur y and dea th in a
co llisio n.
• Neve r unfa ste n the safety belt to deactivate
th e swi tchable lock ing fea tur e for child re
s traint s while th e ve hicle i s mo ving . You
would not be res trained and cou ld be seri
ou sly inju red in an accide nt.
• /\]ways read and h eed a ll WARN INGS
wh en eve r using a c hild r estrained in a vehicle
i s being used
51. Specia l precaution s
appl y when installing a child sea l o n the front
passe nger sea l
29
Child safety 63
Page 192 of 477
WARNIN G (conti nu ed)
ve hicl e safety b elt to in sta ll the child restra int
in th e center sea ting po siti on.
Booklet 2 .1 Safety first
ways re a an 1e e a
w hen ev er using a child res train ed in a vehicle
i s be in g used
13, "Sa fe ty belts", 27, "A ir b ag sys te m " and 5 1, "C hild
cur ely la tc h ed in place.
- Attac h th e co nn ector s ont o th e LATC H
l owe r an ch o ra ges.
- Ma ke sur e yo u hear
CRS cl ick
cur ely in to place .
- Release o r de ploy the c hild restrai nt
t e th er s trap.
- Gui de the up per tether strap und er the
r ear head res train t (ra ise the hea d r estrai nt
i f necess ary ).
- Attac h
te the r stra p anchorage hook
in to the ope ning of
tethe r anc horage.
- Pull on bot h sid es o f
CRS once
yo u've mounted it to make certa in it i s
cu re a nd pro perl y att ac hed.
Releasing
- Release lowe r lat ch from th e LATC H
lo we r an ch ora ge s fo llowing t he C RS ma n
u fac turer' s ins truc tions.
- Releas e th e te th er strap.
Hooks attached to adjustable straps
(hook-on connectors)
- Ma ke su re se at bac k of the rea r seal
b en ch is i n th e upr ig ht p os ition an d
cu rely la tc h ed in p lace.
- Press the hoo k-on con nect or with
spri ng c atch r elease onto th e lower
c h orage so that th e connec to r locks int o
pl ace.
- Pull on th e co nnecto r to ma ke su re th at
i t is prope rly att ac hed
th e lowe r chorage.
-Attach bot h stra ps wit h hoo k-on con
n ecto rs on the CRS sec urely to th e lower
a nch orages.
- Pull stra ps tight follow ing the CRS m an
instru ctio ns.
- Release or de ploy t he child r estra int
tether stra p.
- Gui de the upper tethe r strap under th e
r ear head restra int (rai se the head restra in t
i f n ecess ary) .
-
t h e te th er stra p anc horage hook
i n to th e ope ning of
tet her an ch orage.
- Pull on bo th o f th e ad justab le straps on
th e CRS a nd p ull also on th e te th er stra p
once yo u've moun ted the C RS to make ce r-
tai n it 's secure and prope rly a ttac hed .
Child safety 69
Page 194 of 477
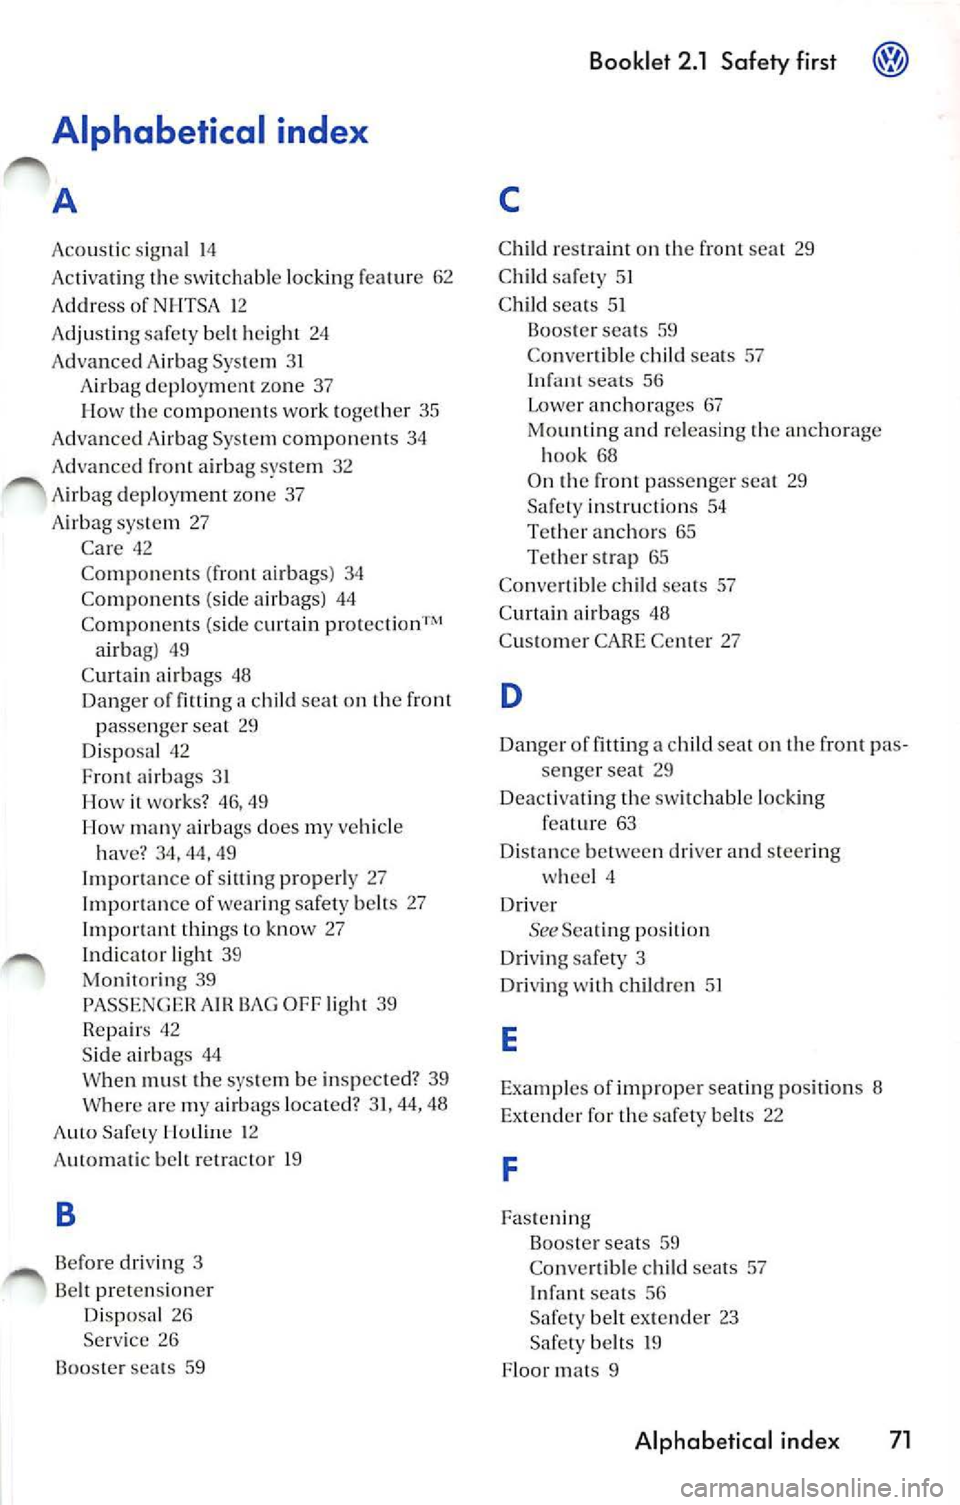
Alphabetical index
A
Acoustic sig nal 14
Ac tivatin g th e sw itchabl e locking featu re 62
A ddress of NHTSA 1 2
Adjusting safety belt height 24
Adva nced Airb ag Sys tem 3 1
A irb ag dep loymen t zo ne 37
Ho w the compo nen ts wo rk toge th er 35
Adva nced A irbag Sys te m compon ent s 34
Adva nced front airbag syste m 32
A irbag dep loy me nt zone 37
A irba g syste m 27
C ar e 42
Co mpone nts (fro nt airbag s) 34
Co mpone nts (s id e a ir bags) 44
Co mpon en ts (s ide curta in
c hi ld sea t o n t he front
passenger seat 29
Disposal 42
F ro nt airbags 31
Ho w it wo rks? 46, 49
How m any a irbags does my ve hicle
ha ve? 34,
49
Importance of sittin g properly 27
I mportance of wearing safety be lts 27
I mportant thing s
know 27
Indicator light 39
Mo nitor in g 39
PASSENGER
BAG OFF li ght 39
Repai rs 42
S ide airbags 44
W hen mu st the sys te m b e inspected? 39
W here are my a irba gs located? 31, 44, 48
Auto Safety Hotli ne 12
A ut omatic belt r etr ac tor 19
B
Before driv in g 3
Belt p rete nsio ner
D is p osal 26
Service 26
Booster seats 59
Booklet 2 .1 Saf ety first
T et her an chor s 65
Tether strap 65
C onve rtibl e child seats 57
Curtain a irbags 48
C ustome r CARE Ce nter 27
D
Danger offitting a child seat o n the front pas
se nge r sea t 29
D eact iva ting th e swit c hab le lo cking
f ea tur e 63
Dis ta n ce between drive r and steer ing
whee l 4
Dr iver
See Sea ting p osition
Driving safety 3
Dr iv in g w ith childr en 51
E
Examples of imp roper sea ting positions 8
Ext end er for th e s afe ty belts 22
F
Faste nin g
B oos ter sea ts 59
Conve rtible c hild sea ts 57
Infant seats 56
Safety belt extende r 23
Safety belt s 19
Flo or mats 9
Alphabetical inde x 71
Page 196 of 477
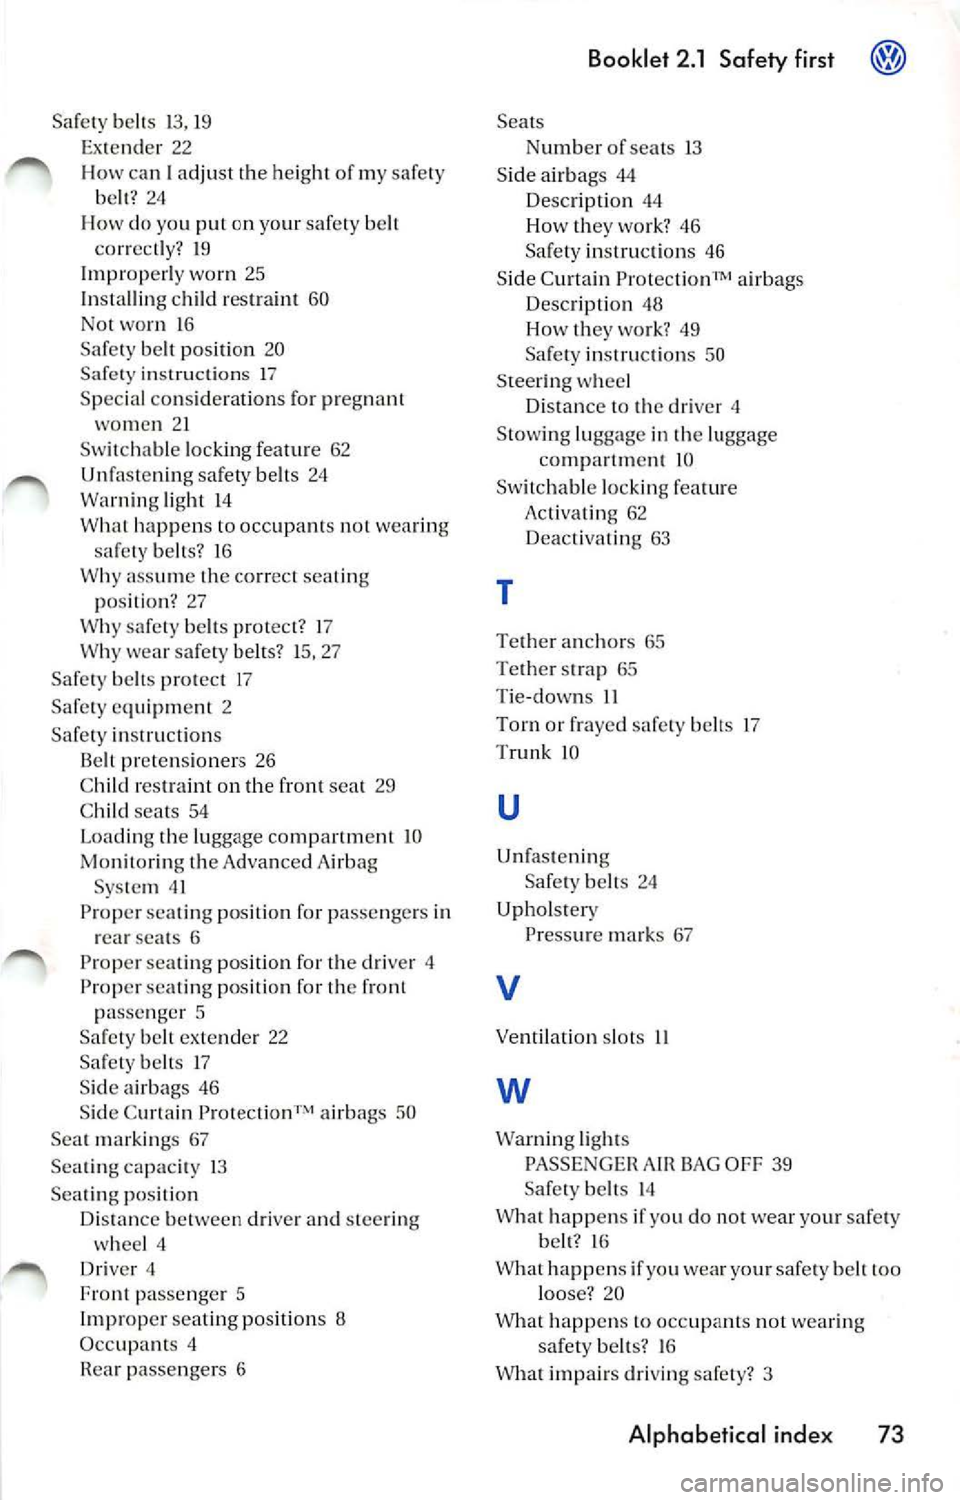
Safet y belts 13, 19
Ex tende r 22
H ow can I adjust the height of m y safe ty
b elt ? 24
I - l ow d o you put on yo ur safe ty belt
cor re ctly? 19
Im properl y wo rn 25
In sta lli ng child res traint 60
No t wo rn 1 6
Safety be lt po sit io n 20
Safety i nstru cti ons 17
S pec ial co nsid erations for pregnan t
wo men 21
Sw itchab le locki ng feat ure 62
safet y belt s 24
Warn ing light l4
Wha t hap pens to occupa nts not wea ring
sa fe ty belts? 16
Why a ssum e th e corr ect sea ting
p osi tion ? 27
Why safety be lts protect? 17
Why wear safety belt s? 15, 27
Sa fe ty be lts pro tec t 17
Safe ty e quip ment 2
Safe ty in stru ctions
Be lt pre ten sioner s 26
C hil d res traint on th e fro nt sea t 29
C hild seats 54
Lo ad ing the luggage comp artm ent 10
Mo nitoring t he Advanced Air bag
Sys tem 41
Prop er se ating posit io n fo r pa sse ngers in
r ea r sea ts 6
Proper seating positio n for t he dri ve r
Prop er se ating posit ion for th e fron t
p ass en ge r 5
Sa fe ty belt exte nder 22
S af ety b elts 17
S ide a irbags 46
S id e C urtain Protectio n
airbags 50
Sea t marki ngs 67
Sea ting capac ity 13
S eatin g po sit ion
Di stance betw een driver an d stee rin g
w hee l 4
D riv er 4
Fro nt passe nger 5
Im prope r se ating posit io ns 8
Occ upa nts 4
R ea r pa sse ngers 6
Booklet 2 .1 Safety first
Sea ts
N umber of seats 13
S id e a irb ags 44
Description 44
H ow they wo rk? 46
Sa fety instruction s 46
S id e C urtain Prot ectio nT M a irbag s
Desc ription 48
Ho w they wo rk ? 49
Sa fe ty in stru cti ons 50
S teer ing w hee l
Di sta nce to th e dri ve r 4
Stow ing lug gage in the lugg age
c ompartm ent 1 0
Sw itchabl e lo ck in g fea ture
Act iv ating 62
Deactivating 63
T
Tether an ch or s 65
T ether stra p 65
T ie-dow ns 11
T orn or frayed safety belt s 17
T runk
IQ
u
Unfa ste ni ng
Safe ty be lts 24
U phol stery
Pre ssur e ma rks 67
V
Ve ntil ati on slo ts
w
Warn ing lig ht s
PA SSENGE R AIR BAG OF F 39
Safety belts 14
Wha t happe ns if yo u do no t wea r yo ur safe ty
b elt ? 16
W hat happ ens if yo u w ear your safe ty heir to o
l oose '? 20
What happen s to occupants not wea rin g
sa fe ty be lts? 16
W hat im pairs dri ving safe ty ? 3
Alphabetical inde x 73
Page 234 of 477
Booklet 3.1 Controls and Equipment
Opening and closing Keys
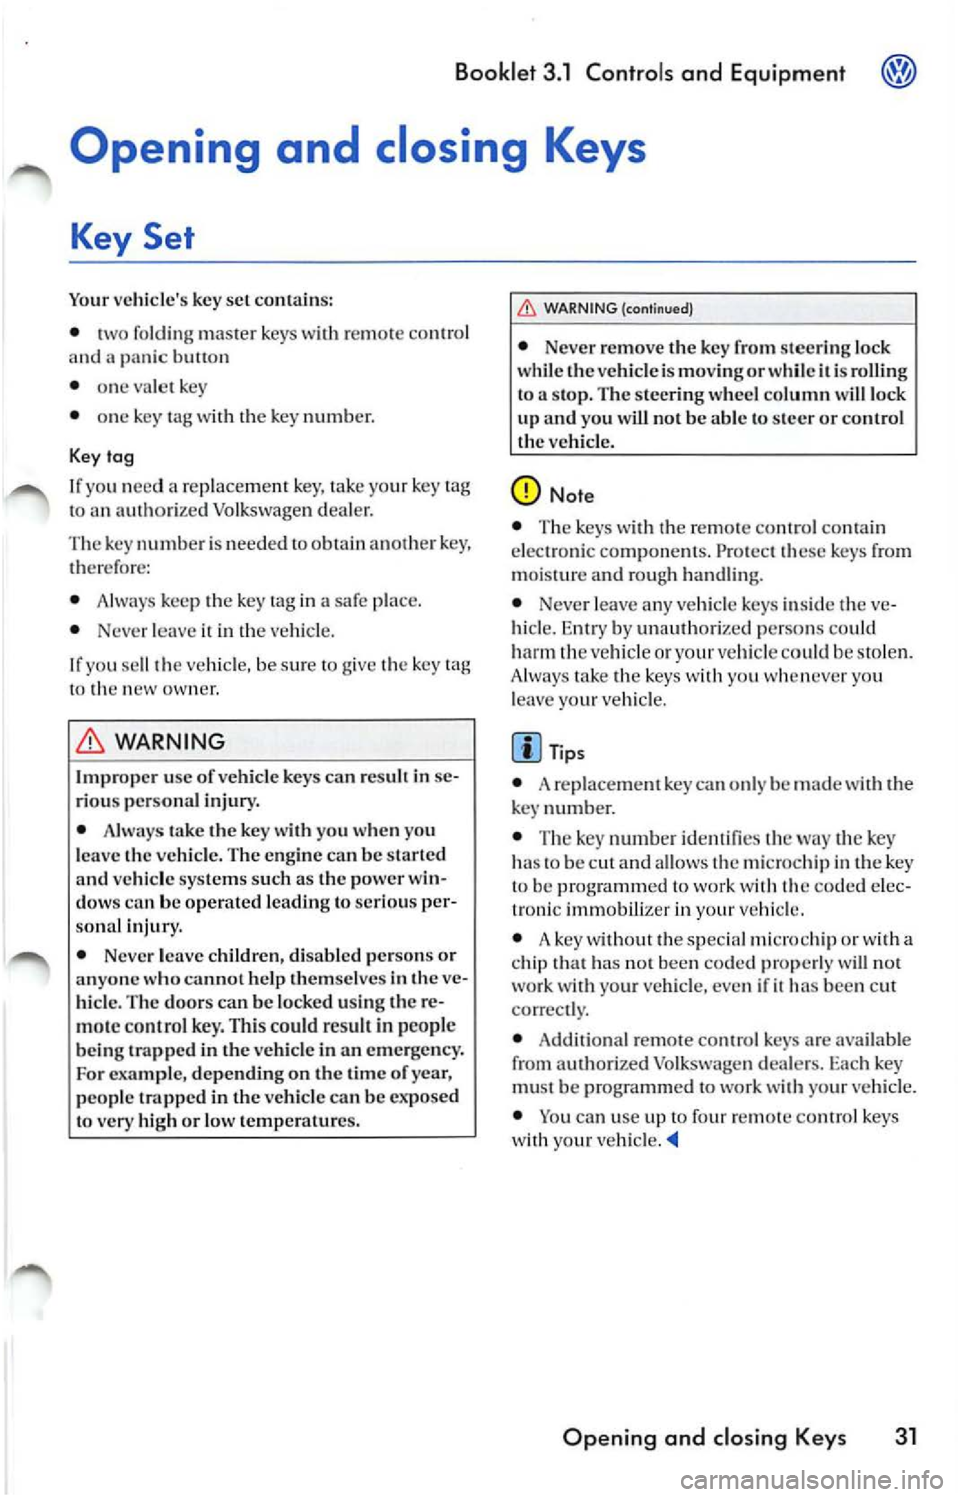
Key Set
Your vehicle's key set co ntains:
• two folding master keys
re m ote co ntrol
and panic bu 11on
• one va le t key
• one key
wi th key numb er.
Key tag
I f yo u n eed a re plac em ent key, tak e yo ur key
vehicl e.
If yo u se ll th e ve hicle, b e sur e
10 g ive the key 10 n ew ow ner.
WARNING
Improp er use of vehicl e keys res ult in se
riou s per sonal injury.
• Alwa ys tak e th e ke y with you when you
l eave the ve hicle. The engine can be sta rted
and vehicl e sys tems su ch as the pow er win
d ows ca n be operated leadi ng to serious per
s onal inju ry.
• Never le ave childr en, di sabled p ers ons or
anyone who canno t help them se lves in
ve
hi cle. The door s can be lo cke d using re
mot e co ntrol k ey. Thi s cou ld result in people
be ing trapped in
ve hicle in emerge ncy.
For exampl e, depending on the time of year ,
p eop le trapped in the vehicle can be exposed
to
high or low temperature s.
£0 WARNING (contin ued)
• Never re mo ve the key from steer ing lock
w hil e the ve hicle i s mo vingorwhile is rolling
lo a stop. The steering whee l co lum n will lock
up and you
not be able to ste er or contro l
the vehicl e.
N ote
• The k eys with th e re m ote c ont ro l electronic co mpo ne n ts. Pro tec t the se keys from
m ois ture an d roug h hand lin g.
• Never leave any vehicle keys in sid e th e ve
hi cle . Entry by unauth orized perso ns co uld
ha rm the ve hicle or yo ur ve hicl e co uld be s tolen.
A lway s tak e th e keys w ith you wheneve r yo u
l e ave your vehicl e.
numb er.
• The key numb er id entifi es th e
th e key
ha s 10 b e cut and all ows the mi croc hip in the key
t o be program med to work wi th the co ded elec
troni c imm obili zer in your vehicle .
• A key withou t the specia l micro chip or w ith a
c hi p
has 11 0 1 be en coded prope rly w ill not
wor k w ith your ve hicle, even if it has bee n cut
co rrec tly.
• Additiona l re m ote contr ol keys arc availab le
from auth orized Vo lksw agen dealer s. Each key
mu st be pro gramm ed to wo rk
yo ur vehicle .
• Yo u can use up to fo ur r em ote co ntro l keys
w ith your vehicl e . ._
Opening and closing Keys 31
Page 235 of 477
Booklet 3.1 Controls and Equipment
Remote control key
Locking and unlocking the vehicle
The remote control key can be used to lock and unlock the vehicle from a distance.
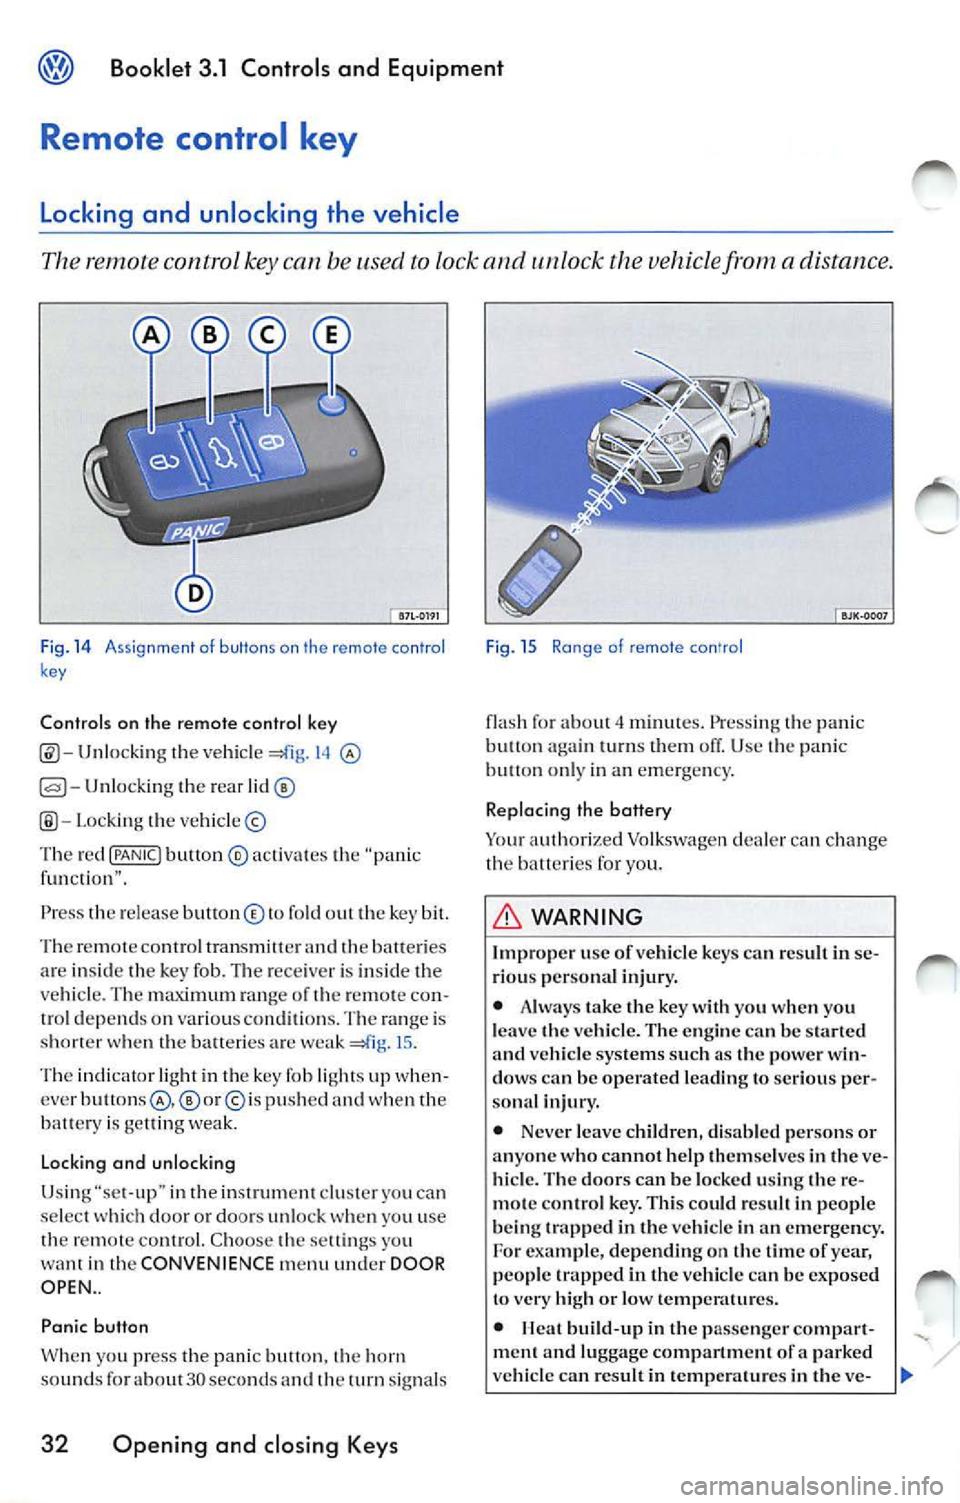
Fig. 14 A ssi gnme nt o f buttons on th e remote con tro l
k ey
Controls on the remote control key
Unlocking the vehicl e 14
Unlocking the rear
Lo cki ng the vehicle ©
Th e red
{PANIC! button ® activa tes the "pa nic
f un cti on" .
Press th e re le ase button © to fold out the key bit.
Th e re m ote contro l tran smitter and
batte ri es
ar e insid e th e key fob. The rece iver is in side the
ve hicle . T he maximum ran ge of th e remo te con
trol dep end s on various conditions. The range is
s h o rter when the balteric s are weak
15 .
The indicator light in th e key fob li ght s up when
cver
p u sh ed and when the
batt ery is ge llin g we ak.
Lo cking and unlocking
Usi ng "se t-up" in the inst rument clu ster you ca n
se lect doo r or doors un loc k you u se
th e remot e control. C hoo se th e sett ings yo u
want in the CONVENIENCE menu under DOOR
OPEN ..
Panic button
W hen yo u press t he panic butt on. horn
sou nds fo r about 30 seco nds an d th e turn signal s
32 Opening and closing Keys
Fig . 15 Ra nge of remote con'ro l
flash fo r about minut es. Press ing the pani c
butt on turn s them off. Use panic on ly in an emerge ncy.
Replacing the battery
Yo ur auth orized Volkswagen dealer can ch ange
the b atteri es for you.
WARNING
Improp er use of vehicl e key s ca n resu lt in se
ri ous per sona l injury.
• Alwa ys take the key with you when you
l e ave the vehicle. The en gine
be start ed vehicle systems such a s the power win
dow s can be operated le ading to seriou s per
sona l injur y.
• Never leave childr en, disab le d pe rsons or
anyone who cannot help them se lves in
ve
hicl e. The door s can be locked using the re
m ote con tro l ke y. This could r esult in peop le
b eing trapp ed in the vehicle in an emergency.
For exam ple, depending on the tim e of yea r,
people trapped in the vehicle can be exposed
to very high or low temp eratures.
•
build -up in the passenge r compar t
ment a nd luggage compartment of a parked
ve hicle can re sult in temp erature s in the ve-