2009 VOLKSWAGEN BEETLE airbag off
[x] Cancel search: airbag offPage 2 of 138
Downloaded from www.Manualslib.com manuals search engine Table of Conte nts
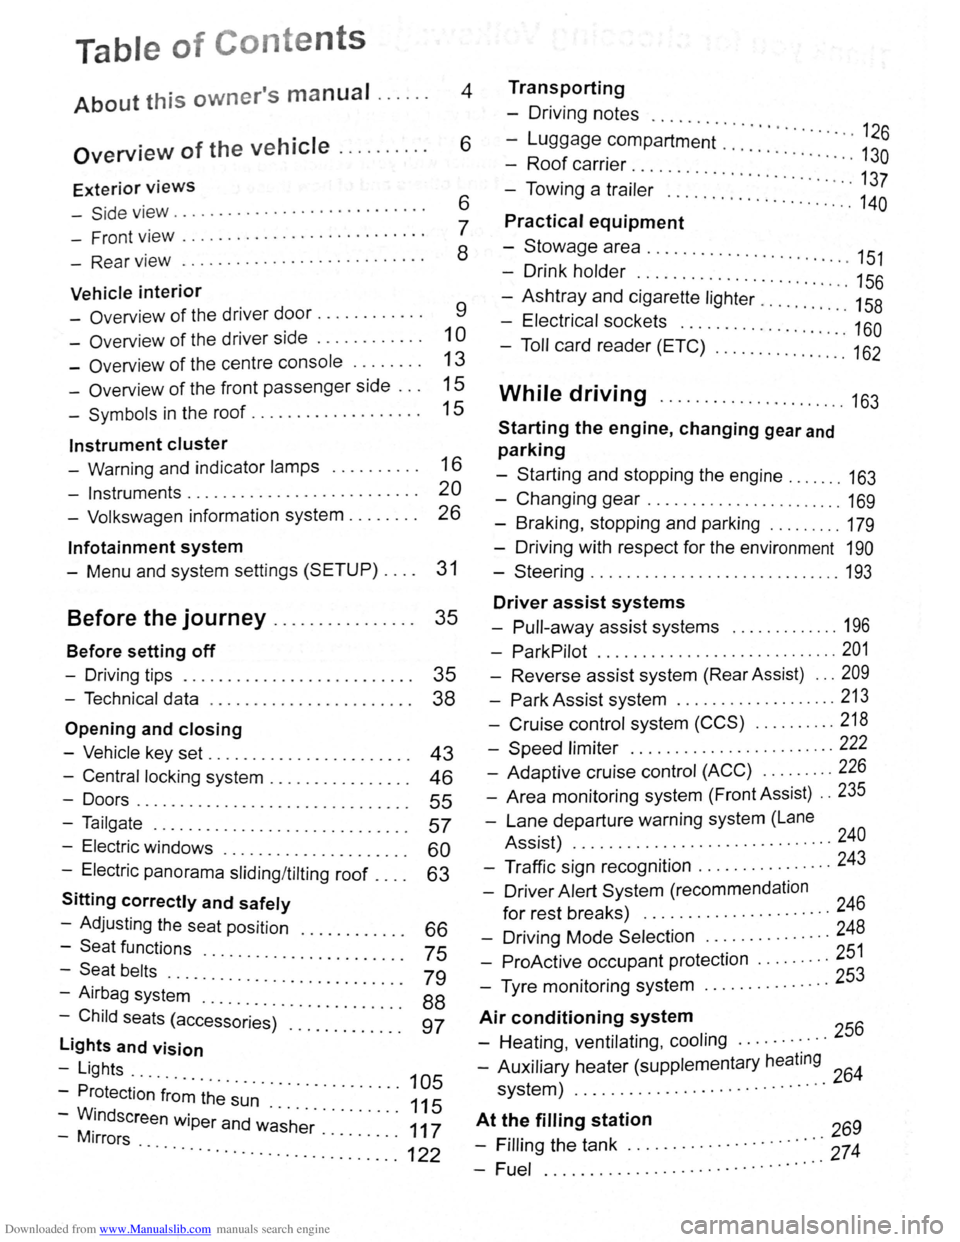
About this owner's manual . . . . . . 4
Overview of the vehicle . . . . . . . . . . 6
Exterior views
-Side v iew . . . . . . . . . . . . . . . . . . . . . . . . . . . . 6
- Front view . . . . . . . . . . . . . . . . . . . . . . . . . . . 7
- Rear view . . . . . . . . . . . . . . . . . . . . . . . . . . . 8
Vehicle interior
- Overview of the driver door........... . 9
-Overv iew of the driver side . . . . . . . . . . . . 1 0
- Overview of the centre console . . . . . . . . 13
- Overview of the front passenger side . . . 15
-Symbols in the roof . . . . . . . . . . . . . . . . . . . 15
Instrument cluster
- Warning and indicator lamps . . . . . . . . . . 16
- Instruments.......................... 20
- Volkswagen information system . . . . . . . . 26
lnfotainment system
- Menu and system settings (SETUP) . . . . 31
Before the journey . . . . . . . . . . . . . . . . 35
Before setting off
- Driving tips . . . . . . . . . . . . . . . . . . . . . . . . . . 35
- Technical data . . . . . . . . . . . . . . . . . . . . . . . 38
Opening and closing
-Vehicle key set . . . . . . . . . . . . . . . . . . . . . . . 43
- Central locking system . . . . . . . . . . . . . . . . 46
-Doors....................... .. . 55
-Tailgate . . . . . . . . . . . . . . . . . . . . . . . . . . . . . 57
- Electric windows . . . . . . . . . . . . . . . . 60
- Electric panorama sliding/tilting roof . : : : : 63
Sitting correctly and safely
- Adjusting the seat position . . . . 66
-Seat functions · · · · · · · · 75 -Seat belts ..... · · · · · · · · · · · · · · · · · ·
- Airbag syst~~ . : : : : · · · · · · · · · · · · · · · 79
-Child seats (access~;;~~)· :::::::::::: : ~~
lights and vision
-Lights ...
- Protection
·f~~~ ~h~· ~~~ · · · · · · · · · · · 105
-WM.indscreen wiper and w~·s·h~r· . . . . . . . . . 111175
-1rrors · · · · · · · .. ............. ...... ........... 122
Transporting
- Driving notes ..........
-Luggage compartment · · · · · · · · · · · · · · 126
-Roof carrier · · · · · · · · · · · · · · · · 130
- Towing a trai·l~; .. ... · · · · · · · · · · · · · · · · · · 137
..... ................. 140
Practical equipment
-Stowage area ........... .. .
- Drink holder
.. · · · · · .. · 151 . . . . . . . . . . . . . . . . . . . . . . . 156
-Ashtray and cigarette lighter ......... : ." 158
- Electrical sockets ........ .. .......... 160
- Toll card reader (ETC) .............. .. 162
While driving ...................... 163
Starting the engine, changing gear and
parking
-Starting and stopping the engine ....... 163
-Changing gear ....................... 169
-Braking , stopping and parking ........ . 179
- Driving with respect for the environment 190
-Steering ............................. 193
Driver assist systems
- Pull-away assist systems ............. 196
- ParkPilot ............................ 201
- Reverse assist system (Rear Assist) ... 209
-Park Assist system ................... 213
-Cruise control system (CCS) .......... 218
-Speed limiter ........ .. .............. 222
- Adaptive cruise control (ACC) ........ . 226
- Area monitoring system (Front Assist) .. 235
-Lane departure warning system (Lane
Assist) .
.......... ................... 240
- Traffic sign recognition ................ 243
- Driver Alert System (recommendation
for rest breaks) ........... ........... 246
- Driving Mode Selection ............... 248
- ProActive occupant protection ..... .... 251
- Tyre monitoring system .. ............. 253
Air conditioning system
- Heating , ventilating, cooling ........... 256
- Auxiliary heater (supplementary heating 64 system) ................. ............ 2
At t~~ filling station 269
- Frllrng the tank ............. · · · · · · ·::: 274
-Fuel ................ .. · · · · · · · · ·· ·
Page 14 of 138
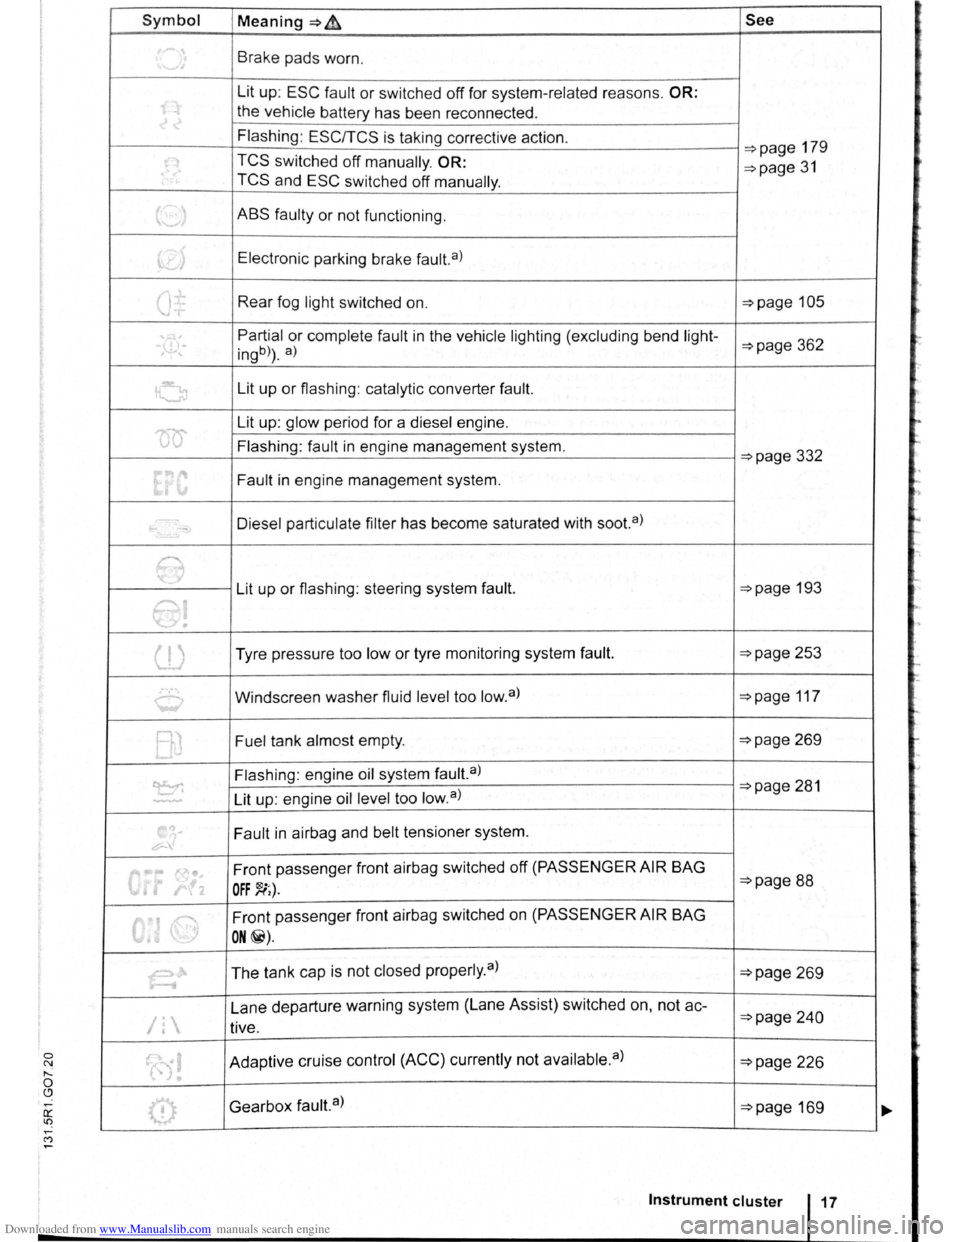
Downloaded from www.Manualslib.com manuals search engine Symbol Meaning~~ See
~ Brake pads worn.
Lit up:
ESC fault or switched off for system -related reasons. OR:
the ve hi cle battery has been reconnected .
Flashing :
EScrrcs is taking corrective action. ~page 179
~ TCS switched off manually. OR: ~page 31 TCS and ESC switch ed off manually .
t._.J ABS faulty or not functioning .
~> Electronic parking brake fault. a)
Q± Rear fog light switched on. ~page 105
' , Partial or complete fault in the vehicle lighting (excluding bend light--,\.!),-ingb)) . a) ~page 362
G Lit up or flashing : catalytic converter fault.
'00'
Lit up: glow period for a diesel engine .
Flashing : fault
in engine management system. ~page 332
Fault in engine management system.
-Diesel particulate filter has become saturated with soot. a)
e Lit up or flashing : steering system fault. ~page 193
e!
(l) Tyre pressure too low or tyre monitoring system fault. ~page 253
0 Windscreen washer fluid level too low. a) ~page 117
BJ Fuel tank almost empty. ~page 269
~
Flashing : engine oil system fault.a) ~page 281
Lit up: engine oil level too low. a ) ..............
.,
~
~ Fault in airbag and belt tensioner system.
0"' ... 1'0•. Front passenger front airbag switched off (PASSENGER AIR BAG ~page 88 • r!2 OFF~;).
6
Front passenger front airbag switched on (PASSENGER AIR BAG
I ON@).
~ The tank cap is not closed properly . a ) ~page 269
Lane departure warning system (Lane Assist) switched on, not
ac-~page 2 4 0 /1 tive.
(0! Adaptive cruise control (ACC) currently not available. a) ~page 226
0 Gearbox fault.a) ~page 169
Instrument cluster
=
Page 37 of 138
Downloaded from www.Manualslib.com manuals search engine h{' ,~ 'I,'. U rl lC1tlJc'lt nd th tank flap cnn be
· r 1 unhx I n tFinuHII if th e ve hic le k e y or
"'~' tf,\1 1-. • "'J, ~lhml fdll •.
ut 'llH\ tl kin (Aut ock)
~~t nMtl lml , k in g (Auto Unlock)
\~ '•l$~1$, th h i ~le a ut tTinticn lly unl ocks
1$ '" 1 th lc1tlJ<'lto ~ pnge 1 wh en:
A c
tion
• Th e ve hi cle comes to a s tandst ill and th e veh i
c le
k e y is removed .
• In v e hic le s with an au to m atic gearbox: w hen
th e se lec to r le v
er is in p ositio n P and the ignitio n is
s wi tc h ed o ff.
Locking the vehicle after the airbags have
been triggered
The entire vehic le is un locked if the air bags are ac
tiva ted d uring an accide nt. Depe ndi ng o n the level
of damage,
the veh icle can b e locked after an a cc i
d ent as fo llows .
-
Swi tc h off the ig ntt ion.
l · 1ng th veh1 le using the ve
hl lt) ~e :
-Open and close one of the ve hicle doors once .
- Press
~e cent~lockin~_b_u_tt_o_n-.:@)=o_. -------------
- Swi tc h off th e ignitio n .
OR: remove the key from the igni tio n lock.
-Open one of the ve hicle doo rs o nce .
- Lock
the ve hicle with the vehicle key.
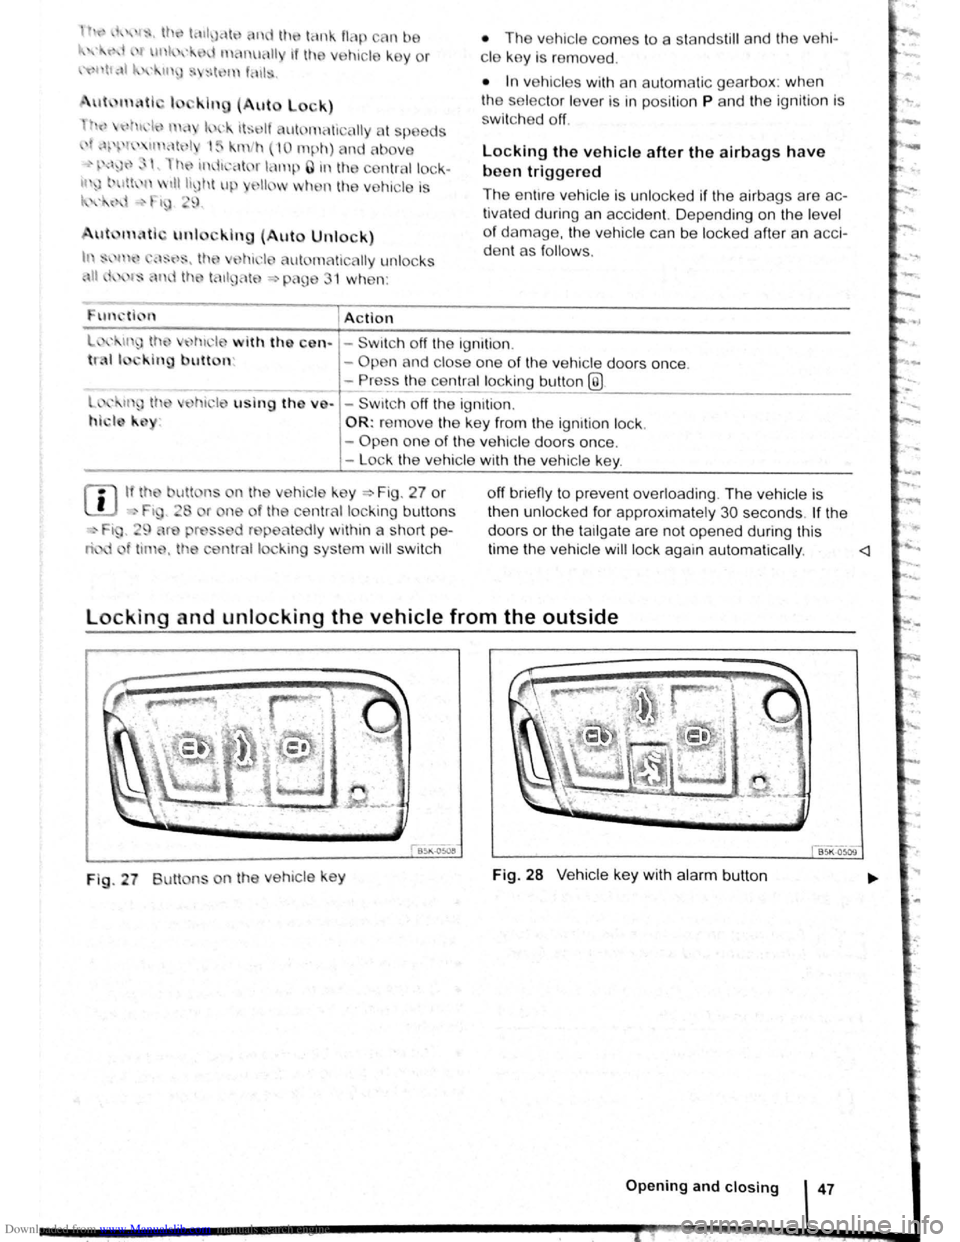
If tho butt ns n the vehic le ke y ~ Fig . 27 or
·' Ft , 28 r ne of the centrnl locking bu tto ns
i, , 9 r press d repeatedly within a short pe
t tim~. th central lo k ing sys te m wi ll swi tc h o
ff brie fly to pre vent ove
rloading . Th e ve hic le is
th en u nlocked fo r app roxima tel y
30 seco nds . If the
d oors or th e
ta1lga te a re no t opene d during this
tim e th e vehic le
w ill lock again au to m atically .
Fig . 27 Butt ns on th e ve h icle ke y Fig. 28 V e hic le ke y with alarm button
Opening and closing 47
Page 53 of 138
Downloaded from www.Manualslib.com manuals search engine -
When removing or fitting head restraints, make
sure that they do not hit the roof or other parts
of the vehicle. The roof and other vehicle parts
could otherwise be damaged.
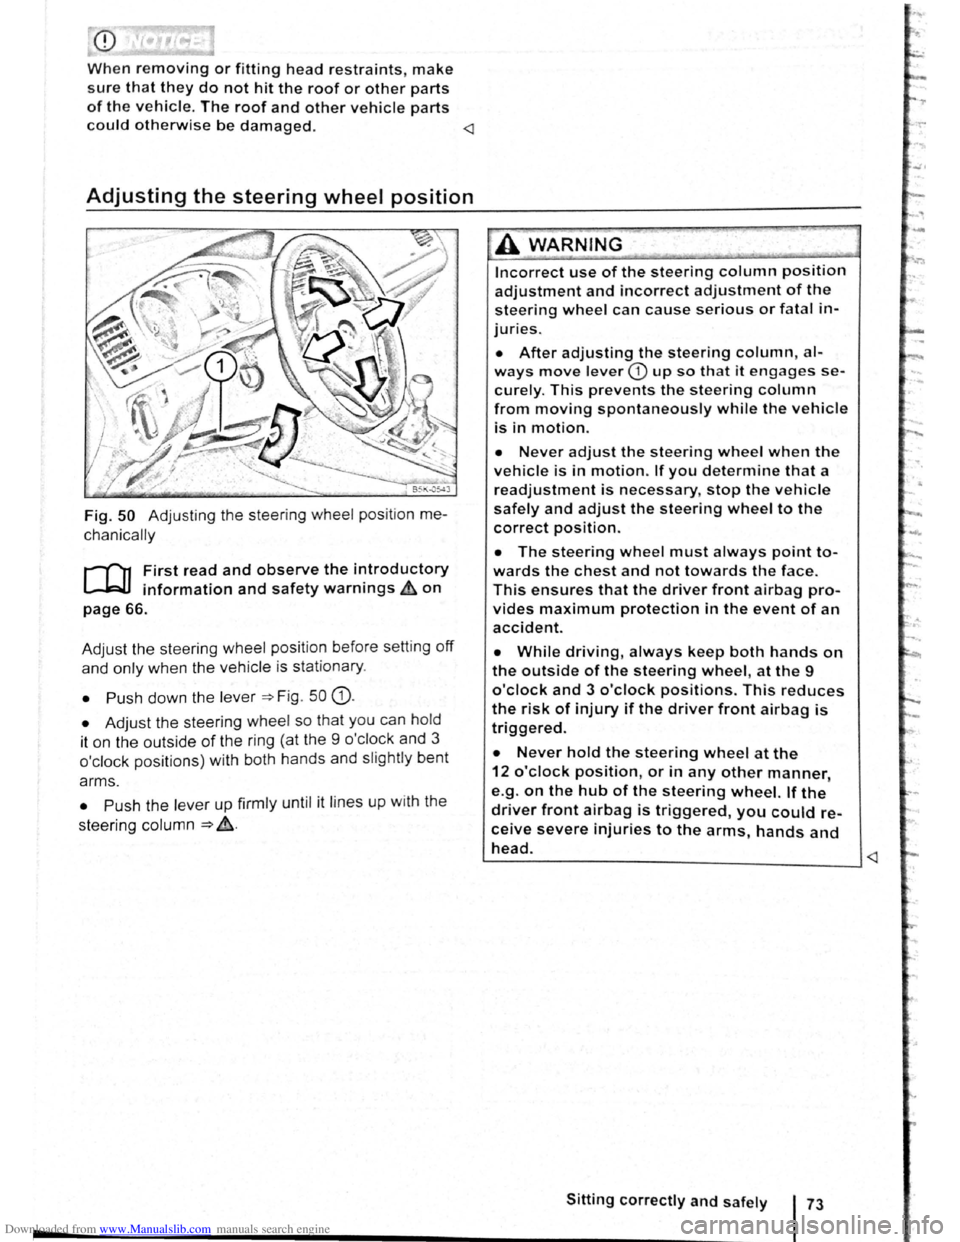
Fig. 50 Adjusting the steering wheel position me
chanically
r-f"'n First read and observe the i~troductory
~ information and safety warnmgs ~on
page 66.
Adjust the steering wheel position before setting
off
and only when the vehicle is sta tionary.
• Push down the lever =>Fig . 50 G).
• Adjust the steering wheel so that you can hold
it on the outside
of the ring (at the 9 o'cl ock and 3
o'clock positions) with both hands and slightly bent
arms.
• Push the lever up firmly until it lines up with the
steering column
=> ~-
Incorrect use of the steering column position
adjustment and incorrect adjustment of the
steering wheel can cause serious or fatal in
juries.
• After adjusting the steering column, al
ways move lever CD up so that it engages se
curely. This prevents the steering column
from moving spontaneously while the vehicle
is in motion.
• Never adjust the steering wheel when the
vehicle is in motion. If you determine that a
readjustment is necessary, stop the vehicle
safely and adjust the steering wheel to the
correct position.
• The steering wheel must always point to
wards the chest and not towards the face.
This ensures that the driver front airbag pro
vides maximum protection in the event of an
accident.
• While driving, always keep both hands on
the outside of the steering wheel, at the 9
o'clock and 3 o'clock positions. This reduces
the risk of injury if the driver front airbag is
triggered.
• Never hold the steering wheel at the
12 o'clock position, or in any other manner,
e.g .
on the hub of the steering wheel. If the
driver front airbag is triggered, you could re
ceive severe injuries to the arms, hands and
head. ~--------------------------____ _j
Page 56 of 138
Downloaded from www.Manualslib.com manuals search engine Folding the front passenger seat backrest forwards
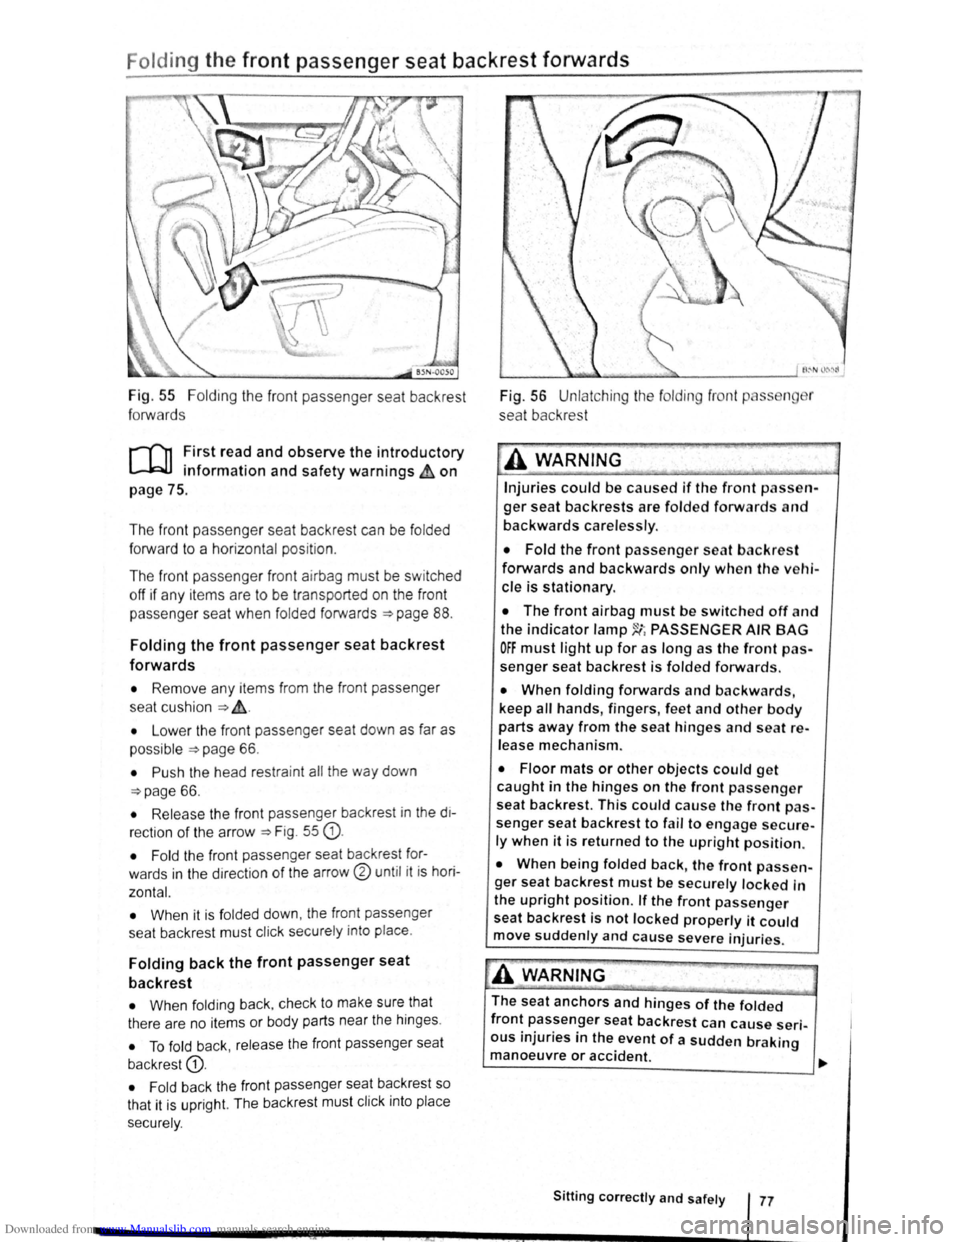
Fig. 55 Folding the front passenger seat backrest
forwards
r-('n First read and observe the introductory
l-.b1.l information and safety warnings~ on
page
75 .
The front passenger seat backrest can be
folded
forward to a horizontal position .
The
fron t pass enge r front airbag must be switched
off if any it e ms are to be transported on the front
p asse nger seat when
folded forwards ~page 88.
Folding the front passenger seat backrest
forwards
• Remove any items from the front passenger
seat cu shio n
~ ~-
• Lower the front passenger seat down as far as
possible
~page 66 .
• Push the head restra int all the way down
~page 66.
• Release the front passenger backrest in the di
rection
of the arrow ~Fig. 55 G).
• Fold the front passe nger seat backrest for
wards
in the dir ec tion of the arrow® until it is hori
zontal.
•
When it is fol ded down , the front passenger
sea t backrest must click securely into place .
Folding back the front passenger seat
backrest
• When foldi ng back , check to make sure that
there are no items or body parts near the hinges .
• To fold back , release the front passenger seat
backrest
G).
• Fold back the front passenger seat backrest so
that it is upr
ight. The backrest must click into place
sec urely .
Fig. 56 Unlatching the fo lding front p ss n r
seat backrest
A WARNING '·
Injuries could be caused if the front passen
ger seat backrests are folded forwards and
backwards carelessly .
• Fold the front passenger seat backres t
forwards and backwards only when the vehi
cle is stationary.
• The front airbag must be switched off and
the indicator lamp~~ PASSENGER AIR BAG
OFF must light up for as long as the front pas
senger seat backrest is folded forwards.
• When folding forwards and backwards,
keep
all hands , fingers , feet and other body
parts away from the seat hinges and seat re
lease mechanism.
• Floor mats or other objects could get
caught in the hinges on the front passenger
seat backrest. This could cause the front pas
senger seat backrest to fail to engage secure
ly when it is returned to the upright position.
• When being folded back, the front passen
ger seat backrest
must be securely locked in
the
upright position. If the front passenger
seat backrest is not locked properly it could
move suddenly and cause severe injuries.
A WARNING
The seat anchors and hinges of the folded
front passenger seat backrest can cause seri
ous injuries in the event of a sudden braking
manoeuvre or accident.
~------------------------~~
Sitting correctly and safely 77
Page 109 of 138
Downloaded from www.Manualslib.com manuals search engine ... . ·
' '
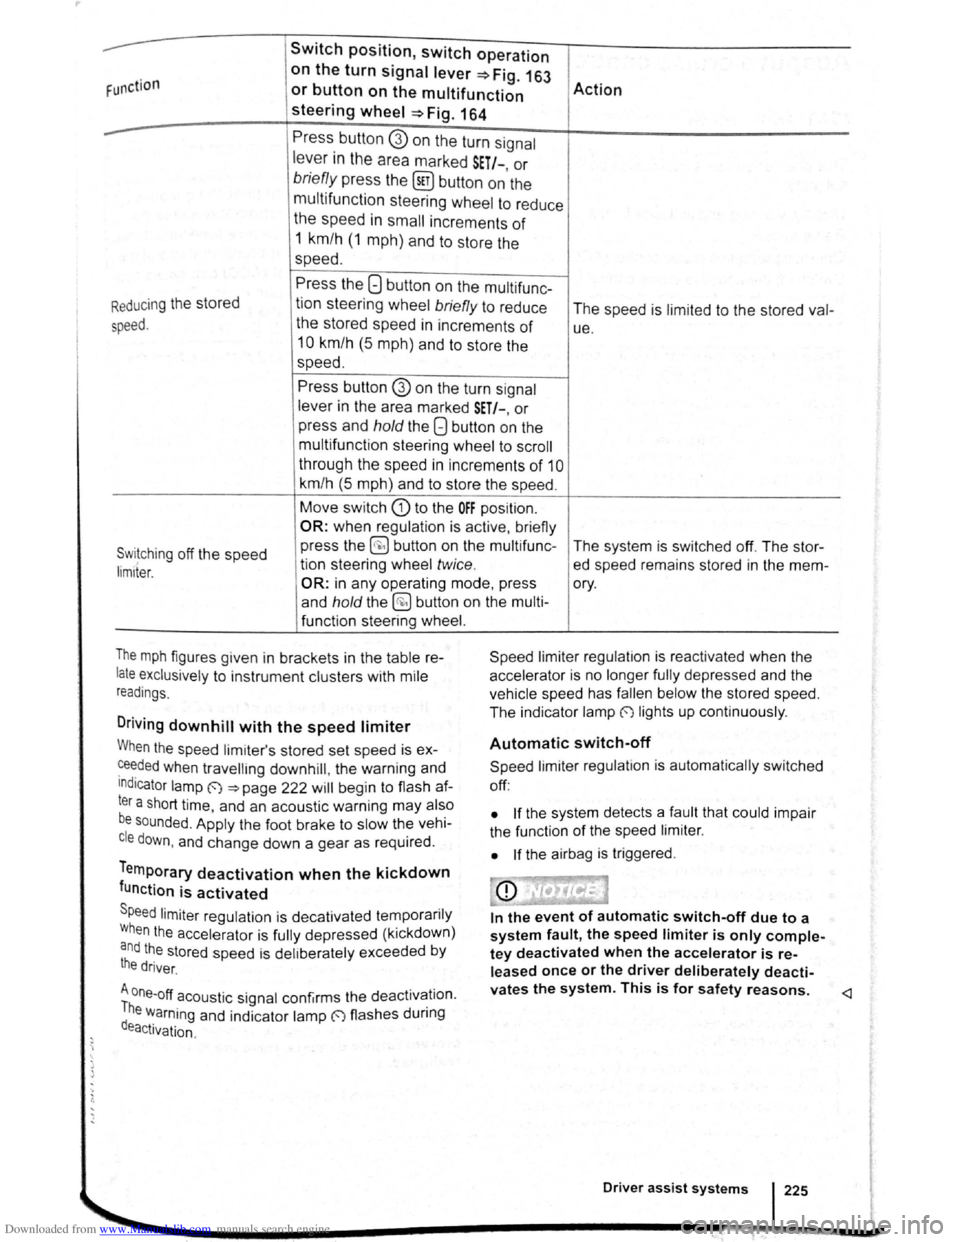
Swit c h posit ion , switch oper ation
F unction
on the turn signal lever=> F ig. 16J
Action or button on the multifunction
steering wheel =>Fig . 164
--Press butto n G) on the turn signal
lever in the area marked S ET/-, or
brie fly pre ss the (sET) button on the
multifu nction
steerin g whe el to reduce
the speed in small increments of
1 km/h ( 1 m ph) a nd to store the
speed.
Press the 8 button on the multi func-
R
educing the stored
tion steering wheel briefly to reduce
The speed is limit e d to the stored val-
speed. the stored speed in increments of ue .
10 km /h (5 m p h) a nd to sto re the
speed.
Press button @ on the turn s ignal
lever i n the a rea marked SET/-, or
p r
ess and hold the Q button on the
m ult ifunctio n stee rin g
wheel t o sc ro ll
t h roug h th e spee d in i ncre m ents
of 1 0
km/h (5 m ph) and to sto re the speed .
Move switc h G) to the OFF position.
OR: when regula tio n is active , briefly
Switching off the speed press
the ~ butto n on th e multifunc -
The system is switched off. The stor-
tion stee rin g wheel twice . ed speed remains stored in the mem -lim1ter.
OR: in any opera tin g m od e, pr es s ory.
a nd
hold th e @ button on the mult i-
f u n ctio n steering wheel.
T
he m ph figures given in bracke ts i n the tab le re
late exclusively to instrument clu sters with mile
r
ead ings.
Driv ing downhill w ith the speed limiter
Speed limi te r regu lat io n is reactivated when the
acce le ra to r is no longe r fully depressed and th e
ve hic le s pee d h as
falle n be low th e s tored speed.
The ind icato r lam p
(') lig hts up continuo usly .
When the speed lim ite r's stored set speed is ex
~e~ded when travellmg downhill, the warn in g a nd
Indicator lamp ~ ~page 22 2 will begi n to flas h af
ter a short tim e, and an aco ustic warnin g may also
be sounded . A pp ly the foot brake to s low the ve hi
cle down, and change down a gear as req uir e d .
Temporary deactivation when the kickdown
function is activated
Speed limite r reg ulatio n is decati va ted te m po rari ly
W he n
the acce le ra to r is fully dep ressed (kickdown)
and the sto red speed is delib erate ly exceede d by
the driver .
A one-off acoustic signal confirms th e deac tivation.
The warning and indicato r lamp (') flashes durin g
deactivation .
. .
Automatic switch-off
Spee d li mi ter regu lat ion is automatically switched
off :
• If the syste m d etects a fa ul t that could im pai r
t he fun ction of th e spee d
limit e r.
•
If t h e airbag is triggered .
In the event of automatic switch-off due to a
system fault, the speed limiter is only comple
tey deactivated when the accelerator is re
leased once or the driver deliberately deacti-
vates the system. This is for safety reasons.