Page 194 of 672
194
2-2. Instrument cluster
Indicators and warning lights
The indicator and warning lights on the instrument cluster and cen-
ter panel inform the driver of the status of the vehicle’s various sys-
tems.
■ Instrument cluster
Vehicles with multi- information display
Vehicles without multi-in formation display (type A)
Page 195 of 672
195
2-2. Instrument cluster
2
When driving
Vehicles without multi-in
formation display (type B)
■ Center panel
Page 207 of 672
207
2
When driving
2-3. Operating the lights and wipers
Headlight switch
Turning on the high beam headlightsWith the headlights on, push
the lever forward to turn on the
high beams.
Pull the lever back to the center
position to turn the high beams
off.
Pull the lever toward you to
turn on the high beams.
Release the lever to turn them off.
You can flash the high beams
with the headlights on or off.
The headlights can be operated manually or automatically.
The side marker, park-
ing, tail, license plate
and instrument panel
lights turn on.
The headlights and all
lights listed above turn
on.
The headlights and all
lights listed above turn
on and off automati-
cally. (When the
engine switch is in the
ON position)
Canada
U.S.A.
(if equipped)
Page 243 of 672

243
2-5. Driving information
2
When driving
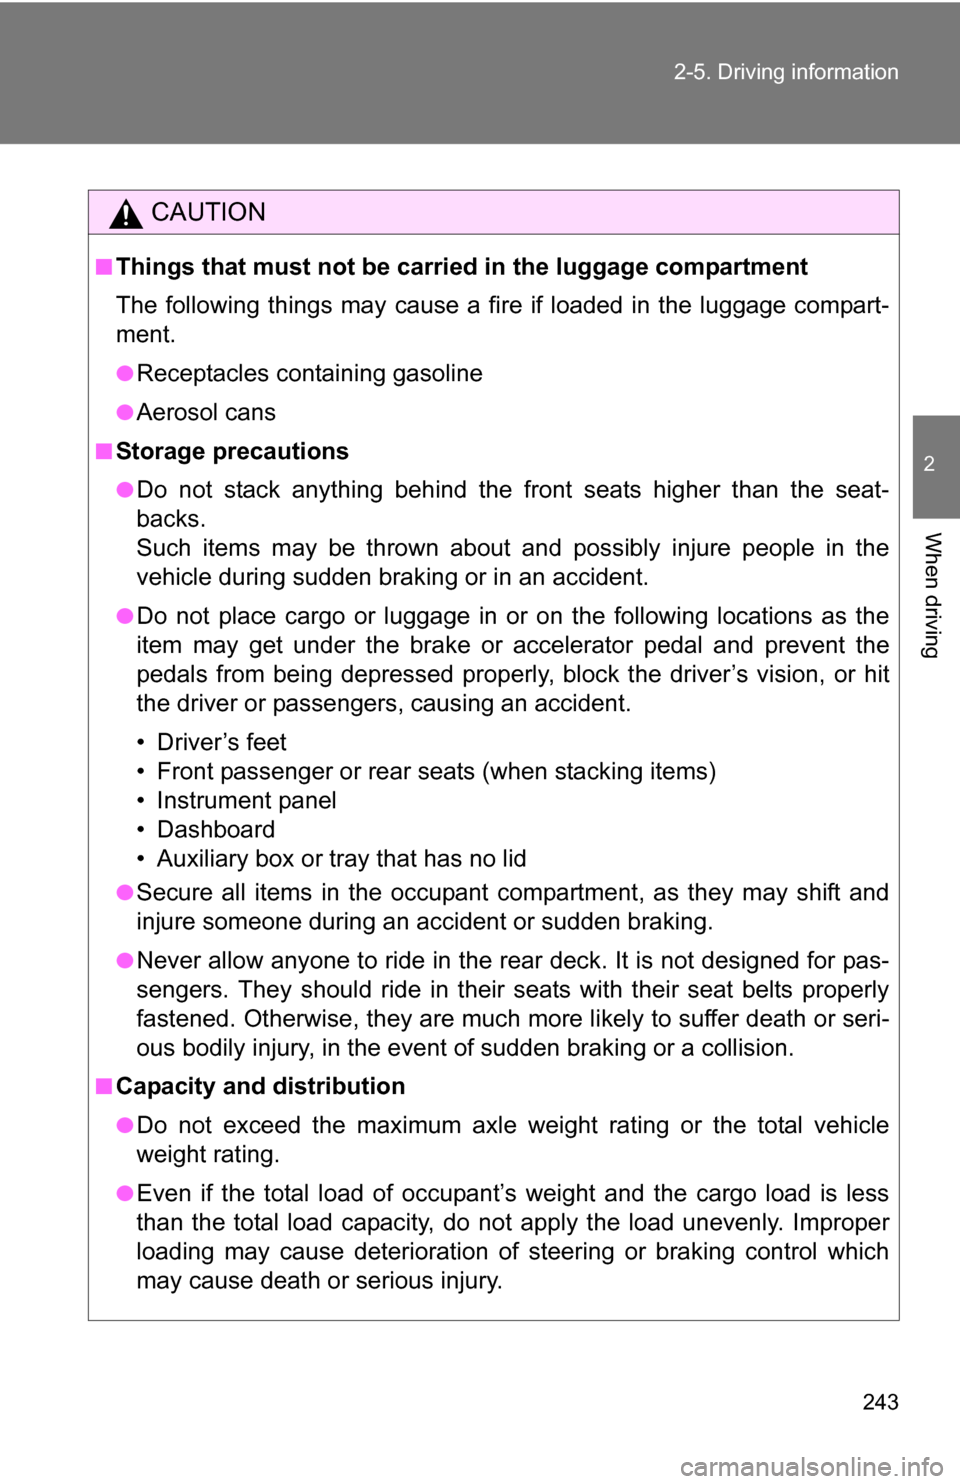
CAUTION
■Things that must not be carried in the luggage compartment
The following things may cause a fire if loaded in the luggage compart-
ment.
●Receptacles containing gasoline
●Aerosol cans
■Storage precautions
●Do not stack anything behind the front seats higher than the seat-
backs.
Such items may be thrown about and possibly injure people in the
vehicle during sudden braking or in an accident.
●Do not place cargo or luggage in or on the following locations as the
item may get under the brake or accelerator pedal and prevent the
pedals from being depressed properly,
block the driver’s vision, or hit
the driver or passengers, causing an accident.
• Driver’s feet
• Front passenger or rear seats (when stacking items)
• Instrument panel
• Dashboard
• Auxiliary box or tray that has no lid
●Secure all items in the occupant compartment, as they may shift and
injure someone during an accident or sudden braking.
●Never allow anyone to ride in the rear deck. It is not designed for pas-
sengers. They should ride in their seats with their seat belts properly
fastened. Otherwise, they are much mo re likely to suffer death or seri-
ous bodily injury, in the event of sudden braking or a collision.
■Capacity and distribution
●Do not exceed the maximum axle weight rating or the total vehicle
weight rating.
●Even if the total load of occupant’s weight and the cargo load is less
than the total load capacity, do no t apply the load unevenly. Improper
loading may cause deterioration of st eering or braking control which
may cause death or serious injury.
Page 417 of 672
417
3-6. Using the
storage features
3
Interior and exterior features
Bottle holders
Instrument panel (front bench type seat) Push the lid.
Front door
CAUTION
■ Items unsuitable for the cup holder
Do not place anything other than cups or aluminum cans in the cup holders.
Other items may be thrown out of the holders in the event of an accident or
sudden braking and cause injury. If possible, cover hot drinks to prevent
burns.
Rear cup holders and bottle holders
Page 432 of 672
432
3-7. Other interior features
Power outlets (12V DC)
The power outlet can be used for accessories that run on less than
10 A.
Type A (Instrument panel)
Page 433 of 672
433
3-7. Other interior features
3
Interior and exterior features
Type B (Instrument panel)
Type C (Under the seat cushi
on of the front center seat)
Page 512 of 672
512
4-3. Do-it-yourself maintenance
Checking and replacing fuses
If any of the electrical components do not operate, a fuse may have
blown. If this happens, check and replace the fuses as necessary.
Turn the engine switch off.
The fuses are located in the following places. To check the
fuses, follow the in structions below.
Engine compartment
Push the tab in and lift the lid
off.
Under the instrument panel Remove the lid.
After a system failure, see “Fuse layout and amperage rat-
ings” ( P. 515) for details about which fuse to check.