Page 14 of 432
14
Pictorial indexInstrument panel
Headlight switch
Turn signal lever P. 139
P. 127
Windshield wipers and
washer switch
P. 141
Cruise control switch P. 144
Gauges and meters P. 131
Hood lock release lever P. 289
Glove box P. 243
Accessory meter P. 137
Rear window wiper and
washer switch
P. 143
Page 16 of 432
16
Pictorial indexInstrument panel
VSC OFF switch P. 162, 169, 170
RR DIFF LOCK switch P. 164
A-TRAC switch P. 160
Power outlet main switch
P. 255
Intuitive parking assist
switch
P. 147
AUX adapter P. 236
SUB WOOFER switch P. 234
Power outlet P. 254
Page 18 of 432
18
Instrument panelPictorial index
Audio remote control
switches
P. 238
Page 19 of 432
19
Instrument panel light
control dial
P. 132
CLUTCH START
CANCEL switch
P. 167
: If equipped
Outside rear view
mirror switches
P. 63
Tilt steering lock
release lever
P. 58
RSCA OFF switch P. 88
Page 84 of 432

84 1-7. Safety information
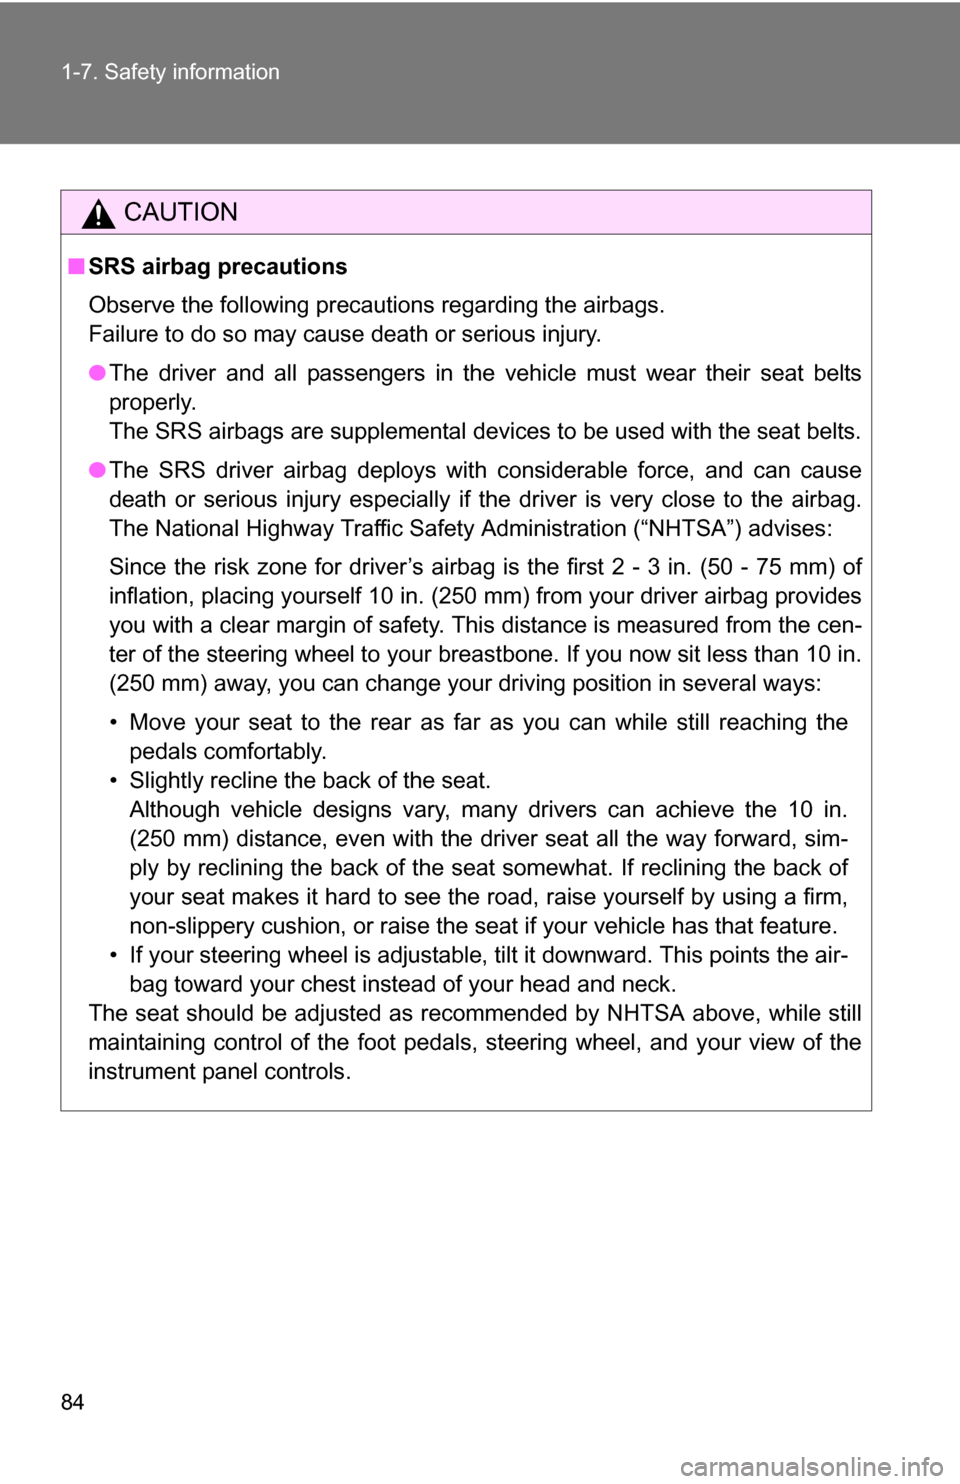
CAUTION
■SRS airbag precautions
Observe the following precautions regarding the airbags.
Failure to do so may cause death or serious injury.
●The driver and all passengers in the vehicle must wear their seat belts
properly.
The SRS airbags are supplemental devices to be used with the seat belts.
● The SRS driver airbag deploys with considerable force, and can cause
death or serious injury especially if the driver is very close to the airbag.
The National Highway Traffic Safety Administration (“NHTSA”) advises:
Since the risk zone for driver’s airbag is the first 2 - 3 in. (50 - 75 mm) of
inflation, placing yourself 10 in. (250 mm) from your driver airbag provides
you with a clear margin of safety. This distance is measured from the cen-
ter of the steering wheel to your breastbone. If you now sit less than 10 in.
(250 mm) away, you can change your driving position in several ways:
• Move your seat to the rear as far as you can while still reaching the pedals comfortably.
• Slightly recline the back of the seat. Although vehicle designs vary, many drivers can achieve the 10 in.
(250 mm) distance, even with the driver seat all the way forward, sim-
ply by reclining the back of the seat somewhat. If reclining the back of
your seat makes it hard to see the road, raise yourself by using a firm,
non-slippery cushion, or raise the seat if your vehicle has that feature\
.
• If your steering wheel is adjustable, tilt it downward. This points the air- bag toward your chest instead of your head and neck.
The seat should be adjusted as recommended by NHTSA above, while still
maintaining control of the foot pedals, steering wheel, and your view of the
instrument panel controls.
Page 88 of 432

88 1-7. Safety information
Deactivating the curtain shield airbags in a vehicle rolloverON/OFF (hold for a few sec-
onds)
The RSCA OFF indicator turns
on. (only when the engine switch
is in the ON position.)
The roll sensing function for the
curtain shield airbags and seat
belt pretensioners will turn back
on automatically each time the
engine switch is turned on.
CAUTION
■Modification and disposal of SRS airbag system components
Do not dispose of your vehicle or perform any of the following modifications
without consulting your Toyota dealer.
The SRS airbags may malfunction or deploy (inflate) accidentally, causing
death or serious injury.
● Installation, removal, disassembly and repair of the SRS airbags.
● Repairs, modifications, removal or replacement of the steering wheel,
instrument panel, dashboard, seats or seat upholstery, front and rear pil-
lars or roof side rails.
● Repairs or modifications of the front fender, front bumper, or side of the
occupant compartment.
● Installation of snow plows, winches, etc. to the front grille (bull bars, kan-
garoo bar etc.).
● Modifications to the vehicle's suspension system.
● Installation of electronic devices such as mobile two-way radios or CD
players.
● Modifications to your vehicle for a person with a physical disability.
Page 132 of 432
132 2-2. Instrument cluster
Odometer and trip meter display button
Pressing this button switches between odometer and trip meter dis-
plays.
Odometer
Trip meter A
*
Trip meter B*
*:Pushing and holding the buttonwill reset the trip meter.
Instrument panel light control
The brightness of the instrument panel lights can be adjusted.
Brighter
Darker
Odometer/trip meter
Odometer:
Displays the total distance the vehicle has been driven.
Trip meter:
Displays the distance the vehicle has been driven since the meter was
last reset. Trip meters A and B can be used to record and display differ-
ent distances independently.
Page 134 of 432
134
2-2. Instrument cluster
Indicators and warning lights
The indicator and warning lights on the instrument cluster and cen-
ter panel inform the driver of the status of the vehicle’s various sys-
tems.
Instrument cluster
Center panel