Page 191 of 432

191
2-5. Driving information
2
When driving
Trailer towing tips
Your vehicle will handle differently when towing a trailer. The three
main causes of vehicle-trailer ac cidents are driver error, excessive
speed and improper trailer loading. Keep these in mind when towing.
● Before starting out, check the trailer’s light and the vehicle-trailer
connections. Recheck after driving a short distance.
● Practice turning, stopping and reve rsing with the trailer attached in
an area away from traffic until you become accustomed to the feel
of the vehicle.
● Reversing with a trailer attached is difficult and requires practice.
Grip the bottom of the steering wheel and move your hand to the
left to move the trailer to the left. Move your hand to the right to
move the trailer to the right. (Thi s is generally opposite to reversing
without a trailer attached.) Avoid sharp or prolonged turning. Have
someone guide you when reversing to reduce the risk of an acci-
dent.
● As stopping distance is increased when towing a trailer, vehicle-to-
vehicle distance should be increased. For each 10 mph (16 km/h)
of speed, allow at least o ne vehicle and trailer length.
● Avoid sudden braking as you may skid, resulting in jackknifing and
loss of control. This is especiall y true on wet or slippery surfaces.
● Avoid jerky starts or sudden acceleration. Vehicles with a manual
transmission, prevent excessive cl utch slippage by keeping engine
rpm low and not racing the engine. Always start out in first gear.
● Avoid jerky steering and sharp turns, and slow down before mak-
ing a turn.
Page 273 of 432
Maintenance and care4
273
4-1. Maintenance and careCleaning and protecting the vehicle exterior ......... 274
Cleaning and protecting the vehicle interior .......... 276
4-2. Maintenance Maintenance requirements .................. 279
General maintenance....... 281
Emission inspection and maintenance (I/M)
programs........................ 284
4-3. Do-it-yourself maintenance Do-it-yourself service precautions .................... 285
Hood ................................ 289
Engine compartment ........ 290
Tires ................................. 304
Tire inflation pressure ...... 309
Wheels ............................. 313
Air conditioning filter......... 315
Key battery ....................... 318
Checking and replacing fuses .............................. 320
Light bulbs........................ 331
Page 294 of 432

294 4-3. Do-it-yourself maintenance
■After changing the engine oil (U.S.A. only)
The oil change system should be reset. Perform the following procedures:
Turn the engine switch off with the odometer reading shown.( P.
131)
Turn the engine switch to the ON position while holding down the
trip meter reset button.
Continue to press and hold the button until the odometer displays
000000.
If the system fails to reset, the light will continue flashing.
CAUTION
■ Used engine oil
●Used engine oil contains potentially harmful contaminants which may
cause skin disorders such as inflammation or skin cancer, so care should
be taken to avoid prolonged and repeated contact. To remove used engine
oil from your skin, wash thoroughly with soap and water.
● Dispose of used oil and filters only in a safe and acceptable manner. Do
not dispose of used oil and filters in household trash, in sewers or onto the
ground. Call your Toyota dealer, service station or auto parts store for
information concerning recycling or disposal.
● Do not leave used engine oil within the reach of children.
NOTICE
■To prevent serious engine damage
Check the oil level on regular basis.
■ When replacing the engine oil
●Be careful not to spill engine oil on the vehicle components.
● Avoid overfilling, as the engine could be damaged.
● Check the oil level on the dipstick every time you refill the vehicle.
● Be sure the engine oil filler cap is properly tightened.
Page 297 of 432

297
4-3. Do-it-yourself maintenance
4
Maintenance and care
■
Adding fluid
Make sure to check the fluid type and prepare the necessary items.
Turn the engine switch off.
Depress the brake pedal 20 times or more.
Remove the reservoir cap.
Add newly opened brake fluid up to the MAX line.
.
Fluid type FMVSS No.116 DOT 3 or SAE J1703 brake fluid
ItemsRag or paper towel
■ Brake fluid can absorb moisture from the air
Excess moisture in the fluid can cause a dangerous loss of braking effi-
ciency. Use only newly opened brake fluid.
CAUTION
■When filling the reservoir
Take care because brake fluid can harm your hands or eyes and damage
painted surfaces.
If fluid gets on your hands or in your eyes, flush the affected area with clean
water immediately.
If you still experience discomfort, see a doctor.
NOTICE
■If the fluid level is low or high
It is normal for the brake fluid level to go down slightly as the brake pads
wear or when the fluid level in the accumulator is high.
If the reservoir needs frequent refilling, it may indicate a serious pro\
blem.
■ If you spill fluid
Be sure to wash it off with water to prevent damage to parts or paint.
Page 298 of 432
298 4-3. Do-it-yourself maintenance
Power steering fluid■ Fluid level
The fluid level should be within the appropriate range.
Full (when cold)
Add fluid (when cold)
Full (when hot)
Add fluid (when hot)
Hot: Vehicle has been driven around 50 mph (80 km/h) for 20 minutes, or slightly longer in frigid temperatures. (Fluid
temperature, 140°F - 175°F [60°C - 80°C])
Cold: Engine has not been run for about 5 hours. (Room tem- perature, 50°F - 85°F[10°C - 30°C])
■ Checking the fluid level
Make sure to check the fluid type and prepare the necessary items.
Clean all dirt off the reservoir.
Remove the cap by turning it counterclockwise.
Wipe the dipstick clean.
Reinstall and remove the reservoir cap again.
Check the fluid level.
Fluid type Automatic transmission fluid DEXRON® II or III
Items Rag or paper towel
Page 351 of 432

5
When trouble arises
351
5-2. Steps to take in an emergency
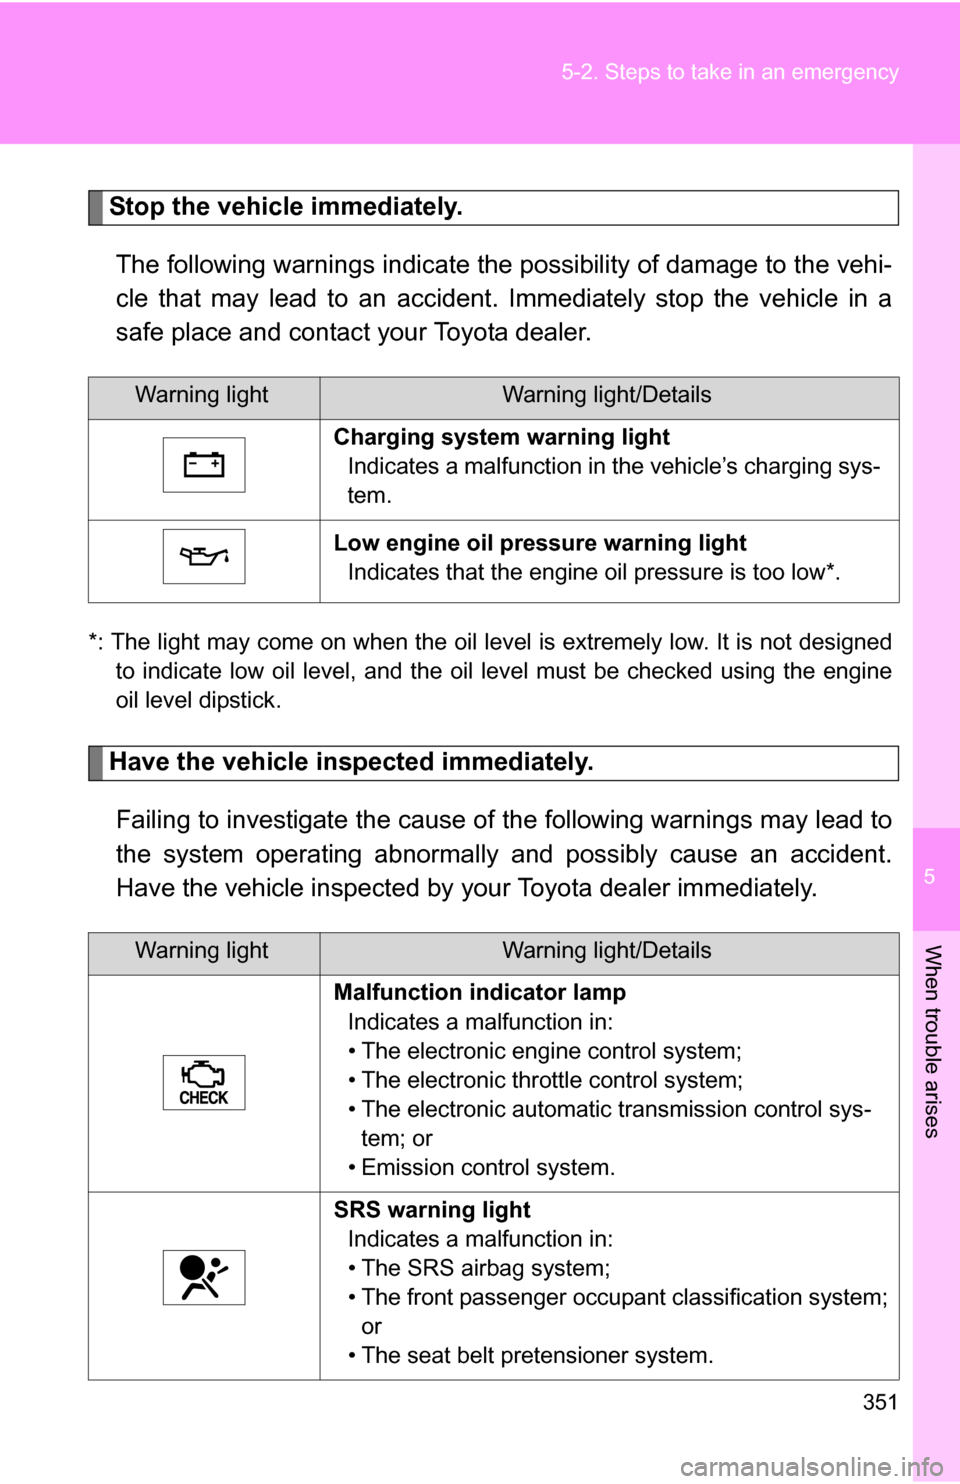
Stop the vehicle immediately.
The following warnings indicate the possibility of damage to the vehi-
cle that may lead to an accident. Immediately stop the vehicle in a
safe place and contact your Toyota dealer.
*: The light may come on when the oil level is extremely low. It is not designed to indicate low oil level, and the oil level must be checked using the engine
oil level dipstick.
Have the vehicle inspected immediately.
Failing to investigate the cause of the following warnings may lead to
the system operating abnormally and possibly cause an accident.
Have the vehicle inspected by your Toyota dealer immediately.
Warning lightWarning light/Details
Charging system warning light Indicates a malfunction in the vehicle’s charging sys-
tem.
Low engine oil pressure warning light Indicates that the engine oil pressure is too low*.
Warning lightWarning light/Details
Malfunction indicator lamp Indicates a malfunction in:
• The electronic engine control system;
• The electronic throttle control system;
• The electronic automatic transmission control sys-tem; or
• Emission control system.
SRS warning light Indicates a malfunction in:
• The SRS airbag system;
• The front passenger occupant classification system; or
• The seat belt pretensioner system.
Page 354 of 432

354 5-2. Steps to take in an emergency
*1: Driver's seat belt reminder:The driver’s seat belt reminder sounds to alert the driver that his or her seat
belt is not fastened. Once the engine switch is turned to the ON or START
position, the buzzer sounds for 6 seconds. If the vehicle has reached a
speed of at least 12 mph (20 km/h), the buzzer sounds intermittently for 10
seconds. Then, if the seat belt is still unfastened, the buzzer will sound in a
different tone for 20 more seconds.
*2: Front passenger’s seat belt reminder:
The front passenger’s seat belt reminder sounds to alert the front passenger
that his or her seat belt is not fastened. The buzzer sounds intermittently for
10 seconds after the vehicle has reached a speed of at least 12 mph (20 km/
h). Then, if the seat belt is still unfastened, the buzzer will sound in a different
tone for 20 more seconds. Low fuel level warning
light
Low level of fuel. Refuel the vehicle.
(U.S.A.) Engine oil replacement
reminder light
• Illuminates for about 3
seconds and then flashes
for about 12 seconds: Indi-
cates that the engine oil is
scheduled to be changed. Check the engine oil,
and change if neces-
sary.
• Comes on and remains: Indicates that the engine
oil should be changed. Check and change the
engine oil.
Warning lightWarning light/DetailsCorrection procedure
Page 355 of 432

5
When trouble arises
355
5-2. Steps to take in an emergency
■
Key reminder buzzer
The buzzer indicates that the key has not been removed (with the engine
switch in the ACC or LOCK position and the driver’s door opened).
■ If the malfunction indicator lamp comes on while driving
First check the following:
● Is your vehicle low on gas?
If it is, refuel the vehicle immediately.
● Is the fuel tank cap loose?
If it is, tighten it securely.
The light will go off after taking several driving trips.
If the light does not go off even after several trips, contact your Toyota dealer
as soon as possible.
■ Front passenger detection sensor and passenger seat belt reminder
If luggage or other load is placed on the front passenger seat, depending on
its weight, the reminder light to flash and buzzer to sound.
■
When the tire pressure warning light comes on
Check the tire inflation pressure and adjust to the appropriate level.
■The tire pressure warning light may turn on due to natural causes
The tire pressure warning light may turn on due to natural causes such
as natural air leaks or tire inflation pressure changes caused by temper-
ature. In this case, adjusting the ti re inflation pressure will turn off the
warning light after (a few minutes).
■When a tire is replaced with a spare tire
The spare tire is also equipped with the tire pressure warning valve and
transmitter. The tire pressure warning li ght will turn on if the tire inflation
pressure of the spare tire is low. If a tire goes flat, even though the flat
tire is replaced with the spare tire, the warning light does not turn off.
Replace the spare tire with the repair ed tire and adjust the proper tire
inflation pressure. The ti re pressure warning light will turn off after a few
minutes.