2009 SUBARU LEGACY radio
[x] Cancel search: radioPage 209 of 447

5-14Audio
& Channel preset
! How to preset channels
1. Press the “SAT ”button to select SAT1,
SAT2 and SAT3 reception.
2. Press the SEEK/SCAN button or the
TUNE TRACK button to select the chan-nel.
3. Press one of the preset buttons for
more than 1.5 seconds to store the
channel. If the button is pressed for less
than 1.5 seconds, the preceding selection
will remain in memory. NOTE
If the connection between the radio and
battery is broken for any reason such
as vehicle maintenance or radio re-
moval, all channels stored in the preset
buttons are cleared. If this occurs, it is
necessary to reset the preset buttons. !
Selecting preset channels
Presetting a channel with a preset button
allows you to select that channel in a
single operation. Up to six SAT1, SAT2
and SAT3 channels each may be preset. &
Display selectionPress the “TEXT ”button while receiving
the satellite radio to change the display as follows:
Page 210 of 447

CD player operation NOTE .Make sure to always insert a disc
with the label side up. If a disc is
inserted with the label side down, the
player displays “CHECK DISC ”.
Refer to “When the following messages
are displayed ”in this section.
. If a disc is inserted during a radio
broadcast, the disc will interrupt thebroadcast.. After the last song finishes, the disc
will automatically return to track 1 (the
first song on the disc) and will auto-
matically play back. . The player is designed to be able to
play music CD-Rs and music CD-RWs,
but it may not be able to play certainones.. Single CDs (i.e., 8 cm/3 inch CDs)
are not supported, and if inserted, they
will be immediately ejected.. A file (song) that is protected by a
copyright of WMA cannot be played,
and the player will skip to the next file(song). &
How to insert a CD (type A)
Hold a disc with a finger in the center hole
while gripping the edge of the disc, then
insert it in to the slot (with the label side
up) and the player will automatically pull
the disc into position. NOTE
DO NOT INSERT TWO DISCS INTO THE
DISC INSERTION SLOT AT A TIME. & How to insert a CD(s) (type B)
1. Briefly press the “LOAD ”button. If the
magazine in the player has an idle
position where you can insert a disc, the
disc number indicator associated with the
idle position will blink.
If no indicator blinks, it means that there is no idle position in the magazine.
2. When the
“LOAD ”indicator flashes,
insert the disc. Once you have inserted
the disc, the “LOAD ”indicator will go off.
The disc will then be automatically drawn
in, and the player will begin to play back
the first track of the disc. . To insert more discs in succession,
repeat Steps 1 and 2. The magazine will
be loaded with discs in ascending order of
position number.
If you do not insert any disc in 15 seconds
after you have pressed the “LOAD ”button,
the player will begin to play back the first
track of the last disc you have inserted. . The disc indicator steadily lights up if a
disc is already inserted in the correspond-
ing position of the magazine. . While the player is in the loading mode,
if you press the “FM AM ”, “SAT ”or “AUX ”
button, the player will enter the standby
mode. Press the “CD ”button to start
playback. Audio
5-15
– CONTINUED –
Page 214 of 447

&Repeating
! To repeat the currently playing
track/file (track)
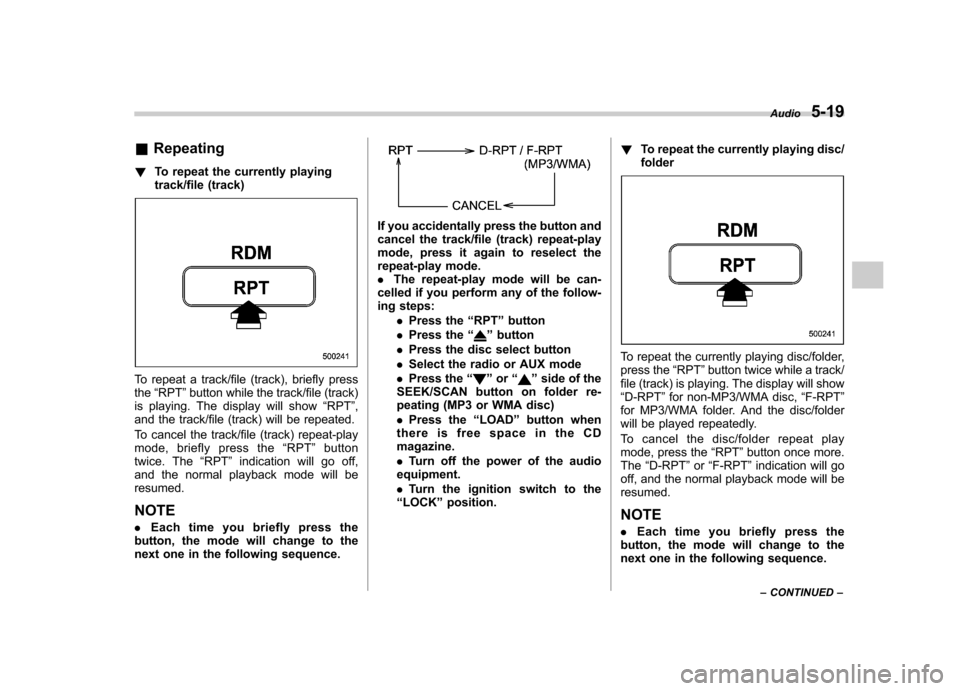
To repeat a track/file (track), briefly press the“RPT ”button while the track/file (track)
is playing. The display will show “RPT ”,
and the track/file (track) will be repeated.
To cancel the track/file (track) repeat-play
mode, briefly press the “RPT ”button
twice. The “RPT ”indication will go off,
and the normal playback mode will beresumed.
NOTE . Each time you briefly press the
button, the mode will change to the
next one in the following sequence.
If you accidentally press the button and
cancel the track/file (track) repeat-play
mode, press it again to reselect the
repeat-play mode.. The repeat-play mode will be can-
celled if you perform any of the follow-
ing steps:
.Press the “RPT ”button
. Press the “
”button
. Press the disc select button
. Select the radio or AUX mode
. Press the “
”or “”side of the
SEEK/SCAN button on folder re-
peating (MP3 or WMA disc) . Press the “LOAD ”button when
thereisfreespaceintheCD magazine. . Turn off the power of the audio
equipment.. Turn the ignition switch to the
“ LOCK ”position. !
To repeat the currently playing disc/ folder
To repeat the currently playing disc/folder,
press the “RPT ”button twice while a track/
file (track) is playing. The display will show“ D-RPT ”for non-MP3/WMA disc, “F-RPT ”
for MP3/WMA folder. And the disc/folder
will be played repeatedly.
To cancel the disc/folder repeat play
mode, press the “RPT ”button once more.
The “D-RPT ”or “F-RPT ”indication will go
off, and the normal playback mode will beresumed.
NOTE . Each time you briefly press the
button, the mode will change to the
next one in the following sequence. Audio
5-19
– CONTINUED –
Page 215 of 447

5-20Audio
If you accidentally press the button and
cancel the disc/folder repeat-play
mode, press it again to reselect the
disc/folder repeat-play mode..For MP3 and WMA discs, they can
play back repeatedly only for the
currently playing file folder. They can-
not play back the whole disc.. The disc/folder repeat-play mode
will be cancelled if you perform any of
the following steps:
.Press the “RPT ”button
. Press the “
”button
. Press the disc select button
. Select the radio or AUX mode
. Press the “
”or “”side of the
SEEK/SCAN button in the folder
repeating mode “F-RPT ”
. Turn off the power of the audio
equipment. . Turn the ignition switch to the
“ LOCK ”position. &
Random playback
! Non-MP3/WMA disc
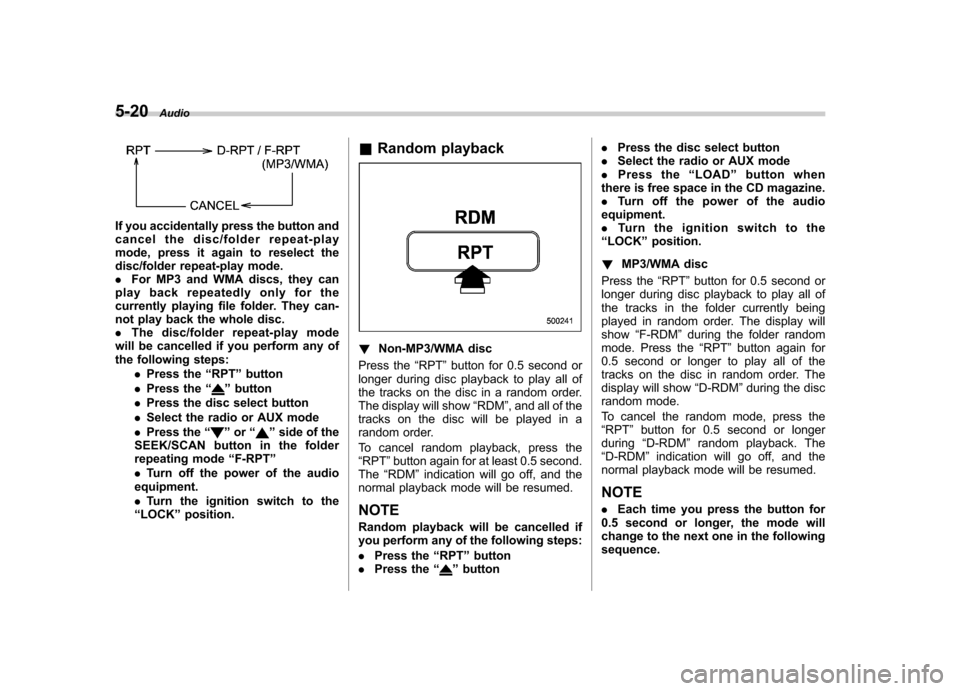
Press the “RPT ”button for 0.5 second or
longer during disc playback to play all of
the tracks on the disc in a random order.
The display will show “RDM ”, and all of the
tracks on the disc will be played in a
random order.
To cancel random playback, press the “ RPT ”button again for at least 0.5 second.
The “RDM ”indication will go off, and the
normal playback mode will be resumed.
NOTE
Random playback will be cancelled if
you perform any of the following steps: . Press the “RPT ”button
. Press the “
”button .
Press the disc select button
. Select the radio or AUX mode
. Press the “LOAD ”button when
there is free space in the CD magazine. . Turn off the power of the audio
equipment.. Turntheignitionswitchtothe
“ LOCK ”position.
! MP3/WMA disc
Press the “RPT ”button for 0.5 second or
longer during disc playback to play all of
the tracks in the folder currently being
played in random order. The display willshow “F-RDM ”during the folder random
mode. Press the “RPT ”button again for
0.5 second or longer to play all of the
tracks on the disc in random order. The
display will show “D-RDM ”during the disc
random mode.
To cancel the random mode, press the “ RPT ”button for 0.5 second or longer
during “D-RDM ”random playback. The
“ D-RDM ”indication will go off, and the
normal playback mode will be resumed. NOTE . Each time you press the button for
0.5 second or longer, the mode will
change to the next one in the followingsequence.
Page 216 of 447

If you accidentally press the button and
cancel the random mode, press it again
to reselect the random mode..Random playback will be cancelled
if you perform any of the followingsteps:
.Press the “RPT ”button
. Press the “
”or “”side of the
SEEK/SCAN button in the folder
random mode “F-RDM ”
. Press the “
”button
. Press the disc select button
. Select the radio or AUX mode
. Press the “LOAD ”button when
there is free space in the CD magazine. . Turn off the power of the audio
equipment.. Turn the ignition switch to the
“ LOCK ”position. &
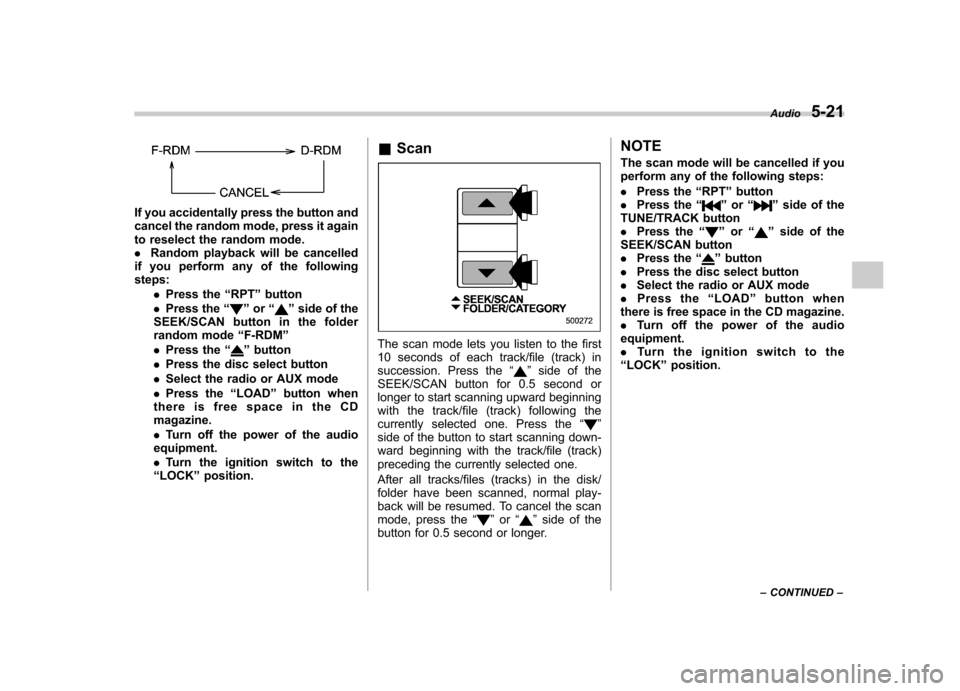
ScanThe scan mode lets you listen to the first
10 seconds of each track/file (track) in
succession. Press the “
”side of the
SEEK/SCAN button for 0.5 second or
longer to start scanning upward beginning
with the track/file (track) following the
currently selected one. Press the “
”
side of the button to start scanning down-
ward beginning with the track/file (track)
preceding the currently selected one.
After all tracks/files (tracks) in the disk/
folder have been scanned, normal play-
back will be resumed. To cancel the scan
mode, press the “
”or “”side of the
button for 0.5 second or longer. NOTE
The scan mode will be cancelled if you
perform any of the following steps: .
Press the “RPT ”button
. Press the “
”or “”side of the
TUNE/TRACK button . Press the “
”or “”side of the
SEEK/SCAN button . Press the “
”button
. Press the disc select button
. Select the radio or AUX mode
. Press the “LOAD ”button when
there is free space in the CD magazine. . Turn off the power of the audio
equipment.. Turntheignitionswitchtothe
“ LOCK ”position. Audio
5-21
– CONTINUED –
Page 221 of 447

5-26Audio
Audio control buttons
(if equipped)
These buttons are located on the spokes
of the steering wheel. They allow the
driver to control audio functions without
taking his/her hands off the steeringwheel. &MODE button
This button is used to select the desired
audio mode. Each time it is pressed, the
mode changes to the next one in the
following sequence:
*1: The frequency last received in the selected
waveband will be displayed.
*2: Only when a CD is in the player.
*3: Only when with an auxiliary audio product is
connected. ! “
”and “”buttons
! With radio mode selected
Press the “
”button or “”button. The
radio will seek the next receivable station
and stop on it.
That station ’s frequency will be shown on
the audio display. ! With CD mode selected
Press the “
”button to skip forward in the
track/file (track) order. Press the “”
button to skip backward in the track/file (track) order.
The track/file (track) number will be shown
on the audio display. !
With SAT mode selected
Press the “
”button to skip forward in the
channel order. Press the “”button to
skip backward in the channel order. The
channel will be shown on the audio
display. ! Volume control buttons
Press the “+ ” button to increase the
volume. Press the “� ” button to reduce
the volume.
A number indicating the volume will be
shown on the audio display.
Page 302 of 447

8-6Driving tips
vehicle and may affect ride, handling,
braking, speedometer/odometer calibra-
tion, and clearance between the body
and tires. It also may be dangerous and
lead to loss of vehicle control. .If you use a temporary spare tire to
replace a flat tire, be sure to use the
original temporary spare tire stored in the
vehicle. Using other sizes may result in
severe mechanical damage to the drive
train of your vehicle. . Always check the cold tire pressure
before starting to drive. The recom-
mended tire pressure is provided on the
tire placard, which is located under the
door latch on the driver ’s side.
. Tire chains should always be placed on
the front wheels only. . There are some precautions that you
must observe when towing your vehicle.
For detail information, refer to the “Towing ”
section in chapter 9. Off road driving
WARNING
. Always maintain a safe driving
speed according to the road and
weather conditions in order to
avoid having an accident on a
sharp turn, during sudden brak-
ing or under other similar condi-tions.
. Always use the utmost care in
driving –overconfidence be-
cause you are driving an All-
Wheel Drive vehicle could easily
lead to a serious accident.
& All AWD models except OUTBACK
Your AWD vehicle is neither a conven-
tional off-road vehicle nor an all terrain
vehicle. It is a passenger car designed
primarily for on-road use. The AWD
feature gives it some limited off-road
capabilities in situations in which driving
surfaces a relatively level, obstruction-free
and otherwise similar to on-road driving
conditions. Operating it under other than
those conditions could subject the vehicle
to excessive stress which might result in damage not eligible for repair under
warranty. If you do take your SUBARU
off road, you should review the common
sense precautions in the next section
(applicable to the OUTBACK) for general
guidance. But please keep in mind that
your vehicle
’s off-road capabilities are
more limited than those of the OUTBACK.
Never attempt to drive through pools and
puddles, or roads flooded with water.
Water entering the engine air intake or
the exhaust pipe or water splashing onto
electrical parts may damage your vehicle
and may cause it to stall. & OUTBACK
Because of the AWD feature and higher
ground clearance, your SUBARU can be
driven on ordinary roads or off-road. But
please keep in mind that an AWD
SUBARU is a passenger car and is
neither a conventional off-road vehicle
nor an all-terrain vehicle. If you do take
your SUBARU off-road, certain common
sense precautions such as those in the
following list should be taken: . Make certain that you and all of your
passengers are wearing seatbelts. . Carry some emergency equipment,
such as a towing rope or chain, a shovel,
wheel blocks, first aid kit and cell phone or
citizens band radio.