2009 RENAULT TWINGO RS wheel
[x] Cancel search: wheelPage 3 of 95

Contents
55A EXTERIOR PROTECTION
Front bumper: Removal -
Refitting 55A-1
Front bumper: Stripping -
Rebuilding 55A-3
Rear bumper : Removal -
Refitting 55A-10
Rear bumper : Stripping -
Rebuilding 55A-13
Rear bumper : Conversion 55A-14
Front side door protective
strip: Removal - Refitting 55A-15
Rear wing protective strip:
Removal - Refitting 55A-16
Roof protection strip:
Removal - Refitting 55A-17
Front wheel arch liner:
Removal - Refitting 55A-18
56A EXTERIOR EQUIPMENT
Scuttle panel gr ille: Removal
- Refitting 56A-1
Tailgate spoiler: Removal -
Refitting 56A-3
Scoop under the scuttle
panel grille: Removal -
Refitting 56A-6
Door mirror: Removal -
Refitting 56A-8
Door mirror casing: Removal
- Refitting 56A-9
Door mirror glass: Removal -
Refitting 56A-10
Side decorative strips:
Removal - Refitting 56A-11
Sill panel extension:
Removal - Refitting 56A-13
Rear wing extension:
Removal - Refitting 56A-1557A INTERIOR EQUIPMENT
Dashboard: Removal -
Refitting 57A-1
Dashboard: Conversion 57A-4
Dashboard side air vent:
Removal - Refitting 57A-6
Centre front panel: Removal
- Refitting 57A-7
Glovebox: Removal -
Refitting 57A-9
Dashboard storage
compar tment: Removal -
Refitting 57A-11
Centre console: Removal -
Refitting 57A-12
Interior rear-view mirror:
Removal - Refitting 57A-14
Sun visor: Removal -
Refitting 57A-16
59A SAFETY ACCESSORIES
Front seat belt: Removal -
Refitting 59A-1
Rear seat belt: Removal -
Refitting 59A-3
Rear seat belt buckle:
Removal - Refitting 59A-5
Page 16 of 95

52A-2
NON-SIDE OPENING ELEMENT MECHANISMS
Bonnet release cable: Removal - Refitting
52A
REMOVAL
I - REMOVAL PREPARATION OPERATION
aRemove:
-the battery ( (see Battery: Removal - Refitting) ),
-the battery tray ( (see Battery tray: Removal - Re-
fitting) ),
-the front wheel arch liner (see 55A, Exterior pro-
tection, Front wheel arch liner: Removal - Refit-
ting, page 55A-18) ,
-the front bumper (see 55A, Exterior protection,
Front bumper: Removal - Refitting, page 55A-1)
,
-the bonnet catch (see 52A, Non-side opening ele-
ment mechanisms, Bonnet lock: Removal - Re-
fitting, page 52A-1) ,
-the front door sill lining ( (see Front door sill
lining: Removal - Refitting) ).
II - OPERATION FOR REMOVAL OF PART
CONCERNED
aRemove the bolt (1) .
aUnclip the bonnet release catch.
aNote the route of the bonnet release cable.
aRemove the bulkhead cable routing blanking piece.
aRemove the bonnet release cable.
REFITTING
I - REFITTING OPERATION FOR PART
CONCERNED
aRefit:
-the bonnet opening cable,
-the bulkhead cable routing blanking piece.
aClip on the bonnet release catch.
aRefit the bolt (1) .
II - FINAL OPERATION.
aRefit:
-the front door sill lining ( (see Front door sill
lining: Removal - Refitting) ),
-the bonnet catch (see 52A, Non-side opening ele-
ment mechanisms, Bonnet lock: Removal - Re-
fitting, page 52A-1) ,
-the front bumper (see 55A, Exterior protection,
Front bumper: Removal - Refitting, page 55A-1)
,
-the front wheel arch liner (see 55A, Exterior pro-
tection, Front wheel arch liner: Removal - Refit-
ting, page 55A-18) ,
-the battery tray ( (see Battery tray: Removal - Re-
fitting) ),
-the battery ( (see Battery: Removal - Refitting) ).
121145
Page 39 of 95

55A-1
EXTERIOR PROTECTION
Front bumper: Removal - Refitting
55A
REMOVAL
I - REMOVAL PREPARATION OPERATION
aPosition the vehicle on a two-post lift (see Vehicle:
Towing and lifting) (MR 412, 02A, Lifting equip-
ment).
aRemove:
-the front wheels (see Wheel: Removal - Refitting)
(MR 411, 35A, Wheels and tyres),
-the front wheel arch liners (see 55A, Exterior pro-
tection, Front wheel arch liner: Removal - Refit-
ting, page 55A-18) .
II - OPERATION FOR REMOVAL OF PART
CONCERNED
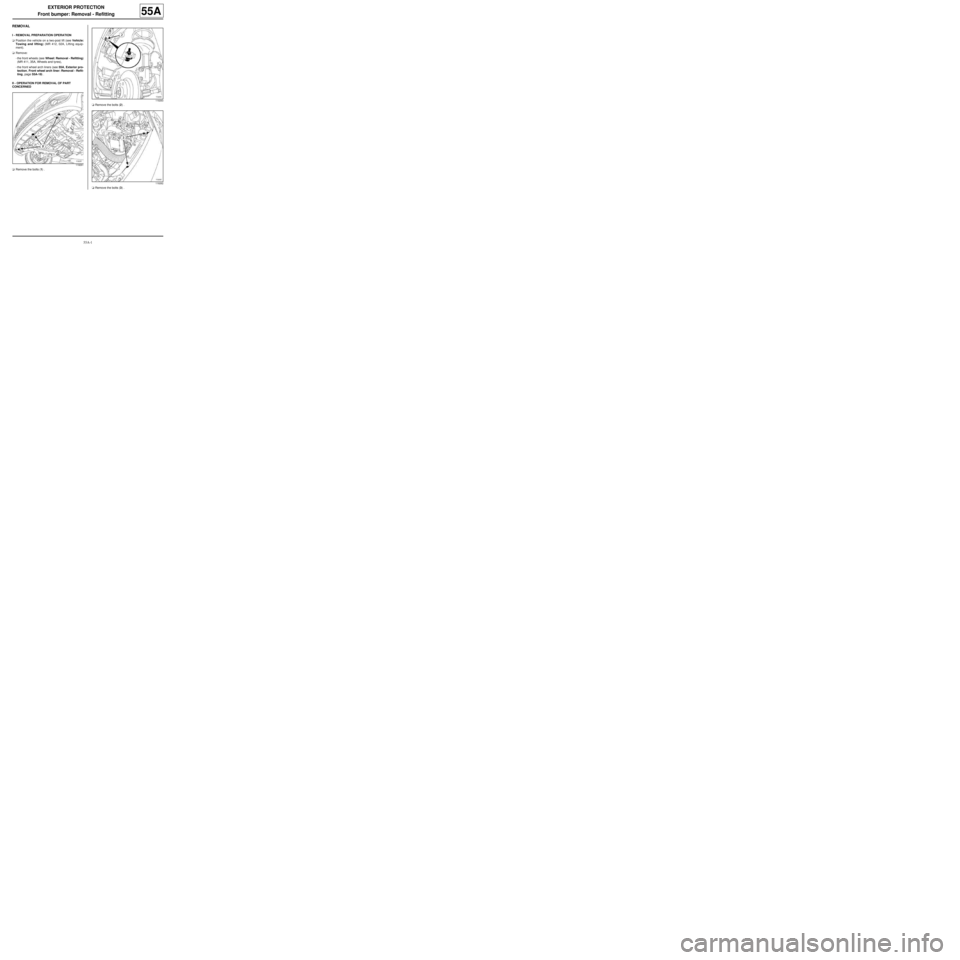
aRemove the bolts (1) .aRemove the bolts (2) .
aRemove the bolts (3) .
119261
119263
119262
Page 40 of 95

55A-2
EXTERIOR PROTECTION
Front bumper: Removal - Refitting
55A
aUnclip the side sections of the front bumper (4) .
aDetach the top section of the front bumper (5) .
aRemove the front bumper (6) (this operation requi-
res two people).
aDisconnect the front fog light connector (depending
on the equipment level).
REFITTING
I - REFITTING OPERATION FOR PART
CONCERNED
aConnect the front fog light connector (depending on
the equipment level).
aRefit the front bumper (this operation requires two
people).
aClip on the side sections of the front bumper.aRefit the bolts (2) , (3) and (1) .
II - FINAL OPERATION.
aRefit:
-the front wheel arch liners (see 55A, Exterior pro-
tection, Front wheel arch liner: Removal - Refit-
ting, page 55A-18) ,
-the front wheels (see Wheel: Removal - Refitting)
(MR 411, 35A, Wheels and tyres).
119272
119273
Page 56 of 95

55A-18
EXTERIOR PROTECTION
Front wheel arch liner: Removal - Refitting
55A
REMOVAL
I - REMOVAL PREPARATION OPERATION
aPosition the vehicle on a two-post lift (see Vehicle:
Towing and lifting) (MR 411, 02A, Lifting equip-
ment).
aRemove the front wheels (see Wheel: Removal -
Refitting) (MR 411, 35A, Wheels and tyres).II - OPERATION FOR REMOVAL OF PART
CONCERNED
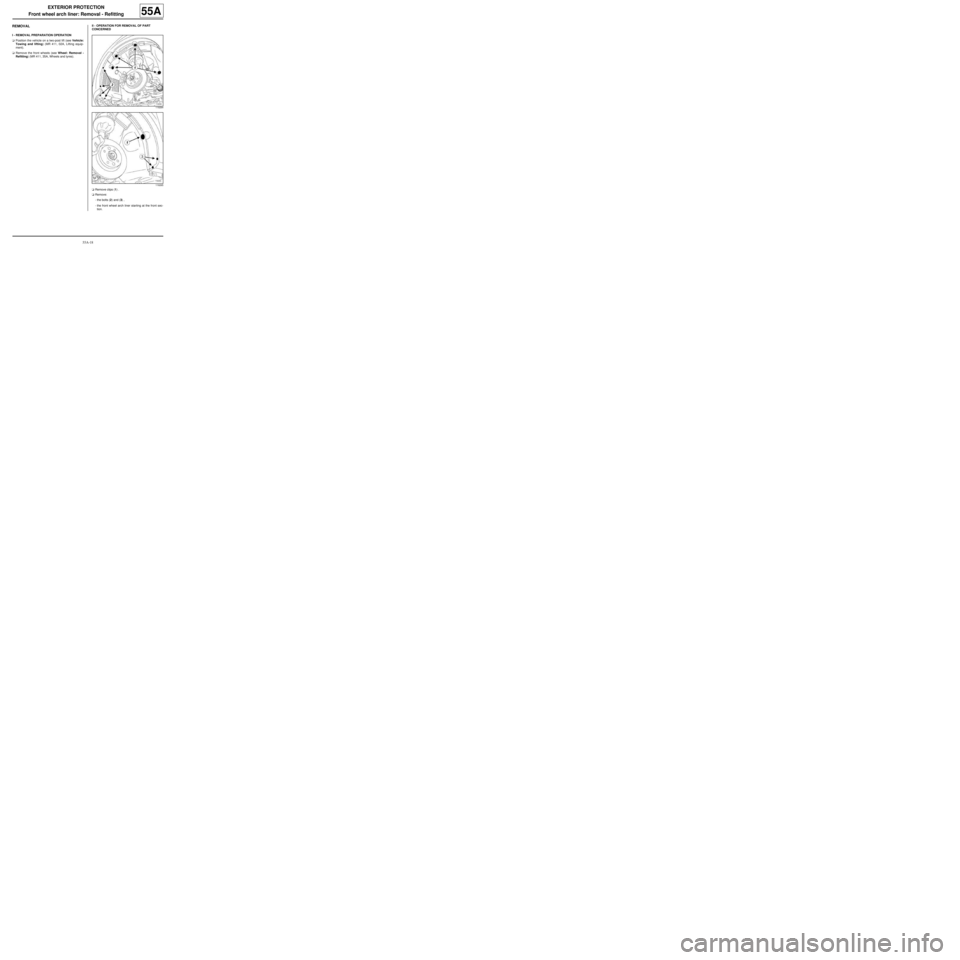
aRemove clips (1) .
aRemove:
-the bolts (2) and (3) ,
-the front wheel arch liner starting at the front sec-
tion.
119264
119265
Page 57 of 95

55A-19
EXTERIOR PROTECTION
Front wheel arch liner: Removal - Refitting
55A
REFITTING
I - REFITTING PREPARATIONS OPERATION
aCheck the condition of the clips and replace them if
necessary.
II - REFITTING OPERATION FOR PART
CONCERNED
aRefit:
-the front wheel arch liner starting at the rear sec-
tion,
-the clips (1) ,
-the bolts (2) and (3) .
III - FINAL OPERATION.
aRefit the front wheels (see Wheel: Removal - Refit-
ting) (MR 411, 35A, Wheels and tyres).
Page 74 of 95

57A-1
INTERIOR EQUIPMENT
Dashboard: Removal - Refitting
57A
REMOVAL
I - REMOVAL PREPARATION OPERATION
aLock the airbag computer using the Diagnostic tool
(see Fault finding - Replacement of components)
(88C, Airbags and pretensioners).
aDisconnect the battery (see Battery: Removal - Re-
fitting) (80A, Battery).
aRemove the passenger front airbag (see Passen-
ger's frontal airbag: Removal - Refitting) (88C,
Airbags and pretensioners).
aRemove:
-the windscreen pillar trims (see Windscreen pillar
trim: Removal - Refitting) (71A, Body internal
trim),
-the driver's front airbag (see Driver's frontal air-
bag: Removal - Refitting) (88C, Airbags and pre-
tensioners),
-the steering wheel (see Steering wheel: Removal
- Refitting) (36B, Power-assisted steering).aRemove the rev counter (depending on the equip-
ment level) (see Rev counter: Removal - Refitting)
(83A, Instrument panel).
aRemove:
-the steering column switch assembly (see Stee-
ring column switch assembly: Removal - Refit-
ting) (84A, Control - Signals),
-the instrument panel (see Instrument panel: Re-
moval - Refitting) (83A, Instrument panel),
-the tweeters (see Tweeter: Removal - Refitting)
(86A, Radio),
-the centre console (see 57A, Interior equipment,
Centre console: Removal - Refitting, page 57A-
12) ,
-the centre front panel (see 57A, Interior equip-
ment, Centre front panel: Removal - Refitting,
page 57A-7) ,
-the control panel (see Control panel: Removal -
Refitting) (61A, Heating).
aUnclip the dashboard side faces. Equipment required
Diagnostic tool
IMPORTANT
To avoid any risk of triggering when working on or
near a pyrotechnic component (airbags or preten-
sioners), lock the airbag computer using the dia-
gnostic tool.
When this function is activated, all the trigger lines
are inhibited and the airbag warning light on the ins-
trument panel lights up contin uously (ignition on).
IMPORTANT
Never handle the pyrotechnic systems (pretensio-
ners or airbags) near to a source of heat or naked
flame - they may be triggered.
FRONT SIDE AIRBAG
ENGINE REV COUNTER
121136
Page 76 of 95

57A-3
INTERIOR EQUIPMENT
Dashboard: Removal - Refitting
57A
aPartially remove the dashboard (this operation re-
quires two people).
aDetach the various wiring from the dashboard.
aRemove the dashboard (this operation requires two
people).
aNote the route of the cabling.
REFITTING
I - REFITTING PREPARATION OPERATION
aEnsure that the wiring is in good condition.
II - REFITTING OPERATION FOR PART
CONCERNED
aPartially refit the dashboard (this operation requires
two people).
aRefit:
-the various cable harnesses,
-the dashboard (this operation requires two people).
III - FINAL OPERATION.
aClip:
-the diagnostic socket (2) ,
-the access flap (1) .
aConnect the passenger airbag deactivation connec-
tor.
aClip on the dashboard side faces.
aRefit:
-the control panel (see Control panel: Removal -
Refitting) (61A, Heating),
-the instrument panel (see Instrument panel: Re-
moval - Refitting) (83A, Instrument panel),-the tweeters (see Tweeter: Removal - Refitting)
(86A, Radio),
-the centre front panel (see 57A, Interior equip-
ment, Centre front panel: Removal - Refitting,
page 57A-7) ,
-the centre console (see 57A, Interior equipment,
Centre console: Removal - Refitting, page 57A-
12) ,
-the steering column switch assembly (see Stee-
ring column switch assembly: Removal - Refit-
ting) (84A, Control - Signals).
aRefit the rev counter (see Rev counter: Removal -
Refitting) (83A, Instrument panel).
aRefit:
-the steering wheel (see Steering wheel: Removal
- Refitting) (36B, Power-assisted steering),
-the driver's front airbag (see Driver's frontal air-
bag: Removal - Refitting) (88C, Airbags and pre-
tensioners),
-the windscreen pillar trims (see Windscreen pillar
trim: Removal - Refitting) (71A, Body internal
trim).
aRefit the passenger front airbag (see Passenger's
frontal airbag: Removal - Refitting) (88C, Airbags
and pretensioners).
aConnect the battery (see Battery: Removal - Refit-
ting) (80A, Battery).
aCarry out a function test on all functions.
aUnlock the airbag computer using the Diagnostic
tool (see Fault finding - Replacement of compo-
nents) (88C, Airbags and pretensioners).
121157ENGINE REV COUNTER
FRONT SIDE AIRBAG
IMPORTANT
To avoid a fault with or even triggering of pyro-
technic components (airbags or pretensioners),
check the airbag computer using the diagnostic
tool.